
Flaky Gluten Free Dairy Free Biscuits

These gluten free dairy free biscuits come together in about 30 minutes and bake up tall with soft, flaky layers. They lean on cold dairy free butter and a quick buttermilk trick so you get a golden crust and a tender crumb without a speck of gluten or dairy.
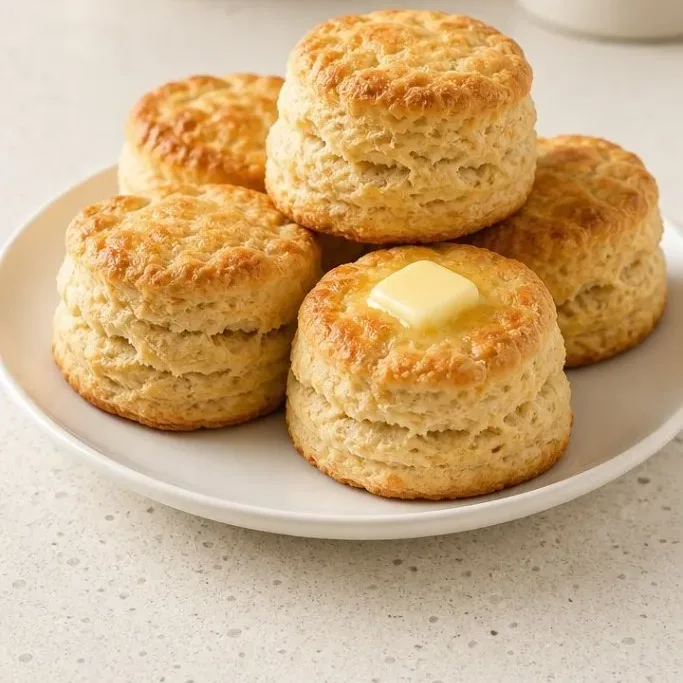
They split open beautifully and hold their own next to a bowl of chili or a simple smear of jam. Nobody at the table will suspect a thing.
Why These Biscuits Work
These biscuits turn out light and airy, not dense or sandy like a lot of gluten free bakes. The key is handling the dough as little as possible and keeping the dairy free butter very cold, so it steams into flaky pockets in the oven.
The crumb stays soft even the next day, which makes them a solid make-ahead for busy mornings or a last-minute dinner side. They have become my go-to when I want fresh bread that doesn’t feel like a compromise.
Ingredients
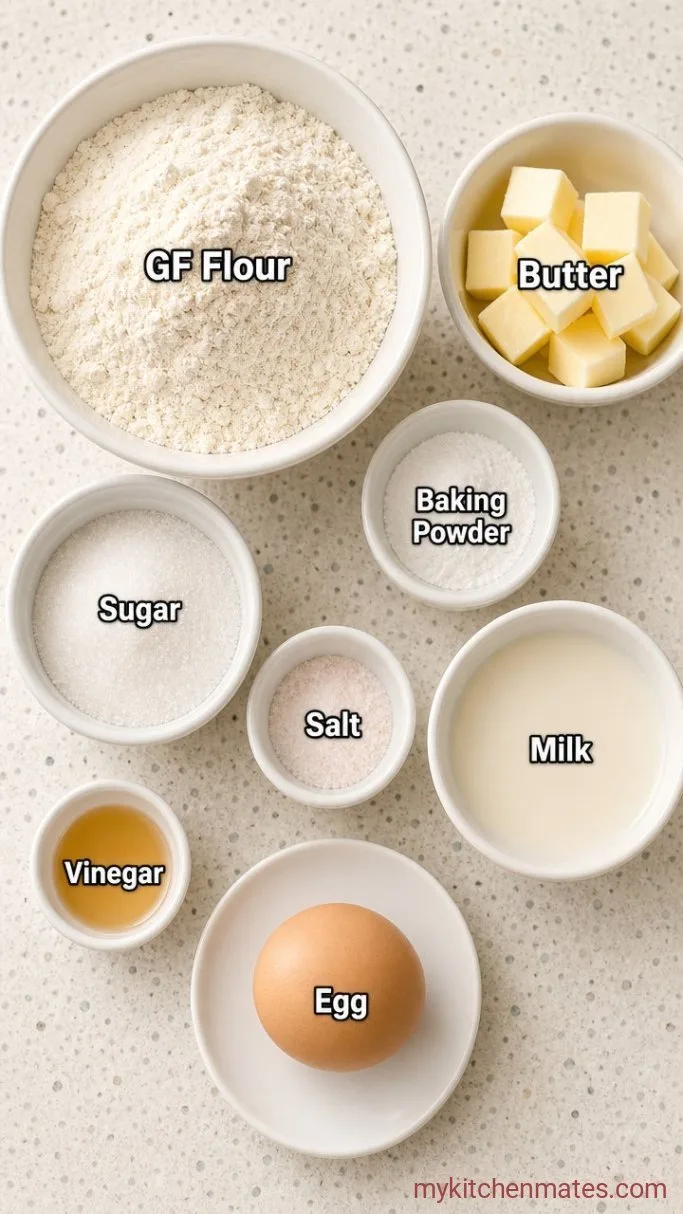
- 2 cups gluten-free all-purpose flour blend: use a measure-for-measure blend that already contains xanthan gum (Bob’s Red Mill 1:1 or similar)
- 1 tablespoon baking powder: aluminum-free keeps the flavor clean
- 1 tablespoon granulated sugar: this is optional; it just rounds out the taste
- ½ teaspoon fine sea salt
- 6 tablespoons cold dairy-free butter, cut into small cubes: stick-style (like Country Crock Plant Butter sticks) gives the best flake; avoid tub spreads
- ¾ cup unsweetened dairy-free milk, cold: almond or oat both work well
- 1 tablespoon apple cider vinegar
- 1 large egg, cold: optional but helps the biscuits rise taller and brown more evenly; for a vegan batch, skip it and add 1 extra tablespoon of milk
Variations / Substitutions
- Gluten-free flour: any 1:1 all-purpose blend with xanthan gum will work; if yours is gum-free, add ½ teaspoon xanthan gum to the dry mix
- Dairy-free butter: you can use cold refined coconut oil, but the biscuits will be slightly less flaky
- Milk: any unsweetened, neutral dairy-free milk works; avoid canned coconut milk unless you dilute it with water first, or the dough gets too heavy
- Egg-free: omit the egg and use a splash more milk as noted above; the biscuits will be a touch shorter but still tender
- Savory spin: stir in a pinch of garlic powder or a tablespoon of chopped fresh chives with the dry ingredients
Creamy Dairy-Free Potato Soup makes a comforting soup to pair with these biscuits.
How to Make Flaky Gluten Free Dairy Free Biscuits
Step 1: Whisk Together the Dry Ingredients
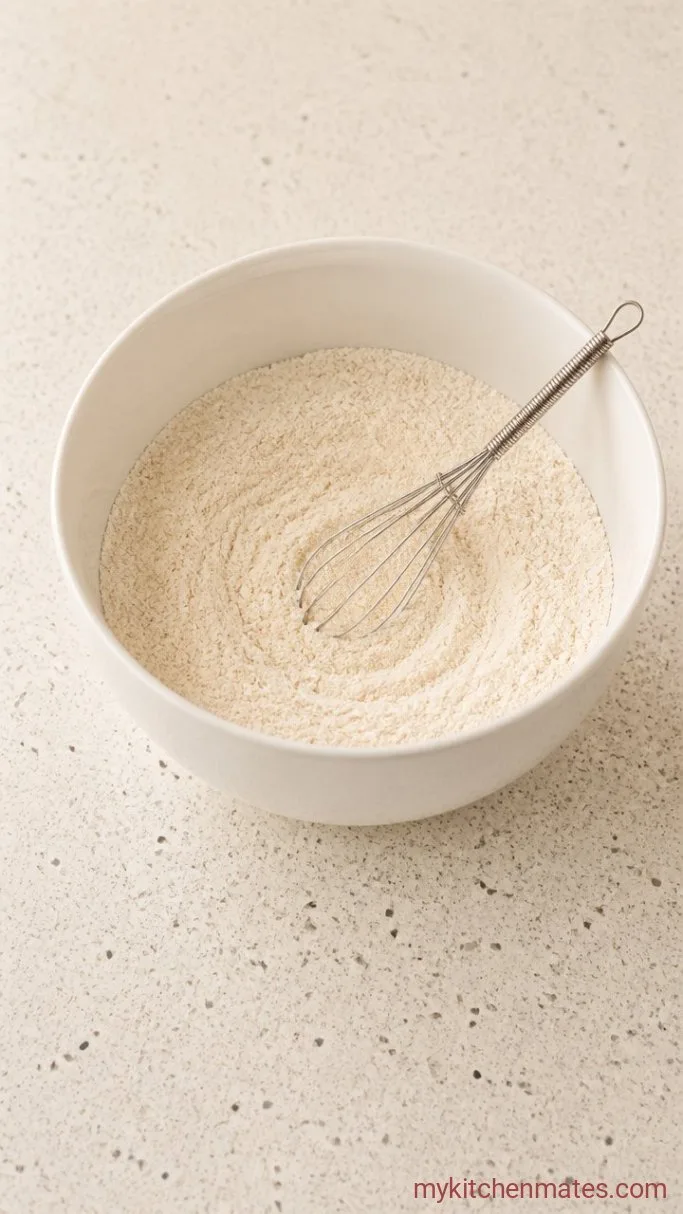
Preheat the oven to 425°F (220°C) and line a baking sheet with parchment paper. Tip the 2 cups gluten-free flour blend, 1 tablespoon baking powder, 1 tablespoon sugar, and ½ teaspoon salt into a large bowl. Whisk them until the baking powder is evenly distributed and no lumps remain.
The flour mixture should look uniformly airy and pale. A quick whisk does the job, and it is worth the few seconds to avoid a pocket of baking powder in one biscuit.
Step 2: Cut in the Cold Butter

Add the 6 tablespoons of cold dairy-free butter cubes to the bowl. Use a pastry cutter or your fingertips to work the butter into the flour until the largest pieces are about the size of small peas.
Work quickly so the butter stays firm. You want a mixture that looks like coarse, sandy crumbs with visible buttery bits scattered throughout. Those cold solids are what create the flaky layers later.
Step 3: Stir in the Milk Mixture

In a small pitcher, combine the ¾ cup cold dairy-free milk, 1 tablespoon apple cider vinegar, and the cold egg (if using). Pour the wet mixture over the dry ingredients all at once. Stir with a fork just until the dough starts to clump together and no dry streaks are visible.
The dough will look shaggy and a little sticky. Stop the second it comes together; over-stirring at this stage will make the biscuits tough instead of tender.
Step 4: Shape and Cut the Dough
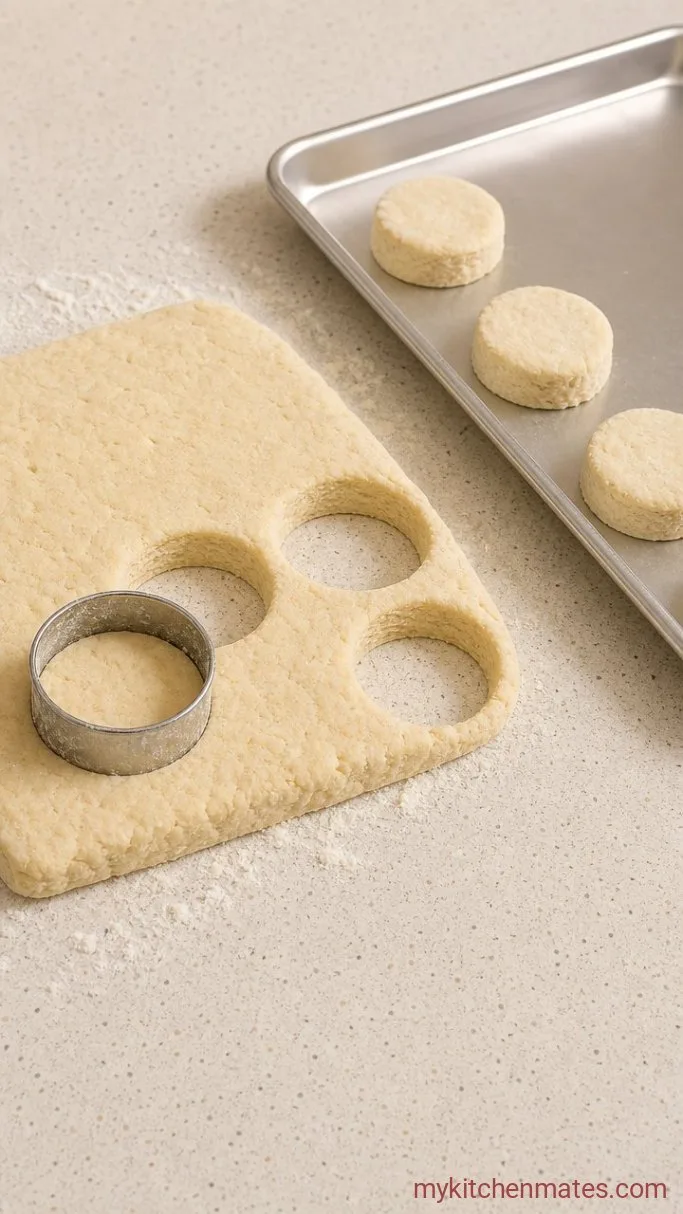
Turn the dough out onto a surface lightly dusted with gluten-free flour. Gently pat it into a round about 1 inch thick. Use a sharp 2½- to 3-inch biscuit cutter to cut straight down, pressing firmly without twisting.
Dip the cutter in flour between cuts to keep it from sticking. Gather any scraps, pat them together once, and cut the remaining biscuits. Twisting the cutter can seal the edges and prevent a clean rise, so a straight press is worth the focus.
Step 5: Bake and Serve
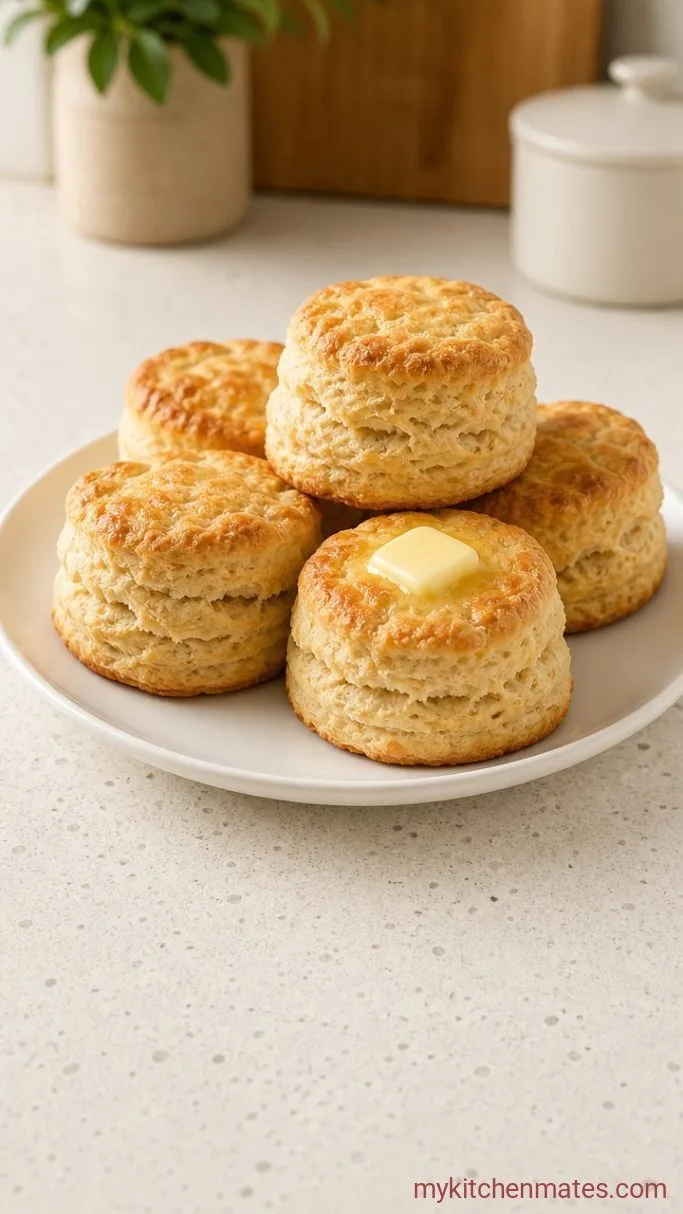
Arrange the biscuits on the prepared baking sheet, placing them close together so their sides just touch. Slide the sheet into the hot oven and bake for 12 to 14 minutes, until the tops are deeply golden and the biscuits feel light when you lift one.
Remove the pan and let them cool for 2 or 3 minutes, then transfer the biscuits to a clean towel or a rack. Split them open while they are still warm, and the steam will curl up from a soft, layered crumb.
Tips for the Best Gluten Free Biscuits
- Measure your gluten-free flour by spooning it into the cup and leveling it; scooping straight from the bag packs it down and makes the biscuits heavy.
- Cold ingredients matter. Pop the dairy-free milk and the egg in the fridge right up until you need them, and refrigerate the cut butter cubes while you gather everything else.
- A brief chill after shaping helps the biscuits rise even higher. Put the tray of unbaked biscuits in the fridge for 10 minutes while the oven finishes heating.
- Don’t fuss with the dough. Shape it once, pat it together firmly but gently, and resist the urge to keep working it back onto itself.
- Stick-style dairy-free butter really does behave better than the soft spread in a tub, because the lower water content helps the dough stay cold and flaky.
Bake times shift slightly depending on how big you cut them:
| Biscuit Size | Bake Time |
|---|---|
| 2-inch cutter | 12–14 minutes |
| 2½-inch cutter | 13–15 minutes |
| 3-inch cutter | 14–16 minutes |
Storing Leftover Biscuits
- Refrigerate: keep the baked biscuits in an airtight container for up to 3 days.
- Reheating: warm them in a 350°F (175°C) oven or toaster oven for 5 to 7 minutes to bring back the crisp edges; the microwave will make them soft but a little gummy.
- Serve cold: they are pleasant at room temperature too, though the texture is nicest when warmed.
What to Serve With Gluten Free Dairy Free Biscuits
A ladle of dairy-free creamy tomato soup turns these into a comforting lunch. Chili, whether beef or a hearty bean version, gets a lift from a split biscuit that can soak up every last bit.
For a simple breakfast, try them with a smear of dairy-free butter and a spoonful of raspberry jam. The sweet-tart jam against the buttery biscuit makes the morning feel a little more put together.
Frequently Asked Questions
Can I freeze the unbaked dough?
Yes. Place the cut biscuits on a parchment-lined plate, freeze until solid, then transfer to a zip-top bag. Bake from frozen, adding 2 to 3 minutes to the bake time.
Why did my dough turn out crumbly and hard to shape?
A crumbly dough usually means the flour absorbed more liquid than expected. Press the dough firmly with your hands to bring it together, and add a teaspoon of cold milk at a time if it truly won’t hold a mass.
Gluten Free Dairy Free Biscuits Recipe
Ingredients
Method
- Preheat oven to 425°F (220°C) and line a baking sheet with parchment. Whisk together flour, baking powder, sugar, and salt.
- Cut in the cold dairy-free butter until the mixture resembles coarse crumbs with pea-sized bits.
- Stir together the milk, vinegar, and egg (if using). Pour into the dry ingredients and stir just until a shaggy dough forms.
- Turn onto a lightly floured surface, pat to 1-inch thickness, and cut with a sharp biscuit cutter. Press straight down without twisting.
- Place biscuits touching on the sheet and bake 12 to 14 minutes, until deep golden. Cool briefly and serve warm.
Notes
