
Flaky Gluten Free Biscuits

These gluten free biscuits have crisp, golden edges, a tender crumb, and all the buttery flakiness you thought you left behind. The dough comes together in one bowl in about ten minutes, so you can get them on the table while the weeknight soup is still simmering.
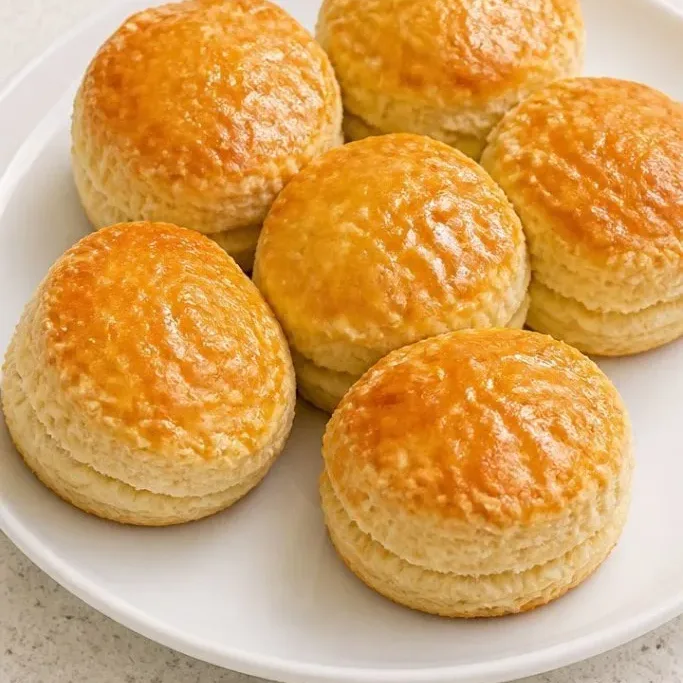
If you miss proper biscuits since going gluten free, this is the one to try. They split cleanly, hold a pat of butter, and taste like the real thing.
Why These Biscuits Work
Cold butter cut into the flour until the mix looks like coarse crumbs is the trick that keeps the layers separate as they bake. Ice-cold buttermilk brings the dough together without letting the gluten free flour turn gummy.
I keep coming back to this recipe because it works with any cup-for-cup gluten free flour blend that has a binder, and the dough is forgiving enough to pat out by hand. No rolling pin, no crumbling edges, just a pile of warm biscuits.
Ingredients
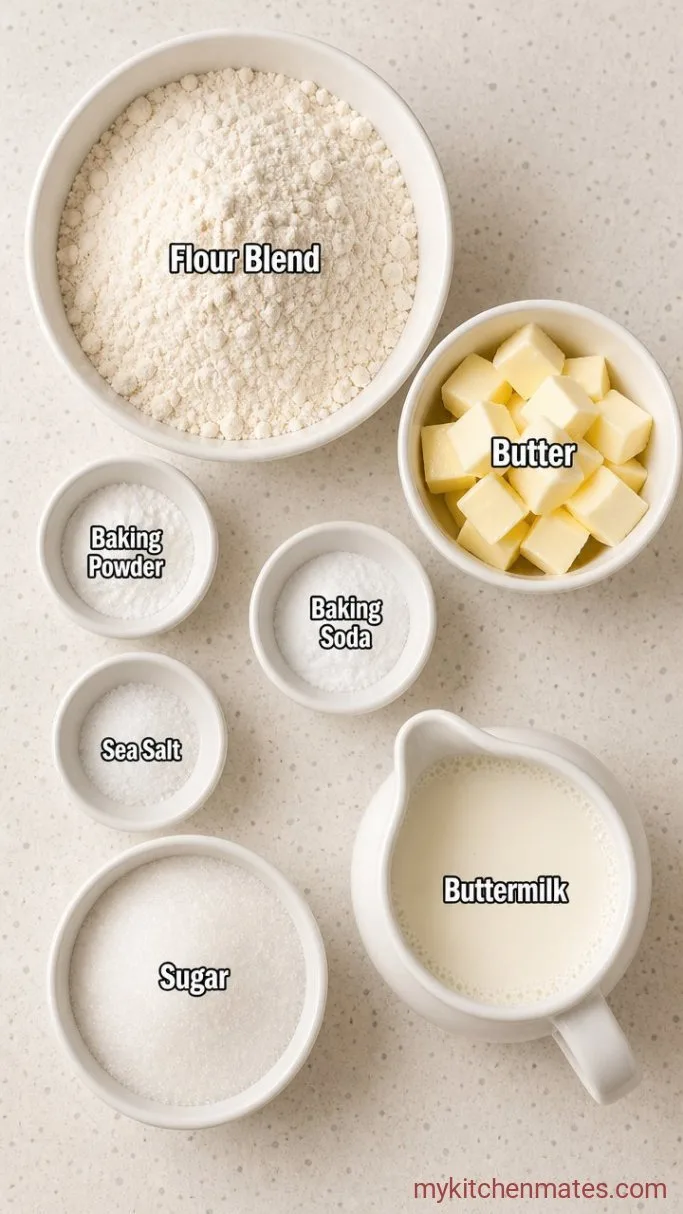
- 2 cups gluten free all-purpose flour blend: must include xanthan gum or a similar binder
- 1 tbsp baking powder: check that it’s fresh for the best rise
- 1/2 tsp baking soda
- 1/2 tsp fine sea salt
- 1 tbsp granulated sugar: optional, adds a whisper of sweetness
- 6 tbsp cold unsalted butter: cut into small cubes, the colder the better
- 3/4 cup cold buttermilk: plus a splash more if the dough feels dry
Variations / Substitutions
- Dairy free: swap the butter for a solid vegan butter stick and the buttermilk for 3/4 cup unsweetened plant milk plus 2 tsp lemon juice. Let the milk mixture sit 5 minutes before using.
- Cheesy herb biscuits: stir 1/2 cup shredded sharp cheddar and 2 tbsp chopped fresh chives into the dry ingredients before adding the butter.
- Savory dinner biscuits: leave out the sugar and add a pinch of garlic powder or a crack of black pepper.
Slow-Cooked Gluten-Free Beef Stew makes a comforting soup to pair with these biscuits.
How to Make Gluten Free Biscuits
Step 1: Work the Butter into the Flour
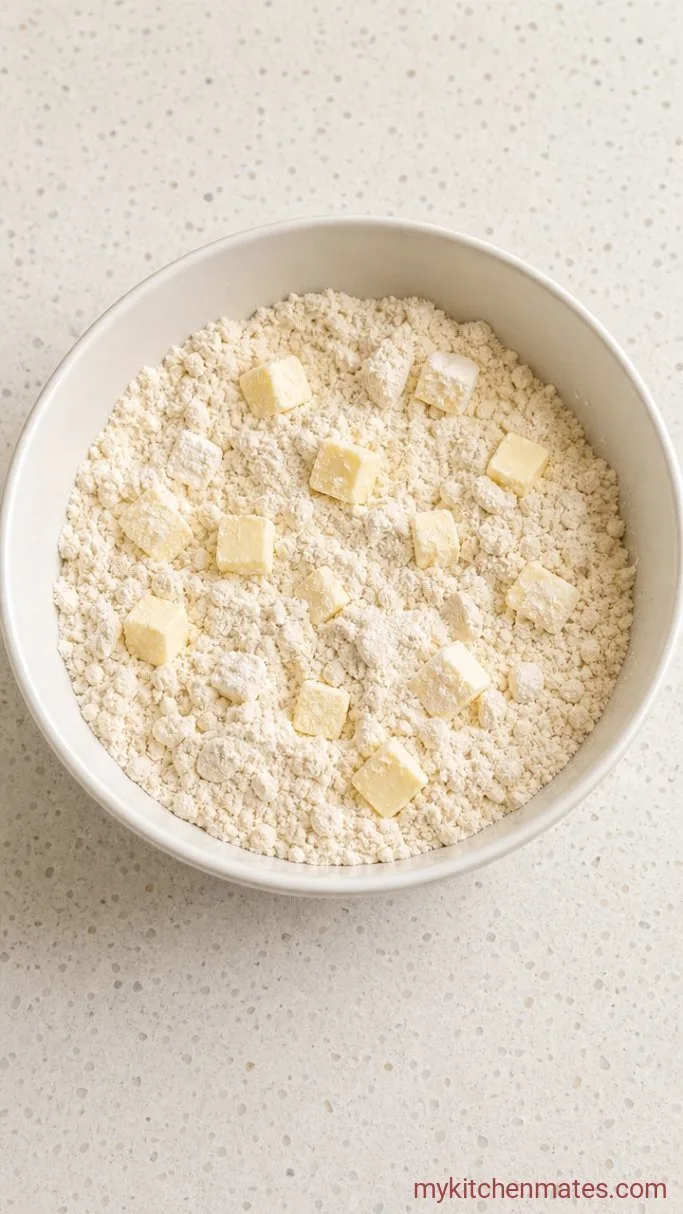
Preheat the oven to 425°F (220°C). In a large bowl, whisk together the 2 cups flour, 1 tbsp baking powder, 1/2 tsp baking soda, 1/2 tsp salt, and 1 tbsp sugar if using. Drop in the 6 tbsp cold butter cubes.
Use a pastry cutter or your fingertips to rub the butter into the flour until the mixture looks like coarse meal dotted with some pea-sized butter bits, about 3 minutes. The bowl should feel cold to the touch, and you should still see flecks of butter throughout. Those are the pockets that will steam and lift the layers as the biscuits bake.
Step 2: Stir in the Buttermilk
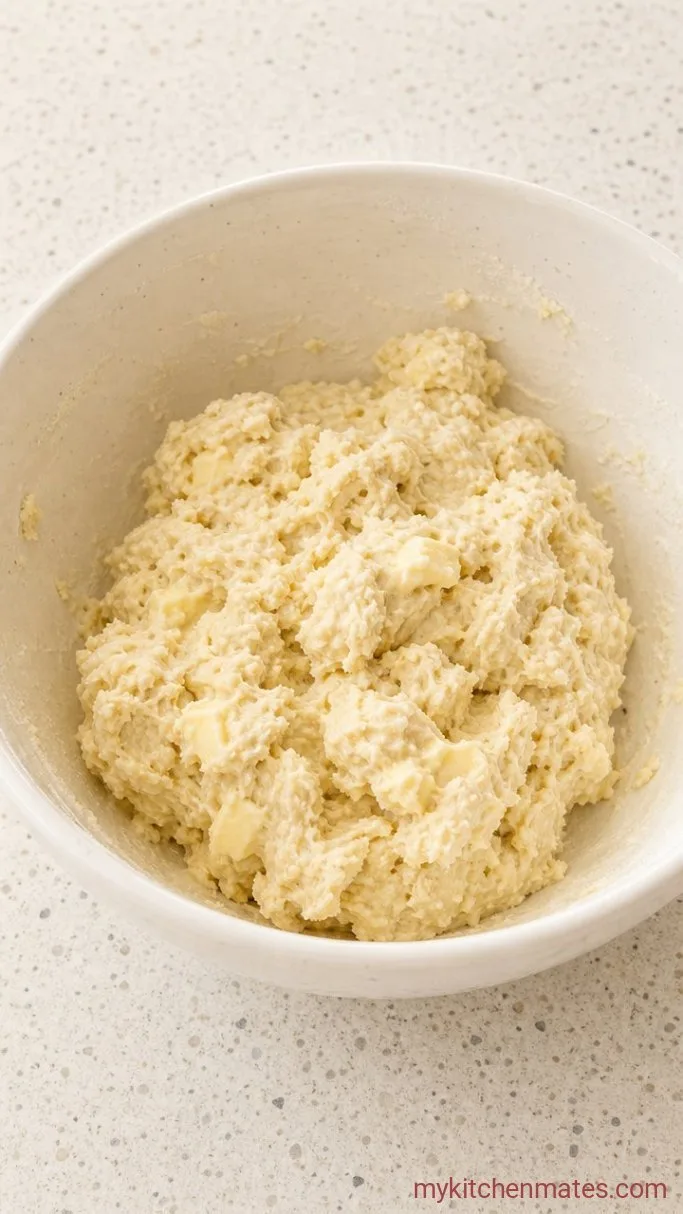
Pour the 3/4 cup cold buttermilk over the flour mixture and stir with a fork just until a shaggy dough forms, about 30 seconds. It will look a bit rough and damp, not smooth.
If the dough is too dry to hold together when pressed, drizzle in another tablespoon of buttermilk. Fight the urge to knead. Overworking gluten free dough traps the steam and makes the crumb dense instead of layered.
Step 3: Shape the Dough

Scrape the dough onto a surface dusted lightly with more gluten free flour. Pat it into a rectangle about 1 inch thick, then fold it in half. Pat out to 1 inch again, and repeat the folding and patting 3 times total. This simple motion stacks countless thin layers of butter and flour.
After the final fold, pat the dough to a gentle 3/4 inch thickness. Dip a 2.5-inch round biscuit cutter in flour and press straight down without twisting. Twisting seals the cut edge and keeps the biscuits from rising tall. Gather the scraps, press them together lightly, and cut a couple more rounds. You should get about 8 biscuits. Place them on a parchment-lined baking sheet with their sides touching for softer, taller sides, or spaced apart for crisper edges.
Step 4: Bake Until Golden
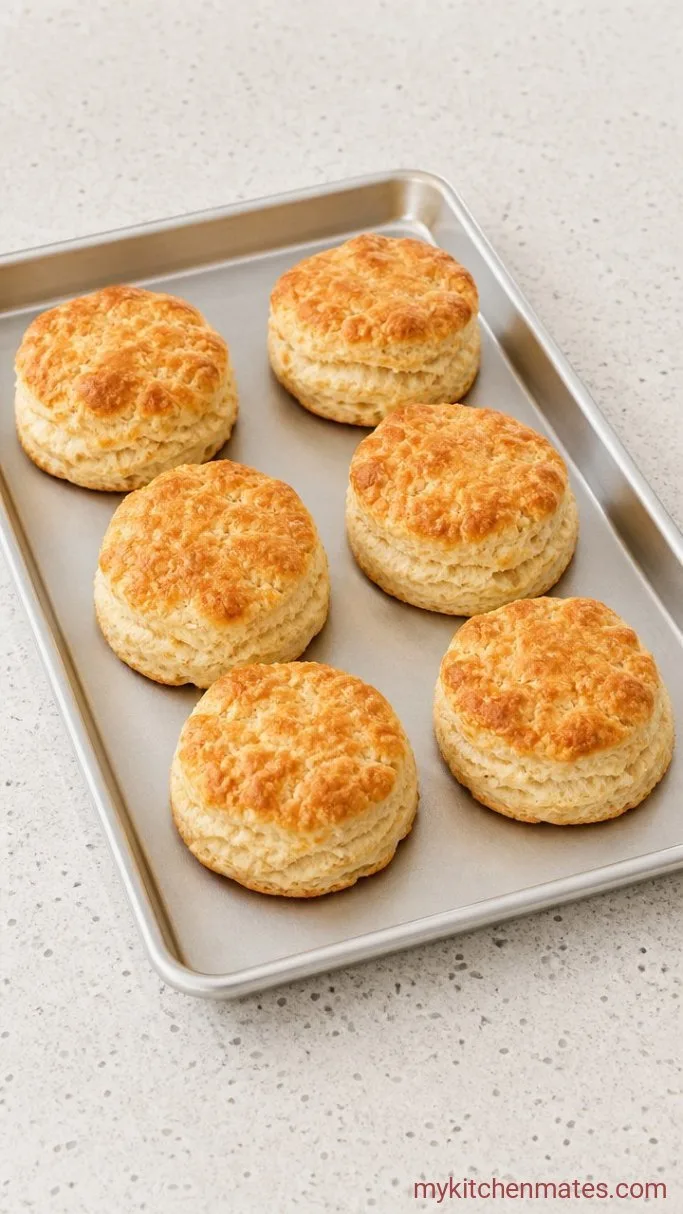
Slide the tray into the hot oven and bake for 12 to 15 minutes. The tops will turn a deep golden brown, and the biscuits will feel firm when you tap one with a fingertip. Rotate the pan halfway through so they brown evenly.
You will know they are close when the kitchen fills with a buttery, toasty smell. The biscuits will look puffed and slightly cracked where the layers opened up.
Step 5: Brush with Butter and Serve

As soon as the pan comes out of the oven, brush the hot biscuit tops with a little melted butter. Let them rest on the sheet for 5 minutes so the crumb sets, then transfer to a rack or plate.
Split one open while it is still warm, and watch the steam escape from all those flaky ribbons. These are at their absolute best the day you make them, split and buttered straight off the counter.
A Few Notes for Flaky Biscuits
- Weigh the flour if you can: Cup-for-cup blends vary in density, and too much flour makes dry biscuits. If your package lists a weight per cup, use that (often 148g per cup). If not, spoon the flour into the cup and level it gently.
- Keep everything cold: If the kitchen is warm, pop the butter and buttermilk back in the fridge until you need them. Cold fat is what steams those layers apart, and softened butter will just melt into the dough.
- Freeze unbaked biscuits: Cut out the rounds and freeze them solid on the sheet, then transfer to a freezer bag. Bake straight from frozen, adding 2 to 3 extra minutes to the bake time. No need to thaw.
Storing and Reheating
Keep leftover biscuits in an airtight container at room temperature for up to 2 days, or refrigerate them if you need a few more days. To bring back the crisp edges, warm them in a 350°F oven for 5 to 7 minutes. A quick split and toast in a dry skillet also works well for a single biscuit. They are not as flaky cold from the fridge, so a gentle reheat is worth the few minutes.
What Goes Well With These Biscuits
A bowl of creamy tomato soup or a ladle of chicken pot pie filling spooned over a split biscuit turns them into a meal. The biscuits soak up the broth without falling apart. For a quick breakfast, split one and layer on a fried egg and a slice of crispy bacon while everything is still hot.
Frequently Asked Questions
Can I use a single-ingredient flour like almond flour?
No. This recipe depends on a gluten free all-purpose blend that contains a binder like xanthan gum or psyllium. Nut or coconut flours on their own will not hold the layers together and the texture will be crumbly and dry.
My dough is sticky and hard to handle. What went wrong?
Different flour blends absorb moisture differently. Dust your hands and the work surface with a little extra flour, but add it sparingly. Piling on too much extra flour can make the biscuits tough.
Do I need a pastry cutter, or can I use my hands?
Your fingertips work just as well. The trick is to work quickly so the heat from your hands does not melt the butter. If your fingers start to feel greasy, pause and chill the bowl for a few minutes before continuing.
Can I add an egg for more structure?
You can. If you like a slightly cakier biscuit, whisk one large egg into the buttermilk before adding it to the dry ingredients. The biscuits will still rise but the crumb will be tighter and less layered.
Gluten Free Biscuits Recipe
Ingredients
Method
- Preheat oven to 425°F (220°C). Whisk flour, baking powder, baking soda, salt, and sugar. Work cold butter into the flour with a pastry cutter or fingertips until coarse crumbs form.
- Stir in buttermilk with a fork until a shaggy dough comes together. Add another tablespoon if it seems dry.
- Turn dough onto a floured surface, pat to 1 inch thick, fold, and repeat 3 times. Pat to 3/4 inch thickness, cut 8 rounds without twisting the cutter, and place on a parchment-lined sheet.
- Bake 12 to 15 minutes until deep golden on top and firm when tapped.
- Brush hot biscuits with melted butter and cool on the sheet for 5 minutes before serving warm.
Notes
