
3-Ingredient No-Churn Yogurt Ice Cream

Yogurt ice cream is what you make when you want a frozen treat without pulling out a machine or standing over the stove. It turns three pantry staples into a creamy, tangy scoop that rivals any soft serve.
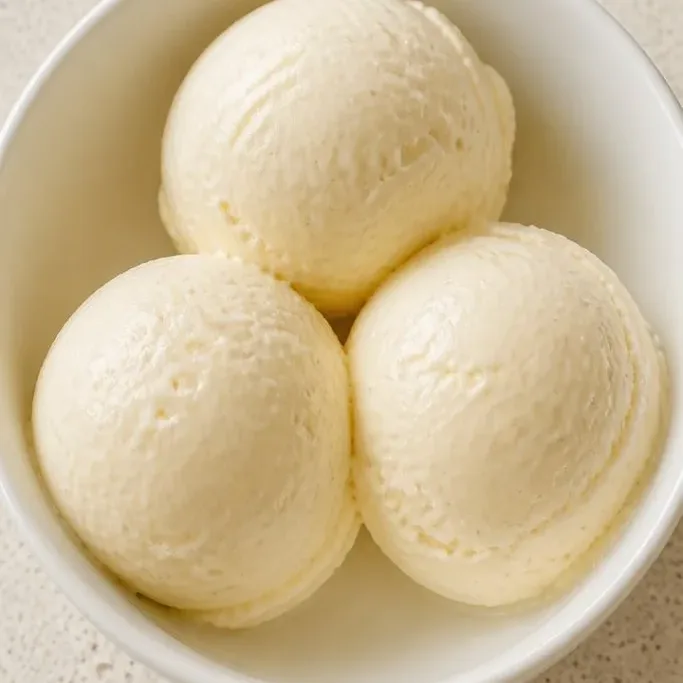
The base takes five minutes to mix, then your freezer does the rest. You get a dessert that tastes fresh and bright, with a texture that stays smooth instead of turning icy.
What Makes This Frozen Yogurt So Good
The sweetened condensed milk does the heavy lifting. It sweetens the mix and keeps the ice cream soft and scoopable straight from the freezer, so you never have to churn it.
The yogurt brings a clean, tangy finish that cuts through the sweetness. Using full fat yogurt gives it a rich mouthfeel, but even with a lighter yogurt it still works better than most no churn recipes I have tried.
I love that this is a blank canvas. It is good plain with a drizzle of honey, or you can swirl in fruit or crushed cookies before freezing and call it a new dessert.
Ingredients
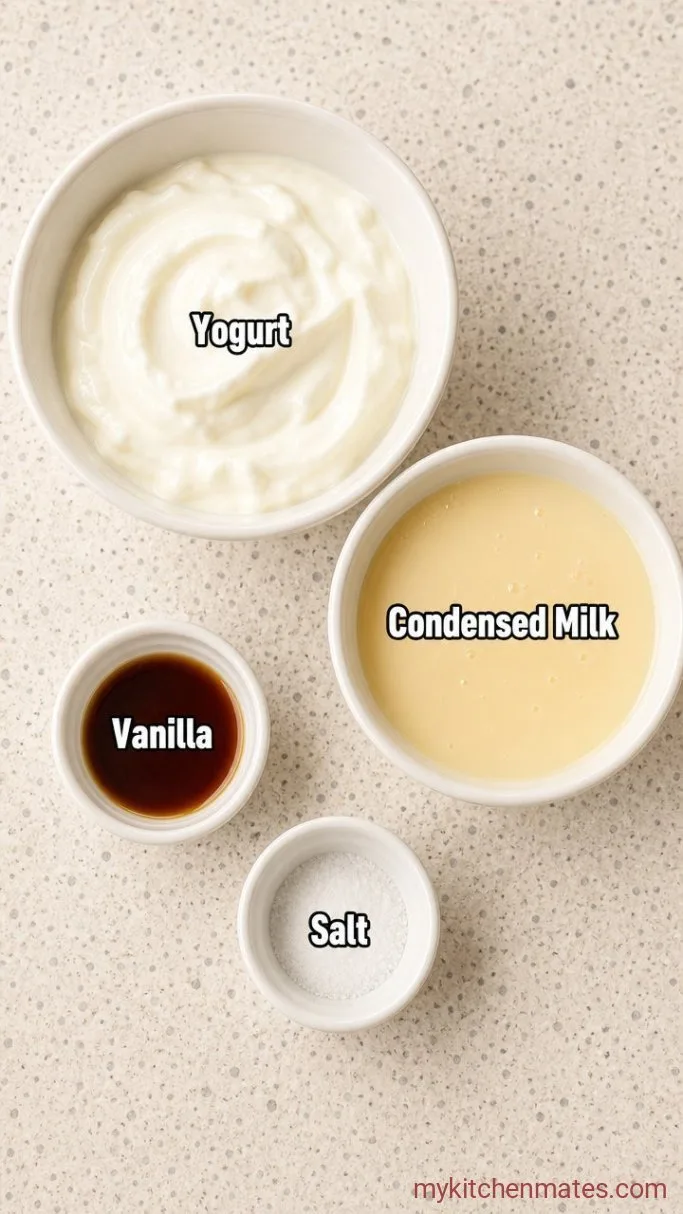
- 2 cups full fat plain yogurt: Greek or regular, but full fat gives the creamiest texture; do not use fat free
- 1 can (14 oz) sweetened condensed milk: the whole can, no substitutes for the same texture
- 1 tsp vanilla extract: use the real stuff if you have it
- Pinch of salt: optional, but it wakes up the tang
Variations / Substitutions
- Dairy free: use a thick coconut yogurt and a can of sweetened condensed coconut milk; the texture will be a little icier but still creamy
- Fruit swirl: fold in ½ cup of chunky strawberry or raspberry jam after mixing the base for ribbons of fruit
- Chocolate version: whisk ¼ cup cocoa powder into the condensed milk before adding the yogurt; taste and add an extra tablespoon of condensed milk if it needs more sweetness
- Citrus: replace vanilla with 1 tsp lemon or orange zest and a squeeze of juice for a bright, sherbet like flavor
Chewy, Gooey Dark Chocolate Chip Cookies are next on our list if this ice cream is your kind of dessert.
How to Make Yogurt Ice Cream
Step 1: Mix the Base
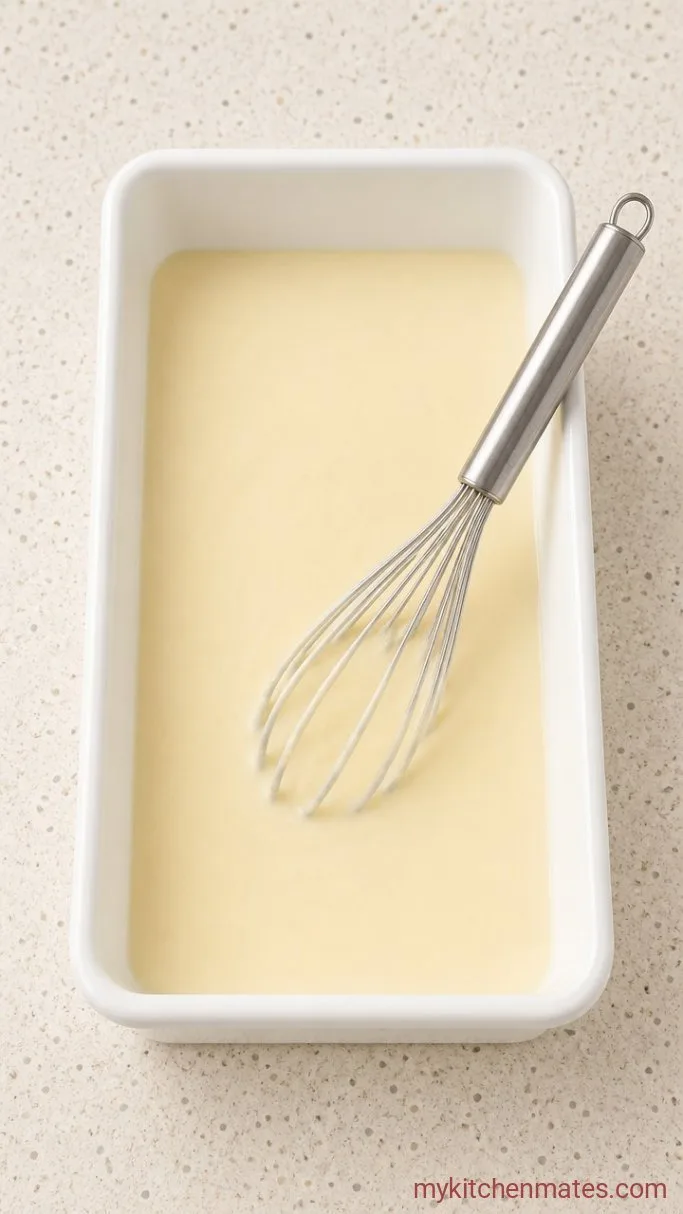
Whisk the full can of sweetened condensed milk and the 1 tsp vanilla extract together in a large bowl for about 1 minute, until completely smooth. You are just loosening the condensed milk so the yogurt folds in evenly.
Add the 2 cups of yogurt and the pinch of salt, then use a spatula to fold gently until the color is uniform and no white streaks of condensed milk remain. Stop as soon as it is combined; overmixing can thin the mixture and lead to an icier final texture. The base should be thick, glossy, and taste exactly the way you want the ice cream to taste, so take a small spoonful now and adjust if needed.
Step 2: Pour and Freeze Until Firm
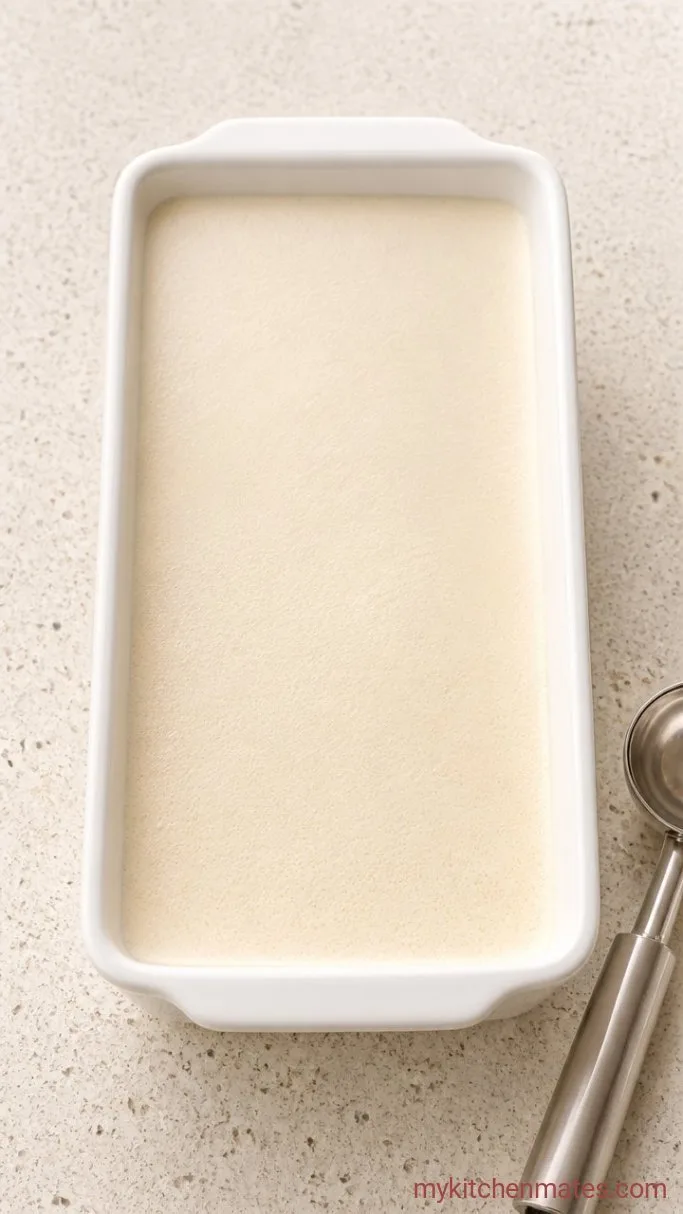
Scrape the mixture into a loaf pan or any freezer safe container with a lid. Smooth the top flat with your spatula so it freezes evenly, then press a piece of plastic wrap directly onto the surface to stop ice crystals from forming. Cover with the lid or a second layer of wrap and place the pan on a level shelf in the freezer.
Freeze for at least 6 hours, until the center is completely firm. Overnight is even better. The mixture will turn from a thick liquid into a solid block, and the plastic wrap will come away clean when you lift it.
Step 3: Scoop and Serve
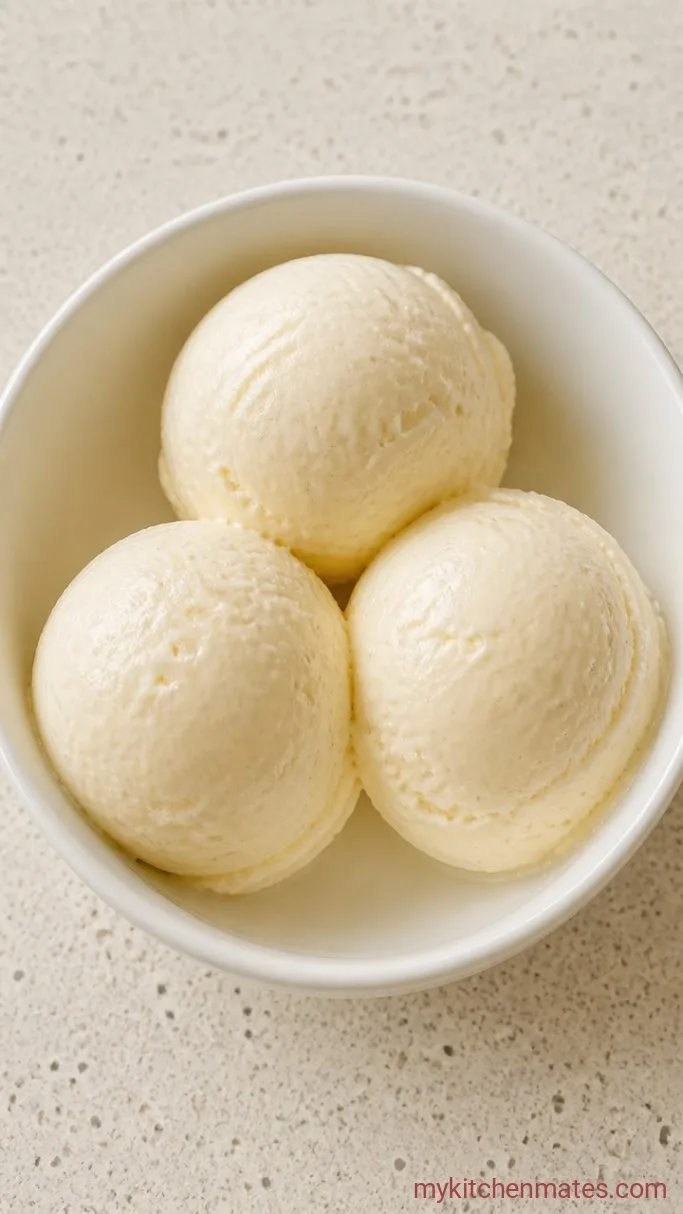
Remove the pan from the freezer and pull off the plastic wrap. If the ice cream is too hard to scoop right away, let it sit on the counter for 5 to 10 minutes. Run your ice cream scoop under hot water between each scoop for clean, round balls.
Serve in chilled bowls on its own, or top with fresh berries and a light drizzle of honey. The texture will be smooth and dense, with a tang that lingers after each bite.
Tips for the Best Texture
- Really use full fat yogurt. Reduced fat versions carry more water, and that water turns to ice crystals as it freezes, leaving you with a grainy texture.
- Do not skip the plastic wrap on the surface. Air is the enemy of creamy ice cream, and that direct contact barrier keeps the top from drying out.
- If you forget to let it soften, microwave the whole container for 10 second bursts until the edges just begin to melt. That gives you just enough give to scoop while the center stays cold.
- For a lighter, mousse like texture, fold in ½ cup of whipped cream right before freezing. The extra air makes it feel softer right out of the freezer.
Storing Leftovers
Keep the ice cream in its tightly covered container in the freezer for up to 2 weeks. Always press fresh plastic wrap against the surface after scooping to lock out air. After two weeks the texture starts to degrade and you may notice more ice flakes, but it is still safe to eat.
To serve leftovers, remove from the freezer about 10 minutes ahead. The second day scoop is often even creamier than the first.
Frequently Asked Questions
Can I use low fat or nonfat yogurt?
You can, but the ice cream will freeze much harder and taste watery. If low fat is all you have, add 2 tbsp of cream cheese to the condensed milk to help with creaminess.
How do I make this dairy free?
Use a thick canned coconut yogurt and sweetened condensed coconut milk. The flavor will have a slight coconut note, but it stays creamy and tangy. Check that the condensed coconut milk is full fat, not light.
My ice cream came out icy. What went wrong?
Overmixing the base or using yogurt with a high water content are the two most common causes. Next time, fold just until combined and stick to full fat yogurt.
Can I add fresh fruit instead of jam?
Yes, but cook fresh fruit down into a thick puree first to remove excess water. Raw fruit releases liquid as it freezes and creates icy pockets. Swirl in about ½ cup of cooled fruit puree after the base is mixed.
Yogurt Ice Cream Recipe
Ingredients
Method
- Whisk condensed milk and vanilla in a large bowl until smooth, about 1 minute. Fold in yogurt and salt just until no streaks remain.
- Pour into a loaf pan, smooth the top, press plastic wrap onto the surface, cover, and freeze at least 6 hours until firm.
- Let sit at room temperature 5 to 10 minutes, then scoop and serve.
Notes
