
Soft and Buttery Sourdough Dinner Rolls

These rolls have a feathery crumb and a thin, pull-apart crust that crackles just a little when you tear one open. They take some planning because the rise is slow, but the hands-on work is straightforward and the tangy, buttery payoff makes them worth it.
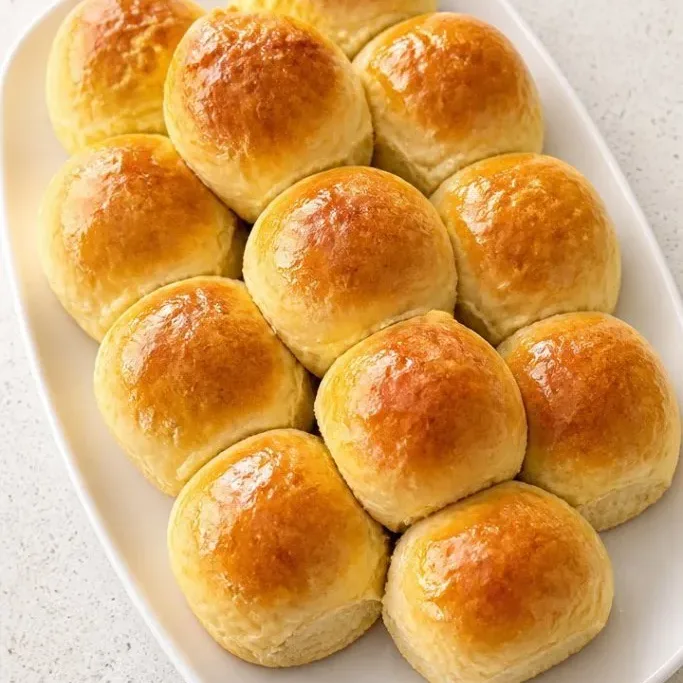
Why These Rolls Work
The all-butter dough gives them a rich, soft texture that stays tender for a couple of days. A long, cool bulk rise lets the wild yeast build flavor gradually, so the sourness is mellow rather than sharp.
Using bread flour adds enough strength to hold air, which means that fluffy interior you want in a dinner roll. Active starter, not discard, powers the rise reliably every time.
Ingredients
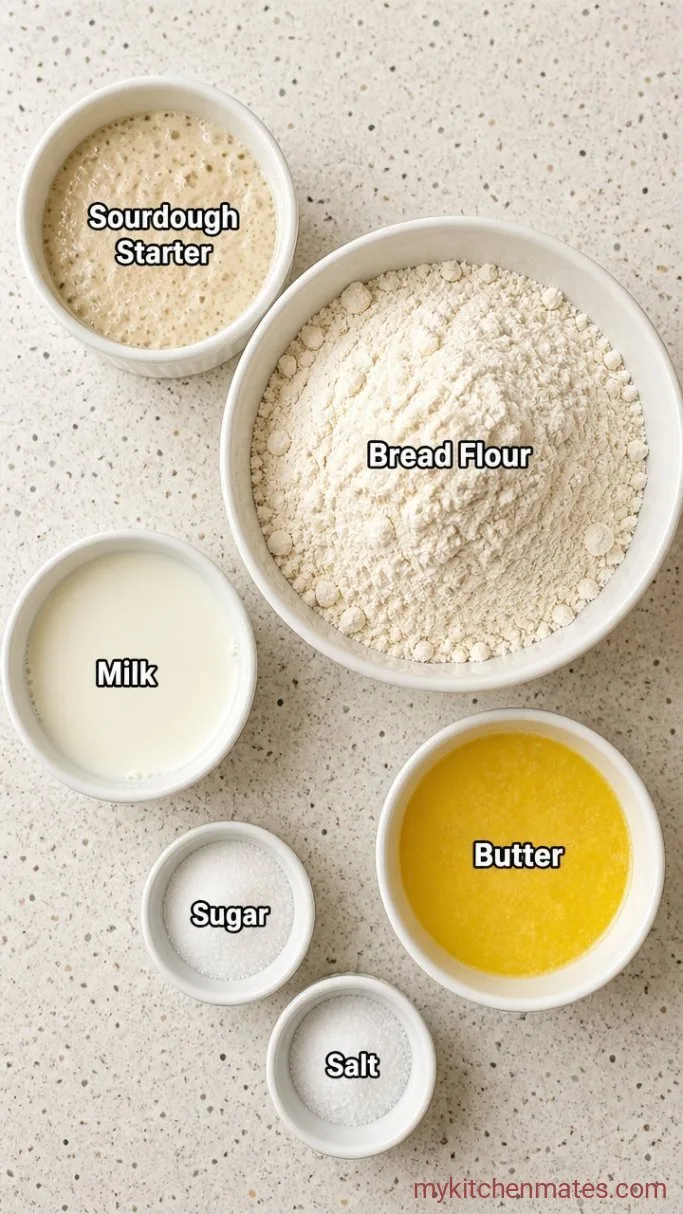
- 100 g (½ cup) active sourdough starter, 100% hydration: bubbly and just past its peak, so it has plenty of lift
- 360 g (3 cups) bread flour: gives structure for a light crumb; all-purpose works but yields a slightly softer roll
- 120 ml (½ cup) whole milk, lukewarm: enriches the dough and keeps the crumb tender
- 85 g (6 tbsp) unsalted butter, melted and cooled slightly: for softness and a buttery flavor
- 2 tbsp granulated sugar: a touch of sweetness to balance the tang
- 1½ tsp fine sea salt
Variations / Substitutions
- Whole wheat: Swap up to half the bread flour with whole wheat flour. Add an extra 1 to 2 tbsp milk to account for the coarser texture.
- Discard starter: You can use discard for a more pronounced tang, but the rise will be slower. Leave at least 5 to 6 hours for bulk fermentation and expect a slightly denser roll.
- Herb and garlic: Add 1 tsp dried rosemary and 1 minced garlic clove to the melted butter before mixing. The savory notes pair well with soups and roasts.
- Cheesy rolls: Fold ½ cup of grated sharp cheddar into the dough during the last minute of kneading. The cheese melts into the crumb as they bake.
Creamy Tomato Florentine Soup is a cozy soup to serve with these dinner rolls.
How to Make Sourdough Dinner Rolls
Step 1: Mix and Knead the Dough
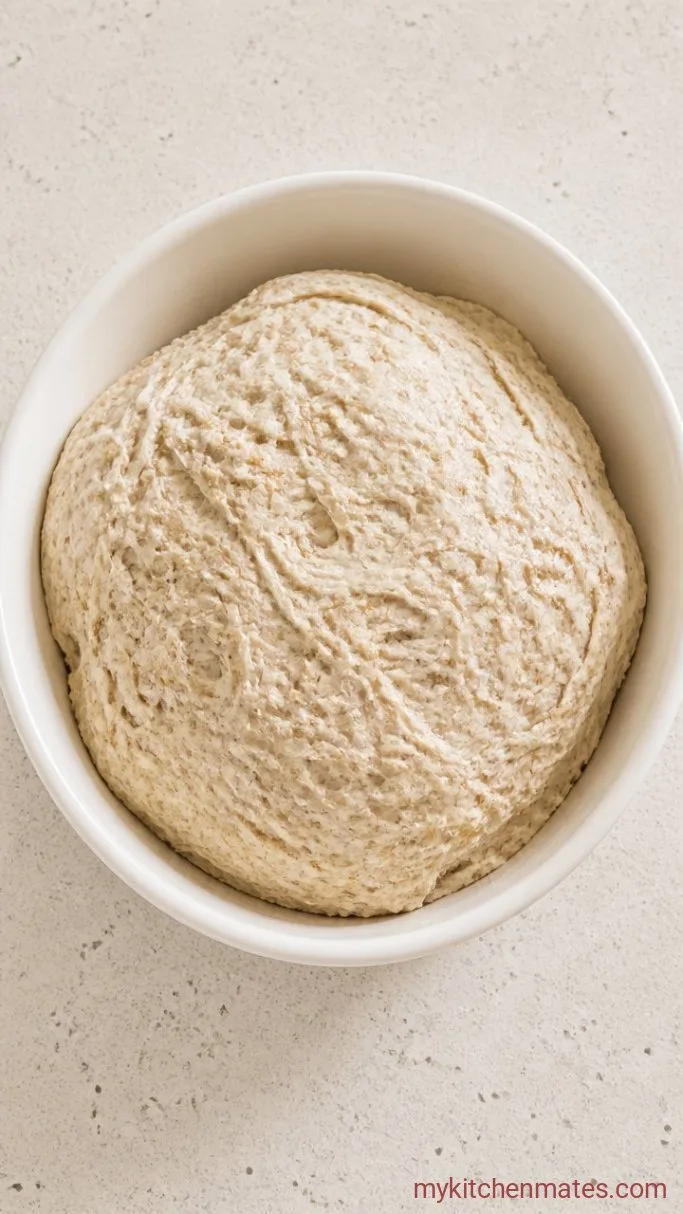
In a large bowl, whisk together the flour, sugar, and salt. Make a well in the center, then pour in the starter, lukewarm milk, and melted butter. Stir with a wooden spoon until a shaggy dough forms. Turn the dough out onto a clean counter and knead for 8 to 10 minutes, until it becomes smooth and springs back when you poke it.
The dough will start a little sticky, but it should become supple and only slightly tacky as you work it. If it feels too dry after the first few minutes, wet your hands lightly, not the dough, and keep kneading.
Step 2: Stretch and Fold the Dough
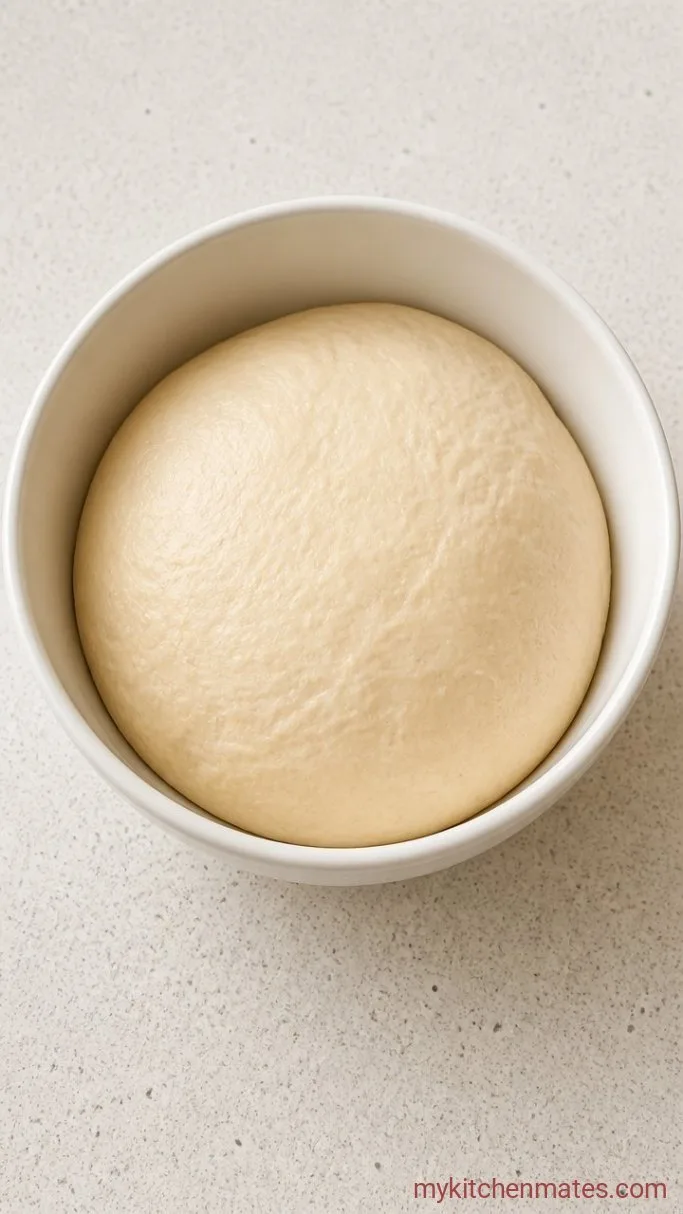
Place the dough in a lightly buttered bowl, cover with a clean kitchen towel, and let it rest for 30 minutes at room temperature. After that rest, perform one set of stretch and folds: grab a corner of the dough, pull it up gently without tearing, and fold it over the center. Rotate the bowl and repeat three more times, covering the dough again after the fold.
This single fold builds strength and traps air, giving the rolls a better rise later. The dough will feel elastic and slightly puffy by the time you are done. Leave it to bulk ferment at room temperature for 4 to 5 hours, until nearly doubled and full of small bubbles visible through the surface.
Step 3: Shape the Rolls
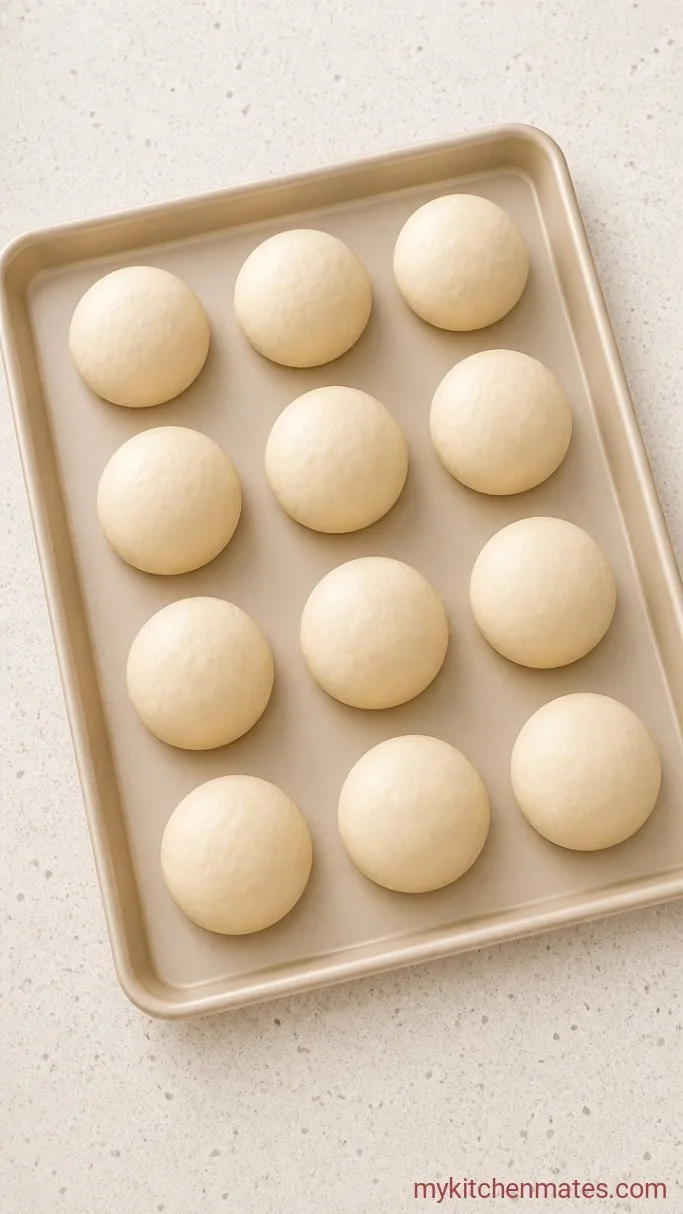
Butter a 9×13-inch (23×33 cm) baking pan or a large cast iron skillet. Gently deflate the dough onto a lightly floured surface and divide it into 12 equal pieces, each about 50 g. Shape each piece into a tight ball by cupping your palm over it and rolling in a circular motion on the counter.
Arrange the balls in the buttered pan with a little space between them. Cover loosely with a cloth and let them proof at room temperature for 2 to 3 hours, until they have doubled in size and look puffy and soft. When you press a roll lightly with your finger, the indentation should spring back slowly, not collapse.
Step 4: Bake the Rolls
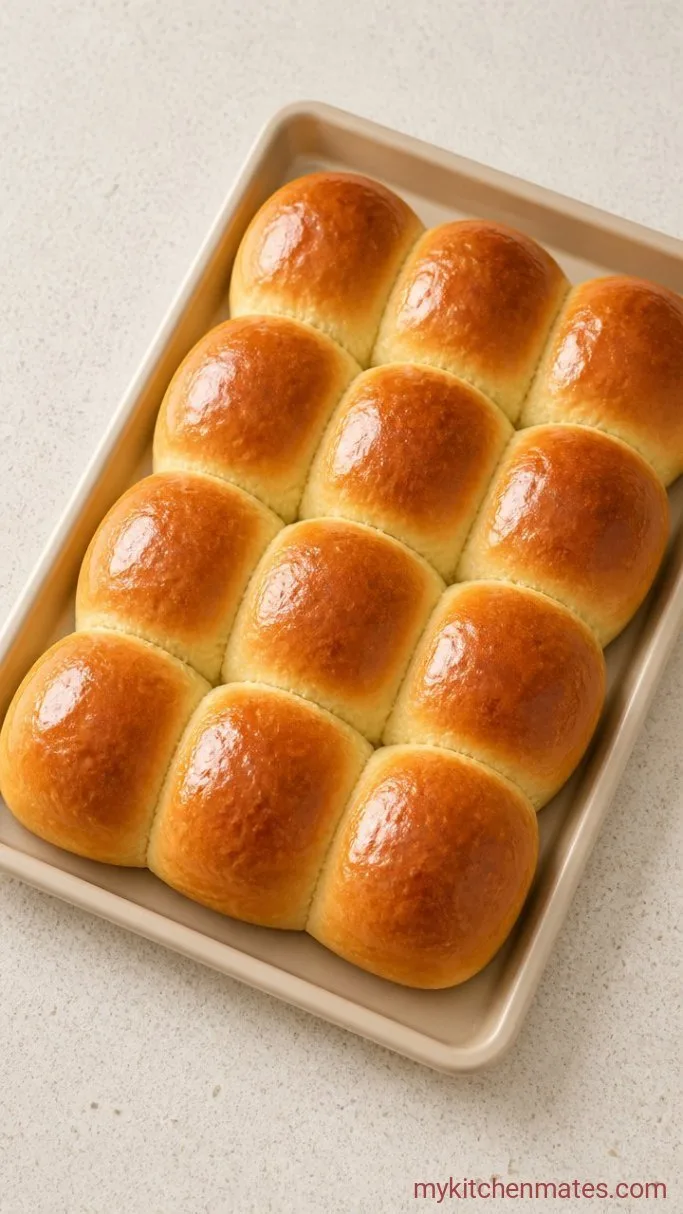
Preheat the oven to 375°F (190°C) about 20 minutes before the rolls are ready. Brush the tops gently with a little melted butter, then bake on the middle rack for 20 to 25 minutes, until the rolls are deeply golden on top and sound hollow when tapped on the bottom.
The kitchen will smell like warm butter and toasted flour. Rotate the pan halfway through if your oven has hot spots, so they brown evenly.
Step 5: Brush with Butter and Serve

Pull the pan from the oven and immediately brush the tops with more melted butter while the rolls are still hot. Let them cool in the pan for 5 to 10 minutes, then pull them apart and serve warm.
The steam rising from the first torn roll carries that mild, creamy tang. A little extra butter melting into the crumb is never a bad idea.
A Few Notes Before You Start
- Weighing ingredients: A kitchen scale makes this dough much more consistent because starter hydration and flour packing vary. If you use cups, spoon the flour into the cup and level it.
- Starter readiness: The starter should pass the float test: drop a spoonful into water and it should bob on the surface. If it sinks, feed it and wait another hour.
- Avoid overproofing: In a warm kitchen, the shaped rolls may proof faster. Start checking at 1½ hours. Overproofed rolls will look puffy but will collapse in the oven and turn out flat.
- Leftover butter: Any extra melted butter from brushing can be kept in a small dish on the table for dipping.
Bake times by pan:
| Pan type | Size | Bake time at 375°F |
|---|---|---|
| Ceramic baking dish | 9×13 inches (23×33 cm) | 22 to 25 mins |
| Metal baking pan | 9×13 inches (23×33 cm) | 20 to 22 mins |
| Cast iron skillet | 10 to 12 inches (25 to 30 cm) | 22 to 25 mins |
Storing Leftovers
- Refrigerate: Keep leftover rolls in an airtight container at room temperature for up to 2 days, or in the fridge for up to 5 days. The crumb firms up in the fridge, so rewarm them before serving.
- Reheating: Wrap a roll in a damp paper towel and microwave for 15 to 20 seconds, or warm in a 300°F (150°C) oven for 5 to 7 minutes. The steam from the towel softens the crust.
- Freezing: Freeze fully cooled rolls in a sealed bag for up to 2 months. Thaw at room temperature and reheat as above.
What Goes Well With These Rolls
They are right at home next to a bowl of creamy tomato soup, where the tang of the bread echoes the acidity of the tomatoes. Braised short ribs or a slow-cooked pot roast also work because the rolls soak up the savory juices without falling apart. For a lighter meal, serve them with a crisp green salad dressed in a sharp vinaigrette.
Frequently Asked Questions
Can I use sourdough discard instead of active starter?
Yes, but the rise will be much slower. Add an hour or two to each proofing stage and expect a denser, more sour roll.
Why did my rolls come out dense?
The most common reason is an underproofed dough during the final rise. The rolls need to look visibly puffy and feel light to the touch before going into the oven.
Can I make the dough ahead and bake the next day?
After shaping, cover the pan tightly and place it in the fridge overnight. The next morning, let the rolls sit at room temperature for about an hour to take the chill off, then bake as directed.
What if I don’t have bread flour?
All-purpose flour works. The rolls will be a bit softer and less structured, but still tender and delicious.
Sourdough Dinner Rolls Recipe
Ingredients
Method
- In a large bowl, whisk together the flour, sugar, and salt. Make a well and add the starter, milk, and melted butter. Stir into a shaggy dough, then knead for 8 to 10 minutes until smooth and elastic.
- Place the dough in a buttered bowl, cover, and rest 30 minutes. Perform one set of stretch and folds, then let bulk ferment at room temperature for 4 to 5 hours until doubled.
- Butter a 9×13-inch pan. Deflate the dough, divide into 12 portions, and shape into tight balls. Arrange in the pan, cover, and proof for 2 to 3 hours until doubled and puffy.
- Preheat oven to 375°F (190°C). Brush tops with melted butter and bake for 20 to 25 minutes, until deeply golden and hollow sounding when tapped.
- Brush hot rolls with more butter, cool in the pan for 5 to 10 minutes, then pull apart and serve warm.
Notes
