
Crispy Dairy-Free Waffles That Taste Like the Real Thing

These waffles hit that sweet spot: crisp edges, soft middle, and absolutely no dairy. You only need one bowl, a handful of pantry staples, and a hot waffle iron.

The batter comes together in minutes, and the waffles freeze like a dream for weekday mornings. Even the most devoted butter lover will reach for a second one.
Why These Waffles Work
The trick is a full ¼ cup of oil in the batter, which replaces the butter fat and helps the outside turn shatteringly crisp while the inside stays tender. A splash of apple cider vinegar reacts with the baking powder to give them real lift, so they never turn out dense or gummy.
I have made these so many times I could do it with my eyes closed, and they always deliver. No weird egg substitutes, no finicky techniques, just straightforward waffles that happen to be dairy free.
Ingredients
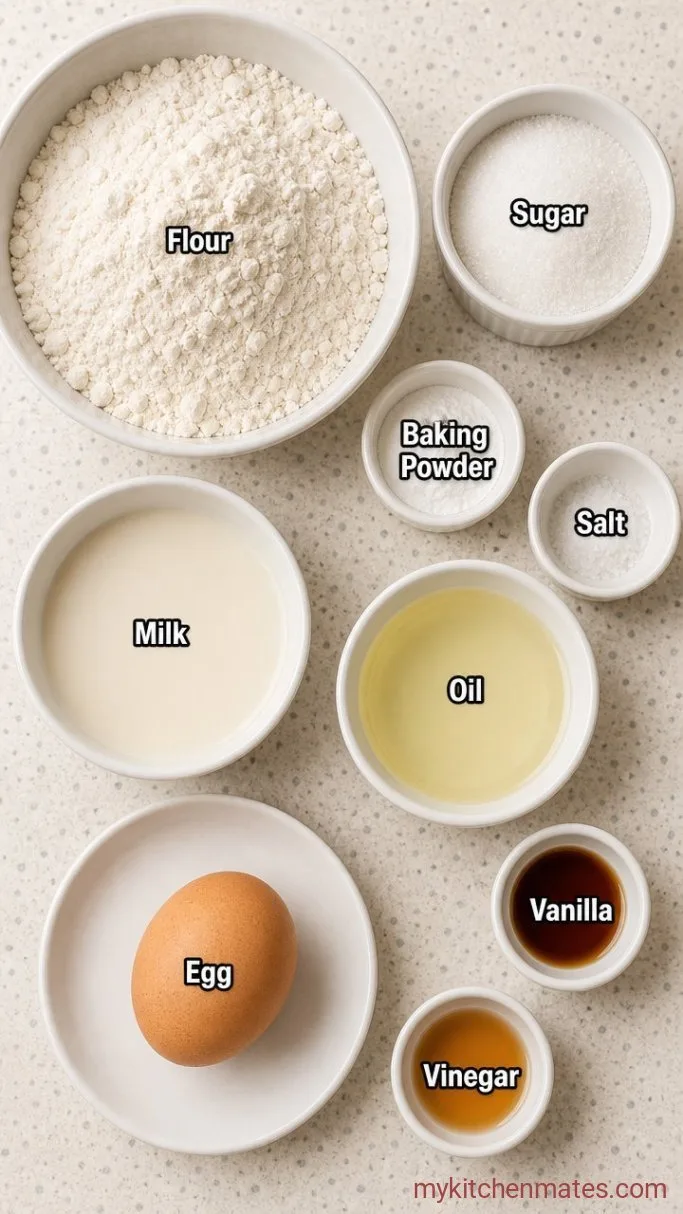
- 1 ½ cups all-purpose flour: spoon and level it to avoid heavy waffles
- 2 tbsp granulated sugar: enough to help browning, not so much they taste sweet
- 1 tbsp baking powder: this is the engine, do not skip it
- ½ tsp fine sea salt: balances the whole batter
- 1 ¼ cups unsweetened dairy-free milk: oat or almond milk both work great
- ¼ cup neutral vegetable oil: or mild olive oil, melted coconut oil, or avocado oil
- 1 large egg: brings structure and richness
- 1 tsp pure vanilla extract: rounds out the flavor
- 1 tsp apple cider vinegar: the secret to a fluffier crumb
Variations and Substitutions
- Gluten free: swap the flour for a 1:1 gluten-free blend that contains xanthan gum
- Egg free: replace the egg with a flax egg (1 tbsp ground flaxseed whisked with 2 ½ tbsp water, let sit 5 minutes)
- Whole wheat: use up to half whole wheat pastry flour for a nuttier taste, but keep the other half all-purpose for lightness
- Darker waffles: swap the sugar for coconut sugar and use brown rice syrup or maple syrup in place of the vanilla (reduce milk by 1 tbsp)
Gluten-Free Dairy-Free Banana Bread makes a lovely treat to go with these waffles.
How to Make Dairy-Free Waffles
Step 1: Mix the Dry Ingredients
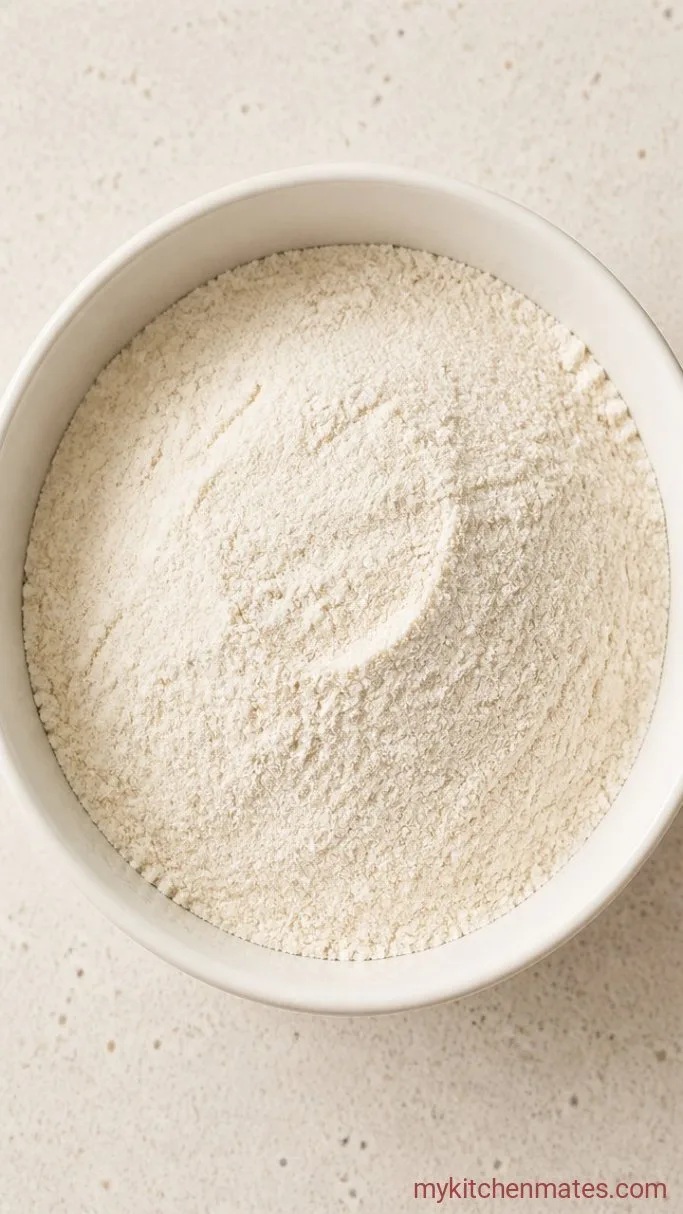
Whisk the 1 ½ cups flour, 2 tbsp sugar, 1 tbsp baking powder, and ½ tsp salt in a large bowl until fluffy. Spend about 20 seconds on this so the baking powder disperses evenly, otherwise you will end up with uneven rise.
The mixture should look light and uniform. If you see any baking powder lumps, just break them up with your fingers.
Step 2: Whisk the Wet Ingredients
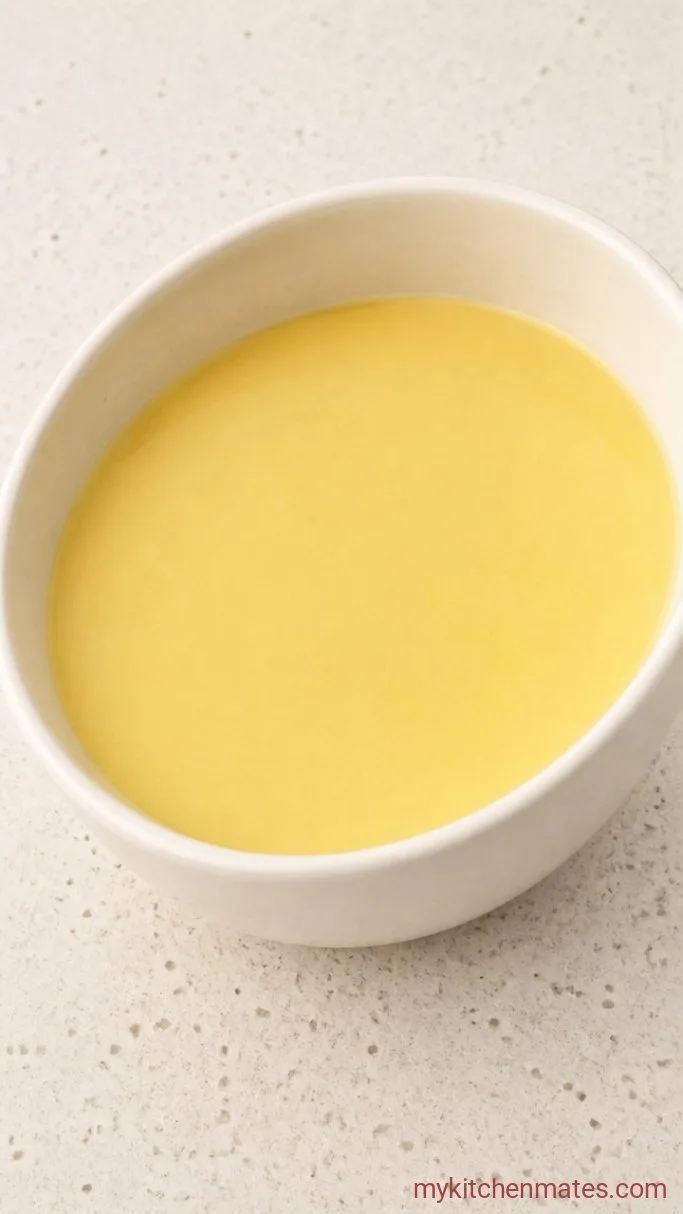
In a separate bowl or a large measuring cup, pour in the 1 ¼ cups dairy-free milk, ¼ cup oil, the egg, 1 tsp vanilla, and 1 tsp apple cider vinegar. Whisk until the oil is fully emulsified, which takes about 30 seconds.
You will notice the milk looks slightly curdled from the vinegar. That is exactly what you want because it mimics buttermilk and helps the batter rise.
Step 3: Stir the Batter Together
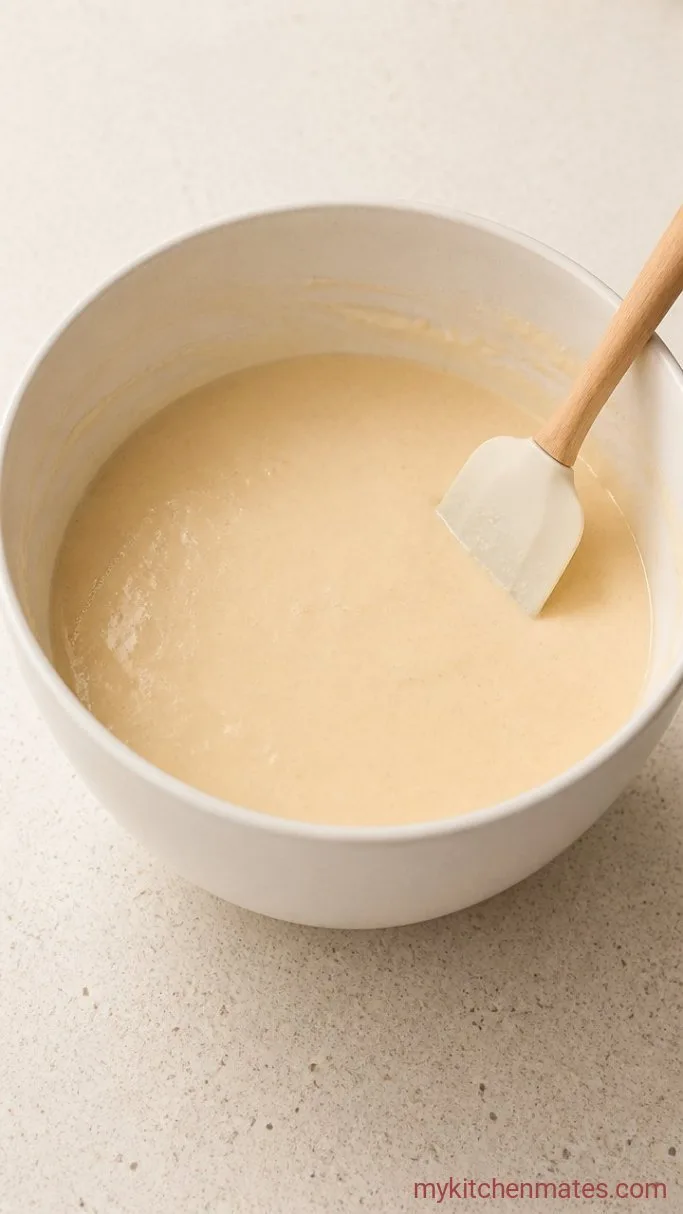
Pour the wet mixture into the bowl of dry ingredients. Stir gently with a silicone spatula just until no dry streaks remain, about 15 strokes. A few small lumps are fine, overmixing will make the waffles tough.
Let the batter sit on the counter for 5 minutes while you heat the waffle iron. This short rest hydrates the flour fully and sets you up for the crispiest edges. The batter will thicken slightly during this time.
Step 4: Cook the Waffles
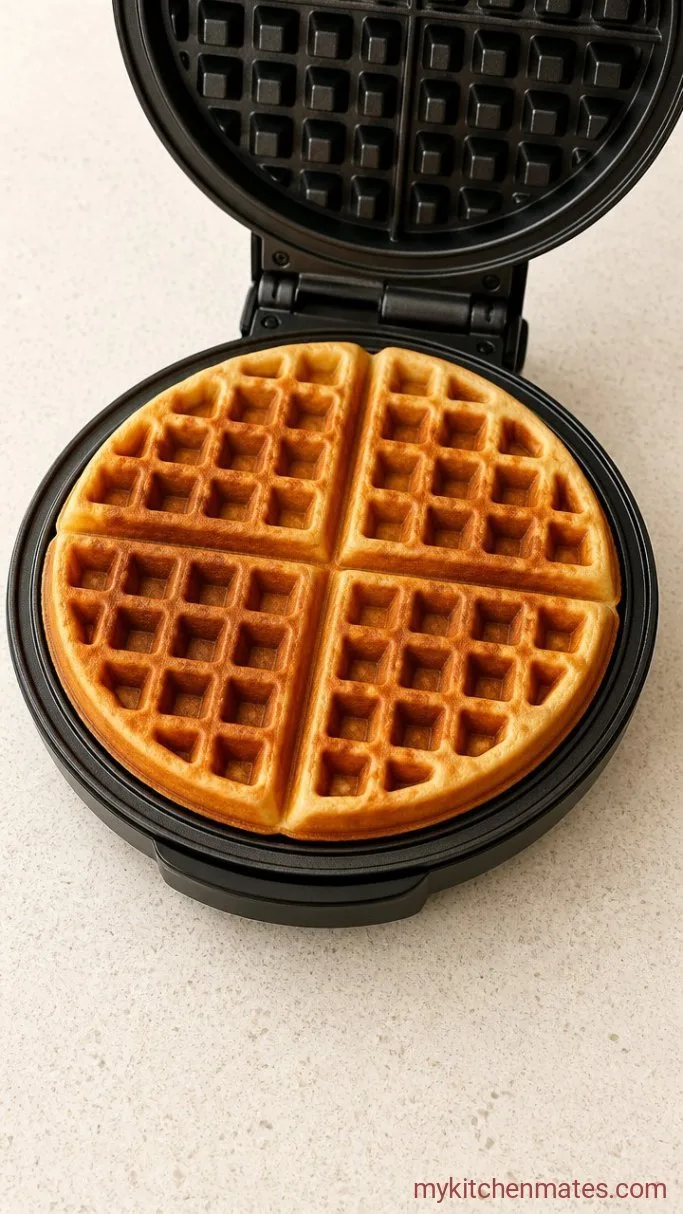
Plug in your waffle iron and let it heat until the indicator says it is ready. Lightly grease the plates with a spray of neutral oil or a quick brush of coconut oil, even if your iron is nonstick.
Ladle about ½ cup of batter (or the amount your iron calls for) into the center, close the lid, and cook until steam stops venting and the waffle is deep golden, around 4 to 5 minutes per batch. Use a fork or tongs to lift the waffle out and place it on a wire rack. If you stack them directly on a plate they will steam and lose their crunch, so keep them in a single layer.
Step 5: Serve Them Hot
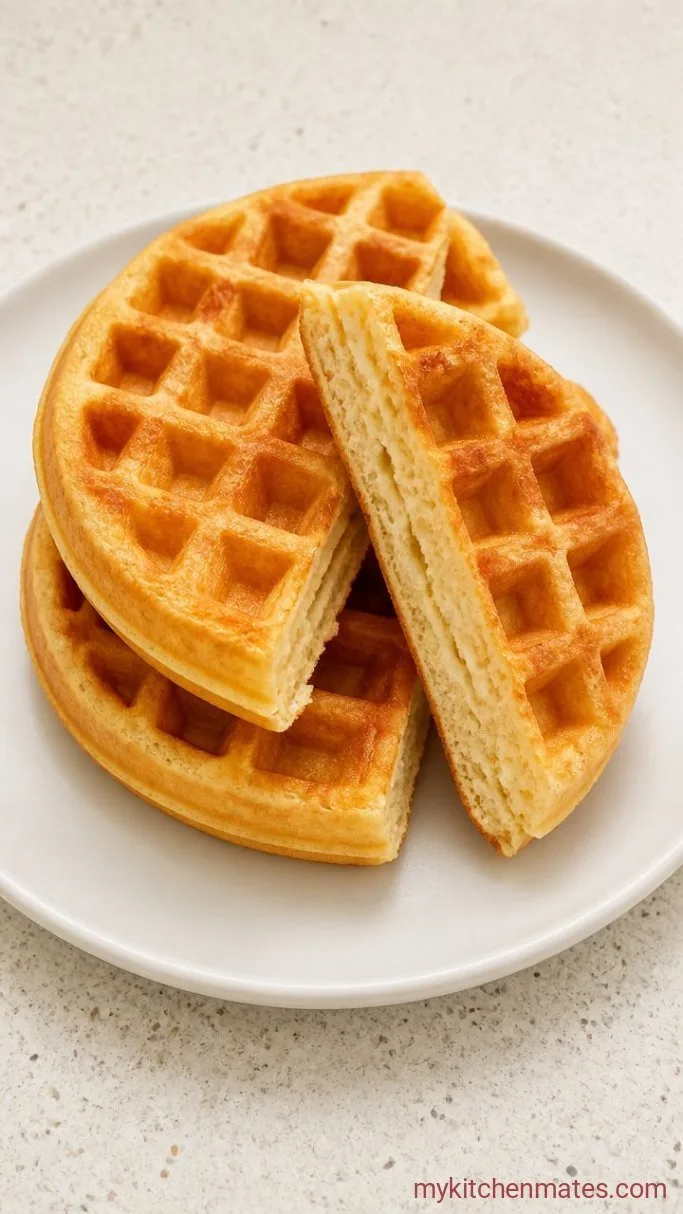
Add your cooked waffles to a 200°F oven on a rack to stay crisp while you finish the batch. Serve them hot with a pile of fresh berries, a drizzle of maple syrup, and a dusting of powdered sugar if you like.
The surface will be lacquered and crackly, and the inside pulls apart in soft strands. Eat right away while that contrast is at its peak.
A Few Notes Before You Start
- Make sure the waffle iron is fully preheated before the batter goes in. A lukewarm iron gives you pale, floppy waffles instead of crisp ones.
- For extra snap, leave each waffle in the iron for 30 seconds after the steam stops. That little bit of extra time drives off more moisture.
- Wipe the plates with a dry paper towel between batches to catch any stray crumbs so they do not burn and stick to the next waffle.
Need more? Double the recipe easily:
| Single Batch | Double Batch |
|---|---|
| 1 ½ cups flour | 3 cups flour |
| 2 tbsp sugar | 4 tbsp sugar |
| 1 tbsp baking powder | 2 tbsp baking powder |
| ½ tsp salt | 1 tsp salt |
| 1 ¼ cups dairy-free milk | 2 ½ cups dairy-free milk |
| ¼ cup oil | ½ cup oil |
| 1 large egg | 2 large eggs |
| 1 tsp vanilla extract | 2 tsp vanilla extract |
| 1 tsp apple cider vinegar | 2 tsp apple cider vinegar |
Storing and Reheating Leftovers
- Refrigerate: Cool waffles completely, then stack them with parchment paper between each one and store in an airtight container for up to 3 days.
- Freeze: Place cooled waffles in a single layer on a baking sheet and freeze until solid, then transfer to a freezer bag for up to 3 months.
- Reheat: Pop them straight from the fridge or freezer into a toaster or a 375°F oven for 5 to 7 minutes until hot and crisp again. A microwave will make them soggy, so skip it.
What to Serve with Dairy-Free Waffles
A pile of mixed berries is an obvious win, but warm cooked apples with a pinch of cinnamon are even better in fall. For a savory direction, top a waffle with a fried egg and a spoonful of dairy-free pesto. The yolk runs into all the little pockets and the pesto adds a bright, herby kick.
Frequently Asked Questions
Can I make these gluten free?
Yes. Use a 1:1 gluten-free flour blend that contains xanthan gum and let the batter rest for 10 minutes instead of 5 for the best texture.
Can I substitute water for the dairy-free milk?
I would not. Milk contributes fat and a subtle richness that water cannot replicate. If you are in a pinch, thin full-fat coconut milk with a few tablespoons of water, but plain water will give you flatter, less flavorful waffles.
How do I keep my waffles from sticking?
Even nonstick plates need a little help. Lightly grease the iron with a spray or a paper towel dipped in oil before the first waffle, and again between batches if you notice any pulling.
Can I make the batter the night before?
Yes. Stir it together, cover, and refrigerate overnight. In the morning, let it sit at room temperature for 10 minutes, give it a gentle stir, and proceed with cooking.
Dairy-Free Waffles Recipe
Ingredients
Method
- Whisk the flour, sugar, baking powder, and salt in a large bowl.
- In a separate bowl, whisk the dairy-free milk, oil, egg, vanilla, and vinegar until smooth.
- Pour the wet ingredients into the dry and stir gently just until combined. Let the batter rest for 5 minutes.
- Preheat a waffle iron, grease it lightly, and cook the batter in batches until deep golden and crisp, about 4 to 5 minutes per waffle.
- Keep waffles warm in a 200°F oven on a rack while you finish, then serve hot with your favorite toppings.
Notes
