
Quick Stovetop Apple Pie Filling

This stovetop apple pie filling turns fresh apples into a warm, spiced filling in under 30 minutes. It is all clean flavor, no corn syrup or tinny aftertaste. The apples stay tender but hold their shape, and the sauce thickens into a glossy, cinnamon-spiked syrup that tastes like the inside of the best bakery pie.

You control the sweetness and the spice. It is ready for pies, crisps, or a next-level bowl of oatmeal.
What Makes This Apple Pie Filling So Good
Using fresh apples and a quick stovetop method gives you a filling with real apple texture, not the soft, uniform paste you get from a can. The cooking time is short, so the fruit retains some bite and the spices stay bright.
A mix of granulated and brown sugar adds caramel-like depth without making the filling cloying. Cornstarch creates a clear, glossy sauce that clings to every apple slice instead of pooling into a watery mess at the bottom of the pie.
Ingredients

- 6 cups sliced peeled apples (about 6 medium): use a mix of tart and sweet, like Granny Smith and Honeycrisp
- 3/4 cup granulated sugar: adds clean sweetness and helps create the syrup
- 1/4 cup packed light brown sugar: for a hint of caramel flavor
- 2 tablespoons cornstarch: the thickener that keeps the sauce clear
- 1 teaspoon ground cinnamon
- 1/4 teaspoon ground nutmeg
- 1/4 teaspoon salt: brings out the apple flavor
- 2 tablespoons unsalted butter: for richness and a satiny finish
- 1 tablespoon fresh lemon juice: brightens the fruit and prevents browning
- 1/2 cup water: or apple cider for more depth
Variations / Substitutions
- Swap half the apples for firm pears: gives a softer, floral note without losing structure
- Use apple cider instead of water: deepens the apple flavor with a touch of tang
- Add a splash of vanilla extract right at the end: rounds out the sweetness
- For a thicker filling, increase cornstarch to 3 tablespoons: useful if your apples are especially juicy
- Dairy-free: replace the butter with an equal amount of vegan butter or refined coconut oil
No-Soggy-Bottom American Apple Pie is next on our list if this pie is your kind of dessert.
How to Make Stovetop Apple Pie Filling
Step 1: Slice the Apples
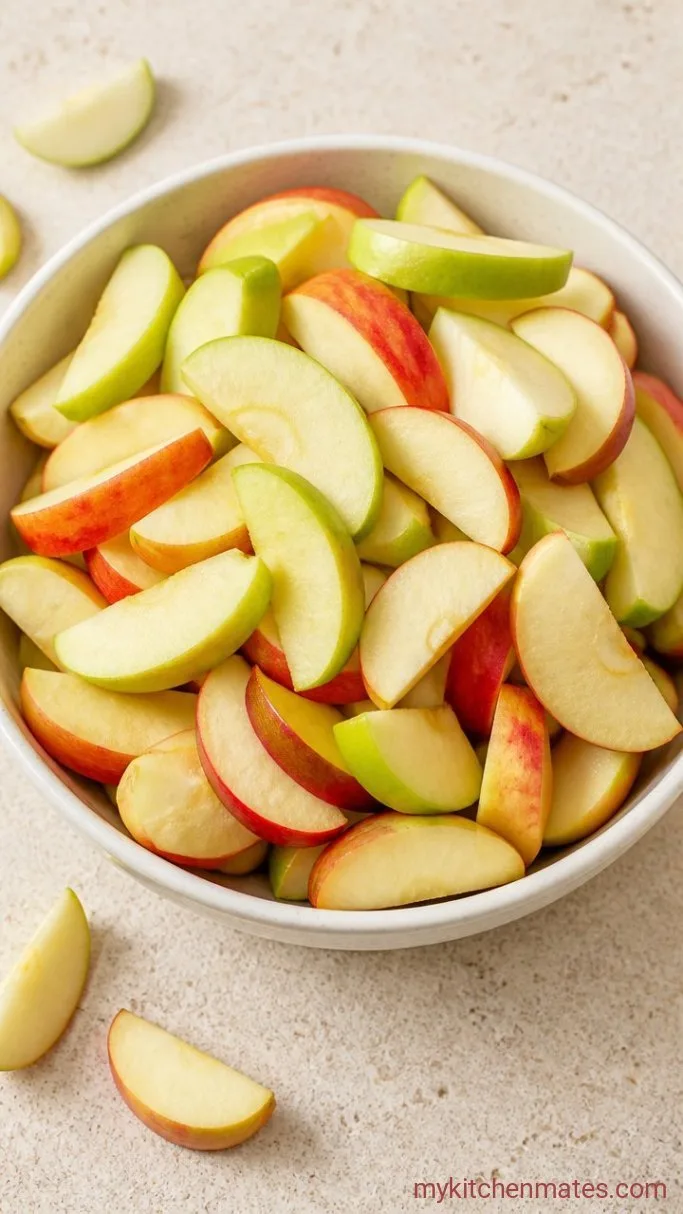
Peel, core, and slice the apples into 1/4-inch thick wedges, enough to make 6 cups. In a medium bowl, whisk together the 3/4 cup granulated sugar, 1/4 cup brown sugar, 2 tablespoons cornstarch, 1 teaspoon cinnamon, 1/4 teaspoon nutmeg, and 1/4 teaspoon salt. Set both aside.
Step 2: Simmer the Apples
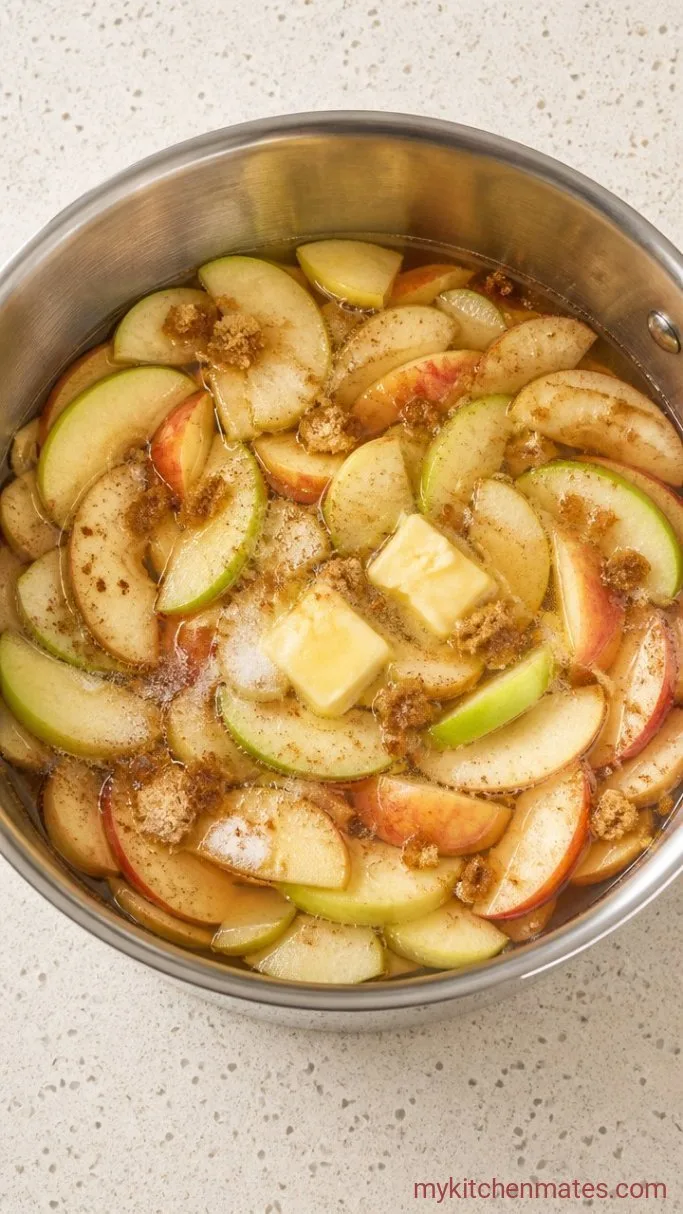
Melt the 2 tablespoons butter in a large skillet over medium heat. Add the sliced apples, 1/2 cup water, and 1 tablespoon lemon juice. Stir once or twice to combine, then sprinkle the sugar and cornstarch mixture over the apples, stirring until evenly coated. Bring to a gentle simmer and cook, stirring occasionally, until the apples release their juices and soften slightly, about 8 to 10 minutes.
Step 3: Thicken the Filling
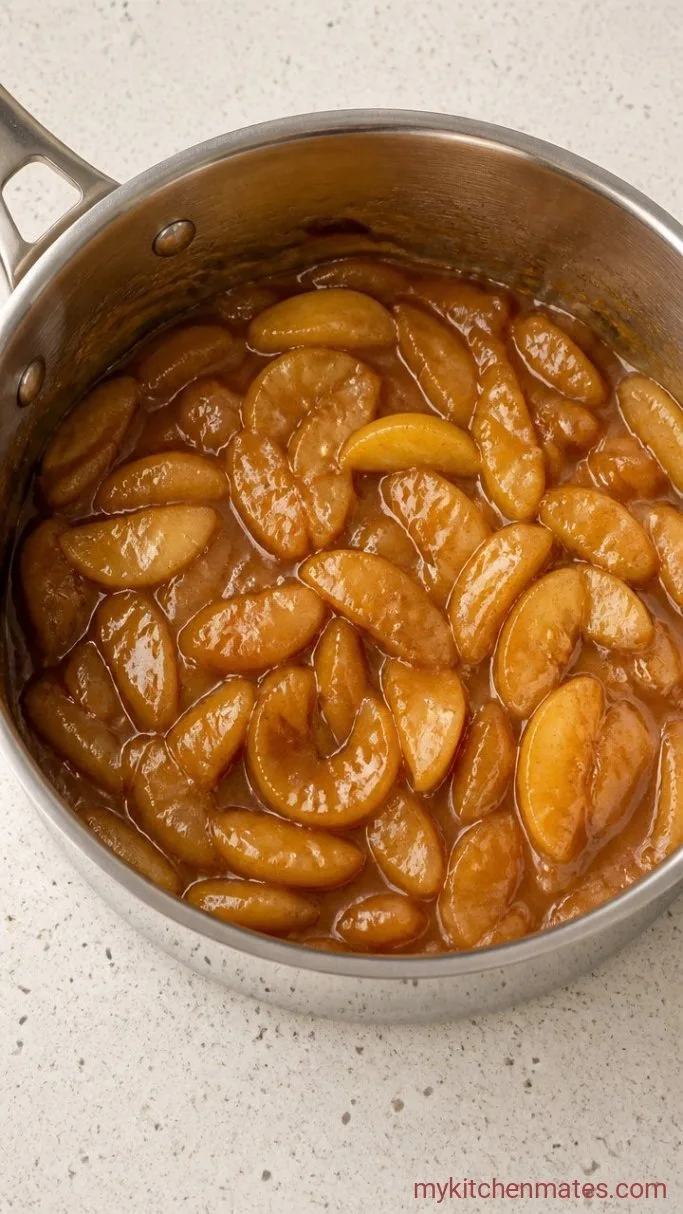
Increase the heat to medium-high and cook, stirring almost constantly, for 2 to 3 minutes. The liquid will bubble and turn from cloudy to glossy and thick, coating the back of a spoon. The apples should be tender but still hold their shape.
Step 4: Spoon and Cool
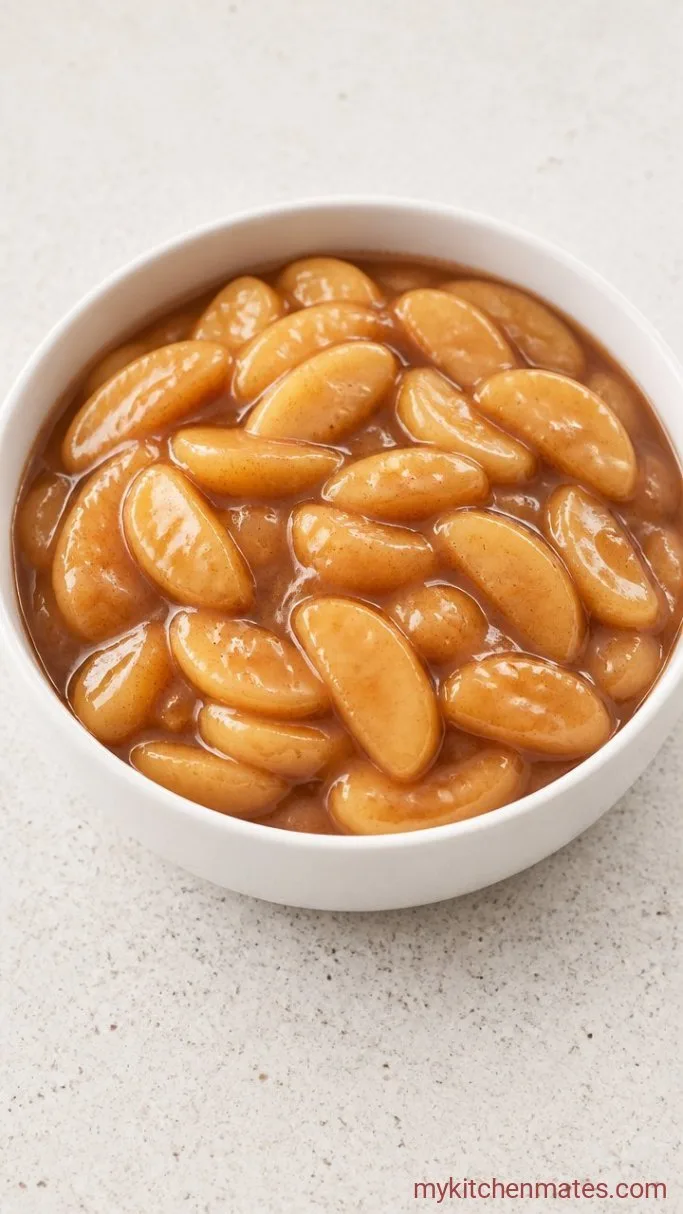
Spoon the warm filling into a heatproof bowl and let it cool for at least 15 minutes. It will continue to thicken as it cools. The filling is now ready for your favorite dessert, and the glossy sauce will cling to every apple wedge.
Tips for the Best Apple Pie Filling
- Firm, crisp apples that hold their shape, like Granny Smith, Honeycrisp, or Pink Lady, work best. Soft varieties turn to mush.
- Slice the apples to a uniform 1/4-inch thickness so they cook at the same pace.
- Stir gently while the apples simmer; too much agitation breaks them down.
- Make a double batch and freeze half. You will have pie filling ready for a last-minute dessert.
Storing Leftover Apple Pie Filling
- Refrigerate: cool completely, then transfer to an airtight container. It keeps well in the fridge for up to 5 days.
- Reheating: warm gently in a saucepan over low heat with a splash of water, or microwave in 30-second bursts, stirring between.
- Freeze: spoon into freezer-safe bags or containers, press out air, and freeze for up to 3 months. Thaw overnight in the refrigerator before using.
Ways to Use This Apple Pie Filling
Spoon it into a prepared pie crust for a classic apple pie, or layer it between puff pastry squares and bake for quick handheld turnovers. It also makes a cozy topping for pancakes, oatmeal, or a bowl of vanilla ice cream. For a simple crisp, spread the filling in a baking dish, cover with a butter crumble topping, and bake until golden.
Frequently Asked Questions
Can I use frozen apples?
Yes. No need to thaw them first, but add an extra tablespoon of cornstarch to account for the extra liquid they release.
My filling turned out runny. What went wrong?
It most likely needed more time to thicken. Simmer a few minutes longer, or dissolve an extra teaspoon of cornstarch in a little cold water and stir it in over the heat.
Can I can this filling?
You can, but you must follow a tested canning recipe with the correct acid levels to make it shelf-stable. For short-term keeping, freezing is easier and safer.
Can I reduce the sugar quantity?
You can cut the sugar by up to half. The filling will be less syrupy and more tart, but it will still thicken and taste like fresh apples.
Apple Pie Filling Recipe
Ingredients
Method
- Peel, core, and slice apples into 1/4-inch wedges. Whisk sugars, cornstarch, cinnamon, nutmeg, and salt in a medium bowl.
- Melt butter in a large skillet over medium heat. Add apples, water, and lemon juice, then sprinkle the sugar mixture over the apples and stir to coat. Bring to a gentle simmer and cook, stirring occasionally, until apples release juices and soften, about 8 to 10 minutes.
- Raise heat to medium-high and cook, stirring almost constantly, until the liquid turns glossy and thick, 2 to 3 minutes.
- Spoon the filling into a heatproof bowl and let it cool for at least 15 minutes before using.
Notes
