
Rich Vanilla Bean Ice Cream (Custard Method)

This vanilla bean ice cream is the real deal: a silky custard base flecked with thousands of vanilla seeds, churned until thick and luscious. No icy shortcuts, just deep, warm vanilla flavor that tastes like a scoop from a good ice cream shop.
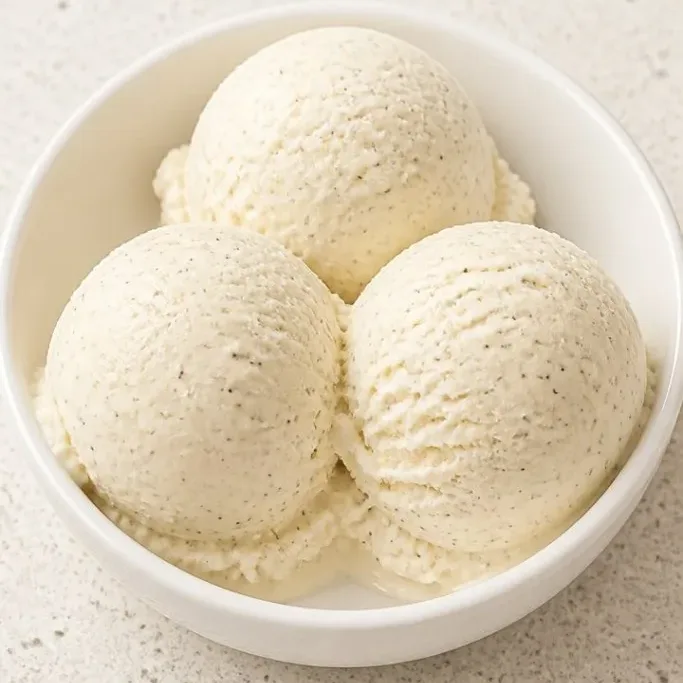
I keep this recipe for nights when I want a dessert that feels special but is mostly hands-off. The custard comes together in about 15 minutes, then your ice cream maker and freezer do the rest.
What Makes This Vanilla Ice Cream So Good
The egg yolks give it a velvety texture that stays scoopable straight from the freezer. No rock-hard block here. Plus, using a whole vanilla bean instead of extract means you get those tiny black specks and a flavor that’s rounder and more complex.
It’s the kind of ice cream that makes you slow down and eat it plain, just to taste the vanilla. But it also holds up beautifully next to warm pie or a drizzle of chocolate sauce.
Ingredients
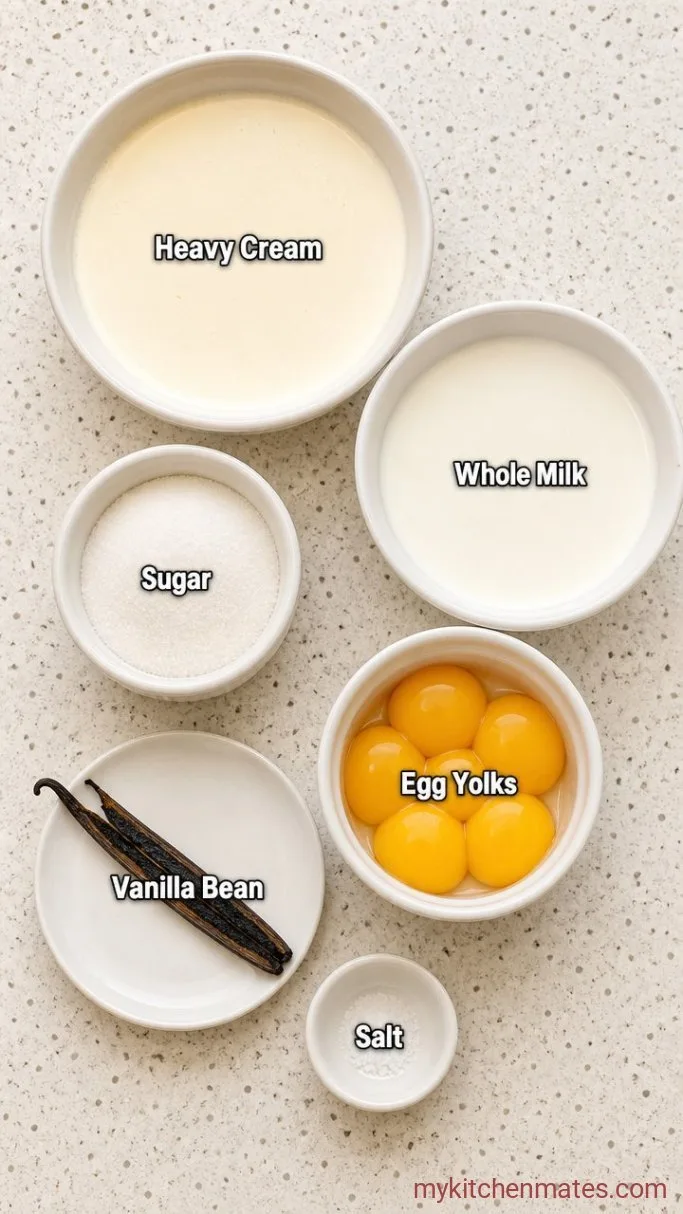
- 2 cups heavy cream: the high fat content keeps it rich and smooth. Do not substitute half-and-half.
- 1 cup whole milk: whole milk works best; 2% will make it icier.
- 3/4 cup granulated sugar: regular white sugar dissolves smoothly.
- 6 large egg yolks: give the ice cream its custard body and silky mouthfeel.
- 1 vanilla bean: look for plump, fragrant beans. Vanilla bean paste works too—use 1 tablespoon.
- Pinch of salt: just enough to round out the sweetness.
Variations / Substitutions
- Vanilla bean paste: swap in 1 tablespoon for the whole bean. Add it to the warm milk mixture without steeping.
- Dairy-free: substitute 2 cans full-fat coconut milk for the cream and milk. The texture will be a little icier, but the vanilla still shines.
- Boozy note: stir in 1 tablespoon bourbon or dark rum after straining the custard. It helps keep the ice cream softer and adds a warm undertone.
- Extra vanilla: if you really love vanilla, use 2 beans and scrape both into the milk.
Fudgy Flourless Black Bean Brownies are another dessert you’d probably love if you enjoy this ice cream.
How to Make Vanilla Bean Ice Cream
Step 1: Infuse the Milk
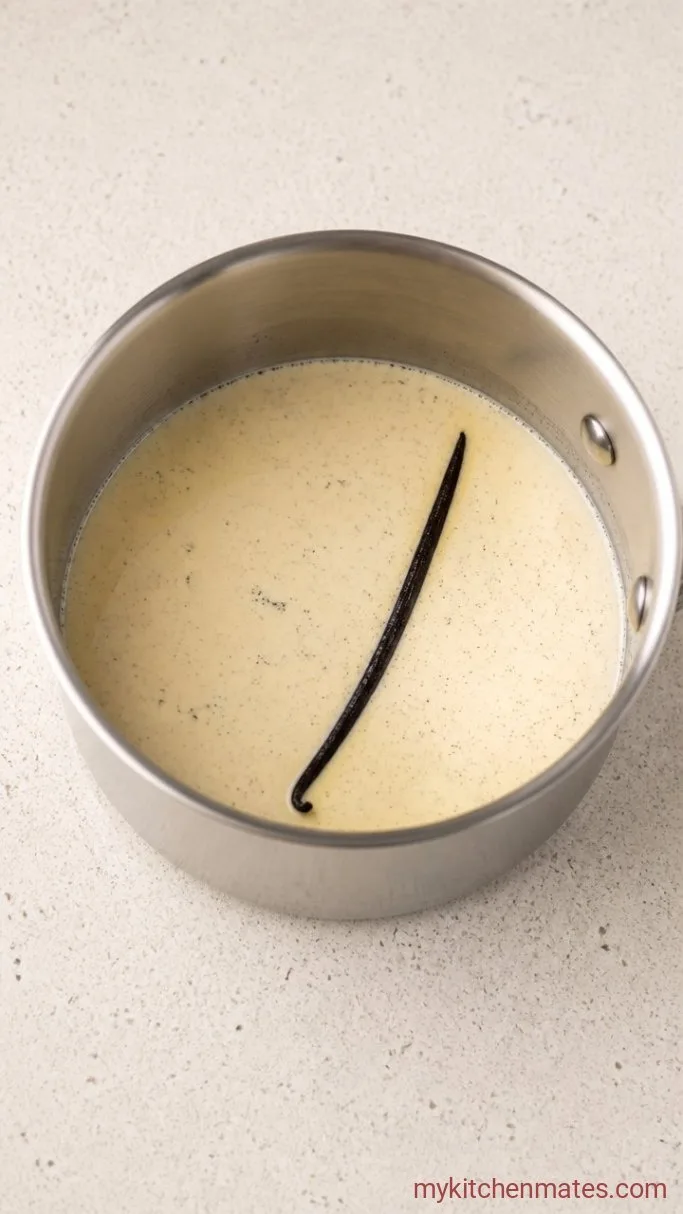
Pour the 2 cups heavy cream and 1 cup whole milk into a medium saucepan. Split the vanilla bean lengthwise, scrape the seeds into the pan, and drop in the pod too. Warm over medium heat just until steaming and tiny bubbles appear around the edges, about 5 minutes. Do not let it boil.
You’ll smell the vanilla blooming in the warm cream. Take the pan off the heat, cover, and let it steep for 30 minutes. This gives the vanilla time to deeply flavor the base.
Step 2: Whisk the Yolks and Sugar
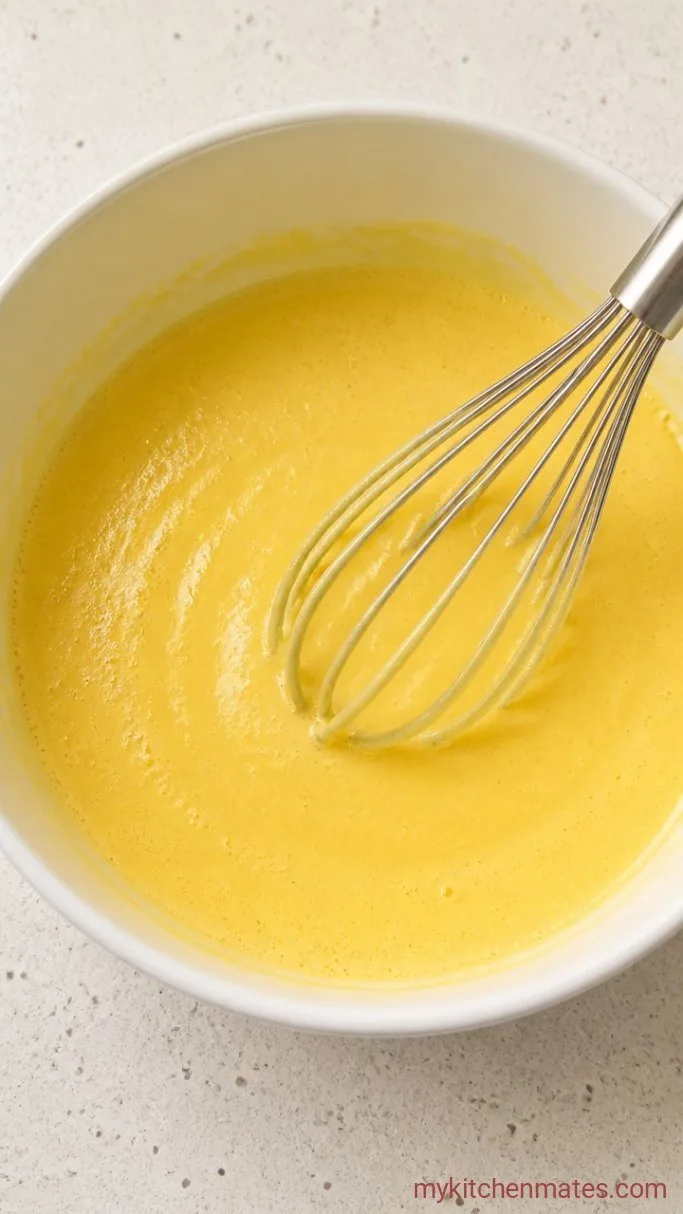
In a medium bowl, whisk together the 6 egg yolks and 3/4 cup granulated sugar until the mixture is pale, thick, and falls in ribbons from the whisk, about 2 minutes.
The sugar will have dissolved into the yolks, leaving no grittiness. This step is what gives the custard its body and helps it thicken evenly later.
Step 3: Temper and Cook the Custard
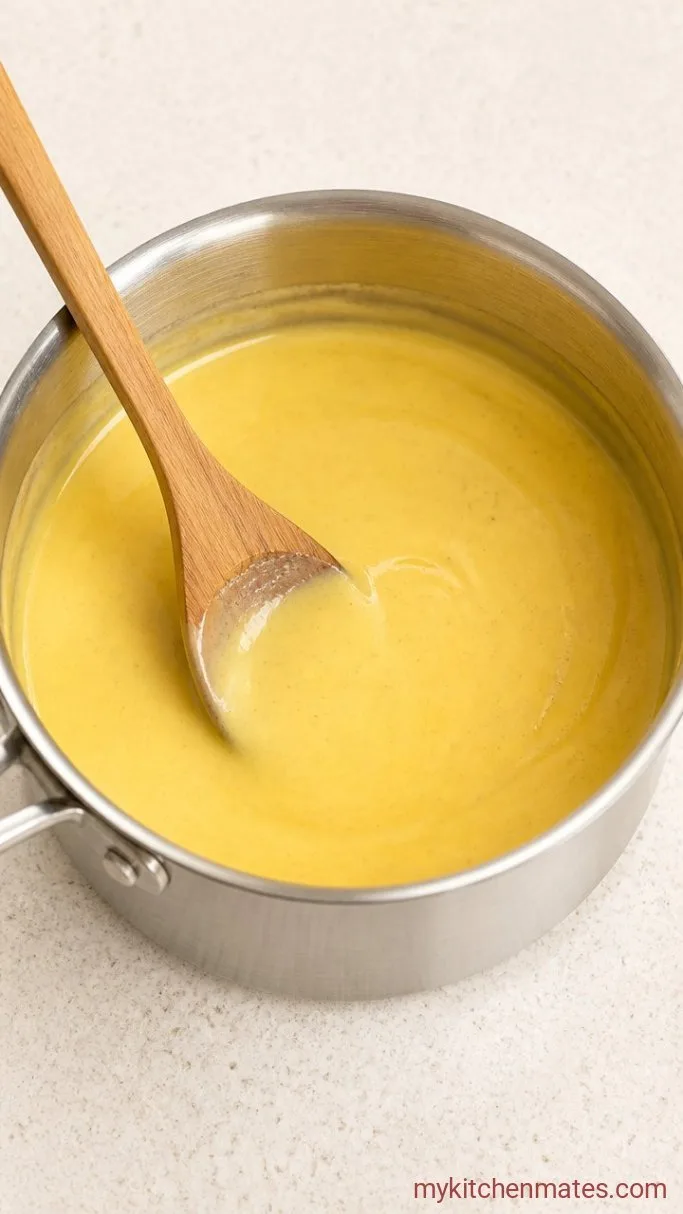
Remove the vanilla pod from the warm milk (rinse, dry, and save it for vanilla sugar). Slowly pour about half of the warm milk mixture into the yolk mixture, whisking constantly so the eggs don’t scramble. Then pour the tempered yolk mixture back into the saucepan with the remaining milk. Cook over medium-low heat, stirring constantly with a wooden spoon or heatproof spatula, until the custard thickens enough to coat the back of the spoon and a finger drawn through it leaves a clear line, about 5 to 7 minutes, or until it reaches 170°F to 175°F (77°C to 79°C). Do not let it simmer or boil.
The custard will go from thin and watery to silky and nappé. If you see any tiny curdled bits, you’ve gone too far; strain them out in the next step and it will still be fine.
Step 4: Strain and Chill the Custard
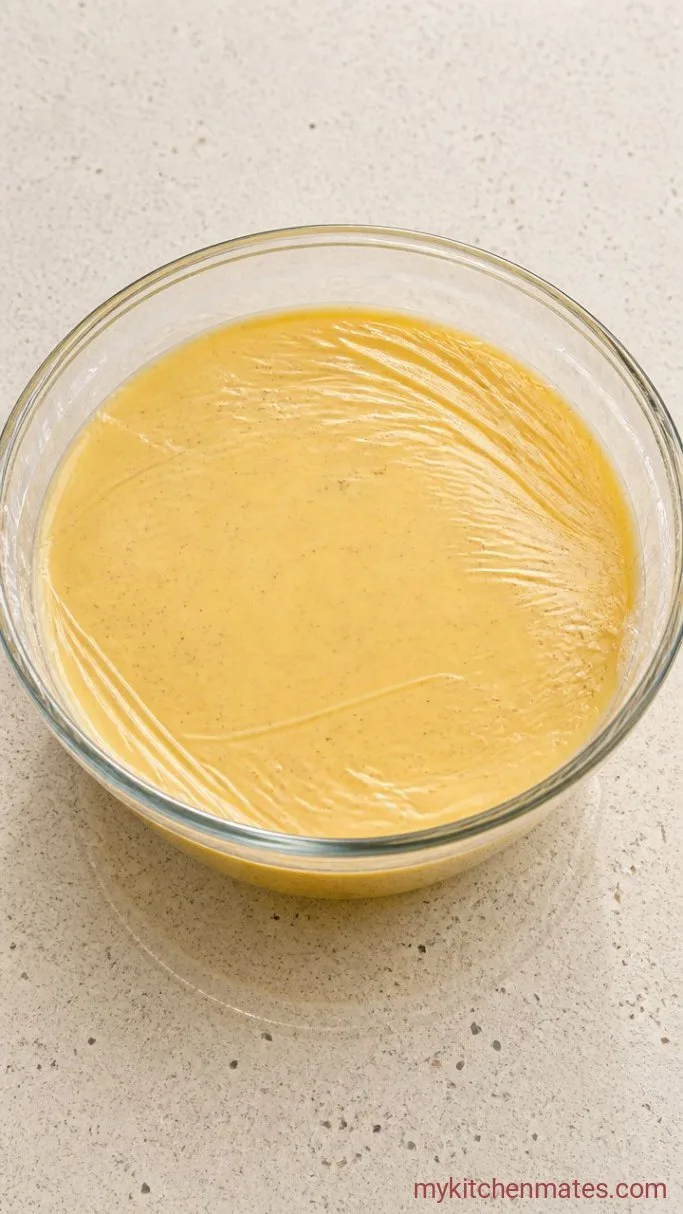
Set a fine-mesh sieve over a clean bowl. Pour the custard through the sieve to catch any bits of cooked egg or vanilla pod. Stir in a pinch of salt. Nestle the bowl in a larger bowl filled with ice water and stir occasionally until the custard is cool, about 30 minutes. Then cover and refrigerate until completely cold, at least 4 hours or overnight.
Cold custard churns better and yields a smoother ice cream. The waiting is the hardest part.
Step 5: Scoop and Serve
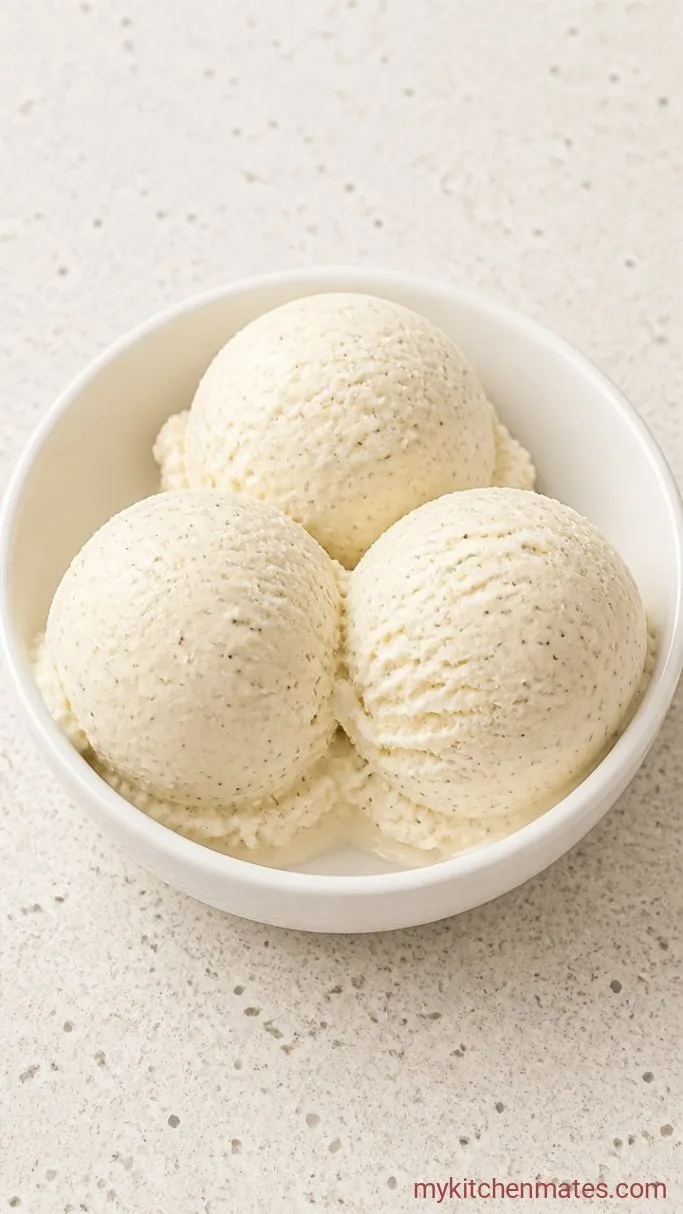
Churn the chilled custard in your ice cream maker according to the manufacturer’s instructions until it’s the texture of soft serve, usually 20 to 25 minutes. Transfer the ice cream to a loaf pan or airtight container, press a piece of plastic wrap directly onto the surface, and freeze until firm, at least 4 hours. When ready to serve, let it sit at room temperature for 5 minutes to soften slightly, then scoop.
The vanilla flecks will be scattered throughout, and the first scoop will be dense and silky, with a pure vanilla perfume that’s worth every minute of waiting.
Tips for the Best Vanilla Bean Ice Cream
- Freeze your ice cream maker bowl for at least 24 hours. A fully frozen bowl churns faster and gives a smoother texture.
- Don’t skip the vanilla bean steep. If you’re short on time, warm the milk with the seeds and pod, then steep for at least 15 minutes off the heat.
- An instant-read thermometer takes the guesswork out of cooking the custard. Aim for 175°F (79°C) and never let it boil.
- If you don’t have an ice cream maker, pour the cold custard into a shallow dish, freeze for 45 minutes, then beat with a fork or immersion blender, and repeat every 30 minutes until smooth.
Storing Homemade Ice Cream
Homemade ice cream is best within a week or two. Keep it in a loaf pan covered with a lid or a reusable container, and press plastic wrap directly onto the surface to prevent ice crystals. For the first few days, it will still scoop easily straight from the freezer. After that, let it sit out for 5 to 10 minutes to soften.
Frequently Asked Questions
My ice cream turned out hard as a rock. What went wrong?
Homemade ice cream freezes harder than store-bought because it lacks commercial stabilizers. Let it sit at room temperature for 5 to 10 minutes before scooping. Adding a tablespoon of alcohol like vodka or bourbon to the custard also helps keep it softer.
Can I make a double batch?
Yes, just double all ingredients. The custard may take a few minutes longer to thicken, so keep an eye on the temperature. If your ice cream maker is small, churn in two separate batches so it freezes evenly.
Can I use a vanilla bean that’s been used before?
If the bean still smells fragrant, you can steep it in the milk to get flavor, but the ice cream won’t have as many visible specks. Add fresh vanilla seeds if you have them for the classic speckled look.
Do I have to temper the eggs?
Yes, it’s a quick step that keeps the eggs from scrambling when they hit the hot milk. A steady whisk and a slow pour are all you need.
Vanilla Bean Ice Cream Recipe
Ingredients
Method
- Heat cream, milk, vanilla seeds, and pod in a saucepan over medium until steaming, about 5 minutes. Remove from heat, cover, and steep 30 minutes.
- Whisk egg yolks and sugar in a bowl until pale and thick, about 2 minutes. Remove vanilla pod from milk.
- Slowly whisk half of the warm milk into the yolk mixture, then return everything to the saucepan. Cook over medium-low, stirring constantly, until thickened and 170°F to 175°F, about 5 to 7 minutes.
- Strain custard through a fine-mesh sieve into a bowl. Stir in salt. Set bowl in an ice bath and cool, about 30 minutes. Cover and refrigerate until cold, at least 4 hours.
- Churn in ice cream maker according to manufacturer’s instructions until soft-serve texture, 20 to 25 minutes. Transfer to a container, press plastic wrap on surface, and freeze until firm, at least 4 hours. Let soften 5 minutes at room temperature, then scoop.
Notes
