
30-Minute Cheesy Bacon Stuffed Mini Peppers

These 30-minute cheesy bacon stuffed mini peppers are a fast, crowd-pleasing appetizer that comes together with just a handful of ingredients. Sweet mini bell peppers hold a rich, savory filling of cream cheese, sharp cheddar, and crispy bacon, then bake until bubbly and golden.
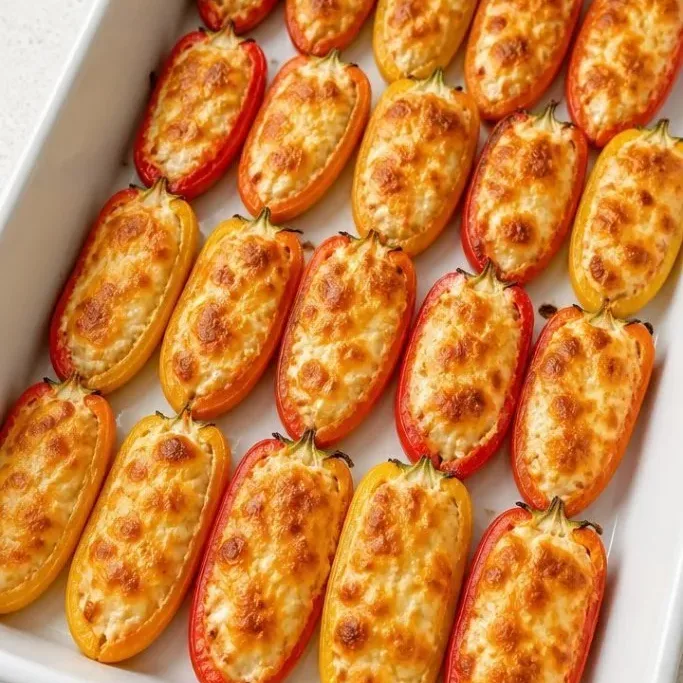
They’re perfect for game day, a last-minute party, or just a weeknight snack that feels a little special.
Why These Stuffed Peppers Are a Go-To
The contrast between the sweet, slightly crisp pepper and the salty, creamy filling hits all the right notes. The bacon adds a smoky crunch, and the cheese gets just enough browning on top to keep you coming back for one more.
The best part? They’re dead simple to make, and you can prep them ahead of time. I pull this recipe out whenever I need something that looks like I tried harder than I actually did.
Ingredients
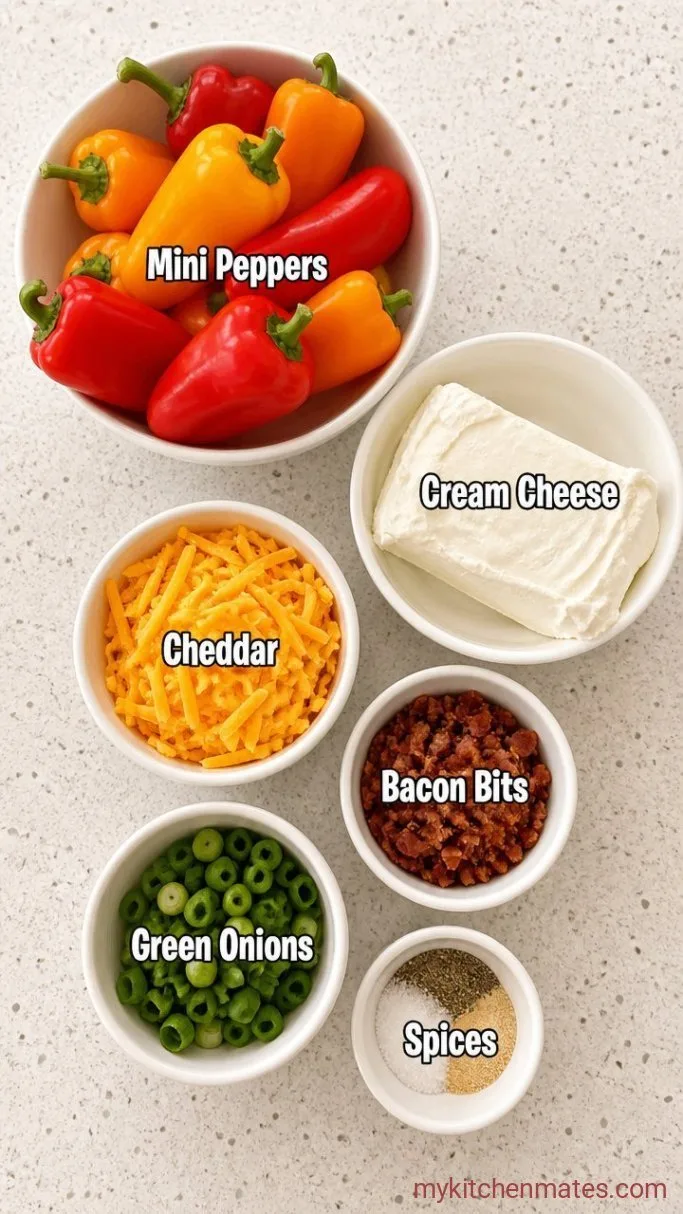
- 1 lb mini bell peppers: look for peppers about 2 inches long, all similar in size for even baking
- 8 oz cream cheese, softened: full-fat gives the creamiest texture
- 1 cup shredded sharp cheddar cheese: sharp cheddar stands up to the bacon
- 4 strips cooked bacon, crumbled: or ¼ cup real bacon bits
- 2 green onions, thinly sliced: both white and green parts
- ½ tsp garlic powder
- ¼ tsp kosher salt
- ¼ tsp black pepper
Variations / Substitutions
- Make it vegetarian: skip the bacon and add 2 tbsp finely chopped sun-dried tomatoes for a savory punch.
- Spice it up: add a pinch of cayenne or swap the cheddar for pepper jack cheese.
- Dairy-free: use a plant-based cream cheese and shredded cheese; the texture will be slightly softer but still tasty.
- Herb swap: trade the green onions for fresh chives or parsley.
Vegetarian Charcuterie Board is a dip that goes great with these stuffed mini peppers.
How to Make Cheesy Bacon Stuffed Mini Peppers
Step 1: Mix the Creamy Filling
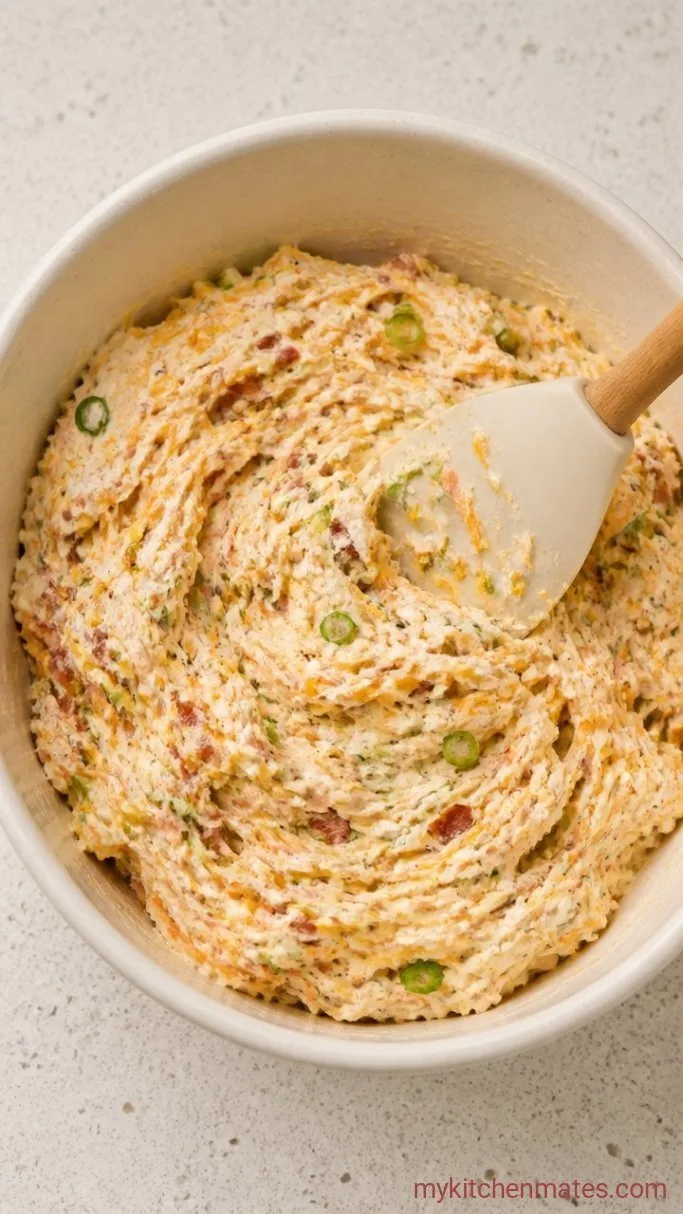
In a medium bowl, stir together the 8 oz softened cream cheese, 1 cup shredded cheddar, the crumbled bacon, sliced green onions, ½ tsp garlic powder, ¼ tsp salt, and ¼ tsp pepper. Keep mixing for about a minute, until everything is evenly blended and the filling looks smooth.
You’re looking for a thick, scoopable mixture that will stay put in the pepper halves. It should be easy to spoon, not runny.
Step 2: Halve and Core the Peppers
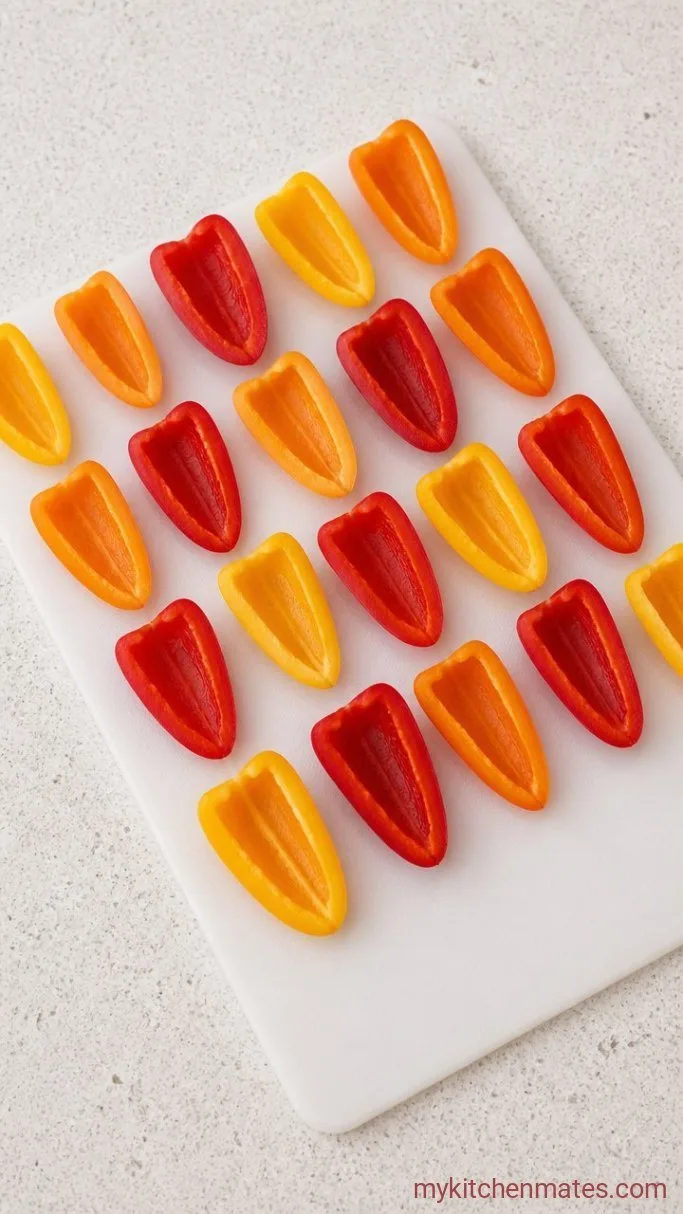
Slice each mini bell pepper in half lengthwise, right through the stem, so you get two little boats. Use a small spoon or your fingers to remove the seeds and any white ribs. This takes about 5 minutes for a full pound of peppers. Try to keep the stem end attached. It acts as a natural handle.
Arrange the pepper halves in a single layer on a parchment-lined baking sheet, cut side up. This sets you up for fast filling and even baking.
Step 3: Stuff the Peppers
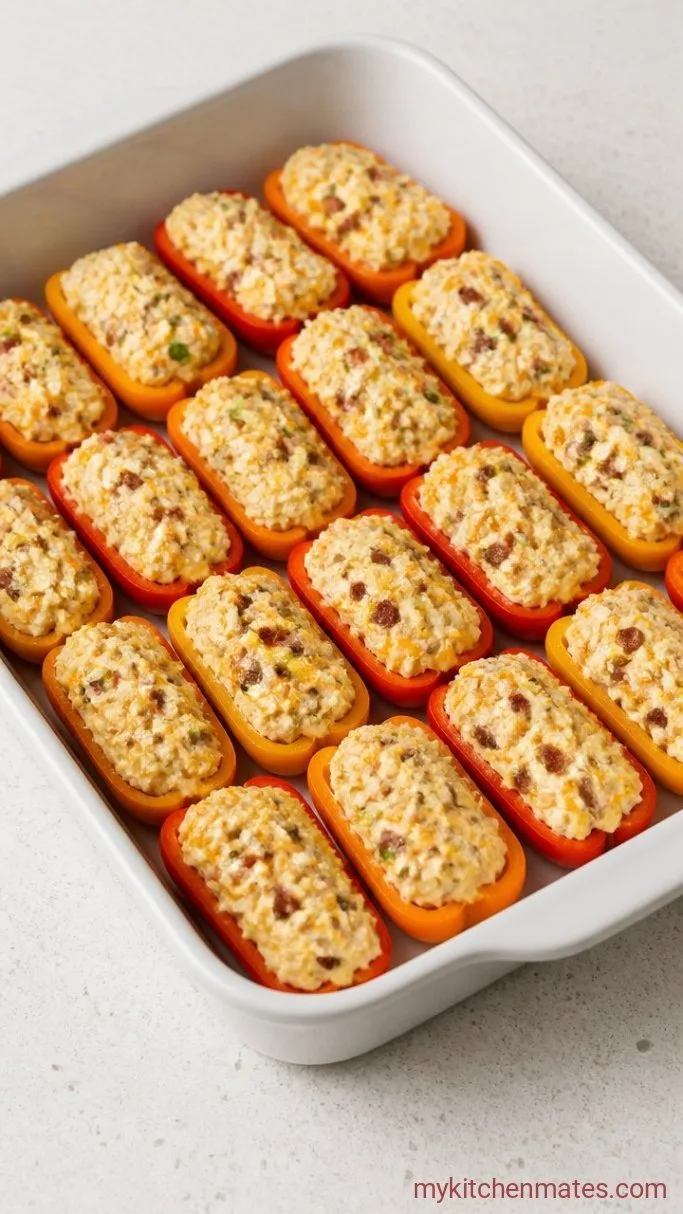
Spoon the filling into each pepper half, pressing it in firmly so it fills the cavity without overflowing. You’ll use about a rounded teaspoon per pepper. Filling all 32 halves will take roughly 10 minutes.
Once filled, they should look plump and colorful. If you have a little extra filling, pile it onto the fullest-looking peppers. No need to mound it sky high, just level and snug.
Step 4: Bake Until Bubbly
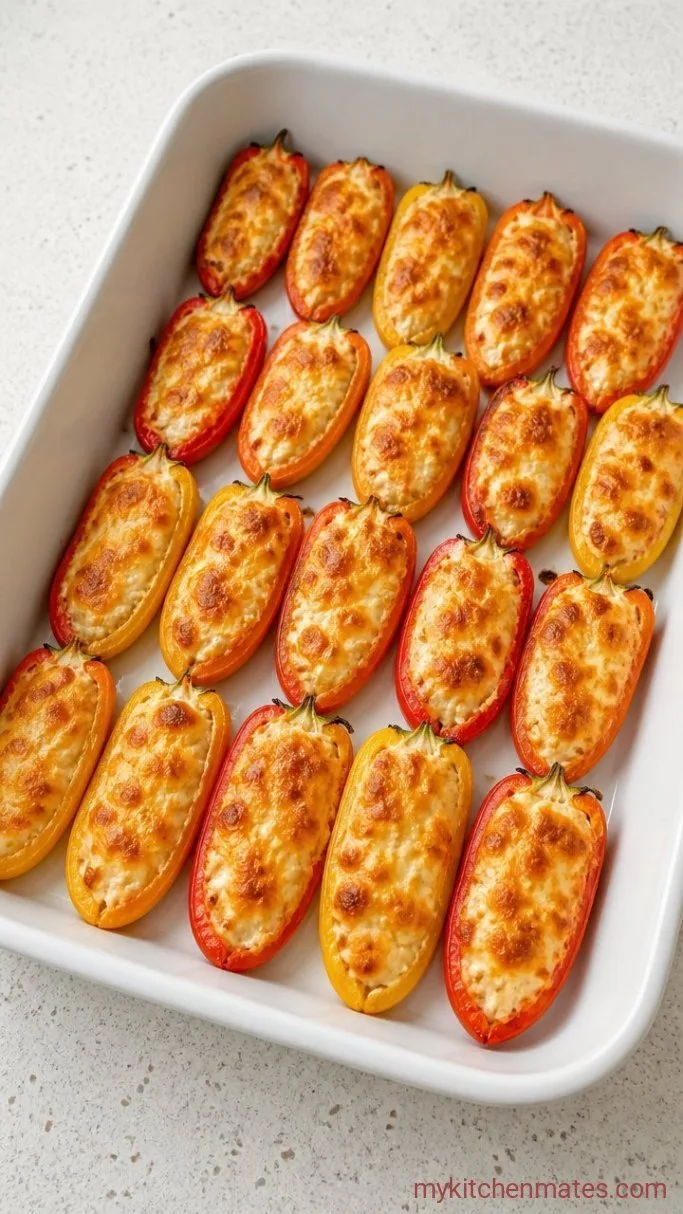
Slide the baking sheet into a 400°F (200°C) oven and bake for 15 to 20 minutes. Check around 15 minutes: the cheese should be fully melted with golden brown spots on top, and a knife should slide easily through the pepper skin.
Remove the pan from the oven and let the peppers cool for just a minute. They’ll be piping hot. Transfer them to a serving platter and enjoy while the cheese is still stretchy and gooey.
Tips for the Best Stuffed Mini Peppers
- Even size matters: Pick peppers that are roughly the same length and thickness so they all finish baking at the same time.
- Add heat gently: If you like spice, stir a pinch of cayenne or a few chopped pickled jalapeños into the filling instead of just adding hot sauce on top. It distributes the heat better.
- Make-ahead shortcut: Stuff the peppers and arrange them on the baking sheet up to 8 hours ahead. Cover and refrigerate, then bake straight from the fridge, adding 2 to 3 extra minutes.
- Keep the crunch: For peppers that keep some bite, pull them from the oven right when the cheese melts and the skin is just tender. Don’t wait for them to go limp.
Storing Leftover Stuffed Peppers
- Refrigerate: Place cooled leftovers in an airtight container and store in the fridge for up to 3 days.
- Reheating: For best texture, warm them in a 350°F (175°C) oven or air fryer for 5 to 7 minutes until the filling is hot. The microwave works in a pinch but will soften the peppers.
Frequently Asked Questions
Can I cook these in an air fryer?
Yes, arrange the stuffed peppers in a single layer in the air fryer basket and cook at 375°F (190°C) for 8 to 10 minutes, until the cheese is bubbly.
Are these keto-friendly?
Absolutely. They’re low in carbs, with only the natural sugars from the peppers and no added flour or breadcrumbs.
How do I keep the peppers from getting soggy?
Bake at a high temperature (400°F) and don’t overbake. The peppers should be just tender-crisp. The cheese will be melted while the pepper still has a slight snap.
Can I freeze stuffed peppers?
Freezing after baking isn’t great because the peppers release water. But you can freeze them unbaked: stuff the peppers, arrange on a tray, freeze until solid, then transfer to a bag. Bake from frozen at 400°F for 25 to 30 minutes.
Cheesy Bacon Stuffed Mini Peppers Recipe
Ingredients
Method
- Preheat the oven to 400°F (200°C) and line a baking sheet with parchment paper.
- In a bowl, mix the cream cheese, cheddar, bacon, green onions, garlic powder, salt, and pepper until smooth.
- Halve the mini bell peppers lengthwise and remove seeds, keeping stems intact.
- Spoon the filling into each pepper half, pressing gently, and arrange on the prepared sheet.
- Bake for 15 to 20 minutes until cheese is melted and golden. Serve warm.
Notes
