
Buttery Spring Sugar Cookies with a Hint of Lemon

These buttery spring sugar cookies are soft, bright with lemon zest, and hold their shape beautifully.

They’re just right for decorating with pastel icing and sprinkles, and they taste as cheerful as they look.
What Makes These Cookies a Spring Favorite
I reach for this recipe every spring because the cookies are tender and mild, with just enough lemon to feel fresh against all that butter. They aren’t overloaded with sugar, so the dough stays pleasant to eat even after you add icing.
Plain or dressed up, they keep a clean vanilla base. That makes them work whether you want a quiet cookie with tea or a brightly decorated one for a party tray.
Ingredients
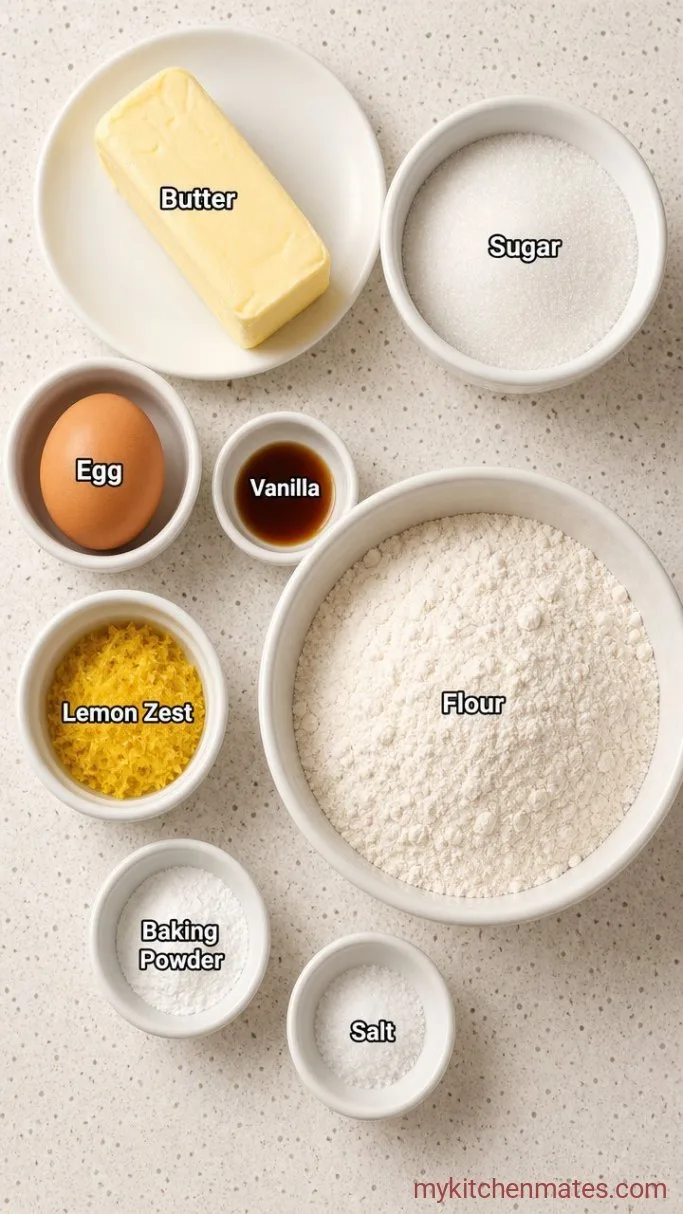
- 1 cup (226 g) unsalted butter, softened: let it sit out for about an hour before you start
- 1 cup (200 g) granulated sugar: standard white sugar, nothing fancy
- 1 large egg, at room temperature: cold egg can curdle the butter; take it out with the butter
- 2 tsp vanilla extract: use the real stuff if you have it
- 2 tsp lemon zest: from about one large lemon, wash it well first
- 2 1/2 cups (315 g) all-purpose flour: spooned and leveled, not scooped
- 1/2 tsp baking powder: keeps the cookies from turning dense
- 1/2 tsp salt: fine sea salt or table salt
Variations / Substitutions
- Orange zest: swap the lemon for orange zest for a softer citrus note.
- Gluten-free: use a 1-to-1 gluten-free flour blend that contains xanthan gum, and expect a slightly more tender crumb.
- Vegan: replace the butter with a good vegan butter stick, and the egg with 3 tbsp aquafaba or a flax egg.
- No zest: leave it out altogether; the cookies will still taste lovely with just vanilla.
Soft Carrot Cake Cookies are another dessert you’d probably love if you enjoy these cookies.
How to Make Buttery Spring Sugar Cookies
Step 1: Cream the Butter and Sugar

In a large bowl, beat the softened 1 cup butter and 1 cup sugar together with an electric mixer on medium speed for about 3 minutes, until the mixture looks pale and fluffy. Scrape down the sides of the bowl with a spatula once or twice so everything blends evenly.
The color should lighten noticeably and the texture will feel smooth, almost like frosting. If it still looks grainy or yellow, keep mixing another minute.
Step 2: Mix in the Wet Ingredients

Add the room-temperature egg, 2 teaspoons vanilla, and 2 teaspoons lemon zest. Beat on low speed just until the egg disappears into the dough, about 30 seconds. The mixture will look glossy and a little looser than before.
Stop as soon as the yolk disappears. Overbeating at this point can make the cookies tough later, so a few turns of the beaters is plenty.
Step 3: Add the Dry Ingredients
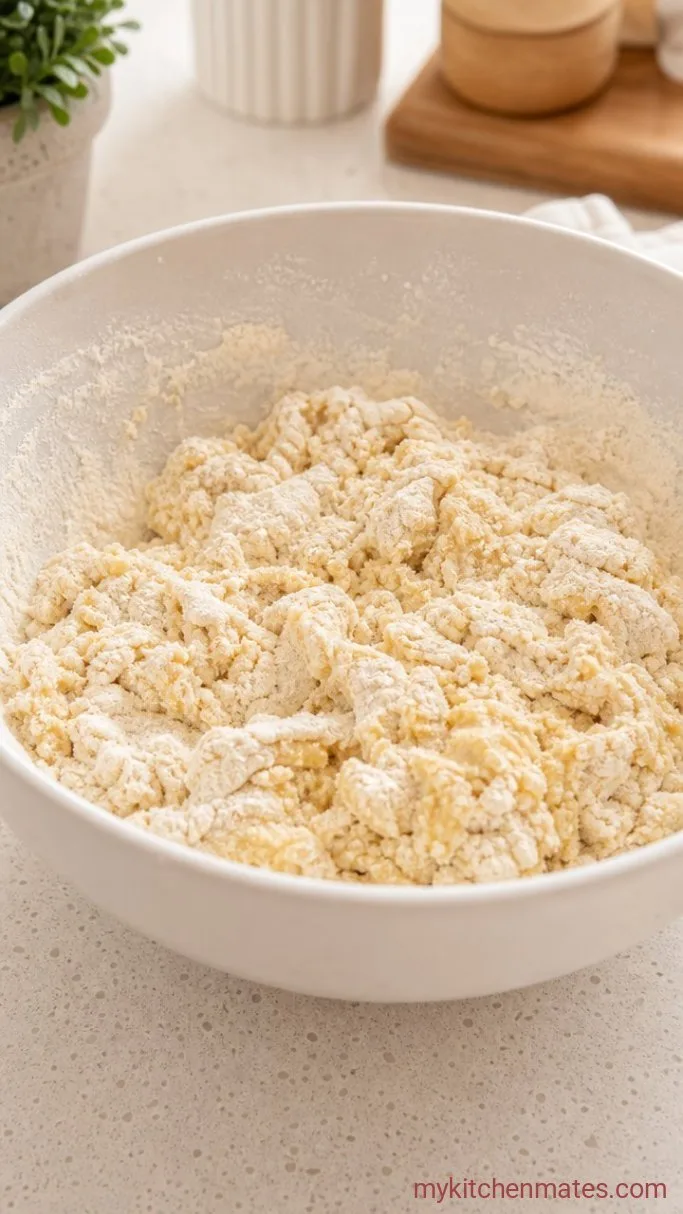
Whisk together the 2 1/2 cups flour, 1/2 teaspoon baking powder, and 1/2 teaspoon salt in a separate bowl. Add the flour mixture to the butter mixture all at once, then mix on low speed until the dough just comes together, about 1 minute. Stop as soon as you no longer see dry flour bits.
The dough will be soft and slightly sticky. At this stage it will smear if you try to roll it right away, which is exactly why we chill it next.
Step 4: Chill the Dough
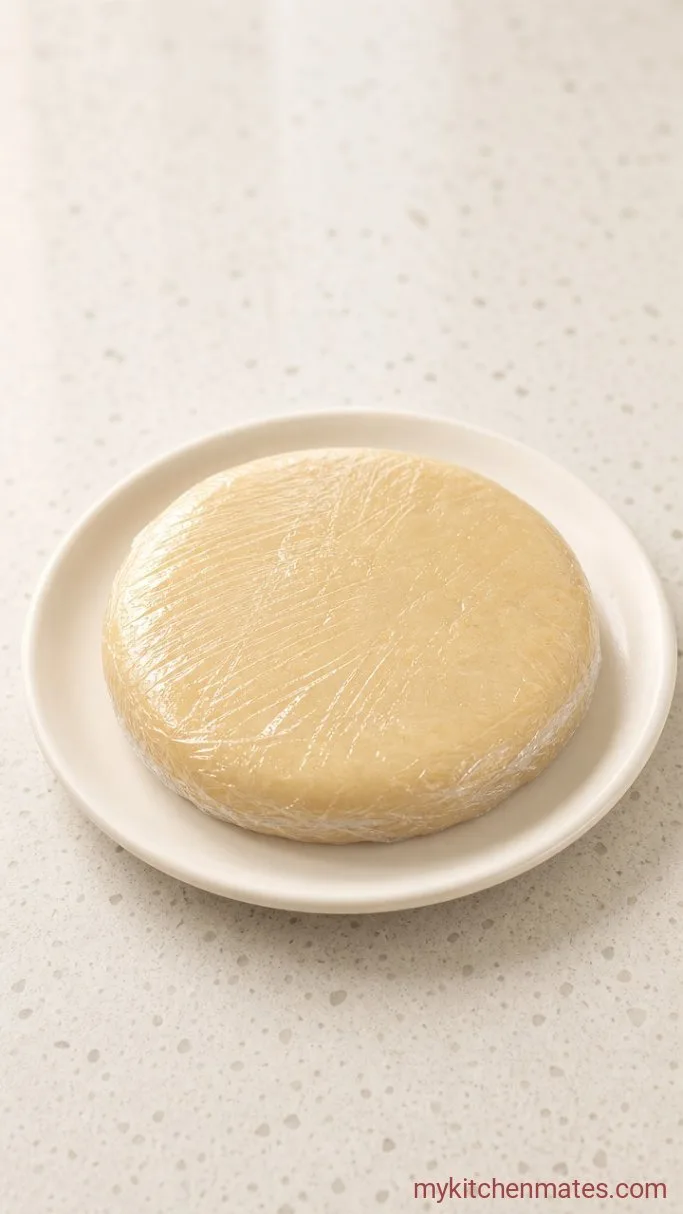
Scrape the dough onto a sheet of plastic wrap and press it into a flat disc, about an inch thick. Wrap it tightly and refrigerate for at least 2 hours, or up to 2 days. Chilling settles the flour and hardens the butter so the cookies don’t spread in the oven.
A cold, firm disc rolls out smoothly and barely sticks to the pin. If you’re in a rush, you can speed-chill it in the freezer for 30 minutes, but the texture improves with a longer fridge rest.
Step 5: Roll, Cut, and Bake
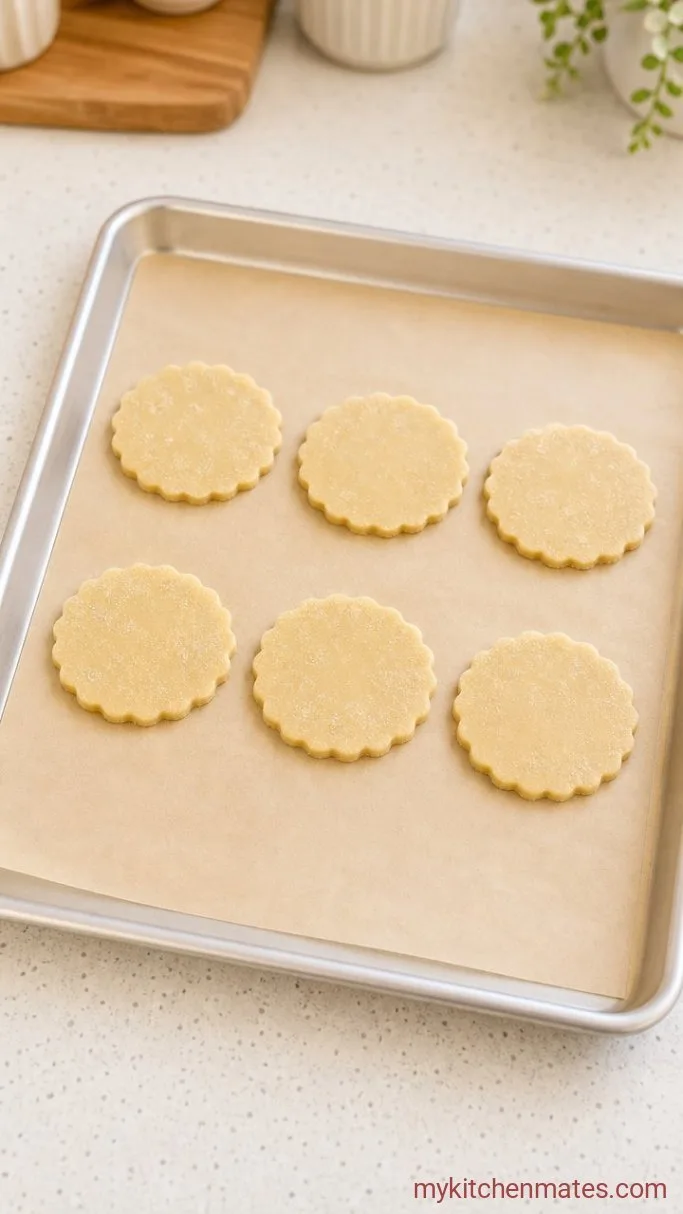
Preheat your oven to 350°F (175°C). Line two baking sheets with parchment paper. On a lightly floured surface, roll the chilled dough to a 1/4-inch thickness. Dip your cutter in flour and press straight down without twisting, then lift and arrange the shapes an inch apart on the sheets. Bake one sheet at a time for 10 to 12 minutes, until the edges are just beginning to turn a pale gold.
Check them at 10 minutes. The tops should look dry and barely colored, and the bottoms will be evenly light brown. Let the cookies rest on the sheet for 5 minutes before transferring them to a wire rack.
Step 5: Cool and Decorate

Move the cookies to a wire rack and let them cool completely before you do any decorating, about 30 minutes. Once they’re cool, spread them with a simple icing made from powdered sugar and a little milk or water, tinted with food coloring if you like, and add sprinkles while the icing is still wet.
Serve them on a big platter and watch even the plain ones disappear. The lemon scent is soft, and the icing crackles just a bit when you bite in.
Tips for the Best Spring Cookies
- Weigh your flour if you can. Too much flour makes the cookies dry and crumbly, so if you don’t have a scale, spoon the flour into the cup and level it with a knife.
- Roll the dough between two sheets of parchment or wax paper instead of on a floured counter. It saves you from adding extra flour during re-rolls.
- For extra crisp edges, freeze the cutout cookies on the baking sheet for 5 minutes before sliding them into the oven.
- Gather your scraps, press them together gently, and re-chill for 15 minutes before rolling again. Working the dough too much makes the next batch slightly tougher.
- If you aren’t icing them the same day, store the undecorated cookies and decorate when you’re ready to serve.
Bake times by dough thickness:
| Thickness | Bake Time |
|---|---|
| 1/8 inch | 8-10 mins |
| 1/4 inch | 10-12 mins |
| 3/8 inch | 12-14 mins |
Keeping Spring Cookies Fresh
- Refrigerate: Store cooled, decorated cookies in an airtight container at room temperature for up to 1 week. Separate layers with parchment paper so the icing doesn’t stick.
- Freeze undecorated cookies: Wrap baked, un-iced cookies in plastic and then foil, and freeze for up to 2 months. Thaw in the container overnight, then decorate.
- Freeze dough: Shape the dough into a disc, double-wrap it, and freeze for up to 3 months. Thaw in the fridge overnight before rolling.
Frequently Asked Questions
Can I make the dough ahead and bake the next day?
Yes. The dough can chill in the refrigerator for up to 2 days, tightly wrapped. Let it sit on the counter for 10 minutes before rolling if it’s too hard.
Why did my cookies spread into shapeless blobs?
The dough likely wasn’t cold enough. Next time, chill the cutouts on the sheet for 5 to 10 minutes before baking, even if you already chilled the dough disc.
Can I use salted butter?
You can. Decrease the salt in the recipe to 1/4 teaspoon, and expect a slightly less pronounced vanilla flavor.
How do I get a smooth icing that sets hard?
Stir together 1 cup powdered sugar with 1 to 2 tablespoons milk, a little at a time, until it flows slowly off the spoon. A tiny drop of corn syrup keeps it glossy.
Buttery Spring Sugar Cookies Recipe
Ingredients
Method
- Beat the butter and sugar on medium speed until pale and fluffy, about 3 minutes.
- Mix in the egg, vanilla, and lemon zest on low speed just until combined.
- Whisk the flour, baking powder, and salt together, then add to the butter mixture and mix on low until a soft dough forms.
- Pat the dough into a flat disc, wrap in plastic, and chill at least 2 hours.
- Preheat oven to 350°F. Roll the dough to 1/4 inch thick, cut shapes, and bake on parchment-lined sheets for 10-12 minutes until edges are lightly golden.
- Cool completely on a wire rack, then decorate with icing and sprinkles.
Notes
