
Sourdough Challah Bread That Stays Soft for Days

Sourdough challah bread brings together the pillowy crumb of classic challah with the depth and digestibility of wild yeast. The long, slow rise builds flavor while the eggs and oil keep every slice soft for days.
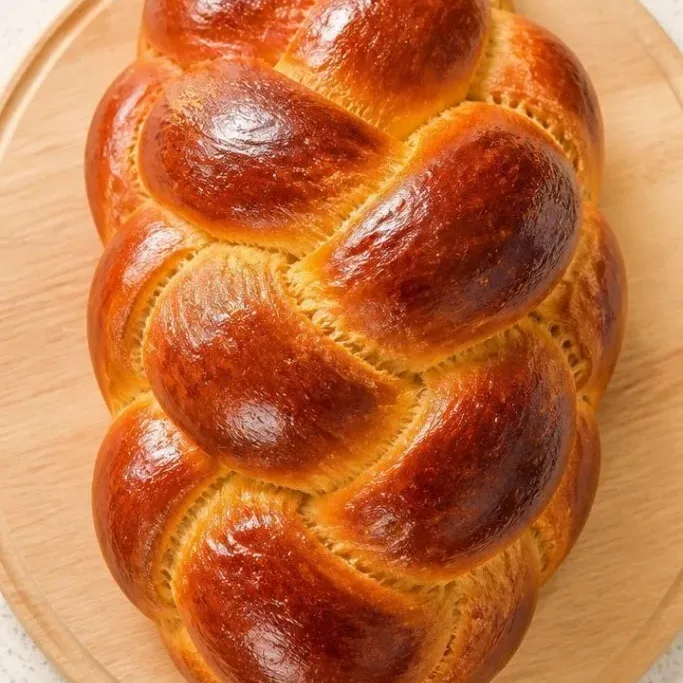
If you have an active sourdough starter, this is the weekend bake that fills the house with the smell of fresh bread and gives you a showstopping centerpiece for Shabbat dinner or any special meal.
Why This Sourdough Challah Is a Keeper
The slow sourdough fermentation breaks down the flour, which makes the bread easier to digest and gives it a gentle tang that balances the richness of the eggs.
Unlike many enriched doughs that stale quickly, this one stays moist and sliceable for three to four days. It even toasts beautifully on day five.
Ingredients
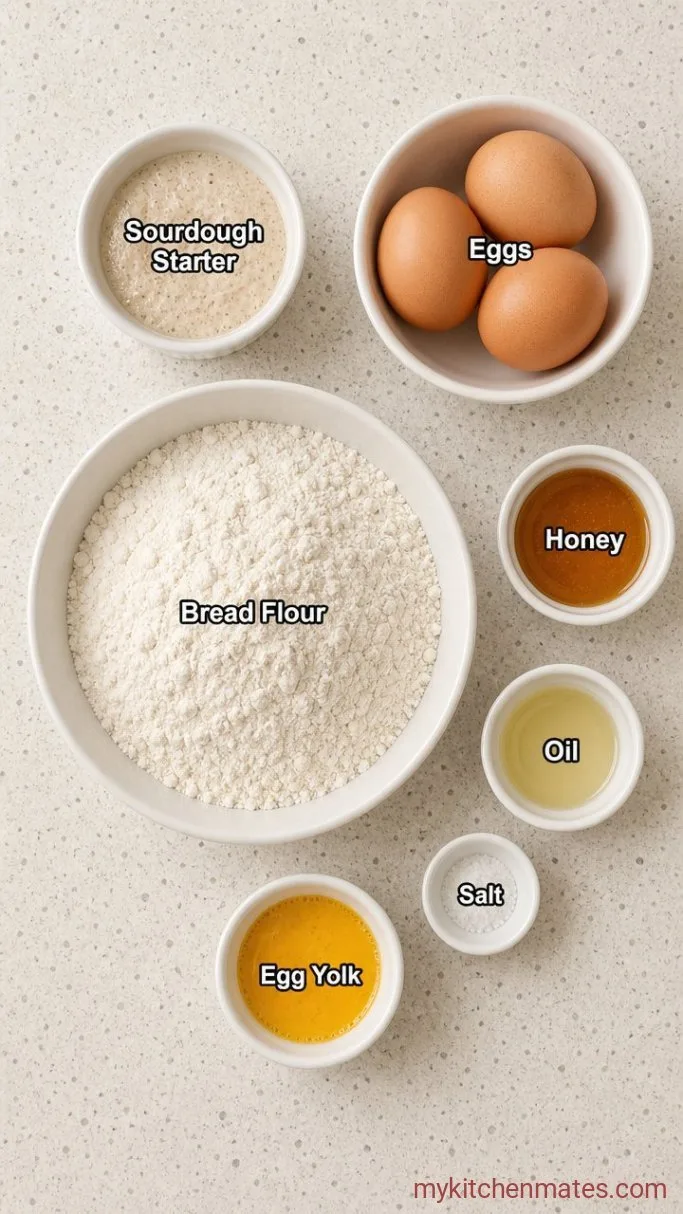
- 1 cup (240g) active sourdough starter: fed and bubbly, at its peak
- 3 large eggs, at room temperature: plus 1 yolk for the egg wash
- 1/4 cup (85g) honey: or granulated sugar, for a tender crumb
- 1/4 cup (60ml) neutral oil: avocado, grapeseed, or light olive oil
- 1 1/2 teaspoons fine sea salt
- 4 cups (520g) bread flour: plus more for dusting; all-purpose works in a pinch
- 1 egg yolk, whisked with 1 tablespoon water: for the glossy finish
Variations / Substitutions
- Swap the honey: use maple syrup or 1/3 cup granulated sugar instead.
- Add a fragrant note: mix in 1 teaspoon orange zest or 1/2 teaspoon ground cardamom.
- Try all-purpose flour: the loaf will be slightly less tall but still tender.
- Dairy-free: this recipe is naturally dairy-free.
- Egg-free: challah relies on eggs for structure; flax eggs do not give the same lift, so I do not recommend them.
Hearty One-Pot Vegetable Soup makes a comforting soup to pair with this bread.
How to Make Sourdough Challah Bread
Step 1: Mix the Dough
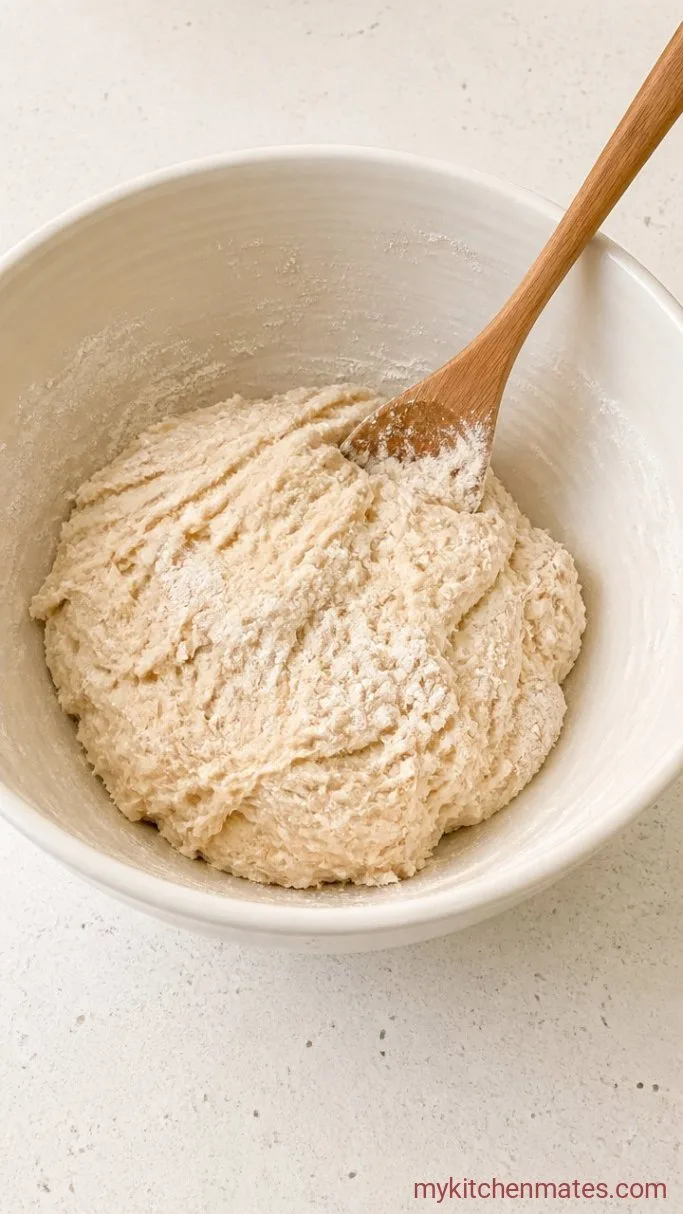
In a large bowl, combine the 1 cup active sourdough starter, 3 eggs, 1/4 cup honey, and 1/4 cup oil. Whisk until smooth, then add the 4 cups bread flour and 1 1/2 teaspoons salt. Stir with a wooden spoon until a shaggy dough comes together and no dry flour remains. Cover and let it rest for 30 minutes.
The mixture will look wet and rough at first, then tighten into a shaggy mass. That is exactly how it should look; the flour needs time to absorb the liquid.
This rest period, called autolyse, jumpstarts gluten development and makes kneading easier later. You are not building structure yet, just hydrating.
Step 2: Knead the Dough
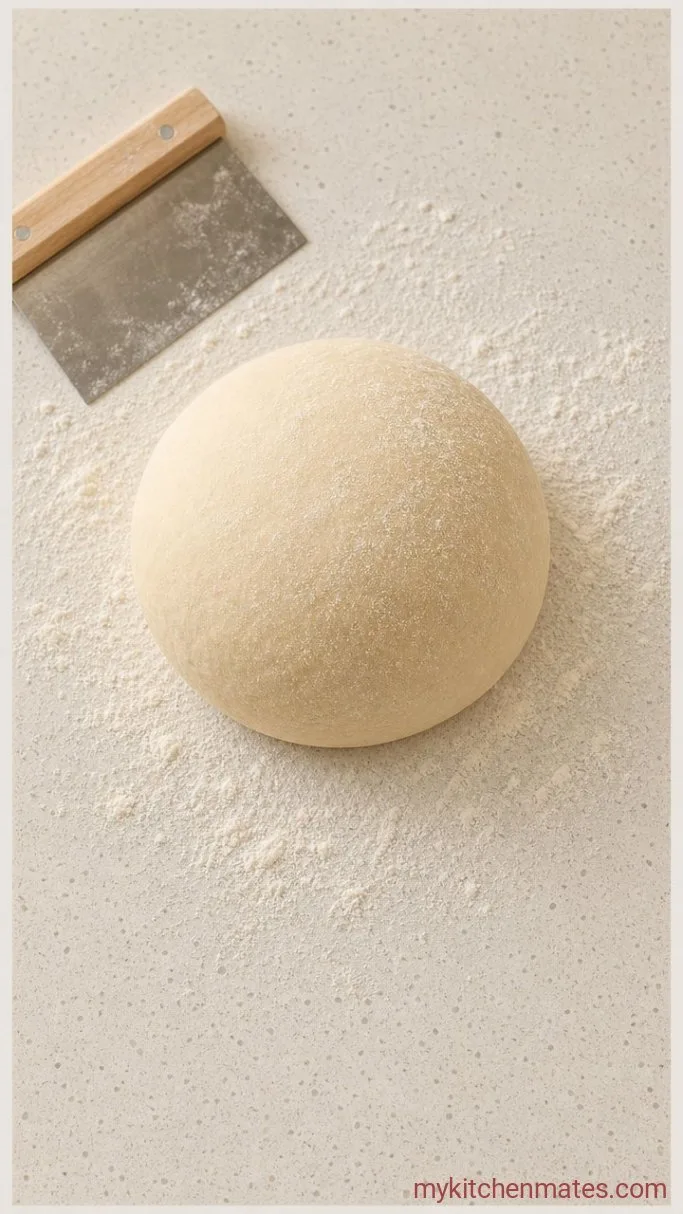
Tip the dough onto a lightly floured surface and knead by hand for 10 to 12 minutes, or use a stand mixer with the dough hook on low speed for 8 to 10 minutes. After the first few minutes the dough will feel sticky and loose, then gradually turn smooth and elastic. If it seems too wet, add bread flour 1 tablespoon at a time, but try to resist adding more than a couple tablespoons.
Stop when the dough passes the windowpane test: stretch a small piece thin enough to see light through without tearing. The surface should look satiny and feel tacky but not stick to your fingers.
Do not be shy about really working the dough here. Sourdough needs a strong gluten network to hold the braided shape during its long rise.
Step 3: Bulk Proof the Dough
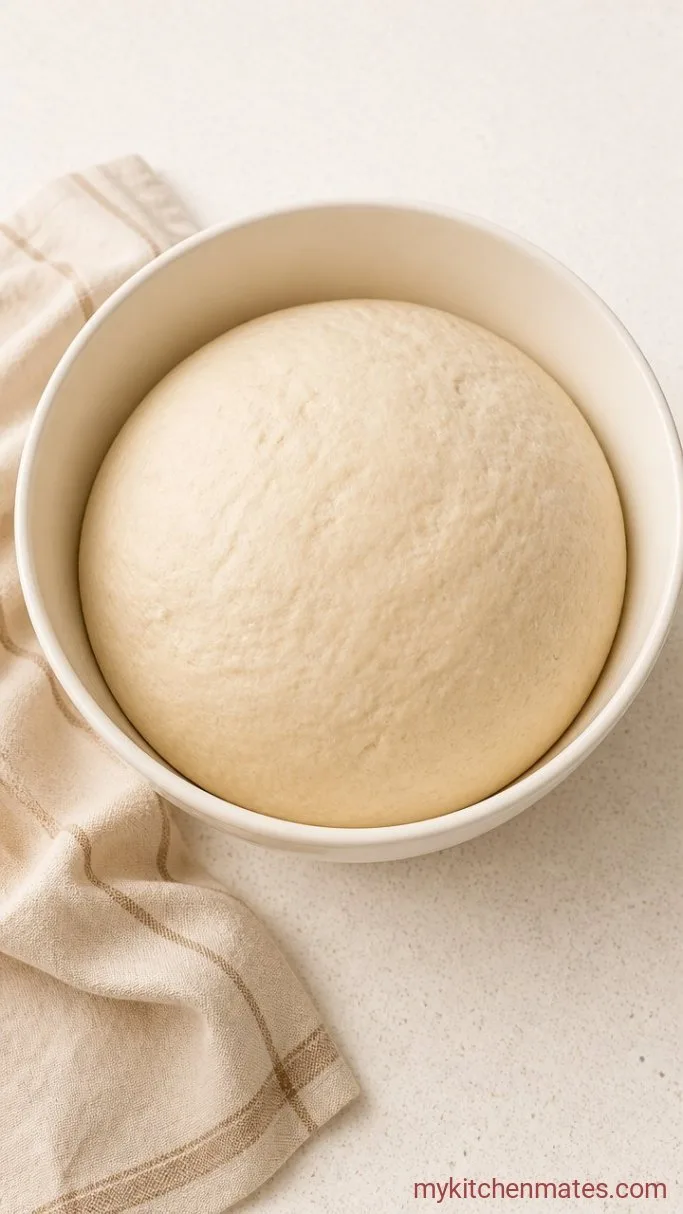
Shape the dough into a ball and place it in a large oiled bowl, turning once to coat. Cover with a damp tea towel or plastic wrap and let it rise at warm room temperature until doubled, anywhere from 4 to 6 hours depending on your starter and kitchen. A cooler room means more time; a spot near a turned-off oven with the light on will speed things up.
The dough will look puffed and feel airy when you touch it. Press a floured finger into the surface; if the indentation stays and springs back slowly, it is ready. If it springs back fast, give it more time.
Sourdough rises more slowly than commercial yeast, so let the dough tell you when it is ready. Rushing this step will make the loaf dense.
Step 4: Shape and Braid the Loaves
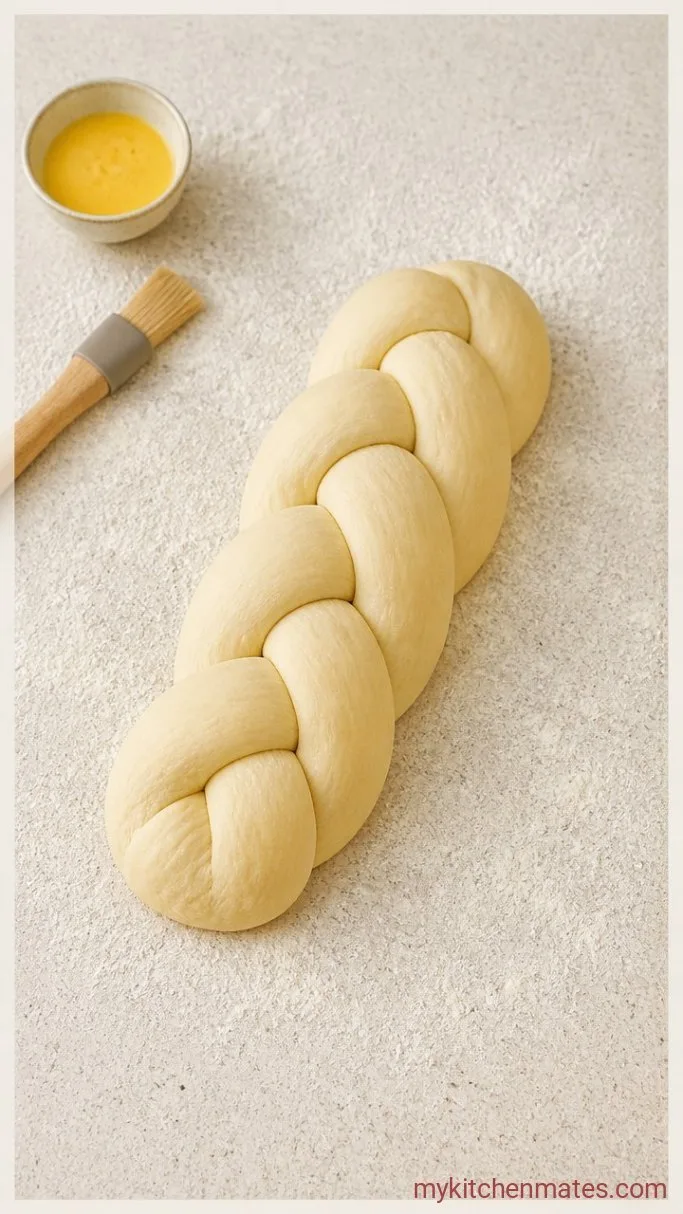
Punch the dough down gently, then turn it out onto a very lightly floured counter. Divide it into 6 equal pieces for two 3-strand braids, or 3 pieces for one large braid, using a bench scraper. Roll each piece into a rope about 12 to 14 inches long, applying even pressure so the ropes are the same thickness from end to end. Braid them, tucking the ends underneath to seal.
Place the braided loaf (or loaves) on a parchment-lined baking sheet. Cover loosely with oiled plastic wrap and let proof until puffy and almost doubled, about 2 to 3 hours. In the last 20 minutes, preheat the oven to 375°F (190°C).
The braid should look noticeably larger and feel light. If you press the side gently, a slight indent should stay. At this stage the dough is delicate, so handle it with care.
Step 5: Bake and Serve the Challah
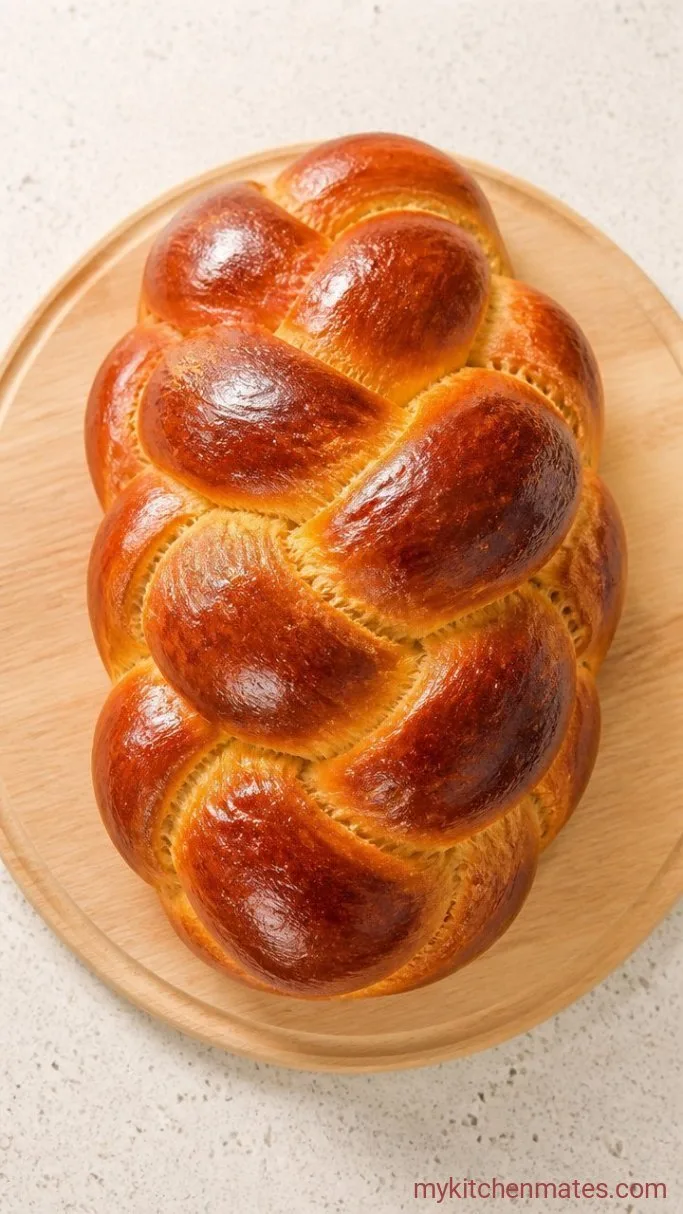
Brush the proofed challah all over with the egg yolk wash, getting into the crevices of the braid. Bake on the middle rack until deeply golden and shiny, 30 to 35 minutes. For the most accurate doneness check, insert an instant-read thermometer into the center of the loaf; it should read 190°F to 195°F (88°C to 91°C).
The crust will turn a glossy mahogany brown and the kitchen will smell like toasted butter and honey. If the top browns too quickly before the center is baked, tent it loosely with foil.
Slide the challah onto a wire rack and let it cool for at least 20 minutes before slicing. The crumb sets as it cools, and the first warm slice will be tender and golden, ready to pull apart with your fingers.
Before You Start: Tips for Sourdough Challah
- Use a fed, bubbly starter that peaks around 4 to 5 hours after feeding. A sluggish starter will drag out the rise and weaken the crumb.
- Do not rush the first rise. Under-proofed dough feels dense and tears when you shape it.
- Keep the ropes even as you roll them. Uneven thickness leads to a braid that bakes lopsided.
- Apply the egg wash right before the loaf goes into the oven. Brushing it earlier can deflate the proofed dough.
- If the braid is getting too dark after 25 minutes, tent it with foil for the remaining bake time.
Bake times for different shapes:
| Shape | Oven temp | Bake time |
|---|---|---|
| 1 large 3-strand braid | 375°F (190°C) | 35 to 40 mins |
| 2 smaller 3-strand braids | 375°F (190°C) | 30 to 35 mins |
| 1 large 6-strand braid | 375°F (190°C) | 40 to 45 mins |
Keeping Challah Fresh
- Room temperature: Wrap the cooled loaf tightly in plastic or store in a bread bag for up to 3 days. Refrigeration dries it out, so keep it on the counter.
- Freeze: Wrap the whole loaf or thick slices in foil, then a bag, and freeze for up to 1 month. Thaw at room temperature.
- Reheat: Toast slices directly from the freezer or warm a whole thawed loaf in a 350°F oven for 10 minutes.
What To Serve With Sourdough Challah
Sourdough challah is incredible just thickly sliced with good butter and flaky salt, but it also makes the best French toast you have ever had. For a special brunch, serve it alongside shakshuka, where the soft crumb soaks up the spicy tomato sauce. Leftover slices are excellent for dipping into any saucy stew or braise.
Frequently Asked Questions
Can I use all-purpose flour instead of bread flour?
Yes. The loaf will be slightly less tall and the crumb a bit softer, but it still bakes beautifully.
Why does my challah taste too sour?
Sourdough naturally carries tang. If it is sharper than you like, shorten the bulk rise by about an hour or feed your starter with a lower ratio of flour to water the night before.
Can I make this without a stand mixer?
Absolutely. Mix with a wooden spoon and knead by hand for 10 to 12 minutes. The dough is enriched and easy to work.
How do I know when the challah is done?
An instant-read thermometer inserted into the center should read 190°F to 195°F (88°C to 91°C). That guarantee beats any tapping method.
Can I refrigerate the dough overnight?
Yes. After the first rise, punch it down, cover, and refrigerate for up to 12 hours. The next day, shape, proof, and bake as written. The cold dough will take a little longer to proof.
Sourdough Challah Bread Recipe
Ingredients
Method
- Mix the starter, eggs, honey, and oil. Add flour and salt, stir to a shaggy dough, cover, and rest 30 minutes.
- Knead by hand or mixer until smooth and elastic, 8 to 12 minutes. Add a little flour only if it sticks badly.
- Place in an oiled bowl, cover, and let rise until doubled, 4 to 6 hours.
- Punch down, divide, and roll into ropes. Braid and place on a lined baking sheet. Cover and proof until puffy, 2 to 3 hours. Preheat oven to 375°F during the last 20 minutes.
- Brush with egg wash and bake until deep golden, 30 to 35 minutes. Cool on a rack at least 20 minutes before slicing.
Notes
