
Crusty, Sturdy Sourdough Bread Bowls for Soup

Sourdough bread bowls turn a simple soup into a cozy, restaurant-style meal at home. With a crackly crust and a tangy, chewy crumb, they hold up to even the heartiest broths.
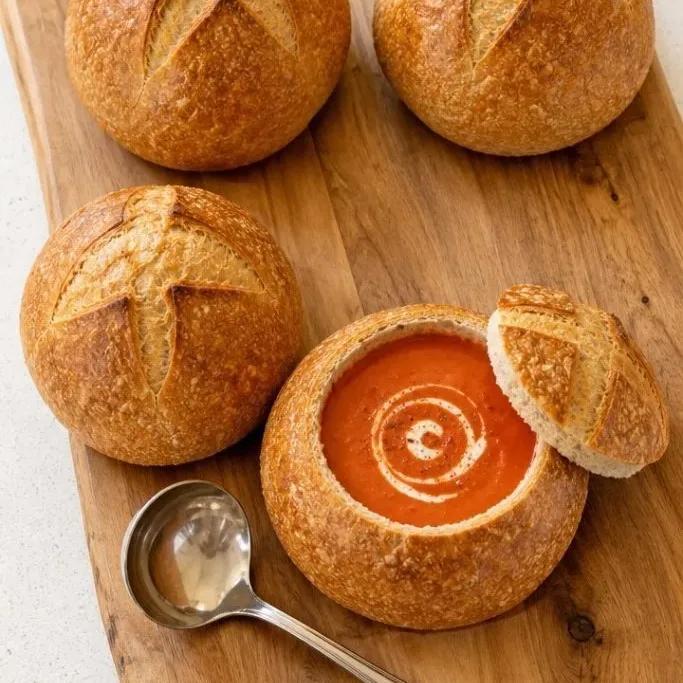
Making them from scratch takes time, but most of it is hands-off. The result is far sturdier and more flavorful than anything you can buy.
What Makes These Sourdough Bowls So Good
I keep coming back to this recipe because the bowls have a deep sourdough tang that you just won’t find in store-bought versions. The crust bakes up thick and crackly, while the inside stays soft with a chewy, open crumb.
They’re built to last through a bowl of soup. Even when I load them with hot chowder or chili, the walls stay intact and the bottom never gets soggy halfway through.
Ingredients

- 500g bread flour: high-protein flour gives the bowls enough strength to stand up to soup.
- 350g warm water: around 85°F (29°C), just warm to the touch.
- 100g active sourdough starter: fed and bubbly; it should pass the float test.
- 10g fine sea salt: balances the tang without dulling it.
Variations / Substitutions
- Whole wheat: swap up to 100g of the bread flour for whole wheat flour for a nuttier, earthier flavor.
- Mini bowls: divide dough into 6 pieces (about 130g each) and reduce bake time by 5 to 7 minutes.
- Herb-infused: add 1 tablespoon chopped fresh rosemary or thyme to the dough during mixing.
Soft and Chewy Sourdough Oatmeal Raisin Cookies make a perfect dessert to serve after these bowls.
How to Make Sourdough Bread Bowls
Step 1: Mix and Knead the Dough
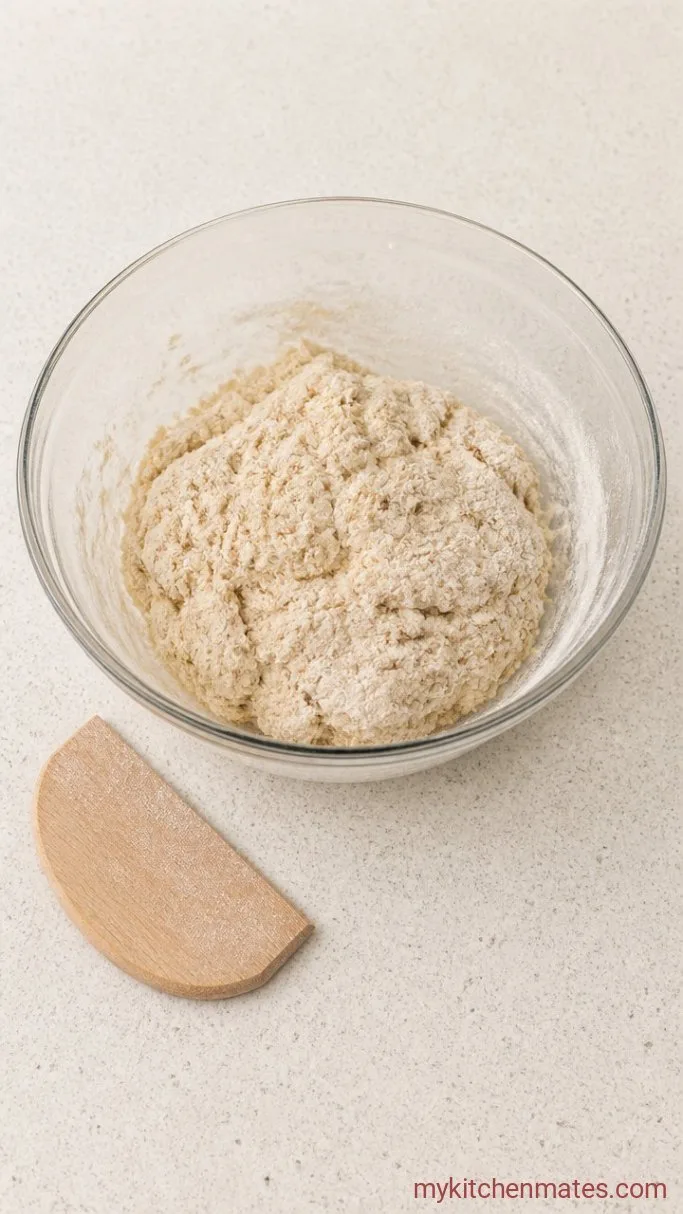
In a large bowl, combine the 500g bread flour, 350g warm water, and 100g active sourdough starter. Mix with a wooden spoon until a shaggy dough forms, then add the 10g sea salt and mix again. Turn the dough out onto a clean work surface and knead by hand for 8 to 10 minutes, or use a stand mixer with a dough hook on medium-low speed for 6 to 8 minutes. The dough should become smooth, elastic, and only slightly tacky.
You’ll know it’s ready when a small piece stretched thin passes the windowpane test. It will feel plush and spring back when you press it gently with a fingertip.
If the dough feels too wet to handle, resist adding flour right away. It will tighten up as you knead. A little stickiness is fine and helps create an open crumb.
Step 2: Ferment the Dough
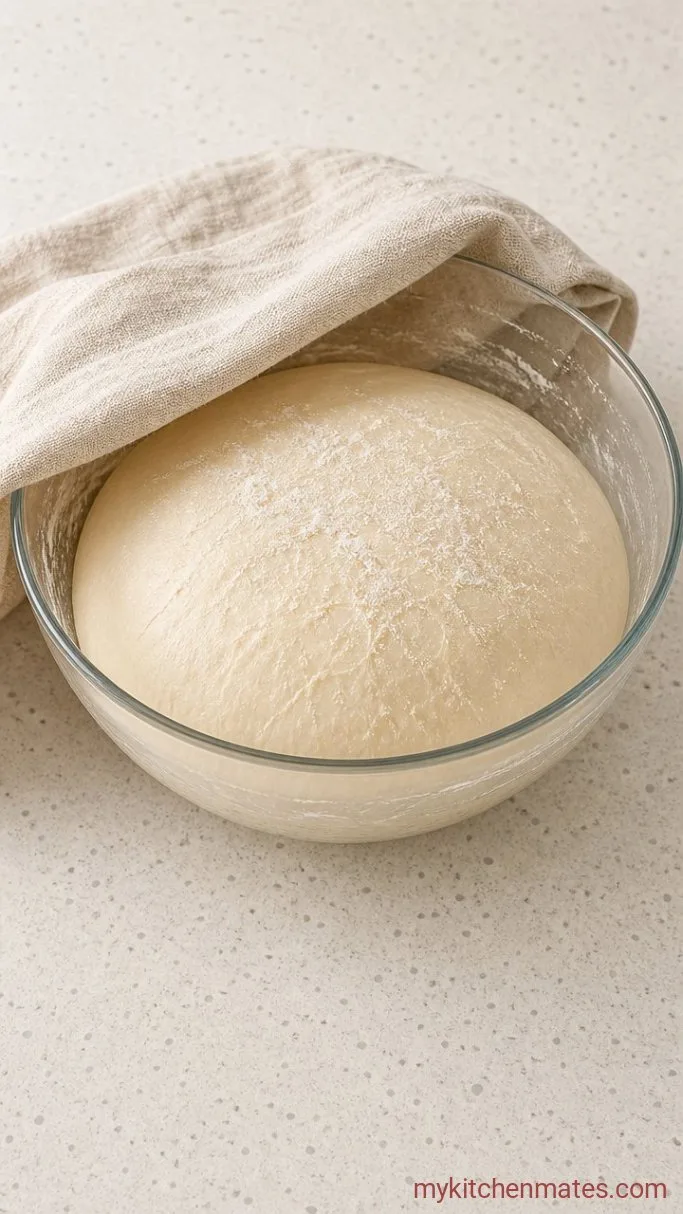
Place the dough in a lightly oiled bowl, cover with a damp towel or plastic wrap, and let it rise at room temperature (around 70°F / 21°C) until doubled in size. This usually takes 4 to 6 hours, depending on the strength of your starter and the warmth of your kitchen.
The dough will look puffy and jiggly, and when you press two floured fingers into it, the indentation should slowly refill. If it springs back fast, it needs more time; if it collapses, it’s overproofed.
A cooler kitchen will slow things down, which is great for flavor. Just expect a longer rise, up to 8 hours is fine.
Step 3: Shape the Bowls
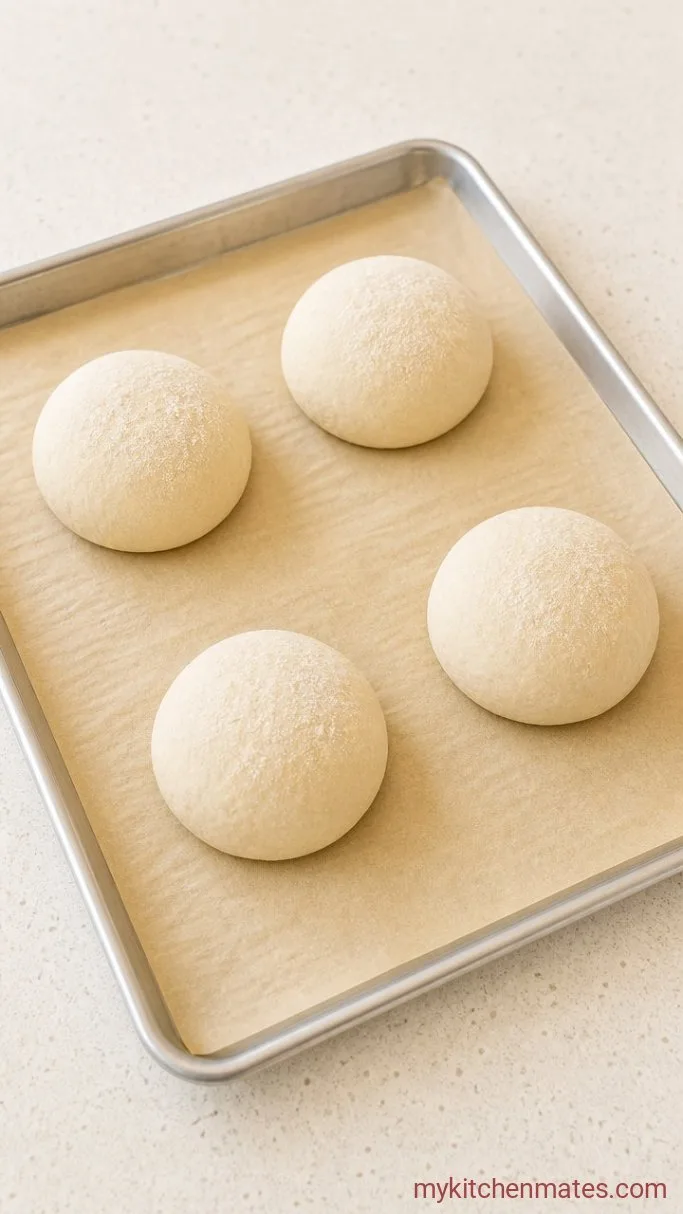
Turn the fermented dough onto a lightly floured surface and gently press out the gas. Divide it into 4 equal pieces, about 200g each. Shape each piece into a tight ball by pulling the edges to the center and pinching them together, then rolling it seam-side down under a cupped hand until the surface is smooth and taut.
Let the balls rest for 10 minutes, covered with a towel. This relaxes the gluten so they’re easier to reshape. Then reshape them one more time into tight rounds, using the same method, and place each on a square of parchment paper.
The surface should feel firm and taught like a drum. If any tears open, pinch them closed.
Step 4: Proof the Bowls
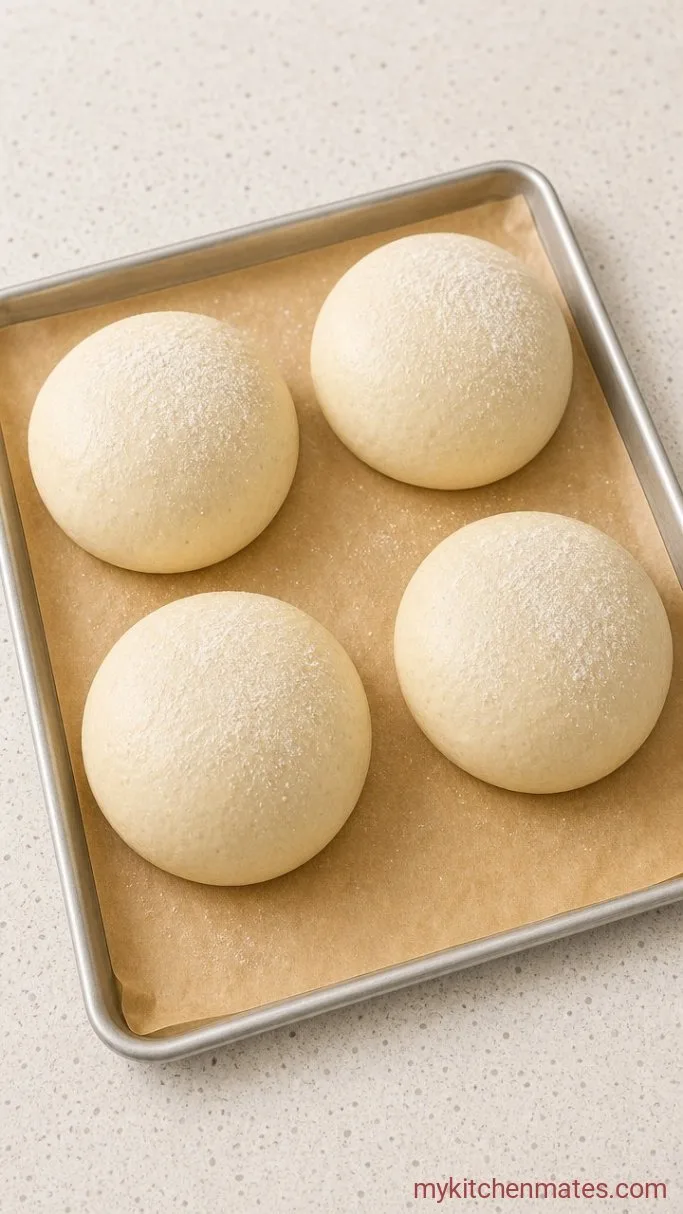
Cover the shaped bowls loosely with a towel or plastic wrap and let them proof at room temperature until noticeably puffy and almost doubled. This usually takes 2 to 3 hours. For a deeper sour flavor, you can instead place them in the refrigerator for an overnight proof (8 to 12 hours), then let them sit at room temperature for about 1 hour before baking while the oven preheats.
A gentle poke test tells you they’re ready: press a floured finger into the side. The indentation should spring back slowly but not disappear completely. If it springs back fast, they need more time. If it stays indented without moving, they’re overproofed.
Don’t rush the proof. Underproofed bowls will burst unpredictably in the oven and end up misshapen.
Step 5: Bake the Bowls
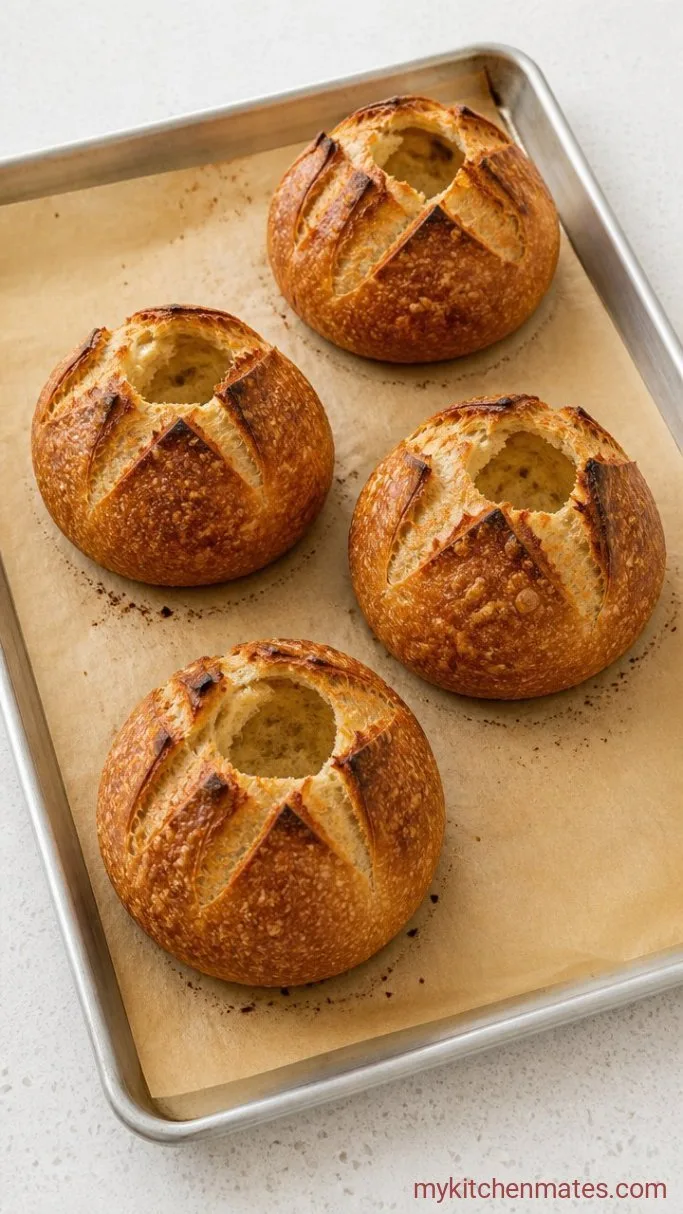
Thirty minutes before baking, place a large cast iron skillet or a deep baking pan on the bottom rack of your oven and preheat the oven to 450°F (230°C). If you have a baking stone or steel, put it on the middle rack. Use a sharp lame or razor blade to score the top of each ball with a shallow cross or a single slash. This vents steam and helps the bowls expand evenly.
Slide the parchment squares onto the preheated stone or directly onto the middle oven rack. Carefully pour about 1 cup of boiling water into the hot skillet on the bottom rack to create steam, then quickly close the oven door. Bake for 30 to 35 minutes, until the bowls are deep brown all over and sound hollow when tapped on the bottom. An instant-read thermometer inserted into the center should read 200 to 205°F (93 to 96°C).
The crust will be screaming hot and crackling as it cools. Steam and high heat are what give it that shattery crispness.
Step 6: Carve and Fill the Bowls
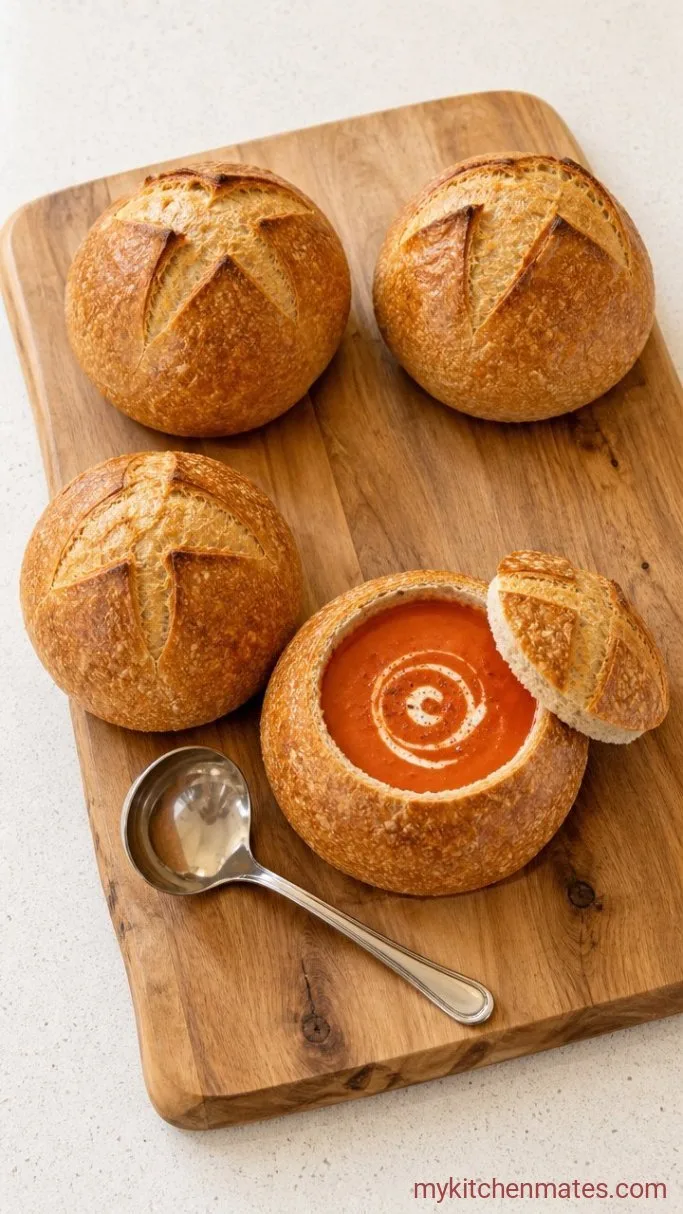
Transfer the baked bowls to a wire rack and let them cool completely. This step is non-negotiable; carving warm bread tears the crumb and weakens the walls. When fully cool, use a serrated knife to cut off the top third of each bowl, like a lid. Then, with a paring knife or your fingers, hollow out the soft inner bread, leaving a shell about ½ inch thick.
Ladle your favorite soup directly into the hollowed bowls and serve right away. The bread walls will soak up just enough broth to stay tender without getting soggy. The carved-out innards and the lid make excellent croutons or breadcrumbs, so don’t toss them.
Tips for Sturdier Bread Bowls
- Use a kitchen scale for all ingredients. Bread flour’s absorption can vary, and measuring by volume often leads to a dough that’s too dry or too wet.
- If your kitchen is cooler than 70°F, place the dough in the oven with just the light on to give fermentation a boost. Keep the door cracked.
- Weigh the dough portions after dividing. Even a small difference can throw off proofing and baking.
- For the crackliest crust, mist the oven walls with a spray bottle of water twice during the first 10 minutes of baking. That extra steam goes a long way.
Bake times for different bowl sizes:
| Bowl size (raw weight) | Bake time at 450°F | Internal temp when done |
|---|---|---|
| 150g (small) | 25 to 30 mins | 200 to 205°F (93 to 96°C) |
| 200g (standard) | 30 to 35 mins | 200 to 205°F (93 to 96°C) |
| 250g (large) | 35 to 40 mins | 200 to 205°F (93 to 96°C) |
Storing and Reheating Leftovers
Store cooled bowls in a paper bag or loosely wrapped in foil at room temperature for up to 2 days. For longer storage, freeze them in zip-top bags for up to 3 months. Reheat thawed or day-old bowls in a 350°F oven for 5 to 10 minutes to bring back the crust before carving and filling.
What Goes Well with Sourdough Bread Bowls
Thick, creamy soups are the classic choice because they cling to the bread without turning it into a soggy mess. Try a loaded baked potato soup, a smoky split pea, or a roasted tomato bisque. The tangy sourdough also stands up beautifully to hearty meat-based chilis and stews.
Frequently Asked Questions
Can I use all-purpose flour instead of bread flour?
Yes, but the bowls will be slightly less sturdy and may spread more during baking. Reduce the water by about 20g to avoid a too-slack dough.
Why did my bread bowls collapse during baking?
Overproofing is the most common cause. If the shaped dough sat too long at room temperature and felt jiggly or fragile before baking, it loses structure. A long overnight proof in the fridge gives more control.
How can I get a more sour flavor?
Use a stiff starter, ferment at a cooler temperature, or let the shaped bowls proof overnight in the refrigerator. The longer, colder rise develops more tang.
Can I make these with sourdough discard instead of active starter?
No, discard lacks the strength to leaven the dense bread bowls properly. You need a recently fed, active starter that doubles within 4 to 6 hours.
Sourdough Bread Bowls Recipe
Ingredients
Method
- In a large bowl, combine the 500g bread flour, 350g warm water, and 100g active sourdough starter. Mix to a shaggy dough, add the 10g salt, and knead by hand for 8 to 10 minutes (or 6 to 8 minutes with a dough hook) until smooth and elastic.
- Place the dough in an oiled bowl, cover, and let rise at room temperature until doubled, 4 to 6 hours.
- Turn the dough out, divide into 4 equal pieces (about 200g each), shape into tight balls, and let rest 10 minutes. Reshape tightly and place on parchment squares.
- Cover and proof at room temperature until puffy and nearly doubled, 2 to 3 hours, or refrigerate overnight for more sour flavor.
- Preheat oven to 450°F (230°C) with a cast iron skillet on the bottom rack. Score the tops, slide bowls in, pour about 1 cup boiling water into the skillet, and bake 30 to 35 minutes until deep brown and hollow-sounding.
- Cool completely on a rack, cut off the top third, hollow out the interior leaving a ½-inch shell, and fill with soup. Serve immediately.
Notes
