
3-Ingredient Snow Ice Cream

Snow ice cream is the best winter dessert you can make with just two hands and a fresh snowfall. It’s light, fluffy, and tastes like a vanilla cloud, with a sweet, creamy finish that reminds you of soft serve.
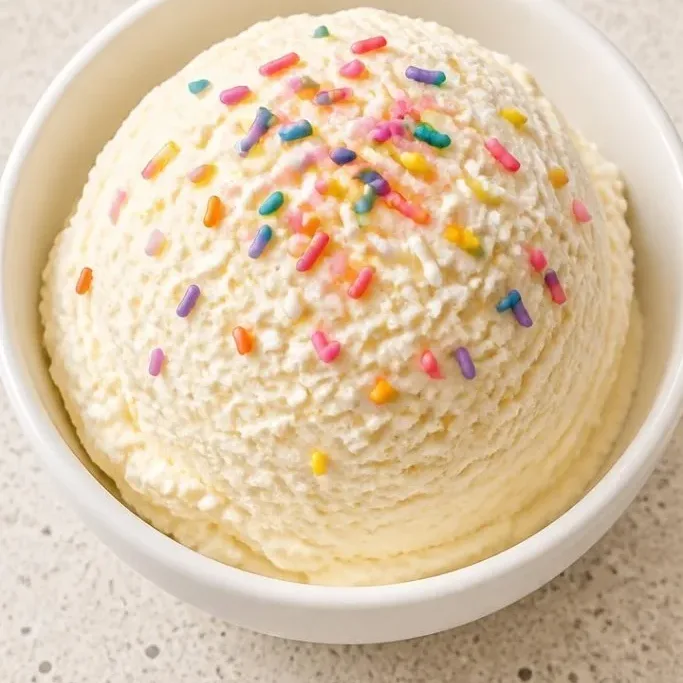
On the next snow day, grab a bowl and head outside. This recipe comes together in five minutes with sweetened condensed milk, vanilla, and a heap of clean snow.
Why This Snow Ice Cream Works
The sweetened condensed milk does double duty: it sweetens and gives the snow a rich, velvety body without any icy graininess. Unlike churned ice cream, there’s no waiting, no machine, just a soft scoopable texture right away.
It’s the kind of treat that turns a regular snow day into an event. The vanilla taste stays bright and clean, and you can dress it up with sprinkles, a drizzle of chocolate, or crushed candy canes.
Ingredients
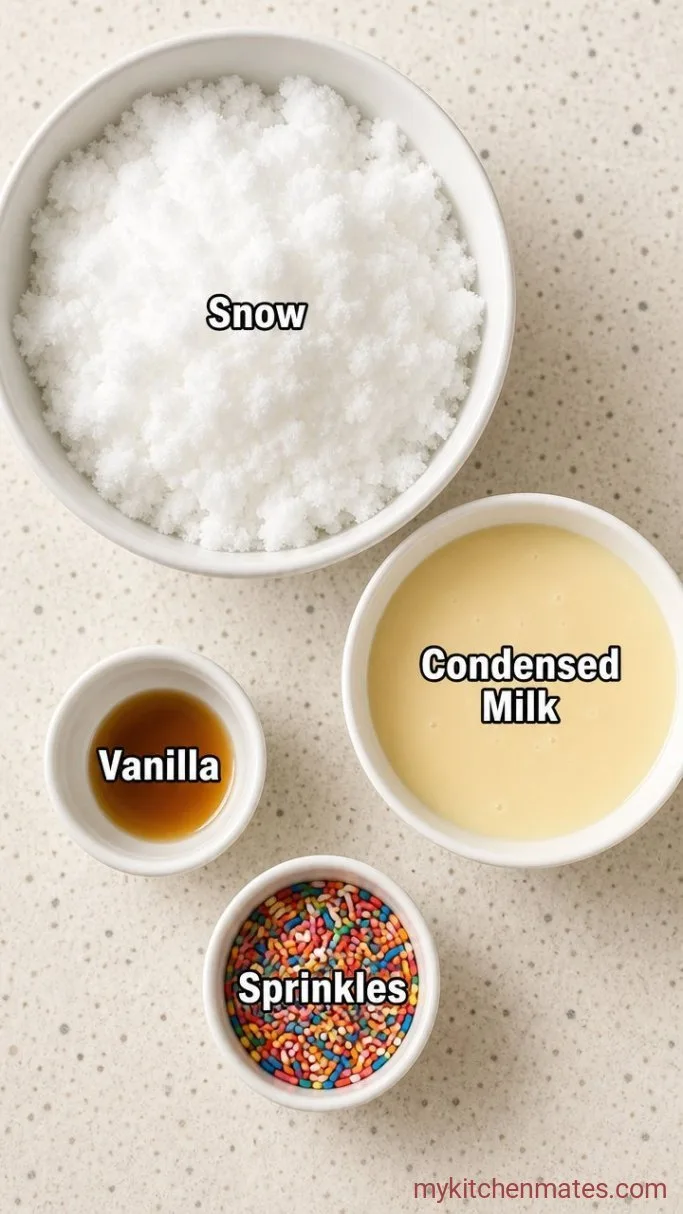
- 8 cups fresh, clean snow: scoop from a clean area, avoiding yellow or packed snow. Lightly spoon it into the measuring cup, don’t pack it down.
- 1 (14 oz) can sweetened condensed milk: full-fat is best, straight from the fridge so it’s cold.
- 1 teaspoon vanilla extract: pure vanilla gives the cleanest flavor.
- Rainbow sprinkles: for serving, if you like.
Variations / Substitutions
- Peppermint extract: swap the vanilla for half a teaspoon of peppermint extract for a candy cane vibe.
- Chocolate snow cream: whisk 2 tablespoons unsweetened cocoa powder into the sweetened condensed milk before folding in the snow.
- Dairy-free: use a can of full-fat coconut cream plus ⅓ cup maple syrup instead of the condensed milk. The texture will be softer and less rich.
- Spiked version: stir 1 tablespoon of bourbon or dark rum into the milk mixture for an adults-only bowl.
Fudgy Brownies are another reader favorite dessert worth making next.
How to Make Snow Ice Cream
Step 1: Collect the Snow
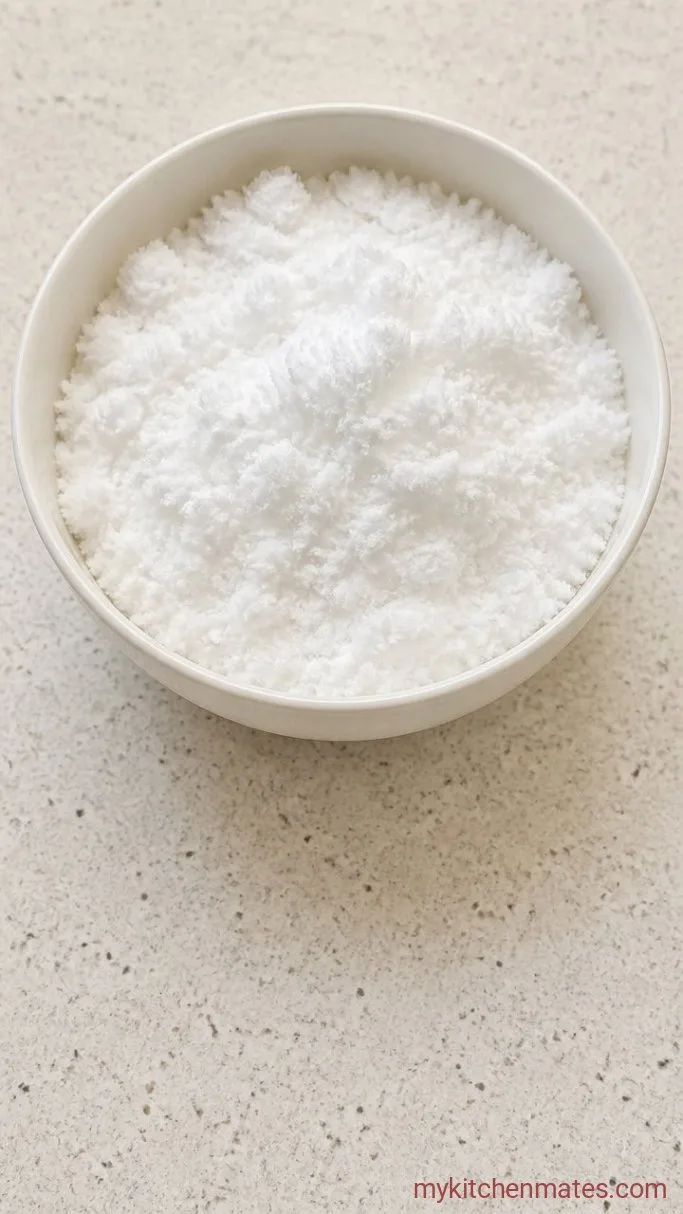
Place a large metal or glass bowl in the freezer for at least 10 minutes before you start. This keeps the snow from melting the second it hits the bowl. When you’re ready, head outside and scoop 8 cups of freshly fallen snow into the chilled bowl. Look for clean, fluffy snow from the very top layer, and avoid anything that’s been driven over or even slightly discolored.
Step 2: Whisk and Fold the Base
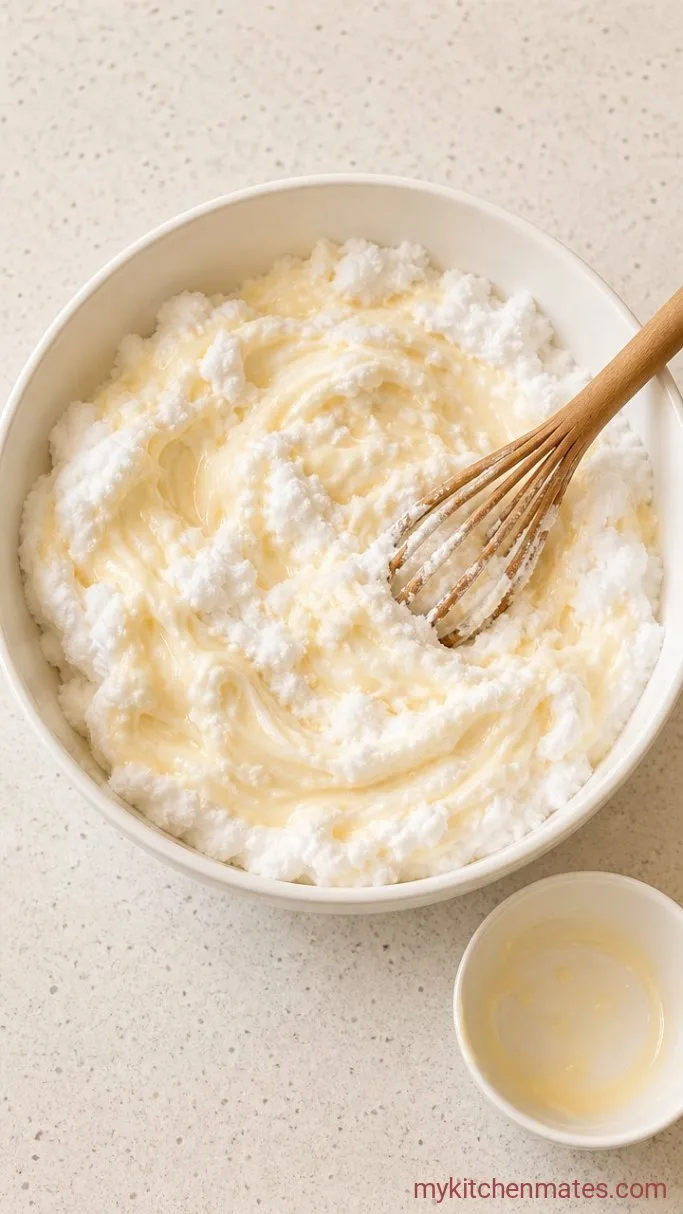
In a small bowl, whisk together the can of sweetened condensed milk (14 oz) and 1 teaspoon vanilla extract for about 15 seconds until completely smooth. Drizzle this mixture evenly over the snow, then use a rubber spatula to gently fold everything together for about 30 seconds. Stop the moment the snow is uniformly coated and starts to look like soft, fluffy ice cream. Overmixing will deflate it, so a light hand is key.
Step 3: Scoop and Serve It Fluffy
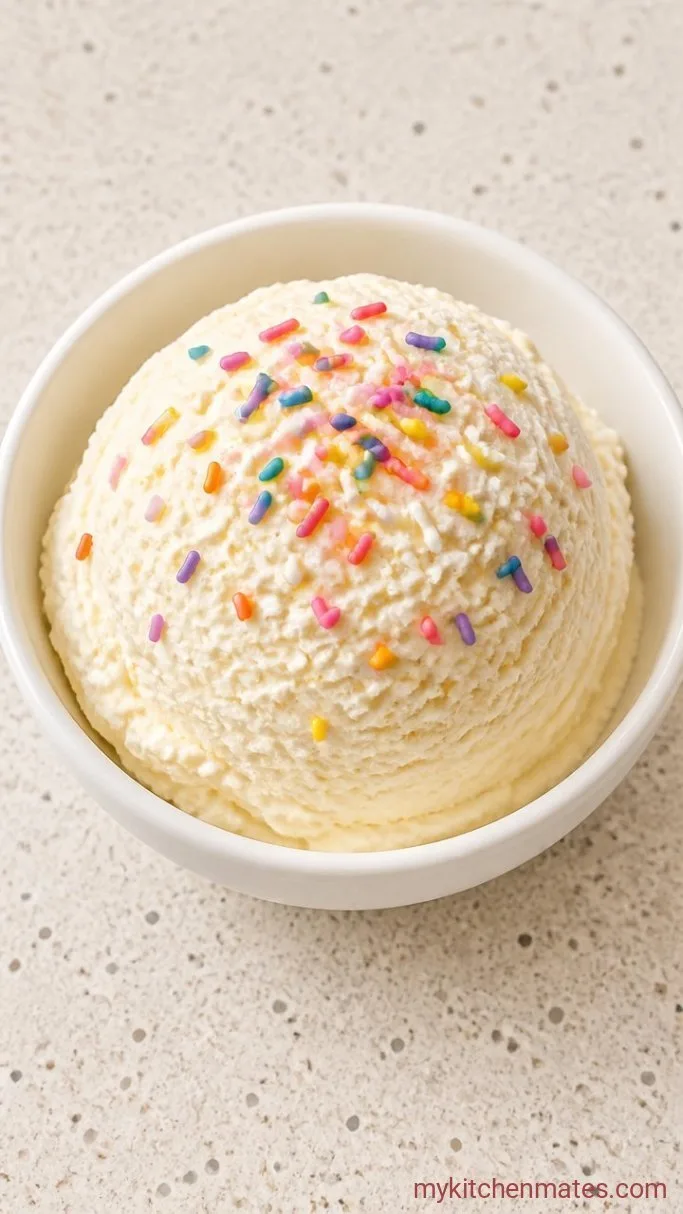
Scoop the snow ice cream straight into chilled bowls or cups, shower it with rainbow sprinkles if you’re feeling festive, and serve right away. This dessert waits for no one, so gather everyone around and dig in while each spoonful is still light and straight-from-the-sky fresh.
A Few Tips for the Best Snow Ice Cream
- Pick the right snow: Fresh snow that fell within the last few hours is ideal. Avoid the very first snowfall of the season, which can trap more dust and particles. Give the snow a quick look and sniff; it should smell clean, not like the ground.
- Keep everything cold: Besides chilling the mixing bowl, have your sweetened condensed milk cold from the fridge. If your kitchen runs warm, pop the bowl back into the freezer for 5 minutes before folding so you’re not fighting a melt.
- Adjust the texture on the fly: Dry, powdery snow often needs an extra tablespoon of sweetened condensed milk to hold together. Wet, heavy snow calls for a little less. You want a mixture that’s fluffy and just holds its shape, not soupy.
- Turn it into a toppings bar: Set out bowls of crushed peppermint candies, mini chocolate chips, or a squeeze bottle of chocolate syrup. Let everyone build their own bowl right at the counter.
Scale it to your crowd:
| Servings | Snow | Sweetened Condensed Milk | Vanilla Extract |
|---|---|---|---|
| 2 | 4 cups | ½ can (7 oz) | ½ tsp |
| 4 | 8 cups | 1 can (14 oz) | 1 tsp |
| 6 | 12 cups | 1½ cans (21 oz) | 1½ tsp |
Frequently Asked Questions
Can I use evaporated milk instead of sweetened condensed milk?
No, evaporated milk is unsweetened and much thinner. You’d need to add sugar and it won’t create the same creamy texture.
Is it safe to eat snow?
Yes, when you collect fresh, clean snow from an unpolluted area. Stay away from snow near roads, sidewalks, rooftops, or anywhere animals may have been.
Can I make this ahead of time?
No, snow ice cream loses its fluffy texture within minutes. It’s best scooped and eaten right away, so make only what you’ll enjoy in the moment.
What can I use instead of vanilla extract?
Try half a teaspoon of almond extract, a splash of real maple syrup, or even a tablespoon of fresh lemon juice for a bright citrus note. Taste and adjust sweetness if needed.
Why did my snow ice cream turn out icy?
That usually means the snow started to melt before mixing, or it was stirred too vigorously. Keep all your tools cold and fold gently to preserve the fluffy structure.
Snow Ice Cream Recipe
Ingredients
Method
- Place a large metal bowl in the freezer for at least 10 minutes. Fill it with 8 cups of fresh, clean snow, lightly spooned in.
- In a small bowl, whisk the sweetened condensed milk and vanilla until smooth. Drizzle over the snow and fold gently until the mixture looks like soft, fluffy ice cream, about 30 seconds.
- Scoop into chilled bowls, top with sprinkles, and serve immediately.
Notes
