
Rosemary Sourdough Bread with a Crackling Crisp Crust

A sourdough loaf that fills the kitchen with piney rosemary and that deep fermented tang. It bakes up with a shatteringly crisp crust and a chewy, open crumb that holds butter like a dream.
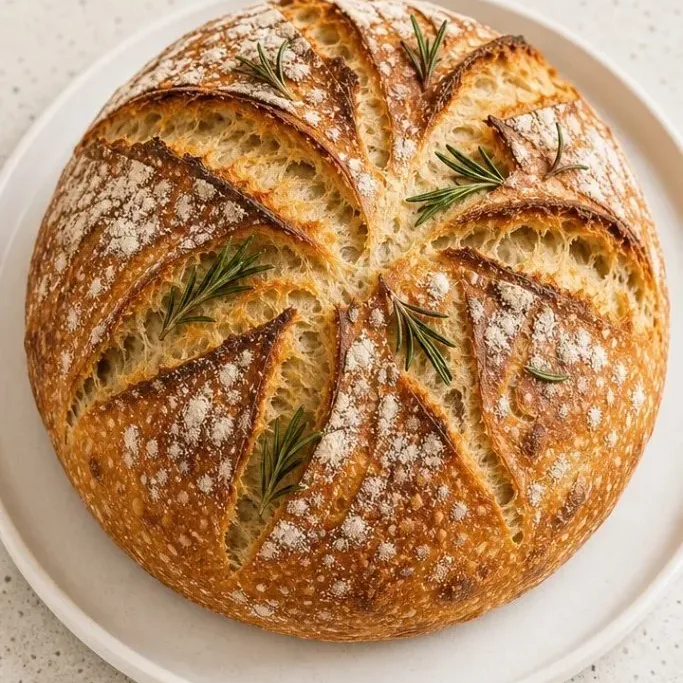
This is the loaf you make when you want something a little more special than plain white bread but just as reliable. The rosemary works its way into every bite without overpowering the sourdough’s natural acidity.
Why This Rosemary Loaf Stays in Our Bread Basket
The fresh rosemary is more than a garnish. It draws out a subtle woodsy note from the long fermentation that makes the bread taste like it came from a proper boulangerie.
The crust alone is worth the effort. Brushed with a light mist of water before it hits the hot oven, it cracks and blisters into a deep amber shell that you can hear when you slice it.
And because the dough is forgiving, this recipe works even if your starter is a little sluggish or your kitchen runs cool. You just adjust the proofing time until the dough feels pillowy and airy under your palm.
Ingredients
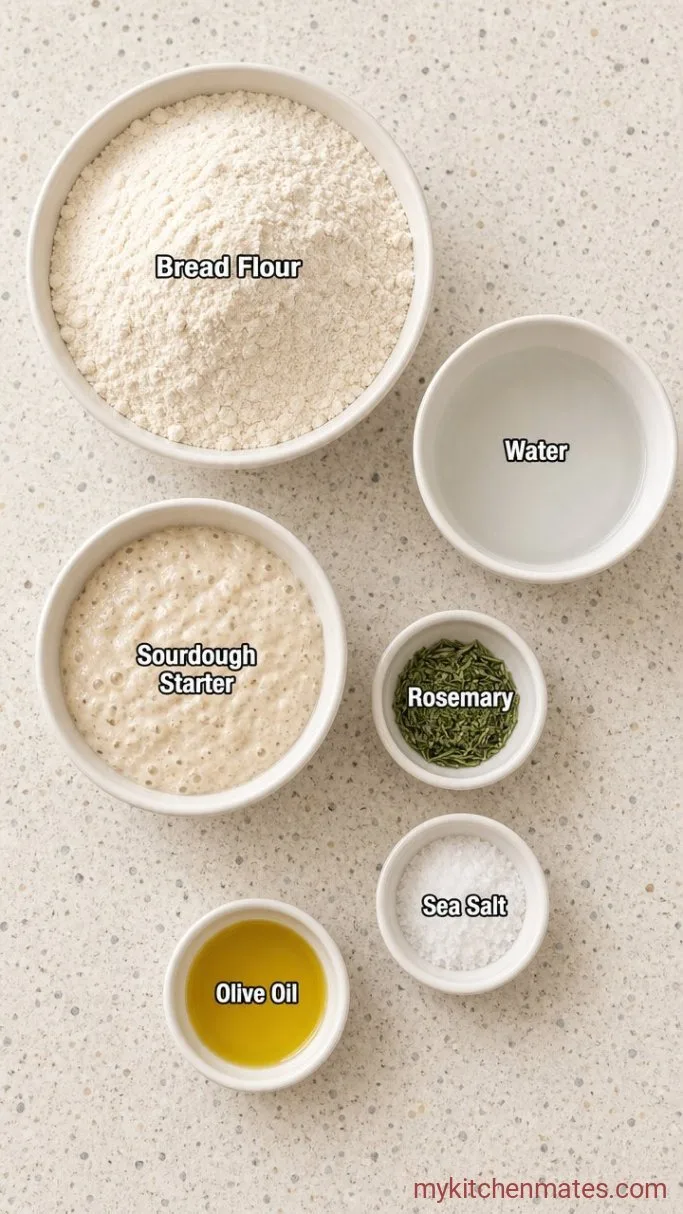
- 3 cups (360g) bread flour: a high-protein flour gives the gluten the strength to trap gas and create an airy crumb.
- 1 1/4 cups (300g) lukewarm water: around 80°F (27°C), filtered if your tap water is heavily chlorinated.
- 1/2 cup (100g) active sourdough starter (100% hydration): fed 4 to 6 hours before mixing, bubbly and doubled.
- 2 tbsp fresh rosemary, finely chopped: use fresh needles stripped from the stem, not the woody branches.
- 2 tsp fine sea salt: sea salt or kosher salt, not iodized table salt, which can add a metallic edge.
- 1 tbsp extra-virgin olive oil: (optional): adds a hint of softness to the crumb, but the bread works beautifully without it.
Variations / Substitutions
- Substitute dried rosemary: use 2 tsp, crushed between your fingers, but the flavor will be more concentrated and less aromatic. Fresh is much brighter here.
- Swap the herb: thyme, sage, or even finely chopped rosemary and roasted garlic cloves work well. Keep the total herb amount similar.
- Add a little whole grain: replace 1/2 cup (60g) of the bread flour with whole wheat or spelt for a nuttier flavor. You may need an extra tablespoon of water.
- Dairy-free as written: no butter or milk, so it’s already plant-based.
Hearty One-Pot Vegetable Barley Soup goes perfectly with this bread for a cozy meal.
How To Make Rosemary Sourdough Bread
Step 1: Mix the Dough and Start Fermentation
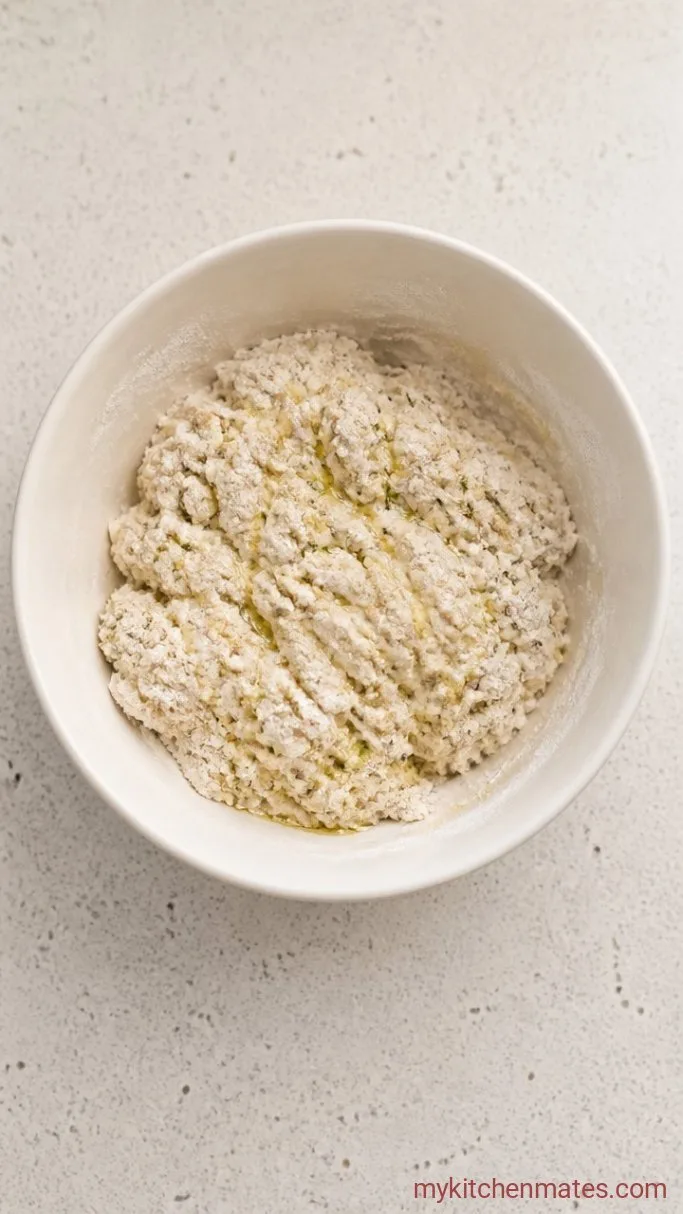
In a large bowl, combine the 3 cups (360g) bread flour, 1 1/4 cups (300g) lukewarm water, 1/2 cup (100g) active starter, and the chopped rosemary. Mix by hand or with a wooden spoon until no dry floury pockets remain, about 1 minute. The dough will look shaggy and sticky, that is exactly what you want.
Cover the bowl with a damp towel or a plate and let it rest for 30 minutes. This hydration pause lets the flour fully absorb the water before you work the gluten, which makes the dough easier to handle later.
Step 2: Fold and Strengthen the Dough
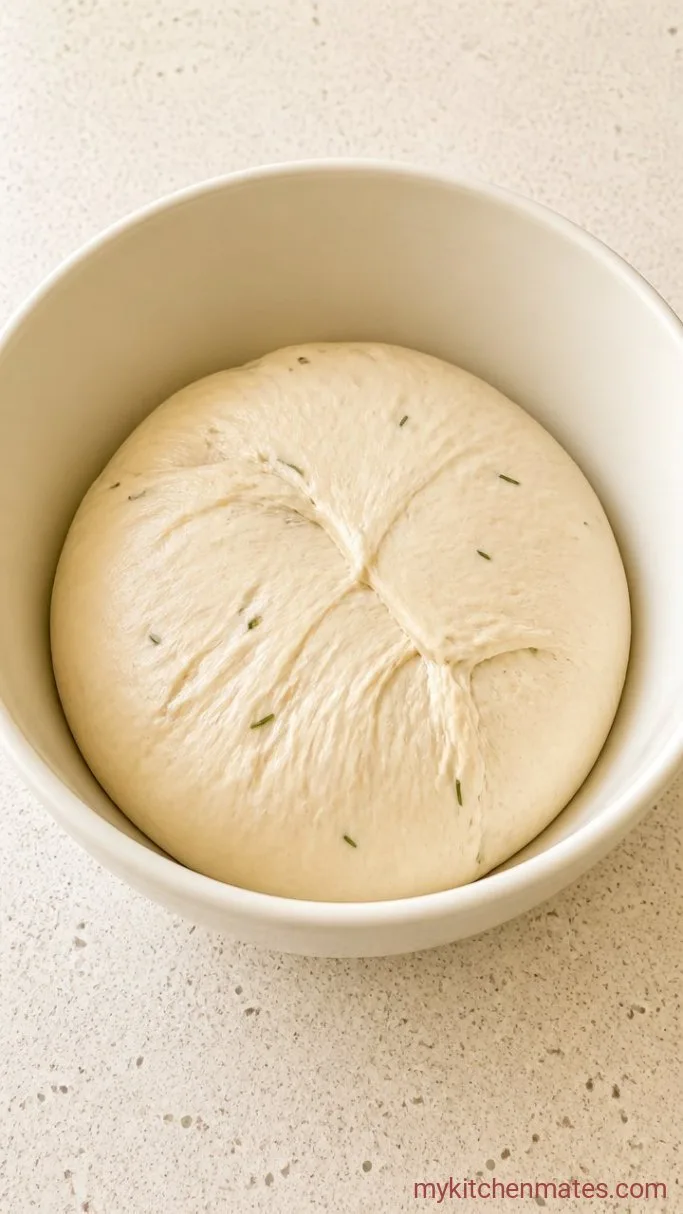
After the 30 minute rest, sprinkle the 2 tsp sea salt over the dough, then add the optional olive oil if using. Wet your hand to prevent sticking and fold the dough by grabbing the edge farthest from you, stretching it up, and folding it over the center. Rotate the bowl a quarter turn and repeat. Do 6 to 8 folds until the dough begins to feel more cohesive.
Wait 30 minutes, then fold the dough again, 4 to 6 folds this time. The dough will start to feel smoother and resist the stretch. Another 30 minute rest and a final set of folds give you 3 rounds total over 90 minutes. By the last round, the dough should jiggle like a set custard when you shake the bowl gently.
Step 3: Let the Dough Double in Size
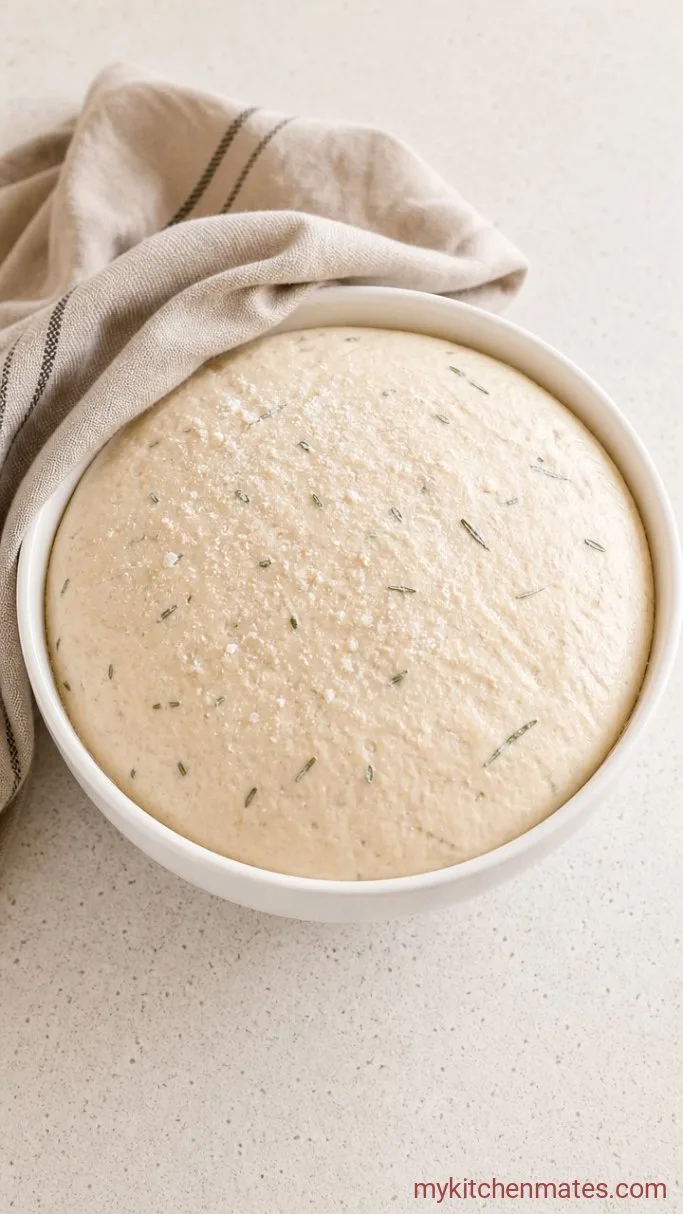
Cover the bowl and let it bulk ferment at room temperature until doubled in volume and scattered with visible bubbles on top. This can take anywhere from 4 to 6 hours depending on the warmth of your kitchen. A spot around 74°F (23°C) is ideal. If your dough doesn’t seem active after 3 hours, move it somewhere slightly warmer but never hot.
Look for a dome that feels loose and soft, not tight like a balloon. A quick poke with a floury finger should leave an indent that slowly fills back in.
Step 4: Shape the Loaf
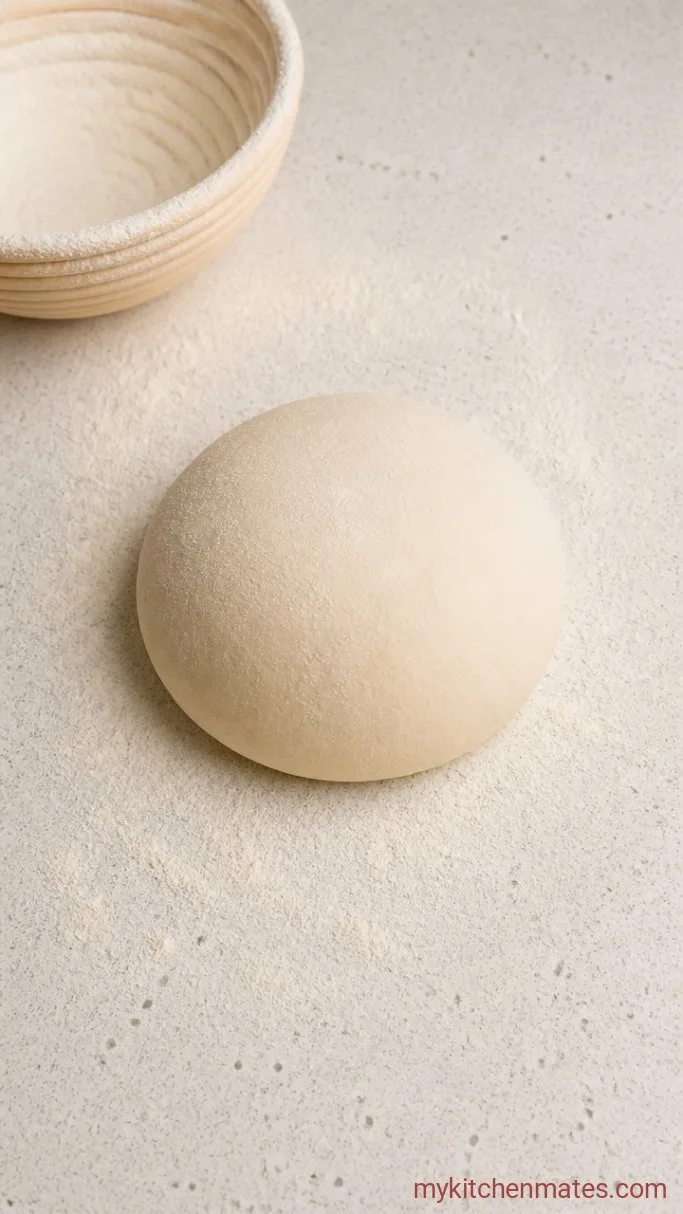
Turn the dough out onto a lightly floured surface. Use a bench scraper or floured hands to shape it into a tight round by pulling the edges into the center, then flip it seam-side down. Cup your hands around the dough and drag it gently toward you to create surface tension. You should end up with a smooth ball that holds its shape.
Let the shaped loaf rest uncovered for 20 minutes on the counter. This bench rest allows the gluten to relax a little before the final tight shape. After the rest, repeat the same shaping motion once more, tightening it further, and place it seam-side up in a floured banneton or a bowl lined with a well-floured tea towel.
Step 5: Proof, Score, and Bake to a Golden Crust
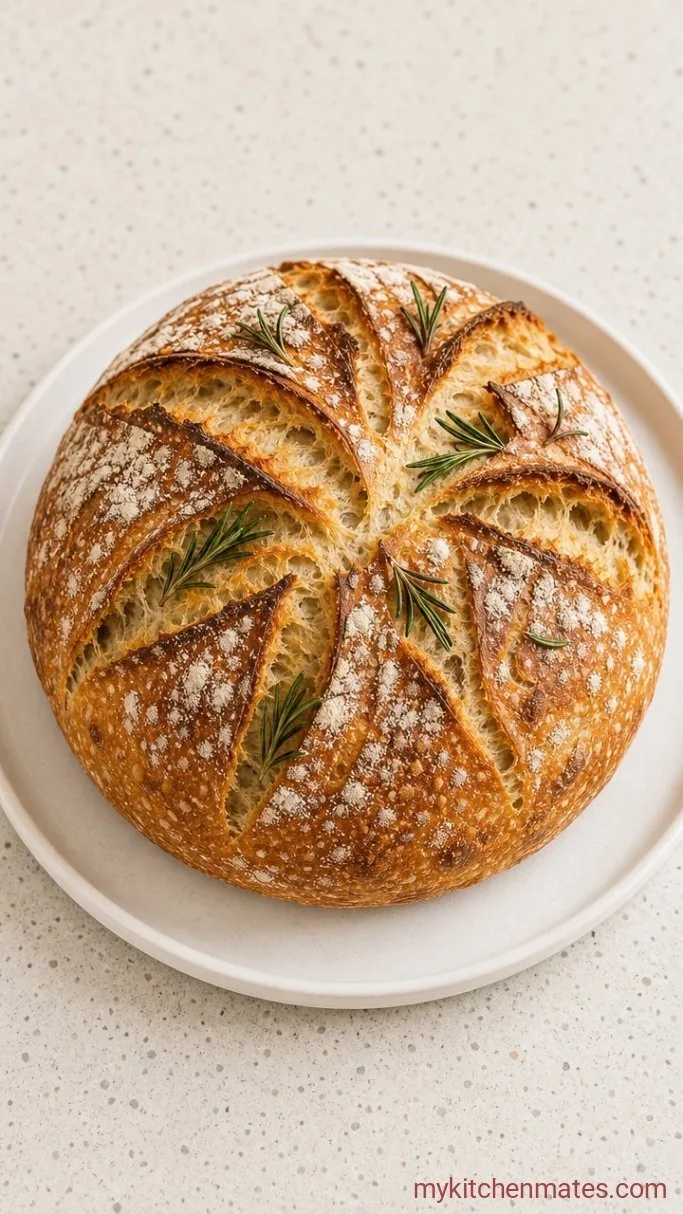
Cover the shaped dough loosely with plastic or a damp towel and let it proof at room temperature until puffy and about one and a half times its original size, typically 1 to 2 hours. The poke test is your friend: press a floured finger gently into the side; if the dough springs back slowly and leaves a slight dent, it is ready to bake.
About 30 minutes before baking, place a Dutch oven or a heavy lidded pot on the middle rack and preheat your oven to 450°F (230°C). When the oven is fully heated, carefully turn the loaf out onto a sheet of parchment paper. Score the top with a sharp lame or a serrated knife in a cross or a single slash, then lift it by the parchment corners and lower it into the hot pot. Mist the loaf with a few sprays of water, cover, and bake for 30 minutes. Remove the lid and continue baking for another 10 to 15 minutes, until the crust is a deep mahogany and the internal temperature reaches around 205°F (96°C).
Cool the loaf on a wire rack for at least an hour before slicing. This resting time finishes the crumb set, and cutting too soon turns the inside gummy. Serve the slices warm with a smear of cultured butter, and listen for that crackle.
A Few Tips Before You Bake
- If your kitchen is cold, proof the dough on top of the fridge or near a radiator. Even a slight boost cuts the waiting time significantly.
- To check if your starter is truly active, float a small spoonful in room-temperature water. It should bob happily on the surface, not sink.
- Use a sharp blade for scoring, and be confident. Quick, decisive slashes prevent the dough from tearing unevenly as it expands in the oven.
- Rosemary can be a little sharp on its own, so make sure it’s very finely minced. Large whole needles can create bitter pockets.
Proofing times vary with the temperature of your kitchen. Use this as a rough guide:
| Room Temp | Approx Bulk Ferment | Approx Final Proof |
|---|---|---|
| 68°F (20°C) | 6 to 7 hours | 2 to 3 hours |
| 75°F (24°C) | 4 to 5 hours | 1.5 to 2 hours |
| 80°F (27°C) | 3 to 4 hours | 1 to 1.5 hours |
Keeping Rosemary Sourdough Fresh
Store the cooled loaf cut-side down on a wooden board for up to 2 days without wrapping; this keeps the crust crisp. For longer storage, wrap tightly in foil and keep at room temperature for up to 4 days. To revive a day-old loaf, run it quickly under the tap and reheat in a 375°F oven for 5 to 7 minutes. Avoid the fridge, which stales bread faster.
What To Serve With Rosemary Sourdough Bread
A thick slice with a light spread of salted butter is hard to beat, but the rosemary and tang also pair beautifully with earthy soups. Try it alongside a bowl of lentil and vegetable stew, where the bread sops up the broth without going mushy. For something simple, toast a slice, rub it with a garlic clove, and drizzle with good olive oil for a quick bruschetta that lets the loaf shine.
Frequently Asked Questions
Can I use dried rosemary instead of fresh?
Yes, use 2 teaspoons crushed dried rosemary. The flavor will be more concentrated and less aromatic, so reduce it slightly if you prefer a gentle herbal note.
How do I know when the bulk fermentation is done?
The dough should double in volume, look puffy and jiggle when you shake the bowl. A dimple made by your fingertip should slowly refill halfway.
Why did my loaf come out dense?
Dense crumb usually means the starter wasn’t active enough or the dough didn’t proof long enough. Make sure your starter passes the float test and watch for the visual cues more than the clock.
Can I skip the stretch and folds?
You can, but the crumb will be tighter. The folds align the gluten without heavy kneading and trap gas for an open texture; skipping them makes the loaf closer to a sandwich bread.
What if I don’t have a Dutch oven?
You can bake on a preheated baking stone or an inverted sheet pan. Add a pan of hot water to the bottom rack for steam and bake for about 40 minutes total, rotating once.
Rosemary Sourdough Bread Recipe
Ingredients
Method
- In a large bowl, mix together the flour, water, starter, and rosemary until no dry bits remain. Cover and rest 30 minutes.
- Add salt and optional olive oil. Perform a set of stretch and folds, then repeat twice at 30-minute intervals over 90 minutes.
- Cover and let the dough bulk ferment at room temperature for 4 to 6 hours, until doubled and bubbly.
- Turn dough onto a floured surface, shape into a round, rest 20 minutes, then shape tightly and place seam-up in a floured banneton.
- Proof covered for 1 to 2 hours until puffy. Preheat a Dutch oven to 450°F (230°C), turn loaf onto parchment, score, mist with water, and bake covered for 30 minutes then uncovered 10 to 15 minutes until deep golden. Cool completely on a rack.
Notes
