
No-Roll Pumpkin Pie with Graham Cracker Crust

This pumpkin pie ditches the rolling pin for a buttery graham cracker crust that presses right into the dish. The filling is thick, creamy, and spiced with cinnamon and ginger, and it all comes together in about 15 minutes of hands-on work.
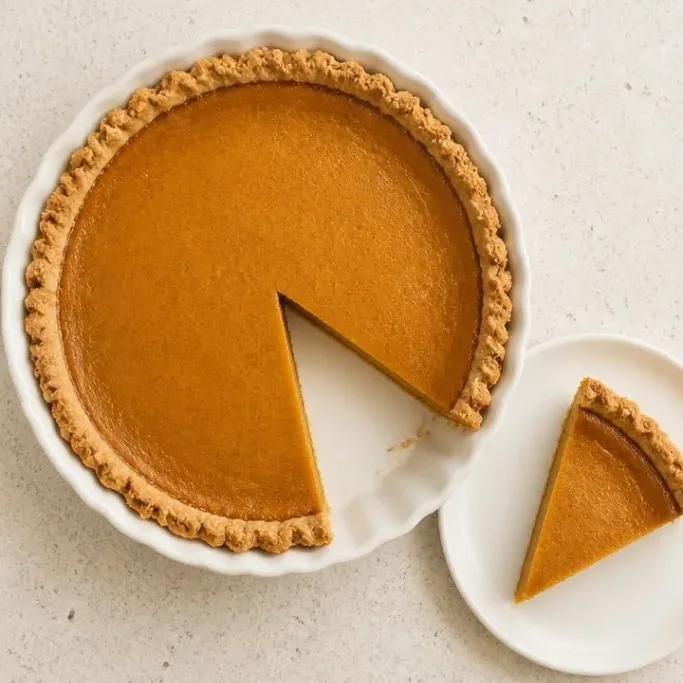
If the thought of making pie crust from scratch keeps you from baking one, this is the recipe that gets you past that. The crust takes no time at all and stays crisp under the silky pumpkin layer, even after a night in the fridge.
Why I Prefer a Graham Cracker Crust
I have made pumpkin pie every fall for years, and the graham cracker version is the one I reach for when I want it to be good but not a project. There is no chilling, no rolling, and no worrying about a soggy bottom. The brown sugar and butter in the crumbs toast during baking and give you a crust that snaps when you cut into it.
The filling is the classic one, smooth and rich with plenty of spice, but it leans on the crust to bring a little extra sweetness and texture. A traditional pastry crust can turn soft under a custard like this. A graham crust holds its own, so every bite has contrast between the velvety pumpkin and the crisp-edged base.
I also love that the crust can be made while the oven heats, and the whole pie needs nothing more than a big swirl of whipped cream to serve. It is the dessert I know will look and taste like I fussed, even on a weeknight.
Ingredients
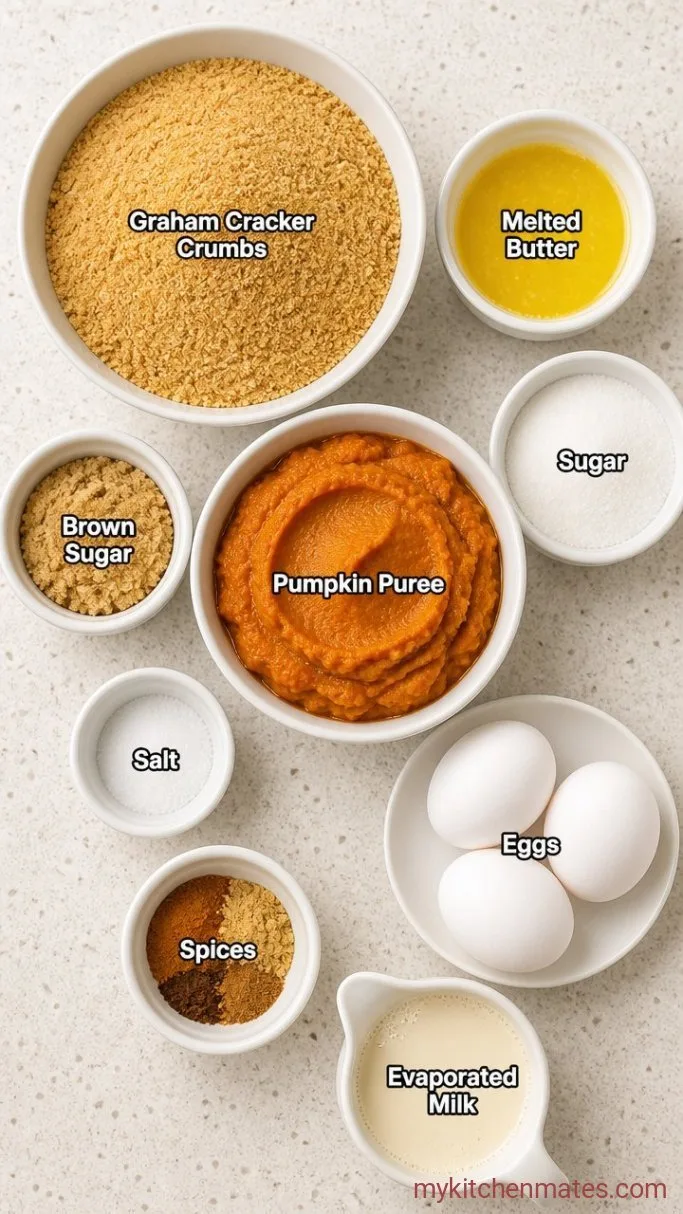
- 1 ½ cups graham cracker crumbs (about 12 full sheets): honey or cinnamon grahams both work
- ¼ cup granulated sugar: for the crust
- 6 tbsp unsalted butter, melted: keeps the crust crisp
- 1 can (15 oz) pure pumpkin puree: not pumpkin pie mix
- ¾ cup granulated sugar: for the filling
- ¼ cup packed light brown sugar: adds a soft caramel note
- ½ tsp salt: balances the sweetness
- 1 ½ tsp ground cinnamon: the main spice
- ½ tsp ground ginger: a gentle warmth
- ¼ tsp ground cloves: a little goes a long way
- ¼ tsp ground nutmeg: freshly grated if you have it
- 3 large eggs: at room temperature
- 1 can (12 oz) evaporated milk: gives the filling a velvety body
Variations / Substitutions
- Make it dairy-free: swap the butter for refined coconut oil and use full-fat canned coconut milk in place of the evaporated milk. The filling will be a touch softer but still set.
- Use a different crumb: replace the graham crackers with an equal amount of crushed speculoos, vanilla wafers, or gluten-free graham-style cookies.
- Go heavier on spice: add a pinch of allspice or a few scrapes of fresh nutmeg for a bolder flavor.
- Skip the evaporated milk: half-and-half or heavy cream both work. The texture will be a little richer.
Dairy-Free Pumpkin Pie is another dessert you’d probably love if you enjoy this pie.
How to Make No-Roll Pumpkin Pie with Graham Cracker Crust
Step 1: Press the Crust
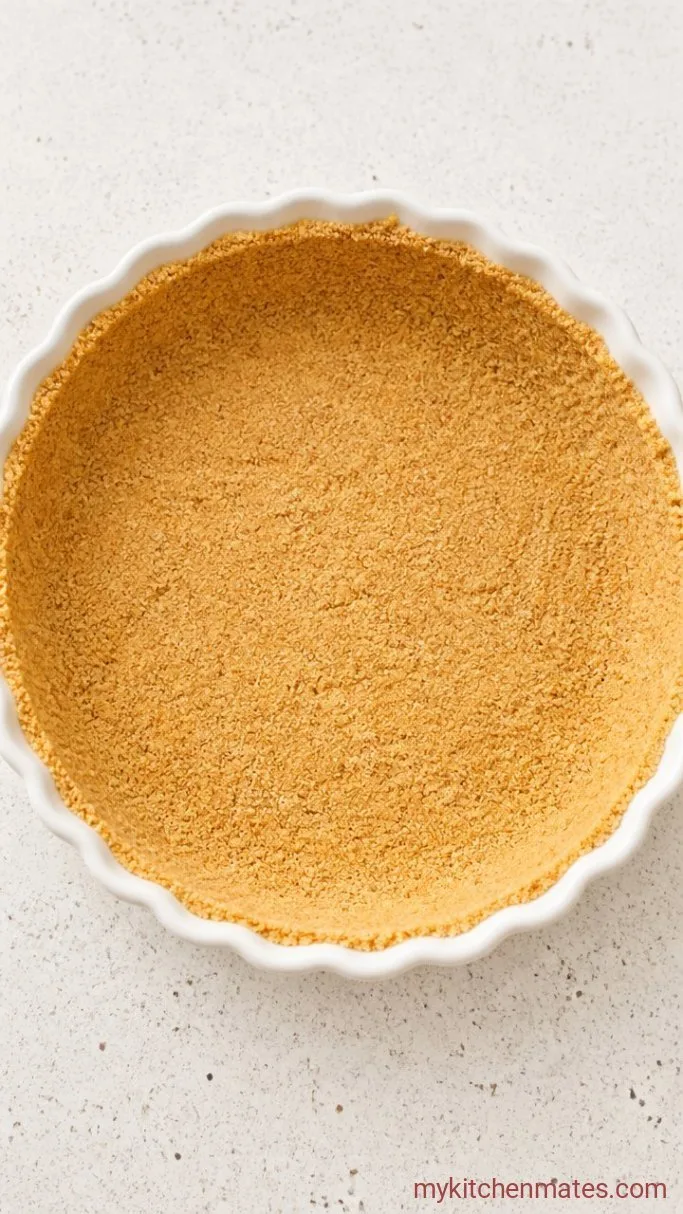
Stir together the 1 ½ cups graham cracker crumbs, the ¼ cup granulated sugar, and the 6 tablespoons melted butter in a medium bowl until the mixture looks like wet sand and holds together when you squeeze it. Tip it into a standard 9-inch pie plate, not a deep-dish one. Use your fingers or the flat bottom of a measuring cup to press it firmly and evenly across the bottom and up the sides. Get the crumbs all the way to the rim so the crust edge stays sturdy. Put the dish in the freezer for 10 minutes while the oven heats.
The crust should feel compact and uniform. You should not see any loose crumbs. A quick chill helps the butter set, which prevents the crust from sliding down the sides during baking and gives you a clean, tall edge for the filling.
Step 2: Whisk the Filling
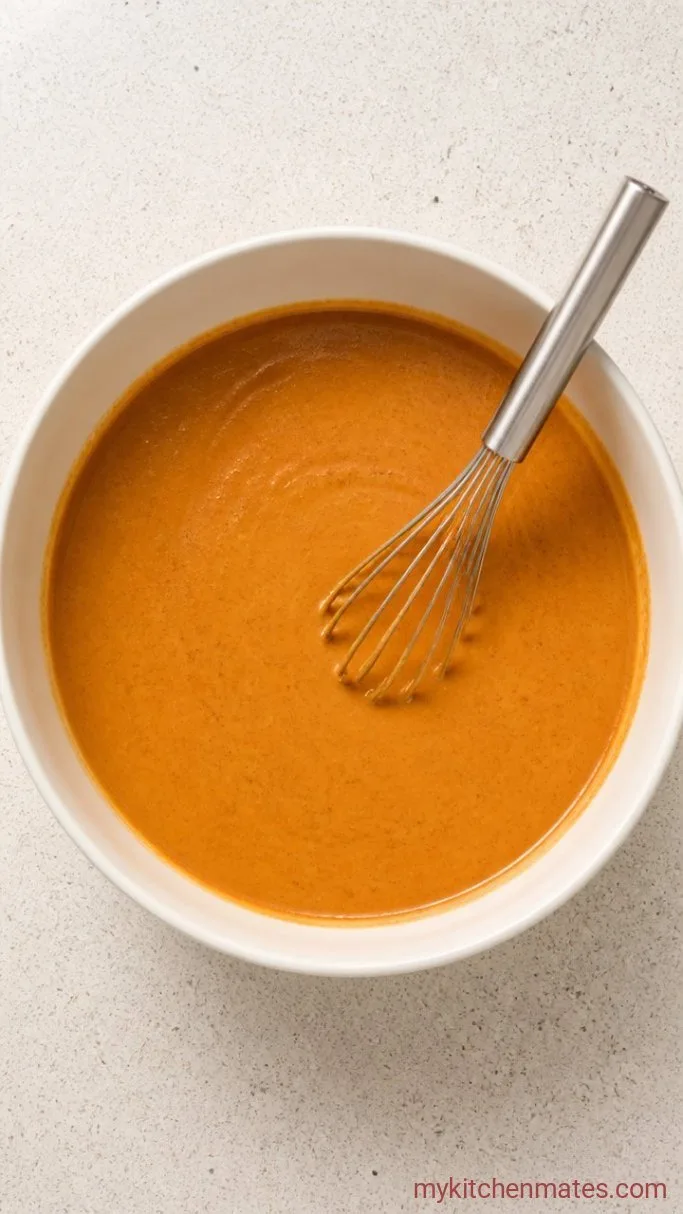
In a large bowl, whisk the 15 ounces of pumpkin puree, ¾ cup granulated sugar, ¼ cup brown sugar, ½ teaspoon salt, 1 ½ teaspoons cinnamon, ½ teaspoon ginger, ¼ teaspoon cloves, and ¼ teaspoon nutmeg until everything is blended and the sugar starts to dissolve. Beat in the 3 eggs one at a time, whisking well after each so no streaks of egg white remain. Pour in the 12 ounces of evaporated milk and whisk just until the mixture is smooth and uniform.
The filling will be thin and pourable, with a deep orange-brown color. Resist the urge to beat it too hard after adding the milk. Too much air in the custard can cause cracks later. A gentle whisk is all it needs to come together.
Step 3: Pour and Bake
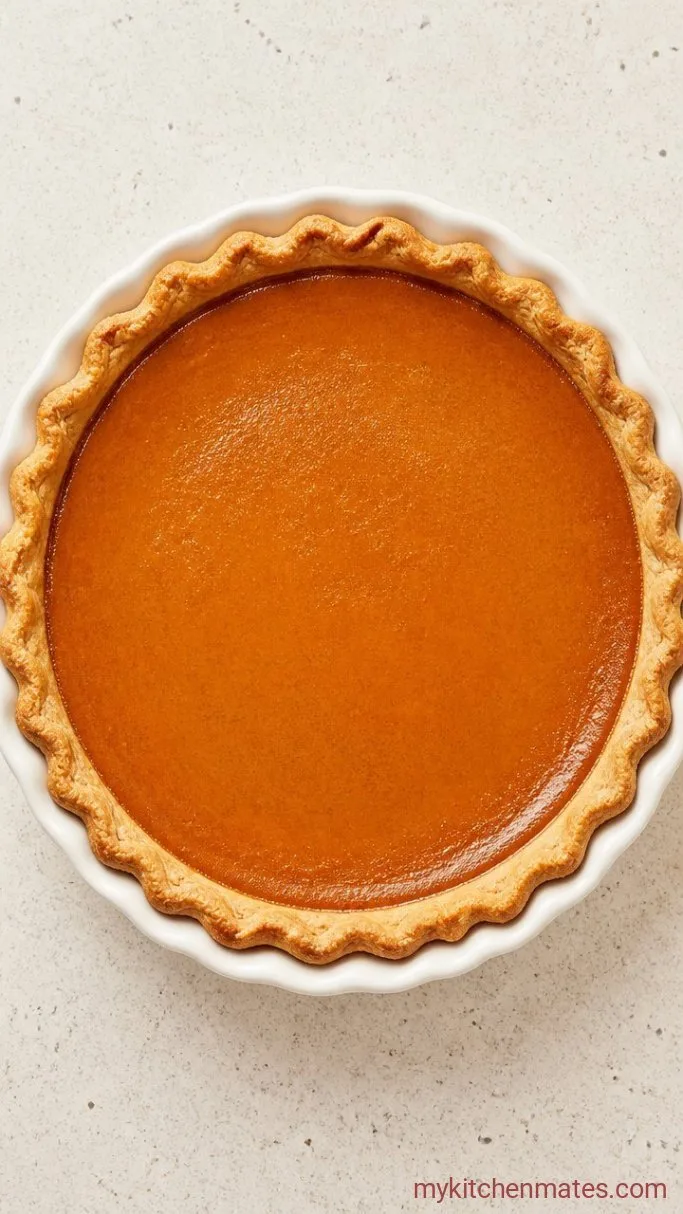
Set the oven to 425°F (220°C) and place a rack in the lower third of the oven. Take the chilled crust out of the freezer and set it on a baking sheet. Pour the pumpkin filling into the crust right away. It will come nearly to the top, so the baking sheet catches any spills. Slide the sheet into the oven and bake for 15 minutes at the high temperature. Then reduce the heat to 350°F (180°C) without opening the door and continue baking for 40 to 45 minutes.
At the 40-minute mark, check the pie by giving the pan a gentle wiggle. The edges should look set and slightly puffed, while the center should jiggle like set gelatin, not slosh like liquid. A few small cracks near the edge are fine and will close as the pie cools. If the crust edges are browning too fast, you can wrap them loosely with foil. The high-start, lower-finish method sets the filling quickly so it bakes evenly without a rubbery top.
Step 4: Cool and Slice
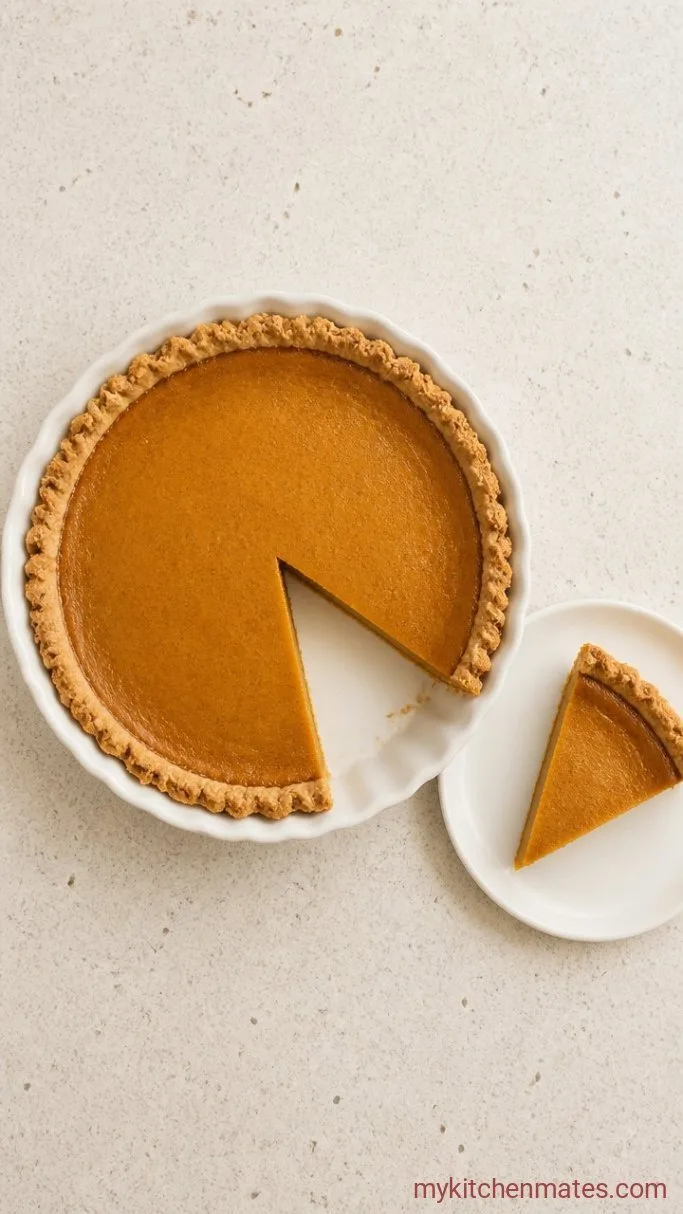
Transfer the pie to a wire rack and let it cool at room temperature for at least 2 hours. The center will continue to set as it cools. Once it is no longer warm, cover it loosely and refrigerate for at least 4 hours, or overnight, until fully chilled and firm. To serve, run a thin knife under hot water, wipe it dry, and slice cleanly through the crust and filling.
A chilled pie slices with sharp edges and a dense, silky interior. Pile each piece with softly whipped cream or a spoonful of crème fraîche right before you plate it. The graham crust stays buttery and crisp all the way down to the last bite.
Tips for a Perfect Pumpkin Pie
- A flat-bottomed, straight-sided measuring cup or glass works best to pack the crumbs into the pie plate. Press firmly along the sides first, then the bottom.
- If your crust tears or slides after baking, the crumbs were not pressed firmly enough in step 1. Really compact them, especially where the bottom meets the sides.
- Pumpkin puree varies in moisture from can to can. If your filling looks unusually watery, let it sit for 5 minutes after whisking; the sugars will pull some moisture out and thicken it slightly.
- The pie is fully set when the center jiggles as one mass, like a firm flan. A toothpick inserted in the center should come out clean but moist, not coated in wet batter.
- Let the pie cool and chill completely before slicing. Cutting into it too early gives you a soft, custardy center that will not hold its shape.
Frequently Asked Questions
Can I use fresh pumpkin puree instead of canned?
Yes, but it must be well-drained. Homemade puree often holds more water than canned, so strain it through cheesecloth for an hour or two before using to avoid a watery filling.
Do I have to use evaporated milk?
No, but the texture will shift. Heavy cream or half-and-half make a richer, denser custard. Evaporated milk gives you the silky, sliceable consistency most people associate with classic pumpkin pie.
Why did my pie crack?
Rapid temperature change usually causes cracking. Cooling the pie slowly at room temperature and then refrigerating helps. Overbaking also makes the filling contract and split, so pull it when the center still jiggles slightly.
Can I make this pie a day ahead?
Absolutely. It actually needs several hours to chill, so a 24-hour rest in the fridge makes it even easier to slice. Keep it loosely covered so condensation does not soften the crust top.
No-Roll Pumpkin Pie with Graham Cracker Crust Recipe
Ingredients
Method
- Combine graham cracker crumbs, ¼ cup sugar, and melted butter in a bowl. Press firmly into a 9-inch pie plate and freeze for 10 minutes.
- Whisk pumpkin, ¾ cup sugar, brown sugar, salt, and spices in a large bowl. Beat in eggs one at a time, then whisk in evaporated milk until smooth.
- Heat oven to 425°F. Pour filling into the chilled crust. Bake 15 minutes, then reduce heat to 350°F and bake 40 to 45 minutes until edges are set and center jiggles slightly.
- Cool on a wire rack 2 hours, then refrigerate at least 4 hours. Slice and serve chilled with whipped cream.
Notes
