
Soft Peanut Butter Sandwich Cookies with Creamy Filling

Peanut butter sandwich cookies are two tender, peanut-packed cookies hugging a smooth peanut butter cream. They come together with simple pantry ingredients and bake up soft with just a little chew.
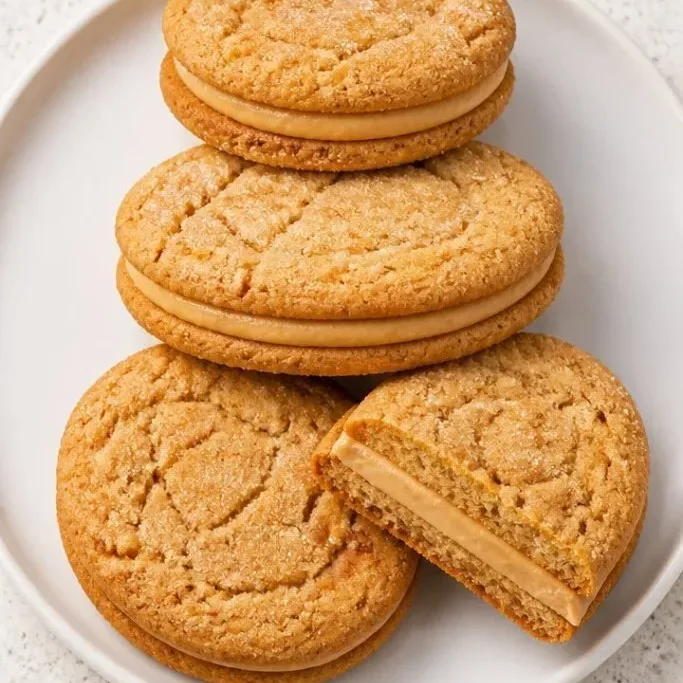
These are the kind of treat that makes an afternoon coffee feel special, and they disappear fast at bake sales. A batch takes about half an hour from start to finish, and there is no chilling step to slow you down.
What Makes These Sandwich Cookies So Good
The cookies stay soft for days because of the brown sugar and the right ratio of peanut butter to flour. They have a delicate, almost meltaway crumb that holds up enough to sandwich without crumbling.
The filling is simply peanut butter, butter, powdered sugar, and a splash of milk whipped until light. It is rich but not cloying, and it holds the cookies together without oozing out as you take a bite.
I keep coming back to this recipe because it uses one bowl for the dough and needs nothing fancy. You measure, mix, bake, and fill while the kitchen fills with that warm peanut butter smell.
Ingredients
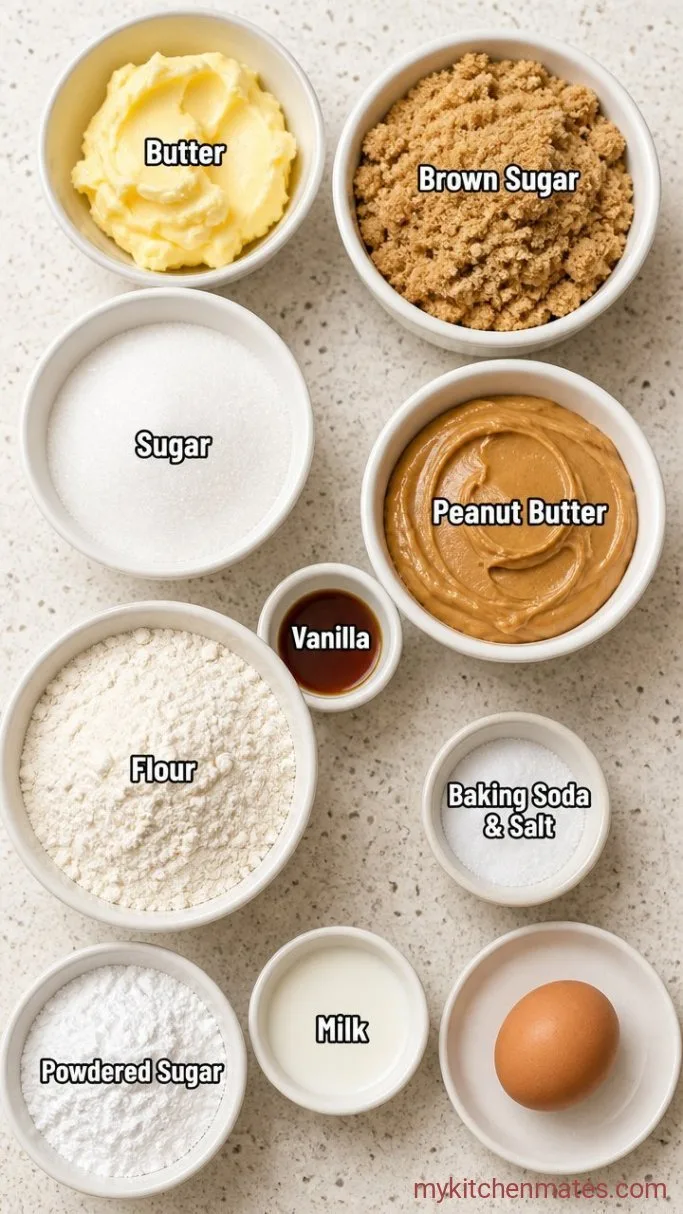
- 1/2 cup unsalted butter, softened: bring to room temperature so it creams smoothly
- 1/2 cup packed light brown sugar: keeps the cookies soft
- 1/4 cup granulated sugar: gives a slight crisp edge
- 3/4 cup creamy peanut butter: use a standard commercial brand like Jif, not natural
- 1 large egg: at room temperature for even mixing
- 1 teaspoon vanilla extract: rounds out the peanut flavor
- 1 1/4 cups all-purpose flour: spooned and leveled, not packed
- 1/2 teaspoon baking soda: helps the cookies puff
- 1/4 teaspoon salt: balances the sweetness
- For the filling:
- 1/2 cup creamy peanut butter: same type as the dough
- 3 tablespoons unsalted butter, softened: adds richness and structure
- 1 cup powdered sugar: sweetens and thickens the filling
- 2 tablespoons milk: more if needed to reach a spreadable texture
- 1/2 teaspoon vanilla extract: ties it together
Variations / Substitutions
- Crunchy peanut butter: use it in both dough and filling for a bit of texture. The filling will be slightly nubby but still spreadable.
- Almond butter: works as a 1-to-1 swap, though the flavor is mellower. Add an extra pinch of salt to bring it forward.
- Gluten-free flour blend: use a 1-to-1 baking blend that contains xanthan gum. The cookies will be a little more delicate but still hold together for sandwiches.
- Dairy-free: replace butter with a vegan stick butter and use unsweetened oat milk in the filling.
- Chocolate drizzle: after assembling, dip half of each sandwich in melted dark chocolate and let set on parchment.
Old-Fashioned Spiced Tomato Soup Cake is another dessert you’d probably love if you enjoy these cookies.
How to Make Peanut Butter Sandwich Cookies
Step 1: Cream the Butter and Sugars
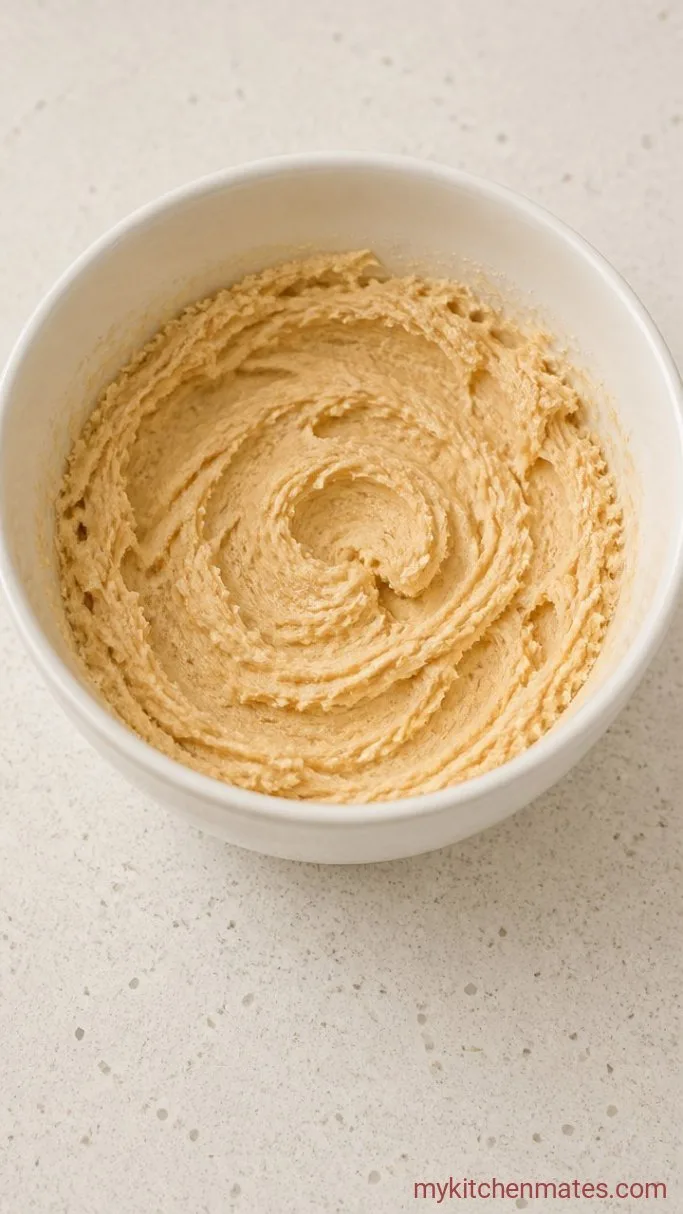
Preheat the oven to 350°F (175°C) and line two baking sheets with parchment paper. In a large bowl, beat the 1/2 cup softened butter, 1/2 cup brown sugar, and 1/4 cup granulated sugar with an electric mixer on medium speed until light and fluffy, about 2 minutes.
The mixture will look pale and feel airy when you lift the beaters. This step traps air that gives the cookies their tender middle.
Step 2: Beat in the Peanut Butter and Egg
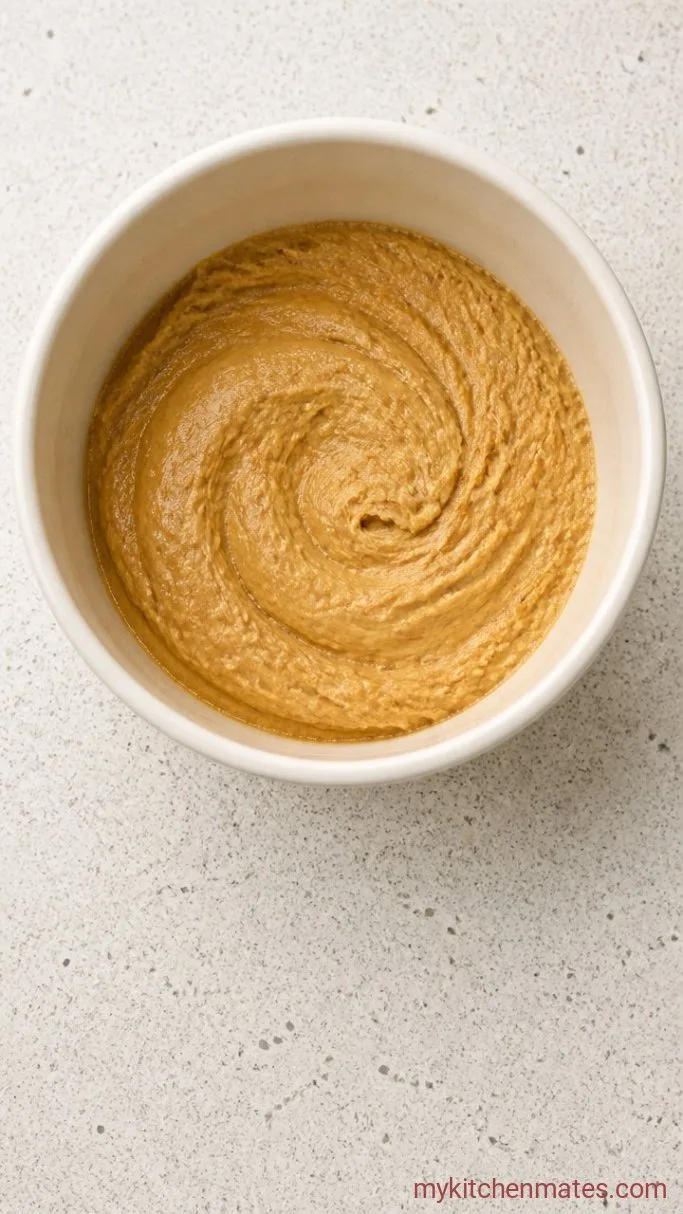
Add the 3/4 cup peanut butter, the egg, and the 1 teaspoon vanilla. Beat until the dough is smooth and no streaks of butter remain, about 1 minute, scraping the bowl once.
The dough turns thick and glossy. It should hold its shape when you scoop it, and it smells deeply of roasted peanuts at this stage.
Step 3: Stir in the Dry Ingredients
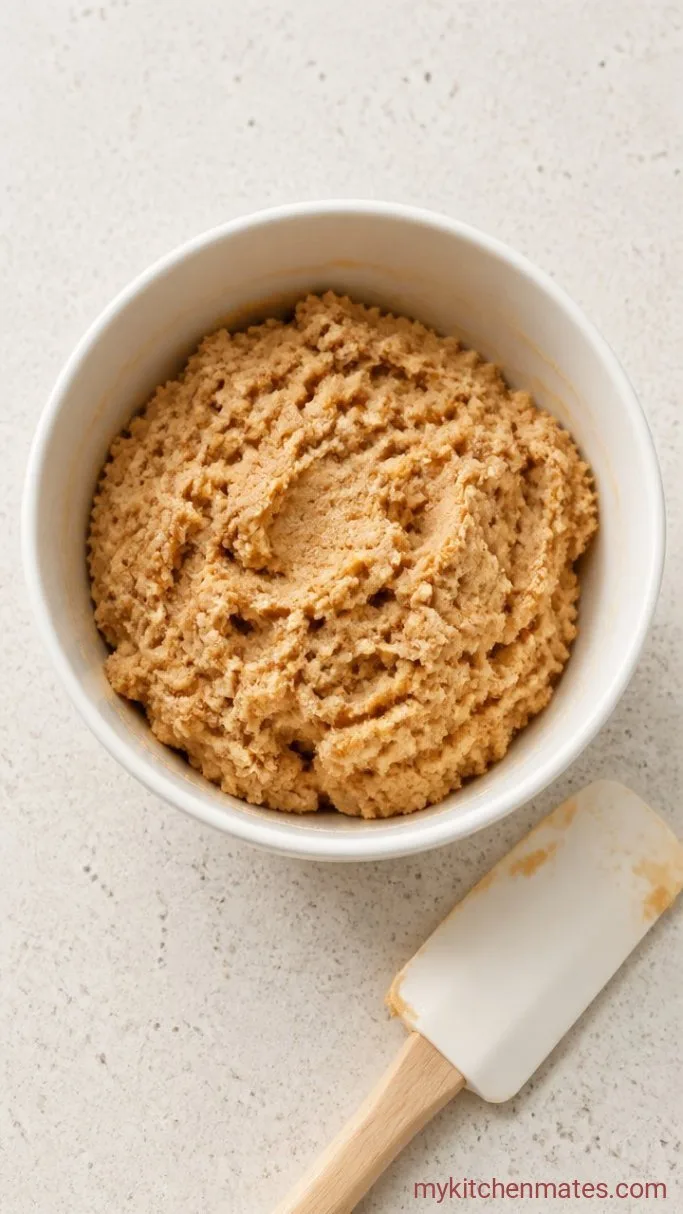
With the mixer on low, add the 1 1/4 cups flour, 1/2 teaspoon baking soda, and 1/4 teaspoon salt. Mix just until no dry flour is visible, then stop. Over-mixing at this point can make the cookies tough.
The finished dough is soft but not sticky. You should be able to roll a small piece between your palms without it clinging to your skin.
Step 4: Scoop and Bake the Cookies
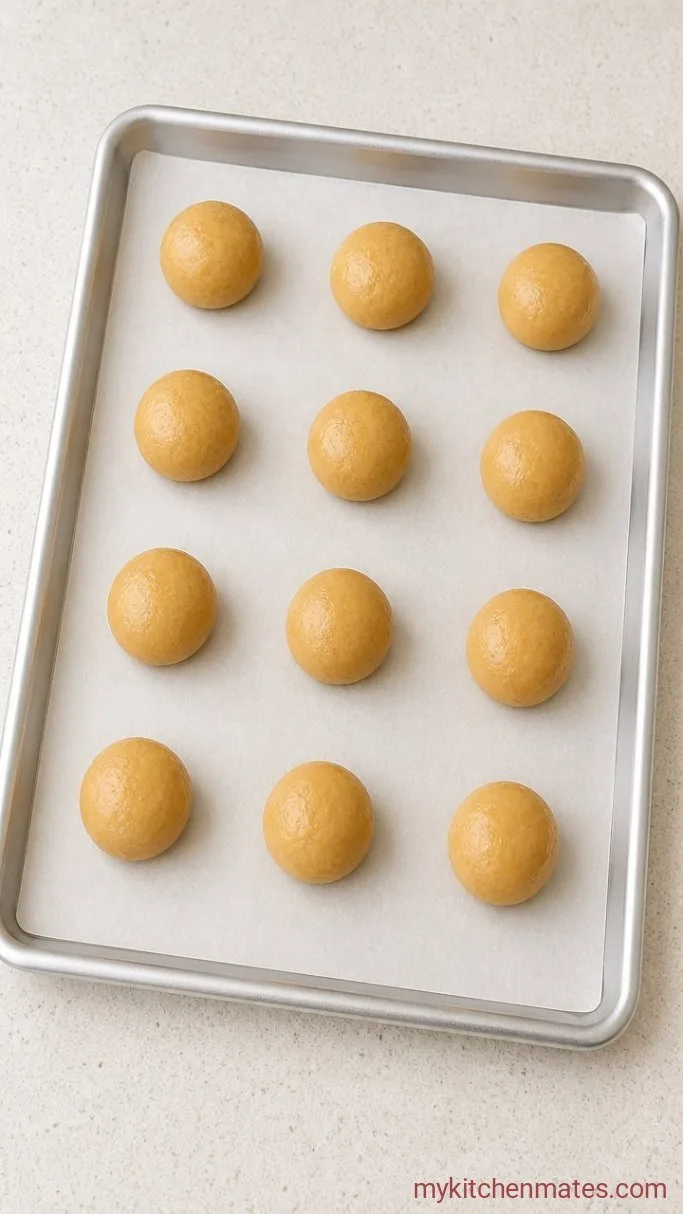
Drop rounded tablespoonfuls of dough onto the prepared sheets, spacing them about 2 inches apart. Gently press each mound with a fork to create a crosshatch, if you like the classic look. Bake for 9 to 11 minutes, until the edges are set and lightly golden.
The centers will look slightly underdone when you pull them out, and that is exactly what keeps them soft. Let the cookies sit on the sheet for 5 minutes, then move them to a wire rack to cool completely.
Step 5: Whip the Filling
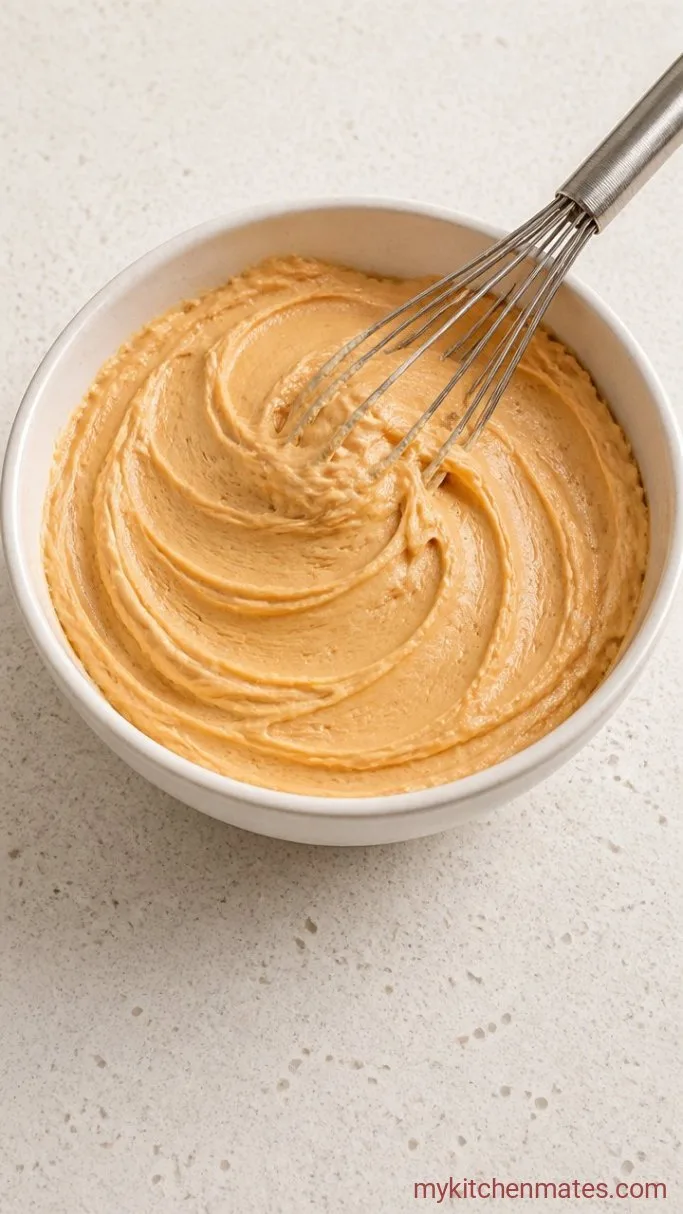
While the cookies cool, beat together the 1/2 cup peanut butter, 3 tablespoons softened butter, 1 cup powdered sugar, 2 tablespoons milk, and 1/2 teaspoon vanilla on low until combined. Then increase the speed to medium and whip for about 3 minutes, until the filling is light and fluffy.
Scrape the bowl and check the texture. It should be spreadable but firm enough to hold its shape when you scoop it. If it is too stiff, add milk a teaspoon at a time. If it is too thin, add a spoonful of powdered sugar.
Step 6: Sandwich and Serve

Pair the cooled cookies by size, matching flat sides together. Spread or pipe a generous spoonful of filling onto the flat side of one cookie, then top with its partner and press gently until the filling just peeks out at the edges.
For a bakery look, roll the exposed filling in mini chocolate chips or finely chopped salted peanuts. Serve right away or let the cookies sit for 10 minutes so the filling sets slightly. They hold together neatly and deliver a creamy center in every bite.
A Few Notes Before You Start
- If your kitchen is warm and the dough feels too soft to handle, pop the bowl in the fridge for 15 minutes. The cookies will bake a little puffier.
- Use a small cookie scoop or a measuring tablespoon to portion the dough. Even sizes make pairing for sandwiches much easier without odd leftovers.
- Let the cookies cool completely before filling. Any warmth will melt the filling and cause it to slide, leaving you with a messy stack.
- A sprinkle of flaky salt on top of each assembled cookie brings the peanut flavor forward and cuts the sweetness nicely.
Storing Leftovers
Keep filled cookies in an airtight container at room temperature for up to 5 days. Place a sheet of parchment between layers so the cookies do not stick together. If you want to make them a few days ahead, store the unfilled cookies and the filling separately, then assemble them the day you plan to serve. The cookies stay softer that way, and the filling remains fluffy.
Frequently Asked Questions
Can I make the dough ahead of time?
Yes. Wrap the dough tightly and refrigerate it for up to 2 days. Let it sit at room temperature for 20 minutes before scooping so it softens enough to portion.
Can I freeze these cookies?
You can freeze the baked, unfilled cookies for up to 2 months. Thaw them at room temperature, then fill. Filled cookies do not freeze well because the filling can turn grainy.
Why did my filling turn out lumpy?
Lumpy filling usually means the butter was too cold or the powdered sugar was not sifted. Make sure the butter is fully softened and beat the mixture long enough to smooth it out.
Can I cut back on the sugar?
Reducing the sugar in the cookie dough changes the texture significantly, so I do not recommend it. The filling can handle a little less powdered sugar, but it will be softer and may ooze more easily.
Peanut Butter Sandwich Cookies Recipe
Ingredients
Method
- Preheat oven to 350°F (175°C). Cream butter, brown sugar, and granulated sugar until light and fluffy.
- Beat in peanut butter, egg, and vanilla until smooth and glossy.
- On low speed, mix in flour, baking soda, and salt until just combined. Do not overmix.
- Drop tablespoonfuls of dough onto lined baking sheets, press with a fork to crosshatch, and bake 9-11 minutes. Cool on the sheet 5 minutes, then transfer to a rack to cool completely.
- Whip filling ingredients together until light and spreadable, about 3 minutes.
- Pair cookies by size, spread filling on the flat side of one, sandwich gently, and press until filling reaches the edge. Serve.
Notes
