
Step-by-Step Paw Patrol Sugar Cookies

These decorated Paw Patrol sugar cookies are just the thing when a birthday party or playdate calls for something special. They start with a soft, buttery cookie and finish with simple royal icing details anyone can pull off.

I’ll show you how to make all the pups, from the dough to the final spots and badges. You don’t need steady hands or a pro kit—just a few bowls, some gel colors, and a little patience.
Why These Paw Patrol Cookies Are a Go-To for Parties
The cookies stay soft for days, thanks to a short chill and a touch of almond extract that deepens the flavor without screaming almond. Kids recognize the characters right away, and the decorating part is actually pretty relaxing once you get into a rhythm.
Royal icing sets hard, so you can stack them in a container without smudging. That means you can make them a day or two ahead and cross one big task off the party list.
Ingredients
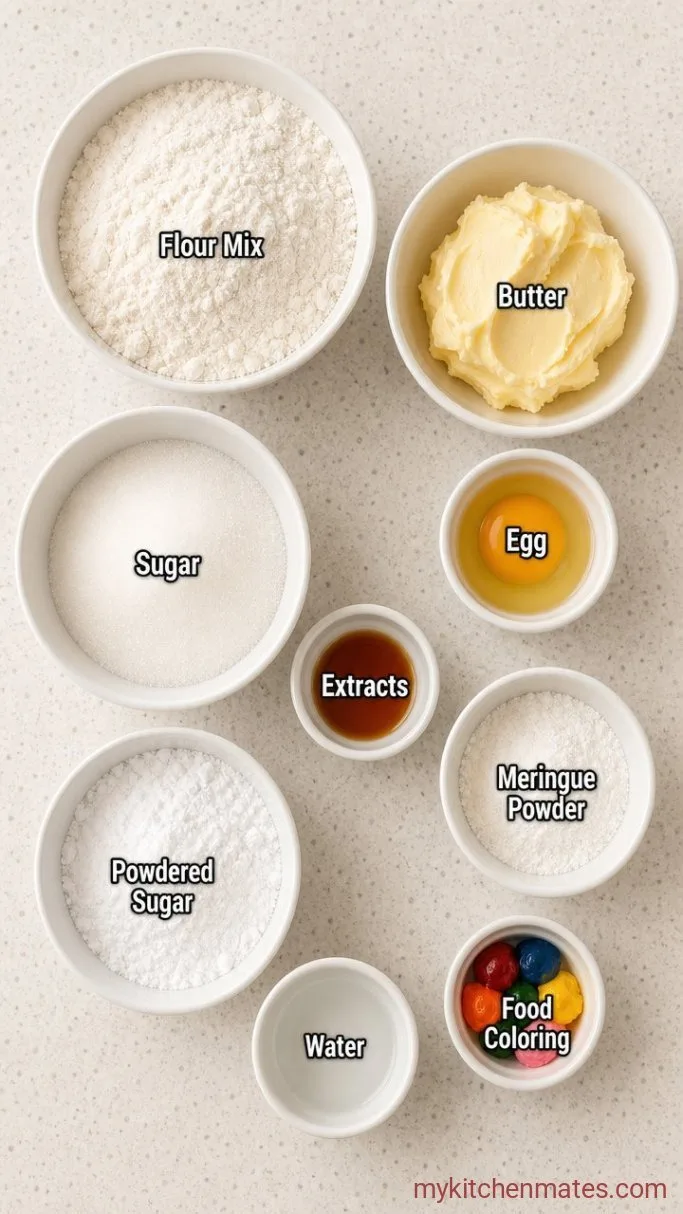
- 2 1/2 cups (315g) all-purpose flour: spooned and leveled, not scooped.
- 1/2 tsp baking powder: keeps the cookies tender, not cakey.
- 1/2 tsp fine sea salt: balances the sweet dough.
- 1 cup (226g) unsalted butter, softened: set it out an hour before you start.
- 3/4 cup (150g) granulated sugar: fine sugar creams in faster.
- 1 large egg, room temperature: cold eggs can make the dough seize up.
- 2 tsp vanilla extract: use pure vanilla if you have it.
- 1/2 tsp almond extract: adds that sugar-cookie-shop note, skip it if you prefer.
- 3 cups (360g) powdered sugar: for the icing.
- 3 tbsp meringue powder: this stabilizes the icing and makes it safe to eat.
- 5-6 tbsp water, room temperature: added a spoon at a time until the icing flows right.
- Gel food coloring: red, royal blue, yellow, orange, green, and pink to match each pup.
- Black gel food coloring or edible marker: for eyes, noses, and small details.
Variations / Substitutions
- Almond extract: swap in 1 tsp vanilla or a pinch of lemon zest if you are not a fan.
- Gel food coloring: liquid drops can thin the icing too much, but if that is all you have, use less water at the start and add the color drop by drop.
- Vegan: use your favorite vegan sugar cookie dough and replace the royal icing with an aquafaba-based icing.
- Natural colors: powders like beet, spirulina, and turmeric give soft pastel hues that look lovely on the cookies.
Soft and Thick Swig Sugar Cookies are another reader favorite dessert worth making next.
How to Make Paw Patrol Sugar Cookies
Step 1: Cream the Butter and Sugar
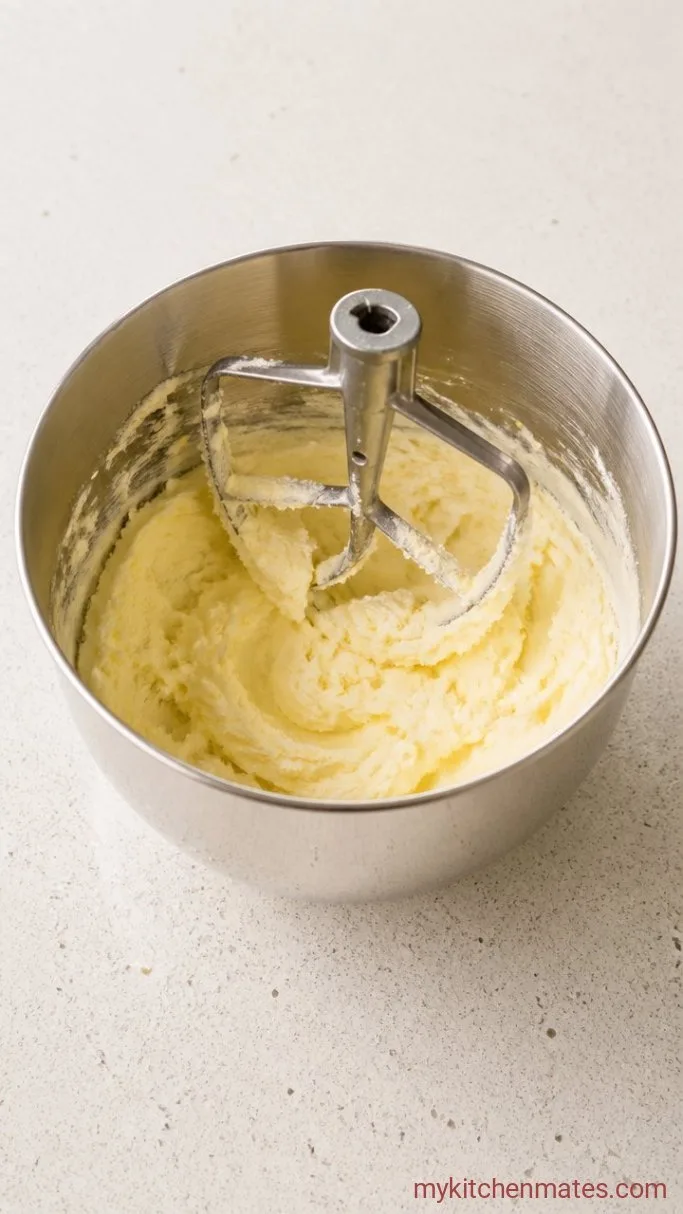
Beat the 1 cup soft butter and 3/4 cup granulated sugar in a large bowl with a hand mixer on medium speed for about 2 minutes, until the mixture looks pale and fluffy. Scrape down the sides, then beat in the egg, 2 tsp vanilla, and 1/2 tsp almond extract just until combined.
The butter should feel cool but leave a fingerprint when you press it. If the mix looks curdled, the egg was probably too cold—keep going, and it will smooth out once you add the flour.
Getting enough air into the butter right now means the cookies will hold their shape when you cut them. A pale, whipped start is your best defense against puffy, misshapen pups.
Step 2: Chill and Roll Out the Dough
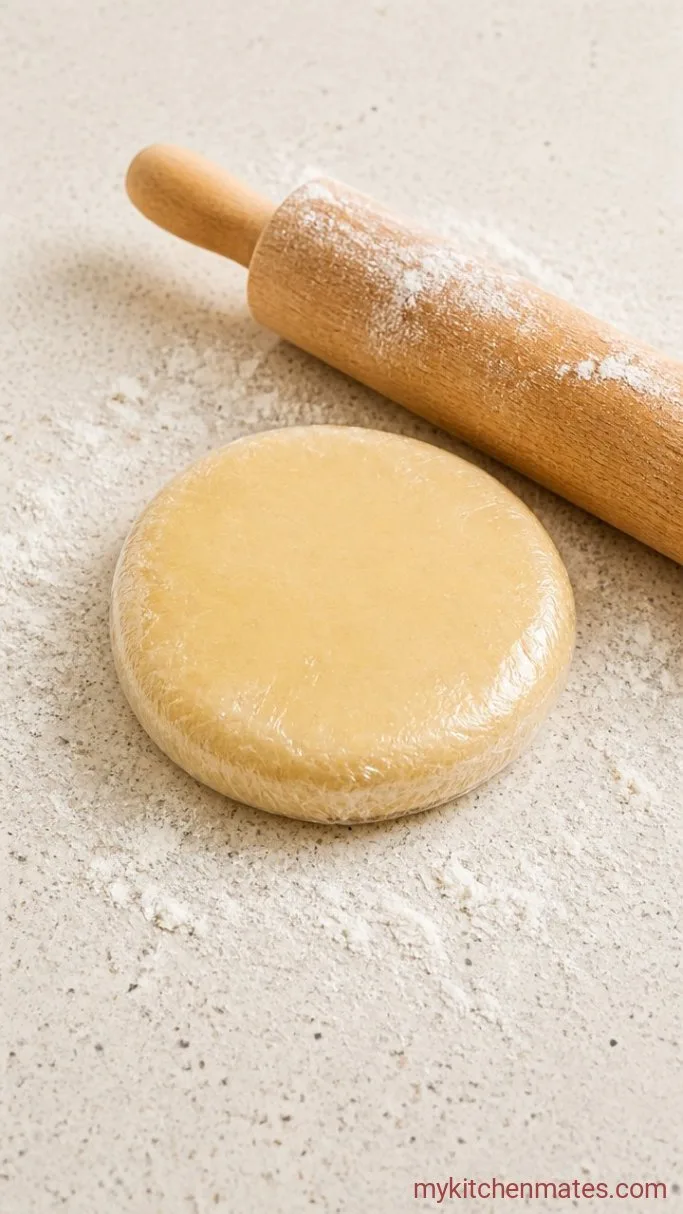
Whisk the 2 1/2 cups flour, 1/2 tsp baking powder, and 1/2 tsp salt in a separate bowl. Tip the dry mix into the butter mixture and beat on low just until no dry streaks remain. Divide the dough in half, flatten each into a disc, wrap them, and refrigerate for at least 1 hour.
When you press the disc, it should feel firm and leave only a shallow dent. Chilling relaxes the gluten so the cookies stay tender and stops them from spreading in the oven.
If you are short on time, pop the discs in the freezer for 20 minutes. Just check that they are evenly cold before rolling, or you will fight the dough later.
Step 3: Roll, Cut, and Bake the Cookies
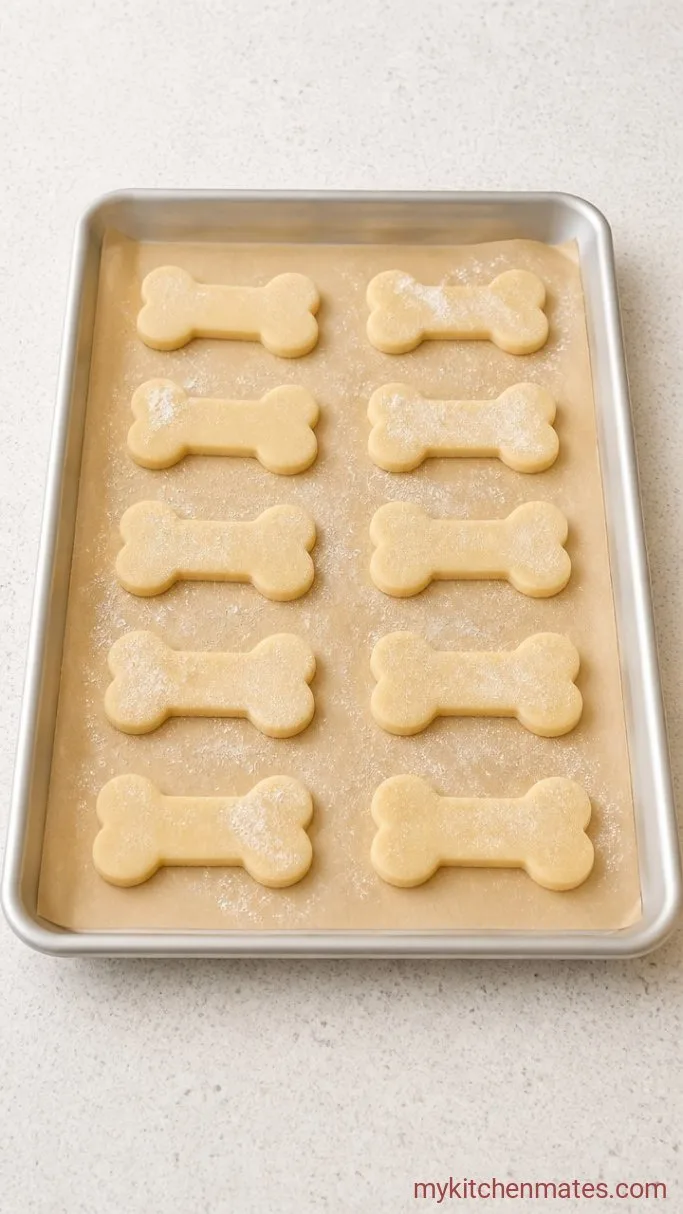
Preheat the oven to 350°F (175°C) and line two baking sheets with parchment paper. Roll one disc of dough on a lightly floured surface to a 1/4-inch thickness. Slide a thin offset spatula under the dough a few times to make sure it is not sticking, then cut out pup shapes with bone, paw, or people-shaped cutters. Lift each cutout gently onto the prepared sheets, leaving an inch between them.
The dough should feel pliable but not sticky. If your kitchen runs warm, slide the whole tray of unbaked cookies into the fridge for 10 minutes right before baking—cold dough hits a hot oven and sets fast, keeping the edges clean.
Bake one sheet at a time for 9 to 11 minutes, until the cookies have a matte finish on top and the faintest golden edge on the bottom. Rotate the pan halfway through. Let the cookies cool on the sheet for 5 minutes, then move them to a wire rack to cool completely. Repeat with the remaining dough.
Step 4: Whip Up the Royal Icing
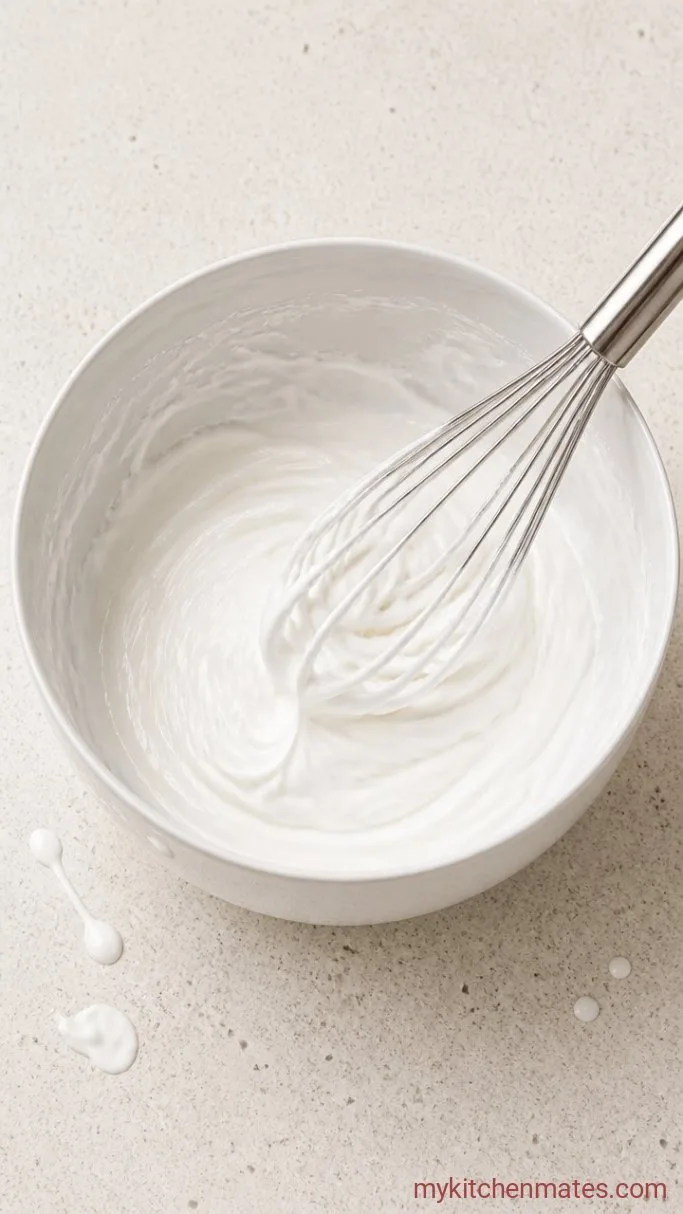
Sift the 3 cups powdered sugar and 3 tbsp meringue powder into the bowl of a stand mixer. Add 4 tbsp of the water and beat with the paddle attachment on low for 1 minute. Stop, scrape the bowl, and check the consistency. You want a thick, glossy paste that holds a stiff peak when you pull the paddle up. Drip in more water, 1 tsp at a time, beating after each addition, until the icing reaches that stiff peak stage.
It will look chalky at first, then turn shiny and smooth. A stiff icing is your outline and detail workhorse—it gives you control. Beat it too thin too early, and you will chase it with more sugar.
Step 5: Color and Thin the Icing
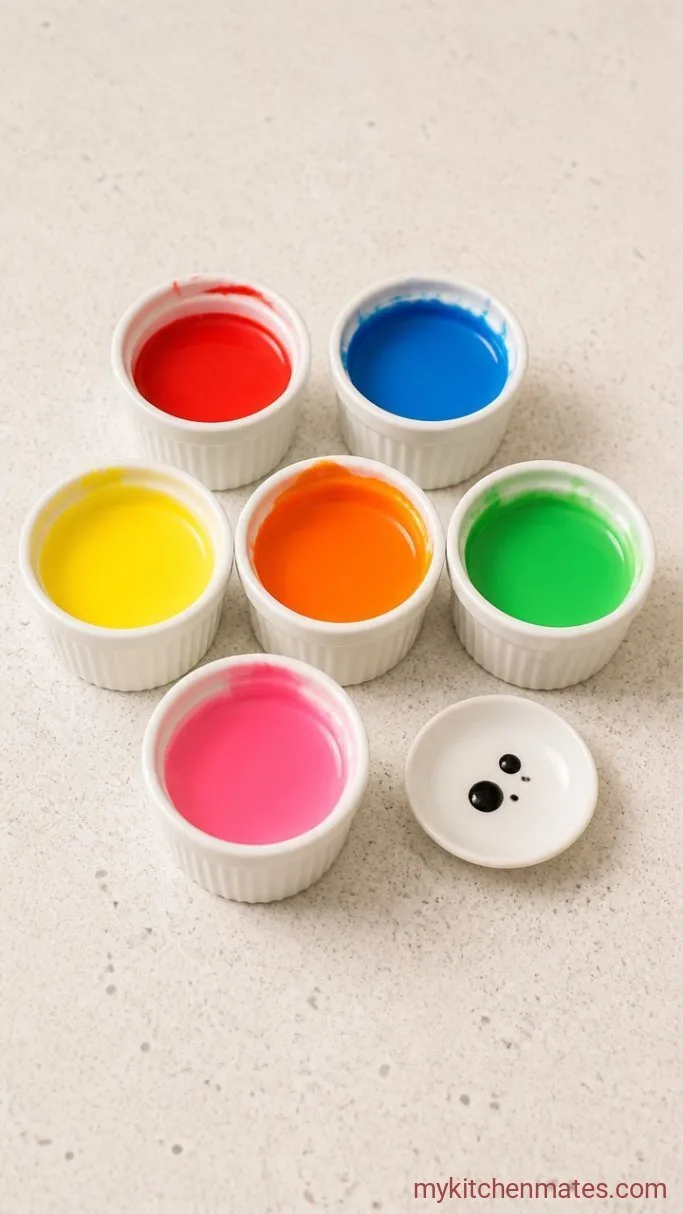
Spoon the stiff icing into separate small bowls, one for each color plus one bowl left white. Tint each bowl with gel food coloring: royal blue for Chase, bright red for Marshall, pink for Skye, yellow for Rubble, orange for Zuma, and green for Rocky. Start with a dab of color and use a toothpick to add more; gel color deepens as it sits.
From each colored bowl, scoop a third of the icing into a piping bag fitted with a small round tip (size 2 or 3) for outlining. Cover the remaining icing in each bowl with a damp paper towel. Now stir water, a few drops at a time, into the leftover icing until it relaxes into a 10-second flood consistency: when you drag a spoon through, the line should disappear in about 10 seconds. Transfer each flood icing to a squeeze bottle or a piping bag with a slightly larger tip.
The difference in texture matters. Outline icing acts like a dam so the flood stays put; flood icing fills the shape without overspill. Test your flood on a cooled cookie before you commit—you can always thicken it with a little sifted powdered sugar.
Step 6: Decorate Each Pup

Place the cooled cookies on a piece of parchment. Pipe an outline of stiff icing just inside the edge of each cookie. Fill the center right away with the same color flood icing, using the squeeze bottle or a spoon, and nudge the icing into the corners with a toothpick. Pop any air bubbles immediately. Let the flooded base dry completely, about 1 hour; the surface will feel smooth and hard when it is ready.
For the details, transfer the remaining stiff icing to bags with very small tips or cut tiny corners. Add white eyes, black pupils with a dot or edible marker, and any pup-specific markings: a tag shape, a fire badge, a pink bow, or a few black spots. Work one cookie at a time and let each color set for a few minutes before you add a neighboring color if you need crisp lines.
Set the finished cookies aside on the counter to dry overnight, or at least 4 hours, until the icing is firm. Serve them piled on a platter, and watch the kids grab their favorite pup first.
Tips for Decorating Confidence
- Roll the dough to an even 1/4 inch so all the cookies bake at the same rate. A pair of rolling pin rings or stacked paint stir sticks on either side help.
- The most common hiccup is icing that is too thin for the outline and bleeds into the flood. Keep the outline icing thick enough that it doesn’t slump off the spoon.
- Use a toothpick to guide flood icing into tight spots like the tail of a bone or the ears of a person shape. It is more patient than a spoon.
- Keep paper towels and a small bowl of water nearby so you can wipe tips clean between colors. Clogged tips lead to shaky lines.
- The cookies taste best at room temperature after the icing has fully set, but you can eat them as soon as the icing is dry to the touch if that is what the kids demand.
Bake times by thickness:
| Dough thickness | Oven temp | Bake time |
|---|---|---|
| 1/4 inch | 350°F | 9-11 mins |
| 3/8 inch | 350°F | 11-13 mins |
| 1/2 inch | 350°F | 13-15 mins |
Storing the Decorated Cookies
Store the cookies in a single layer inside an airtight container with a sheet of parchment between layers, and keep them on the counter for up to 5 days. The royal icing turns sticky in the fridge, so room temperature is your friend. For longer storage, freeze undecorated baked cookies for up to 1 month, then thaw and decorate when you are ready.
Frequently Asked Questions
Can I use store-bought sugar cookie dough instead?
Yes, though the flavor will be milder and the cookies may spread more. Roll them slightly thicker and chill the cutouts before baking to help them hold the outline.
How far ahead can I make these for a party?
Bake and decorate the cookies up to 3 days ahead. Keep them in an airtight container at room temperature, and place a small piece of bread in the container if the cookies start to dry out.
Why did my icing turn out runny and never set?
Most likely too much water was added, or the meringue powder measurement was off. Weigh the powder if you can, and add water in tiny increments. Runny icing can be rescued by beating in more sifted powdered sugar, a tablespoon at a time.
Can I skip the almond extract without losing much?
You can. The cookies will still taste like a classic sugar cookie. You could also swap in an equal amount of lemon or orange zest for a bright note.
How do I transport these without ruining the details?
Place a flat layer of cookies in a container, cover with parchment, and add a second layer. The icing should be bone-dry before stacking. If you are extra cautious, separate each cookie with a small cupcake liner.
Paw Patrol Sugar Cookies Recipe
Ingredients
Method
- Beat butter, sugar, egg, vanilla, and almond extract for 2 minutes until pale.
- Whisk flour, baking powder, and salt; mix into butter mixture until just combined. Divide dough, flatten into discs, wrap, and chill 1 hour.
- Preheat oven to 350°F. Roll dough to 1/4 inch, cut shapes, and bake on parchment-lined sheets 9-11 minutes. Cool completely.
- Sift powdered sugar and meringue powder; beat with 4 tbsp water to stiff peaks. Adjust water a few drops at a time.
- Divide and tint icing. Reserve one-third stiff for outlining, thin the rest to 10-second flood consistency with water.
- Outline cookies, flood with matching color, and dry 1 hour. Pipe details with stiff icing and dry 4 hours before stacking.
Notes
