
Crispy Oven-Fried Chicken Breasts

These chicken breasts come out of the oven with a golden, shatteringly crisp coating and meat so juicy it practically glistens. No splattering oil, no standing over a hot stove, just a few simple tricks that turn a weekday dinner into something everyone fights over.
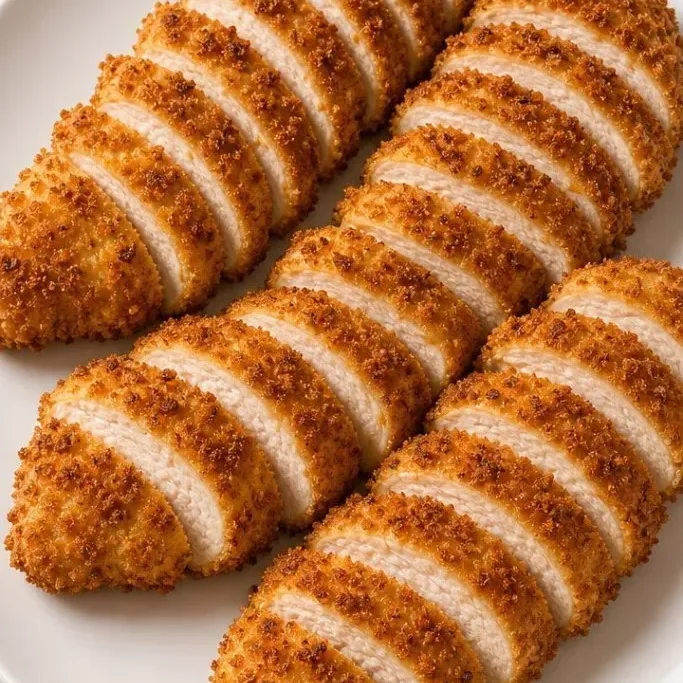
The secret is a double coating of seasoned flour and panko, plus a generous spray of oil before the tray hits the heat. That quick mist is what turns pale crumbs into deep gold crunch without a fryer.
What Makes This Oven-Fried Chicken So Good
The crust tastes like fried chicken, with a nutty, toasted flavor from the panko and a little paprika that darkens in the oven. It breaks with a loud crackle, and underneath the breast stays tender and white, with none of the dry stringiness you get from a plain bake.
Every trick here has a clear job. A wire rack lifts the chicken off the sheet so air circulates and crisps the bottom. The oil spray saturates the breadcrumbs just enough to fry in the oven’s dry heat. And letting the meat rest for five minutes after it comes out locks the steam inside where it belongs.
Ingredients
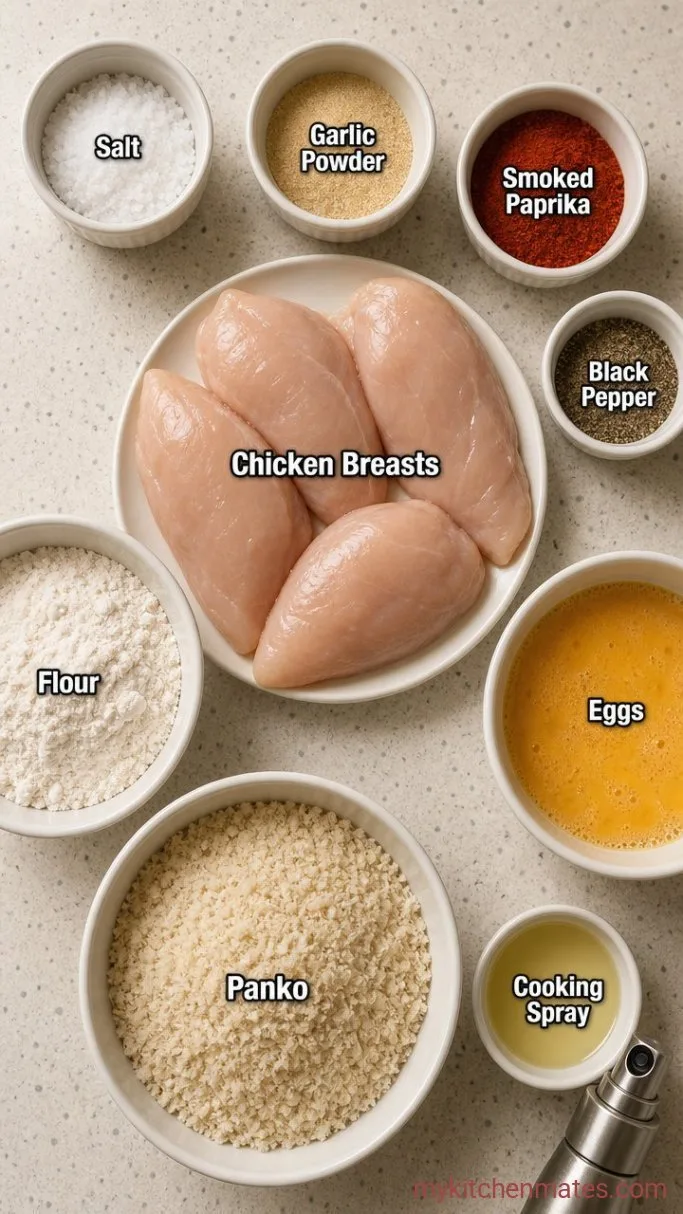
- 4 boneless, skinless chicken breasts (6 to 8 oz each): even-sized so they cook at the same rate; pound thicker ones slightly flat if needed.
- 1 tsp kosher salt: plus a pinch more for the flour.
- 1 tsp garlic powder
- 1 tsp smoked paprika: sweet paprika works too, but smoked adds a faint grill-like depth.
- ½ tsp black pepper
- ½ cup all-purpose flour
- 2 large eggs: beaten with a splash of water.
- 1½ cups panko breadcrumbs: fresh and coarse, not finely crushed.
- Cooking spray or oil mister: a neutral spray like canola or avocado gives the most even coat.
Swaps and Substitutions
- Chicken thighs: use boneless thighs and add 5 to 8 minutes to the bake time. The darker meat stays juicy even if you slightly overcook it.
- Gluten-free: replace the flour with a 1-to-1 gluten-free blend and use gluten-free panko. The texture stays close to the original.
- Dairy-free: the recipe is already dairy-free as long as your spray oil has no butter additives. Double check the panko brand, a few contain milk powder.
- Spice it up: add ½ tsp cayenne to the flour for real heat, or a pinch of chipotle powder for a smoky kick.
- Cheese lover: stir ¼ cup finely grated Parmesan into the panko, then bake as directed. The cheese browns and melts into the crumb.
Crispy Sheet Pan Broccoli is an easy side dish to serve with this recipe.
How To Make Oven-Fried Chicken Breasts
Step 1: Season the Chicken
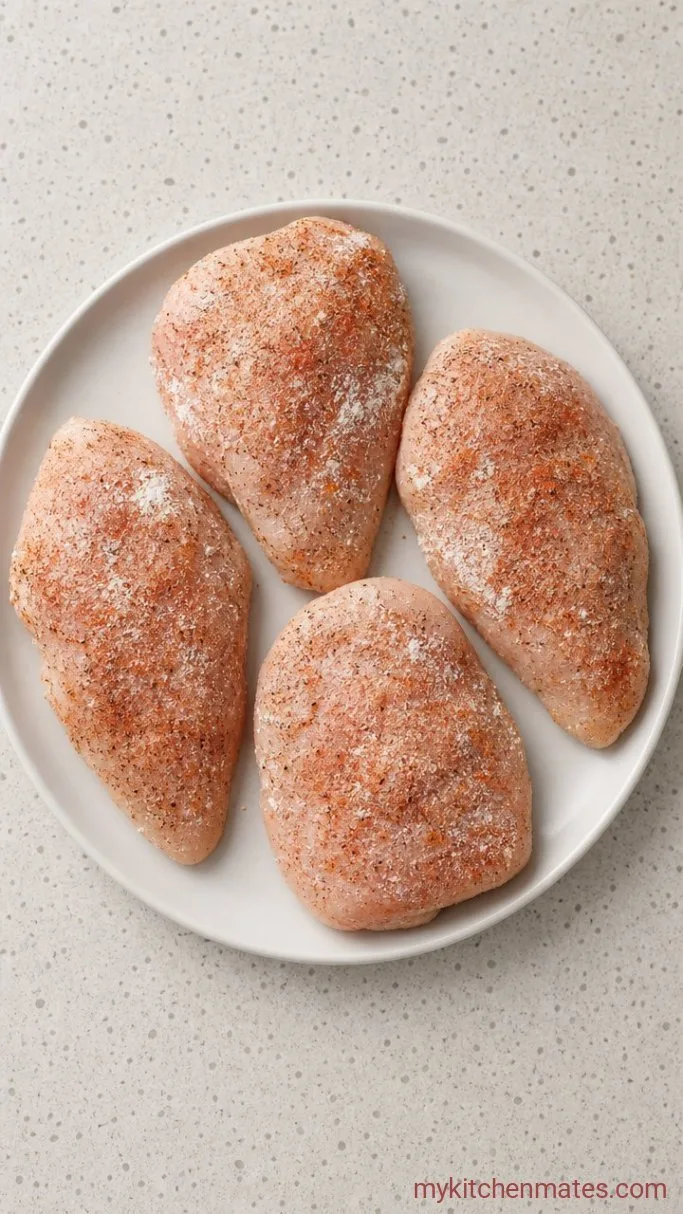
Pat the chicken breasts dry with a paper towel. Mix the 1 tsp salt, garlic powder, paprika, and pepper in a small bowl, then sprinkle the blend evenly over both sides of each breast. Let them sit on a plate for about 10 minutes while you gather the breading supplies.
The surface will look slightly damp as the salt draws a little moisture to the surface. That light stickiness helps the flour cling without any extra effort.
Step 2: Bread the Chicken
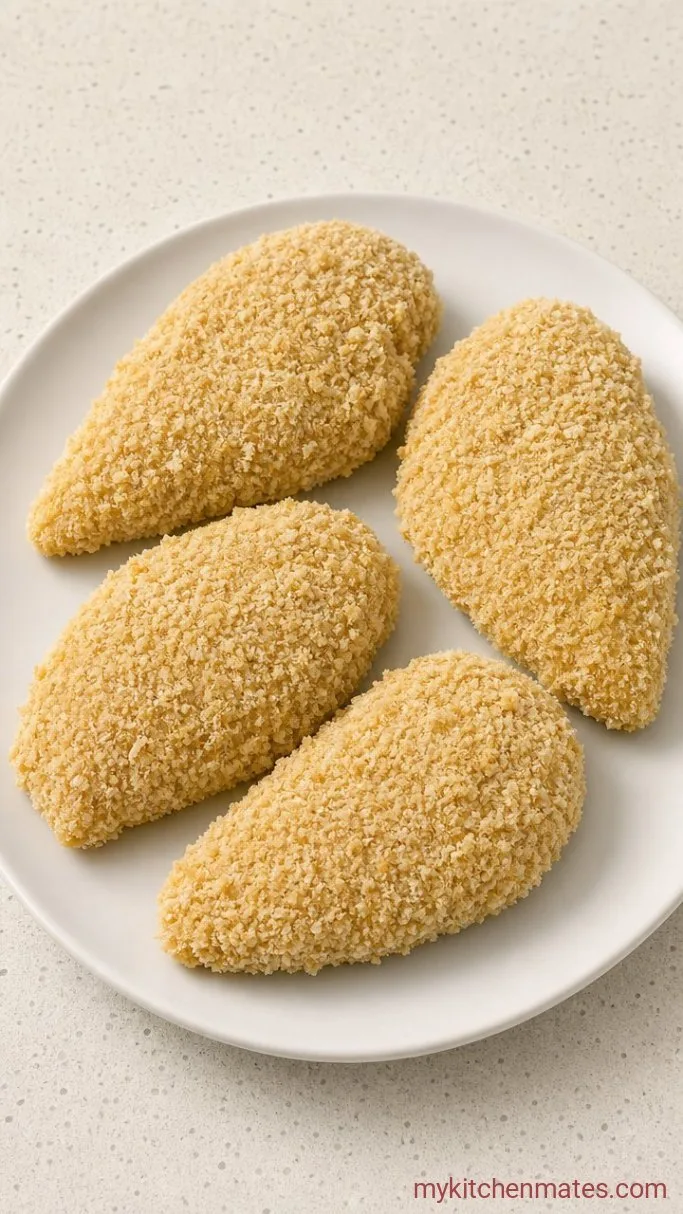
Set up three shallow bowls. Put the flour in the first and stir in a pinch of salt. Beat the eggs with a splash of water in the second. Pour the panko into the third. Working with one breast at a time, dredge it in flour, shake off the extra, dip it in egg so every spot is wet, then lay it in the panko and press firmly until the crumbs form a thick, even coat. Repeat with the remaining pieces, which should take about 5 minutes total.
The coating will feel dense and grainy under your fingers, with no bare spots showing through. Use a gentle but steady press, you want the panko to anchor into the egg layer so it stays put in the oven.
Step 3: Arrange and Spray on a Rack
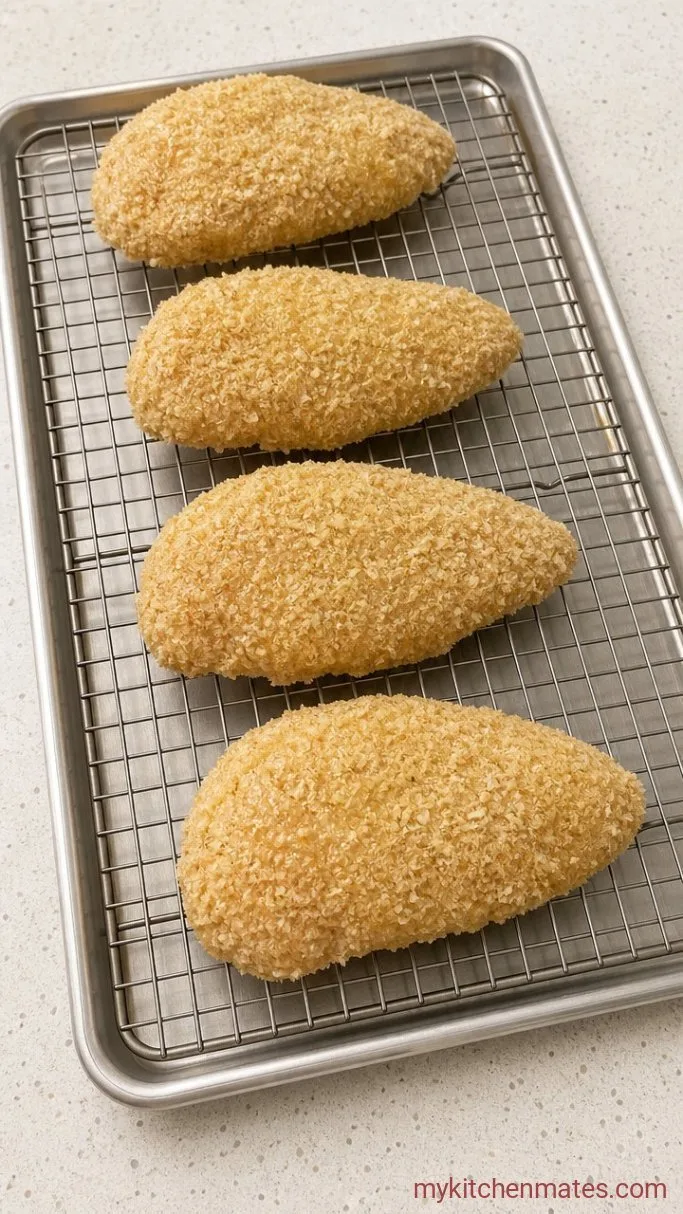
Place a wire rack inside a rimmed baking sheet. Set the breaded chicken on the rack with at least an inch of space between each breast. Spray the tops with cooking spray for about 2 seconds per piece, then flip and spray the other side. You will see the dry crumbs turn glossy and slightly damp.
That quick drench of oil is what fakes a fry. Without it the panko toasts instead of crisping, and the result feels dry. A light but thorough coat is all you need.
Step 4: Bake at 400°F Until Golden
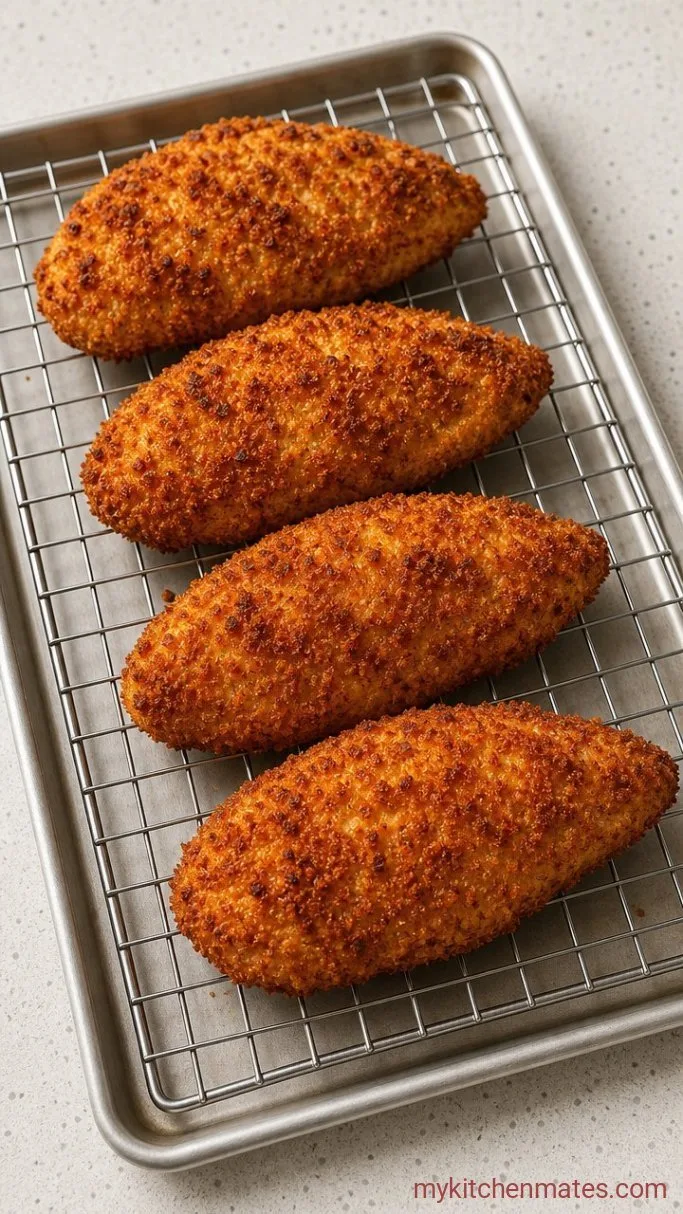
Slide the sheet into the center of a 400°F (200°C) oven. Bake for 25 to 30 minutes, or until the thickest part of the largest breast reads 165°F (74°C) on an instant-read thermometer. The top should be a deep amber brown, and the underside will be crisped and dry.
Halfway through the bake you might catch a whiff of toasted bread and garlic. That is a good sign the crust is browning evenly. If you do not have a thermometer, cut into the thickest spot — the juices must run completely clear.
Step 5: Slice and Serve Hot
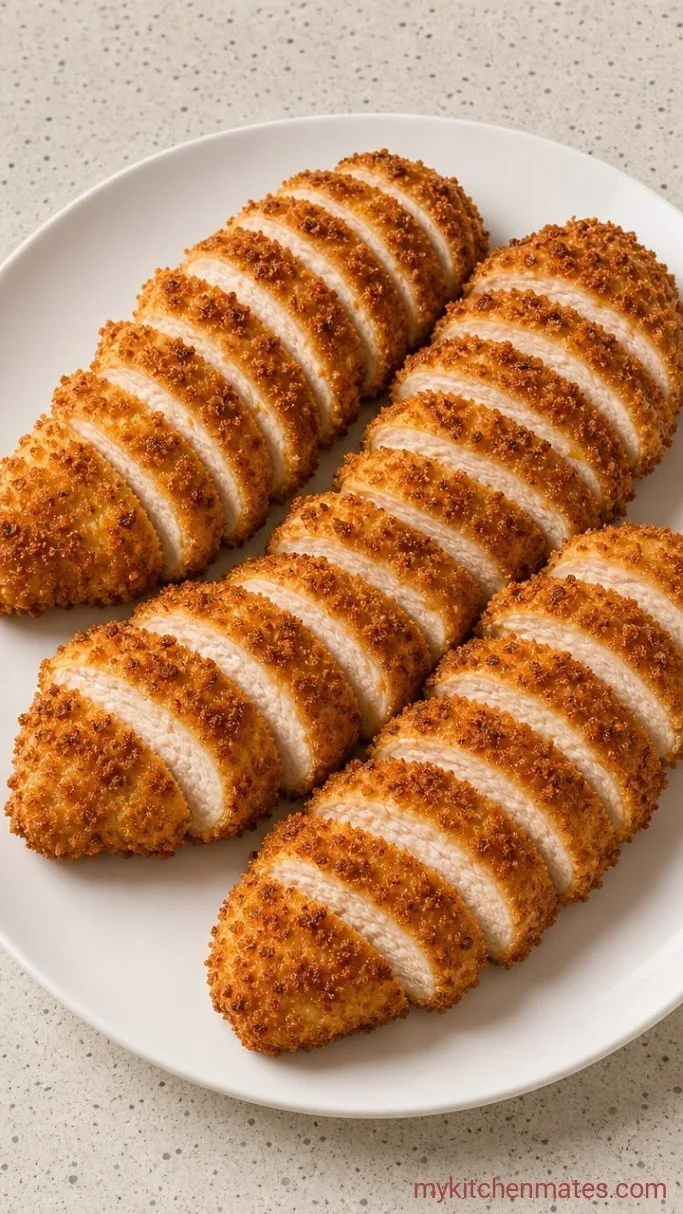
Pull the tray out and let the chicken rest on the rack for exactly 5 minutes. Move the breasts to a cutting board and slice each one on a slight bias into thick strips. The crust will shatter a little at the cuts, and the meat inside should look steamy and white.
Bring the strips straight to the table with a pile of napkins. They are hottest and loudest right now, and that crackle fades as they sit.
Tips for Crispy Success
- A wire rack is not optional for the texture you want. If you bake directly on the sheet, the bottom will steam and turn soft within minutes.
- Pound any breast thicker than an inch flat to a more even ¾-inch thickness with a rolling pin or meat mallet. Uniform meat bakes uniformly.
- Press the panko on with flat palms rather than fingertips. You will get better coverage and a thicker crust that doesn’t fall off in slabs.
- If the coating still looks pale at the 25-minute mark, give the tops one more quick spray and bake another 3 to 5 minutes. Every oven browns differently.
- Leftover slices re-crisp beautifully in an air fryer at 375°F for 3 to 4 minutes, so cook a couple extra breasts for tomorrow’s lunch.
Bake times by chicken breast thickness:
| Thickness | Bake time at 400°F (200°C) |
|---|---|
| ½ inch | 18 to 20 minutes |
| ¾ inch | 22 to 25 minutes |
| 1 inch | 25 to 30 minutes |
Keeping Leftovers Crispy
- Refrigerate: cool the chicken completely, then store in an airtight container with a paper towel tucked underneath to catch steam. It keeps for up to 3 days, though the crust softens a little each day.
- Reheating: a 375°F oven or air fryer for 4 to 6 minutes puts the crunch back. A microwave turns the breading gummy, so skip it.
- Serve cold: you can slice leftover chicken straight from the fridge over a salad. The crust will be less crisp but still have a pleasant, crumbly bite.
What To Serve With Oven-Fried Chicken Breasts
A tangy slaw cuts through the richness of the breading, so a vinegar-based coleslaw or a fresh cabbage-and-carrot mix with lemon is a fast, bright side. Creamy mashed potatoes give you that classic comfort-plate feel and catch any drips of chicken juice. For something lighter, a simple arugula salad with shaved Parmesan and a squeeze of lemon clears the palate without competing.
Frequently Asked Questions
Do I need to flip the chicken while it bakes?
No. The rack lets hot air reach the underside, so the bottom crisps without flipping. Spraying both sides before baking takes care of it.
Can I use this method for chicken tenders?
Yes. Cut the breasts into strips before breading, then bake at the same temperature for 15 to 18 minutes, checking at 15 that they hit 165°F.
Why did my breading fall off in patches?
Usually the chicken was too wet when it hit the flour, or the panko was not pressed on firmly. Pat the meat very dry and use a firm, even press when coating.
My crust looks darker in spots. What caused that?
An uneven spray of oil, or a few clumps of flour that stayed dry. Next time, shake the flour off thoroughly and mist the breadcrumbs blanket-style, not in spurts.
Crispy Oven-Fried Chicken Breasts Recipe
Ingredients
Method
- Pat chicken dry, season with salt, garlic powder, paprika, and pepper, and let rest 10 minutes.
- Set up flour, beaten egg, and panko in separate bowls. Dredge each breast in flour, dip in egg, and press firmly into panko until thickly coated.
- Place breaded chicken on a wire rack set on a baking sheet. Spray both sides generously with cooking spray.
- Bake at 400°F (200°C) for 25 to 30 minutes, until deep golden and 165°F internally.
- Rest 5 minutes, then slice on a bias and serve hot.
Notes
