
Monster Truck Birthday Cake

How to Make an Easy Monster Truck Birthday Cake
This easy monster truck birthday cake turns a simple chocolate cake into the centerpiece your kid will talk about for weeks. You don’t need any special baking skills, just a few smart tricks and a clean toy truck.
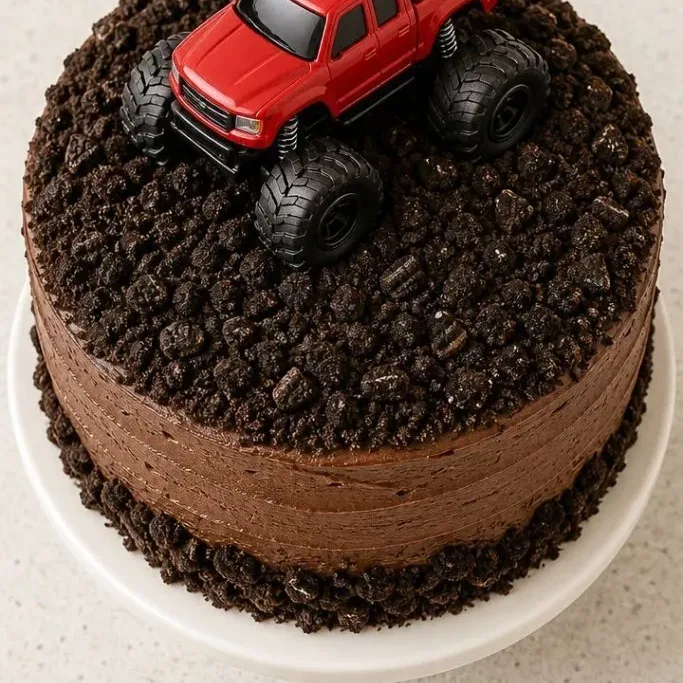
A couple of crushed cookies give you the “dirt,” and the chocolate frosting holds everything together. It’s a fun project that delivers big smiles without big stress.
Why This Cake Always Gets the Party Started
A homemade monster truck cake feels like an event the minute it lands on the table. The chocolate is rich and moist enough to support the truck, and the cookie crumb top hides any frosting wobbles, so even a first-time decorator can nail it.
Setup is honest. You bake two simple layers, whip one batch of frosting, and pile on the crushed cookies. The toy truck does most of the heavy lifting for the wow factor, and the cake itself tastes like the kind of birthday cake adults sneak a second slice of.
Ingredients
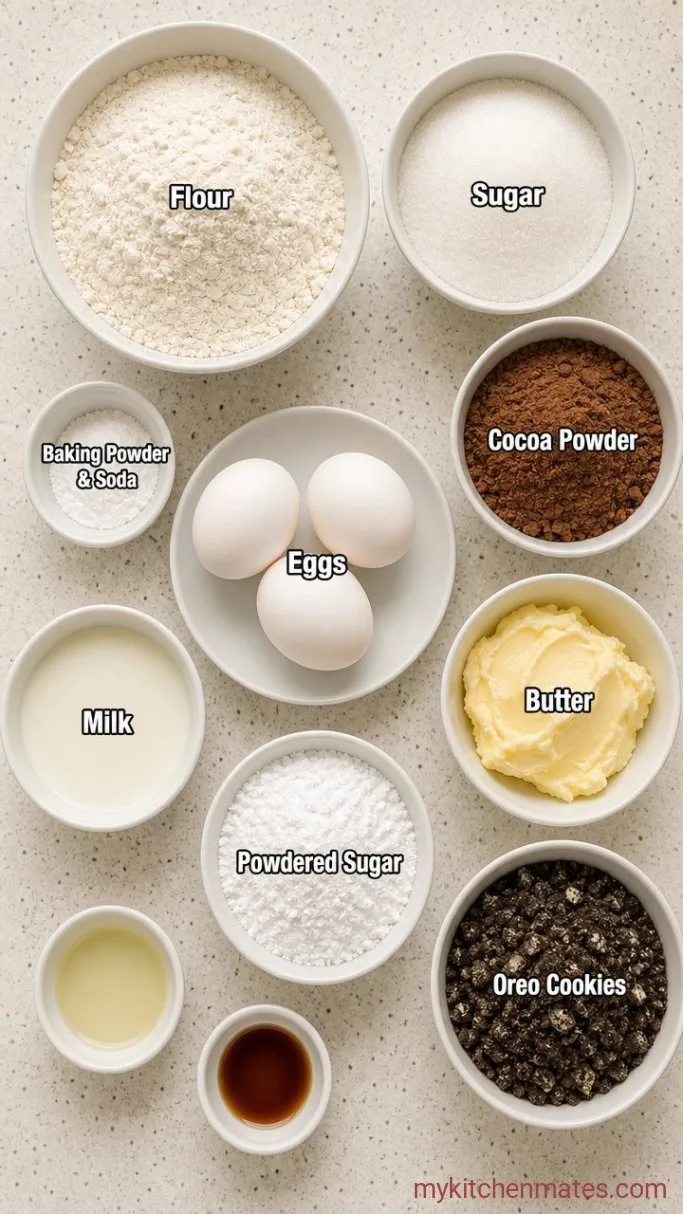
- 2 cups (250 g) all-purpose flour: measured by spooning into the cup and leveling
- 2 cups (400 g) granulated sugar: regular white sugar works best here
- 3/4 cup (65 g) unsweetened natural cocoa powder: not Dutch process, so the baking soda can react fully
- 2 teaspoons baking powder
- 1 1/2 teaspoons baking soda
- 1 teaspoon fine sea salt
- 3 large eggs, at room temperature: set them on the counter 30 minutes ahead
- 1 cup (240 ml) whole milk, at room temperature: 2% works in a pinch
- 1/2 cup (120 ml) vegetable or canola oil: keeps the cake tender for days
- 2 teaspoons pure vanilla extract
- 1 cup (240 ml) boiling water: the key to a soft, fudgy crumb
- 1 cup (2 sticks / 226 g) unsalted butter, softened to room temperature
- 3 cups (360 g) powdered sugar, sifted if lumpy
- 1/3 cup (30 g) unsweetened cocoa powder, sifted
- 3 to 4 tablespoons whole milk
- 1 1/2 teaspoons vanilla extract
- 10 to 12 Oreo cookies, crushed into fine crumbs
- 1 clean toy monster truck, about 4 inches long: washed and dried
Variations / Substitutions
- Swap the cake flavor: use a vanilla cake mix or your own vanilla batter recipe instead of chocolate. A yellow cake looks great with the dark dirt.
- Dairy-free: use oat milk for the milk, a neutral oil, and a vegan butter stick for the frosting. Choose dairy-free chocolate sandwich cookies.
- No Oreos: graham cracker crumbs or chocolate wafer crumbs make good dirt with a slightly different crunch.
- Add green “grass”: tint a small portion of the frosting with green food coloring and pipe little grass tufts around the truck before adding dirt.
Classic Red Velvet Birthday Cake is next on our list if this cake is your kind of dessert.
How to Make an Easy Monster Truck Birthday Cake
Step 1: Mix the Cake Batter
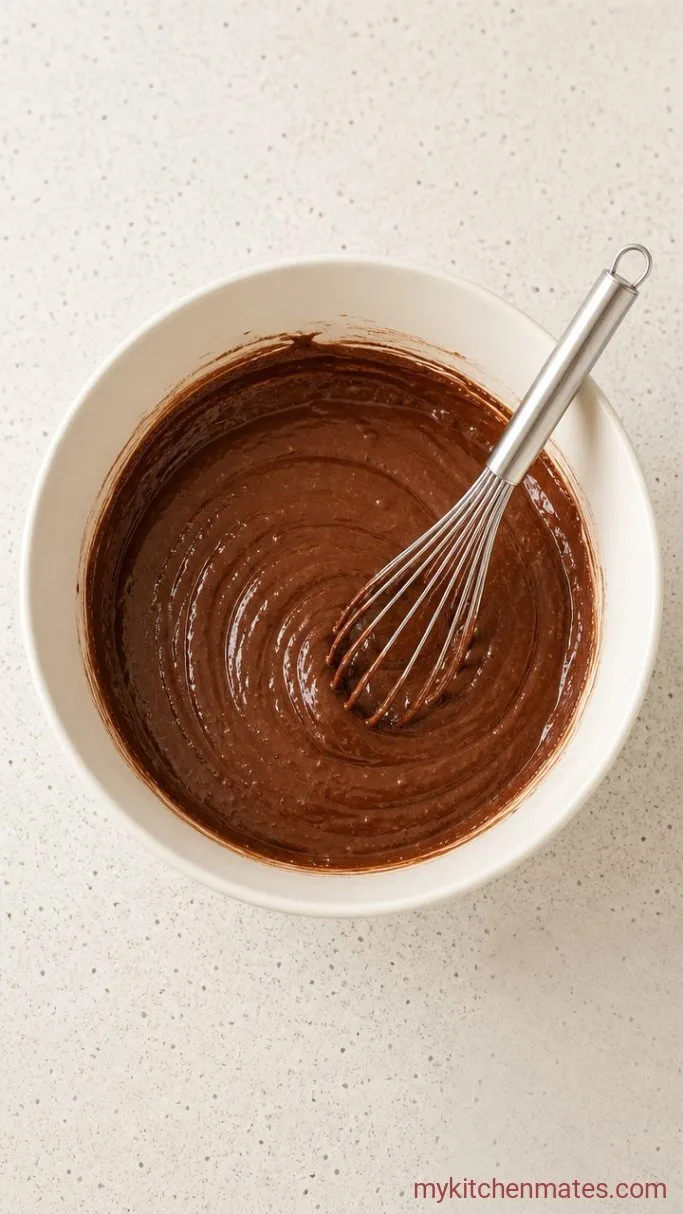
Preheat your oven to 350°F (175°C) and grease two 9-inch round cake pans, then line the bottoms with parchment paper. In a large bowl, whisk together the 2 cups of flour, 2 cups of sugar, 3/4 cup of cocoa powder, 2 teaspoons of baking powder, 1 1/2 teaspoons of baking soda, and 1 teaspoon of salt until no lumps remain. Add the 3 eggs, 1 cup of milk, 1/2 cup of oil, and 2 teaspoons of vanilla, then beat with a hand mixer on low for 30 seconds. Stop and scrape the bowl, then beat on medium for 2 full minutes, until the batter is thick and smooth, no dry streaks.
With the mixer on low, carefully pour in the 1 cup of boiling water. The batter will be very thin, almost like a crepe batter. That’s what you want—it bakes up into the softest crumb. Give the bowl one final scrape to make sure nothing is stuck at the bottom.
Step 2: Bake the Layers
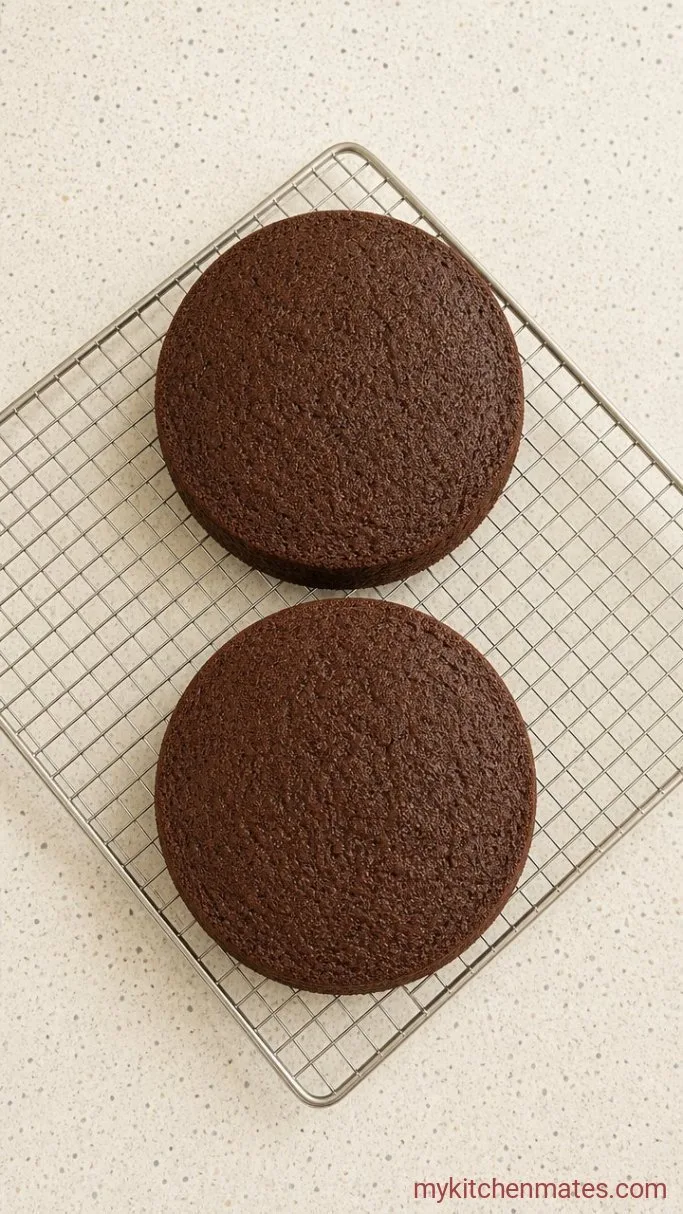
Divide the batter evenly between your two prepared pans, using a scale if you have one to make the layers the same height. Bake on the middle rack for 30 to 35 minutes. At the 30-minute mark, start checking by pressing very gently in the center of the cake—it should spring back, and a toothpick inserted should come out with only a few moist crumbs, no wet batter.
Let the cakes cool in their pans on a wire rack for 10 minutes. Run a thin knife around the edge, turn them out onto the rack, and peel off the parchment. Flip them right side up and let them cool completely, at least 1 hour. Warm cake will melt the frosting, so patience here pays off.
Step 3: Whip the Chocolate Frosting
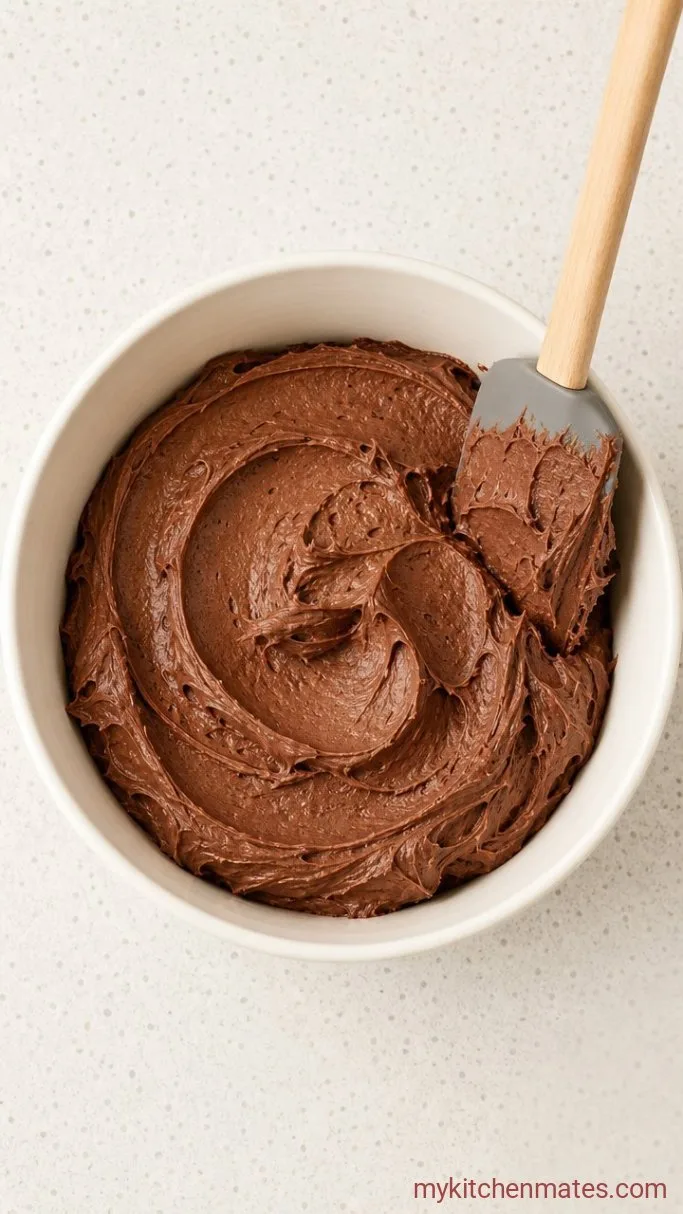
Beat the 1 cup of softened butter in a large bowl with an electric mixer on medium until it looks pale and fluffy, about 2 minutes. With the mixer on low, slowly add the 3 cups of powdered sugar, 1/3 cup of cocoa powder, 3 tablespoons of milk, and 1 1/2 teaspoons of vanilla. Once the sugar is mostly incorporated, bump the speed to medium and beat for 2 to 3 minutes, until the frosting holds soft peaks and tastes creamy, not gritty.
If it feels too thick to spread easily, beat in another tablespoon of milk. The frosting should be smooth enough to glide over the cake but stiff enough to hold the crumbs of dirt later. Set aside about a third of a cup if you want to pipe any green grass details.
Step 4: Assemble and Frost the Cake
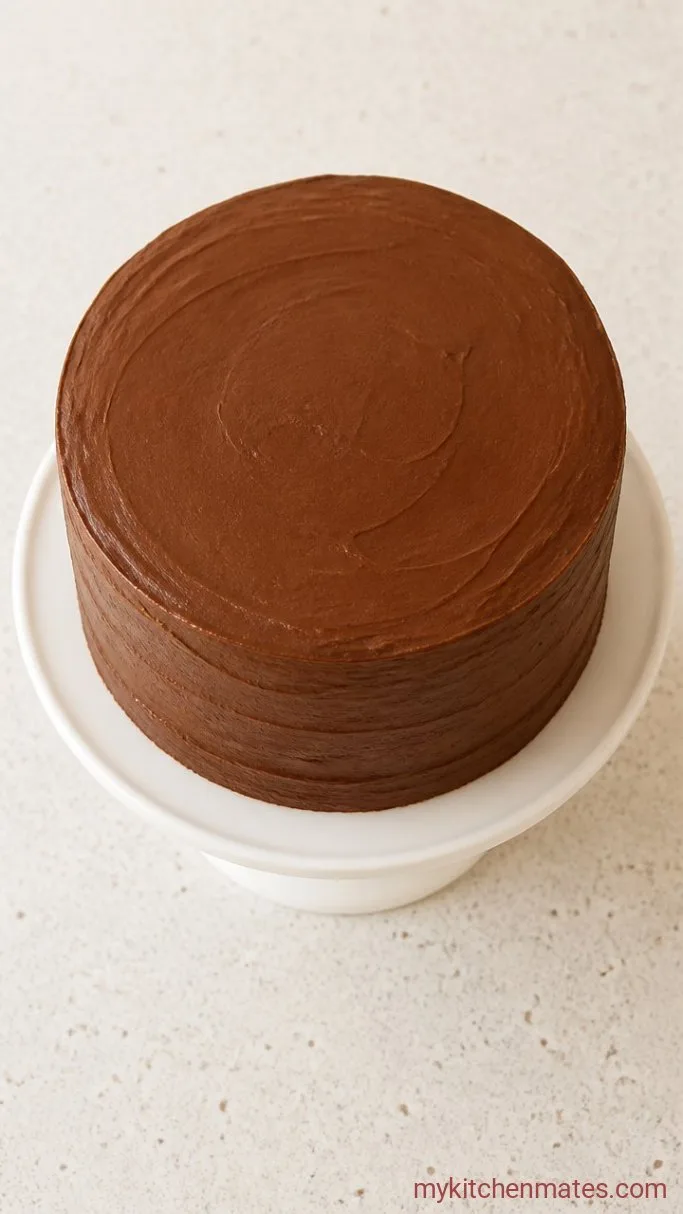
If your cake layers have domed tops, use a long serrated knife to gently saw them flat so they stack squarely. Place one layer, cut side up, on a serving plate or cake board. Spread a generous 1/2 cup of frosting over the top, right to the edges, then set the second layer on top, cut side down. Spread a very thin layer of frosting all over the top and sides, just to seal in the crumbs—it does not need to be pretty. Pop the cake in the fridge for 15 minutes to set that crumb coat.
Pull the cake out and pile on the remaining frosting, using an offset spatula or the back of a spoon to spread it over the top and smooth the sides. A few swoops and swirls actually look great once the dirt goes on, so do not stress about perfection.
Step 5: Decorate the Dirt and Place the Truck
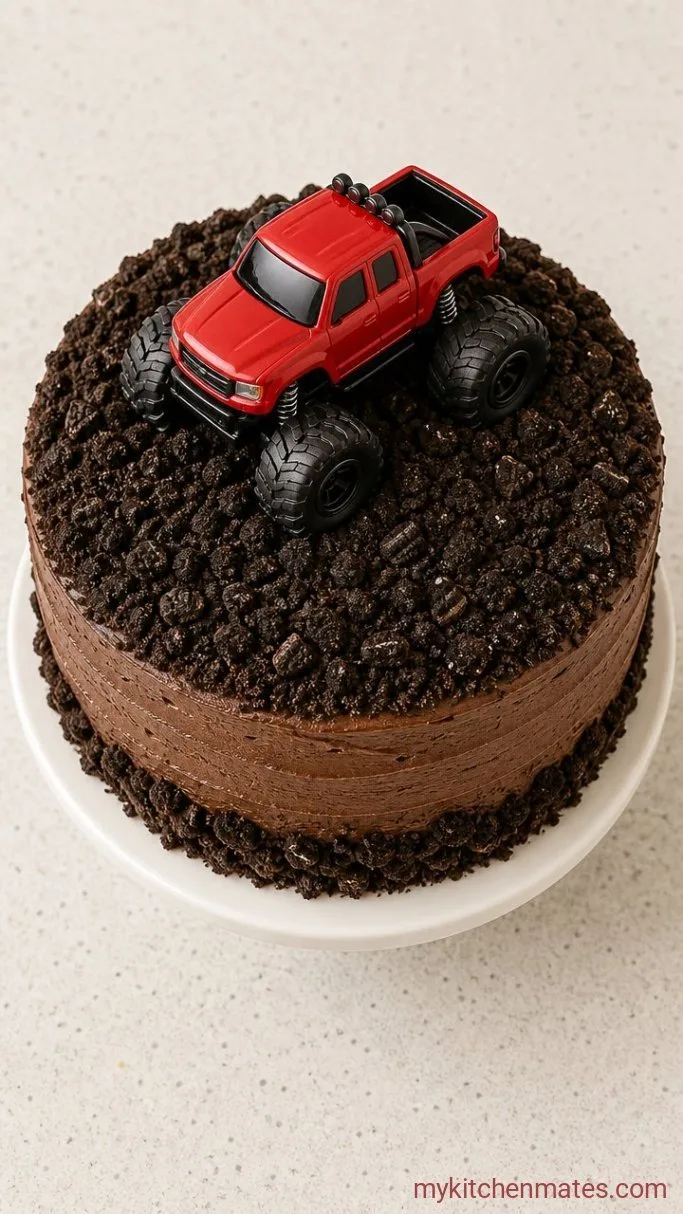
Crush the Oreos into fine crumbs by pulsing them in a food processor or putting them in a zip-top bag and rolling with a rolling pin. Sprinkle the crumbs generously over the top of the cake, letting some tumble down the sides like loose dirt. Press a very small mound of crumbs near the front or center to act as a ramp.
Set your clean toy truck on top of the dirt, wheels slightly sunk in so it looks like it just rolled into the scene. Serve the cake right away or keep it cool until party time—the truck stays put on the sturdy frosting bed.
Tips for a Cake That Holds Up on the Big Day
- Chill the layers before frosting: even 15 minutes in the fridge makes them less fragile and greatly reduces any crumbs mixing into the frosting.
- Use a serrated knife to level: a gentle sawing motion with a bread knife gives you a flat surface without squashing the cake.
- Crush the cookies finely: large chunks of Oreo look less like dirt and can make the truck wobble, so take the extra minute to get a fine crumb.
- Create a stable base: if your toy truck is heavy, press a small circle of frosting onto the cake where the wheels will sit so it has extra grip.
- Make the cake the day before: the layers and frosting both hold well overnight in the fridge, and a cold cake is much easier to decorate.
Bake times for 9-inch round cake pans:
| Pan material | Bake time (mins) |
|---|---|
| Light aluminum | 30–35 |
| Dark or nonstick | 28–32 |
Storing Leftover Monster Truck Cake
- Refrigerate: cover the cake loosely with plastic wrap or a cake dome and keep it in the fridge for up to 4 days. Remove the toy truck first and set it aside, then replace it after cutting.
- Serve Cold: the cake tastes great straight from the fridge, and the frosting stays firm. You can also let slices sit at room temperature for 15 minutes if you prefer a softer bite.
Frequently Asked Questions
Can I make this cake ahead of time?
Yes. Bake the layers a day in advance, wrap them tightly, and store at room temperature. Make the frosting up to two days ahead and refrigerate it, then bring it to room temperature and re-whip before assembling.
My toy truck is bigger than 4 inches, will it still work?
Yes, as long as it fits on a 9-inch round cake without hanging over the edge too much. A 5- or 6-inch truck may need a 10-inch cake pan for a little more surface area.
The cake sank in the middle, what went wrong?
This is usually from opening the oven door too early or underbaking. Make sure not to peek until at least the 25-minute mark, and test with a toothpick for a few moist crumbs, not wet batter.
Can I use a different cookie for the dirt?
Absolutely. Chocolate wafers, chocolate graham crackers, or even crushed pretzels mixed with a little cocoa powder all work. Just aim for a fine, sandy crumb.
Do I need to use a crumb coat?
You can skip it, but you’ll see more dark specks in the final frosting. The crumb coat takes only a few minutes and keeps the topcoat clean, so it’s worth it if you have the time.
Easy Monster Truck Birthday Cake Recipe
Ingredients
Method
- Preheat oven to 350°F. Grease two 9-inch round pans and line with parchment.
- Whisk flour, sugar, 3/4 cup cocoa, baking powder, baking soda, and salt in a large bowl. Add eggs, milk, oil, and 2 tsp vanilla. Beat on low 30 seconds, scrape, then beat on medium 2 minutes. Slowly mix in boiling water until thin and smooth.
- Divide batter evenly between pans. Bake 30–35 minutes until a toothpick comes out with moist crumbs. Cool in pans 10 minutes, then turn out onto a rack to cool completely.
- Beat butter until fluffy. Slowly add powdered sugar, 1/3 cup cocoa, 3 tbsp milk, and 1 1/2 tsp vanilla. Beat on medium 2–3 minutes until creamy; add more milk if too thick.
- Level cake layers if needed. Place one layer on a plate, spread with 1/2 cup frosting. Top with second layer. Apply a thin crumb coat of frosting; chill 15 minutes. Frost the whole cake with remaining frosting.
- Crush Oreos to fine crumbs. Sprinkle over the top and sides of the cake. Press a small mound of crumbs for a ramp, then place the toy truck on top. Serve or refrigerate until party time.
Notes
