
Classic Red Velvet Birthday Cake

This red velvet birthday cake is the one that turns any gathering into a celebration. It has a soft, tangy crumb and a generous cloud of cream cheese frosting that feels just a little bit indulgent.
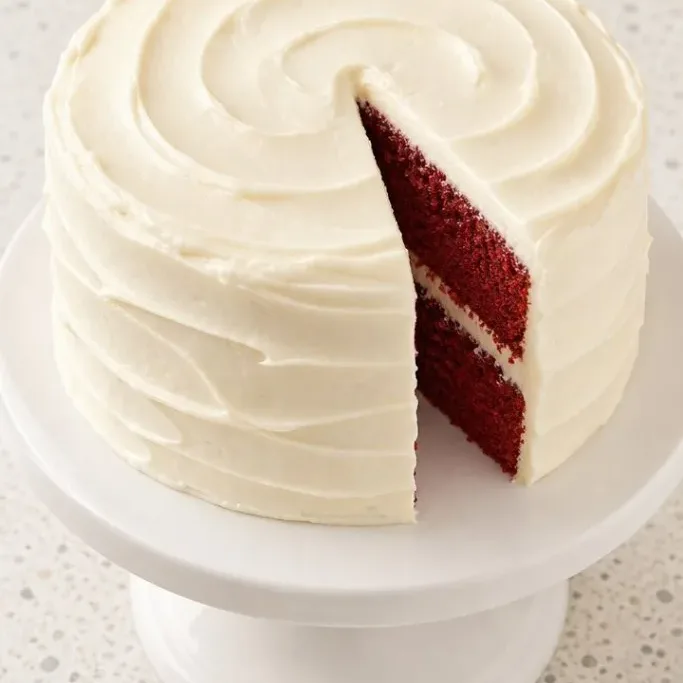
The cocoa stays in the background here, more of a whisper than a shout. Paired with that bright tang from buttermilk and a tiny splash of vinegar, it makes each bite taste like a bakery cake someone actually cared about making.
Why This Red Velvet Cake Works
The crumb is what wins you over. Buttermilk and a small amount of oil keep it tender and moist even after a few days on the counter, while just a little melted butter adds that rich, mouth-coating feel you want in a birthday cake.
Cream cheese frosting is the only choice here. It’s tangy, not cloyingly sweet, and the thick swoops hold their shape when you slice. You get that classic deep red velvet look without any fussy decorating tricks, just a proud, tall layer cake people lean in to photograph.
Ingredients
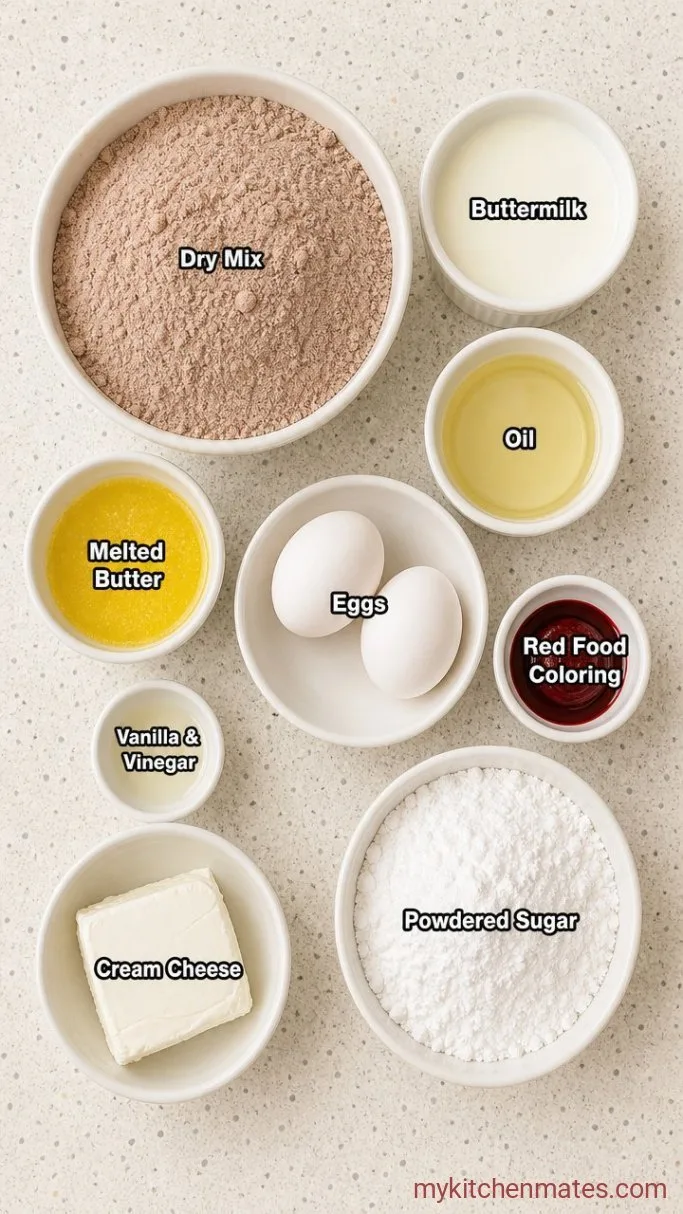
- 2 ½ cups (315g) all-purpose flour: spoon and level it, don’t scoop directly from the bag
- 2 tbsp unsweetened cocoa powder: Dutch-processed or natural both work here
- 1 tsp baking soda
- ½ tsp fine sea salt
- 1 cup (240ml) buttermilk: cold is fine, but room temperature blends smoother
- ½ cup (120ml) vegetable oil: keeps the cake tender without a greasy feel
- ¼ cup (56g) unsalted butter, melted and cooled slightly
- 2 large eggs: go ahead and use them straight from the fridge
- 2 tbsp red food coloring: gel gives the truest red without watering down the batter
- 1 tsp vanilla extract
- 1 tsp white vinegar: that little sharpness wakes up the cocoa
- Cream Cheese Frosting:
- 16 oz (450g) full-fat cream cheese, softened
- ½ cup (113g) unsalted butter, softened
- 4 cups (480g) powdered sugar: sift it if it’s lumpy
- 1 tsp vanilla extract
Variations / Substitutions
- No buttermilk: stir 1 tablespoon white vinegar or lemon juice into 1 cup whole milk, let it sit 5 minutes until it curdles, then use as directed.
- Natural coloring: replace red food coloring with 3 tablespoons beet powder or ¼ cup beet puree, and reduce buttermilk by 2 tablespoons. The color will be muted and earthy, not candy-red.
- Dairy-free version: use vegan butter sticks and a good dairy-free cream cheese. The cake itself is already oil- and buttermilk-based, so swap the buttermilk for unsweetened oat milk with a tablespoon of lemon juice.
- Lighter frosting: whip ½ cup heavy cream to stiff peaks and fold it into the finished cream cheese frosting for a fluffier, less sweet result.
Peppa Pig Birthday Cake is next on our list if this cake is your kind of dessert.
How to Make Classic Red Velvet Birthday Cake
Step 1: Sift the Dry Ingredients
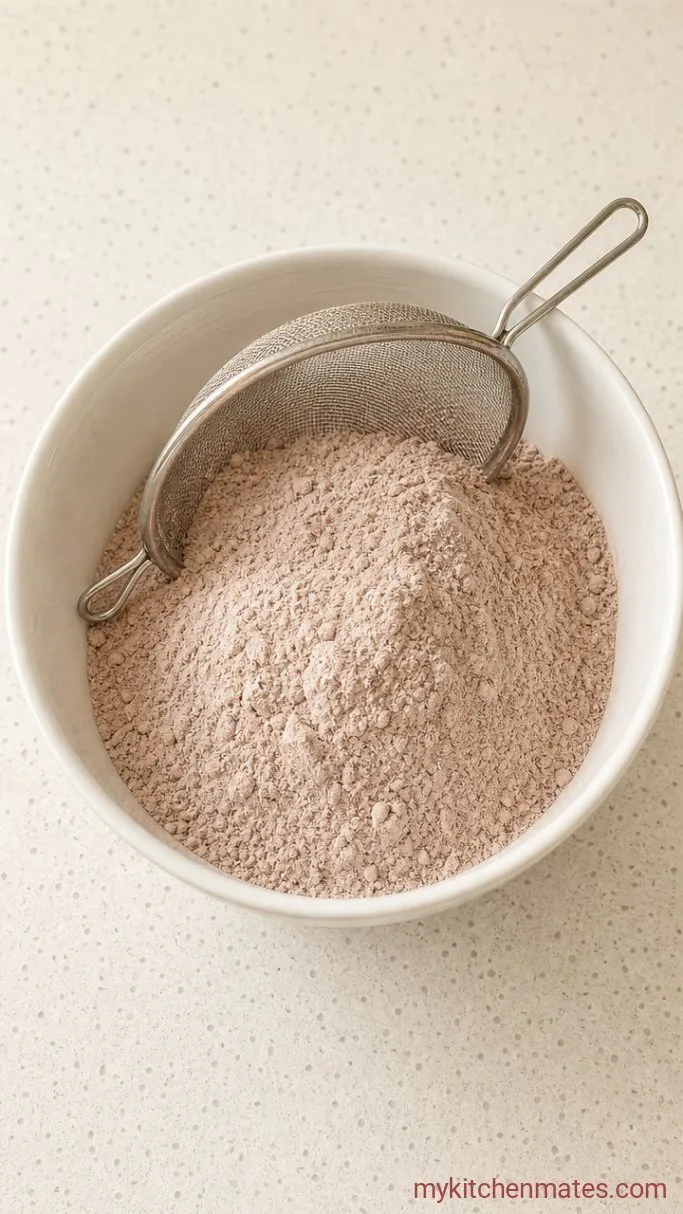
Sift the 2 ½ cups flour, 2 tablespoons cocoa, 1 teaspoon baking soda, and ½ teaspoon salt into a large bowl. Sifting takes about 30 seconds and keeps the cocoa from forming dark speckles in the batter.
You’re looking for a uniform pale brown mixture with no lumps. If you don’t have a sifter, just whisk the dry ingredients really well.
This step does more than you think. Sifting aerates the cocoa and flour so the cake bakes with a tender, open crumb instead of something dense and heavy.
Step 2: Whisk the Wet Ingredients
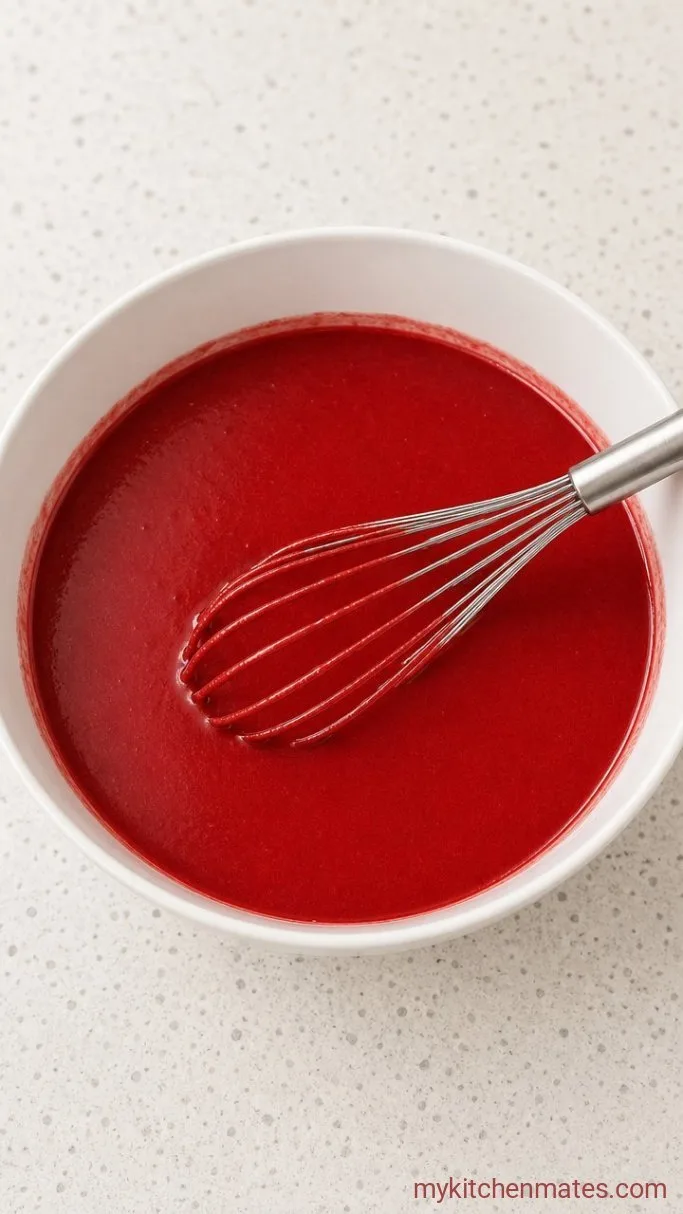
In another bowl, whisk together the 1 cup buttermilk, ½ cup oil, ¼ cup melted butter, 2 eggs, 2 tablespoons food coloring, 1 teaspoon vanilla, and 1 teaspoon vinegar. Whisk for about 1 minute until the eggs break down and the mixture looks smooth and bright red.
The color will be intense at this stage, almost alarming. That’s normal, and it mellows as the flour goes in.
A quick whisk here means the eggs won’t scramble when they hit the acid from the buttermilk and vinegar. You’re just combining everything before the dry ingredients join the party.
Step 3: Combine and Fold the Batter
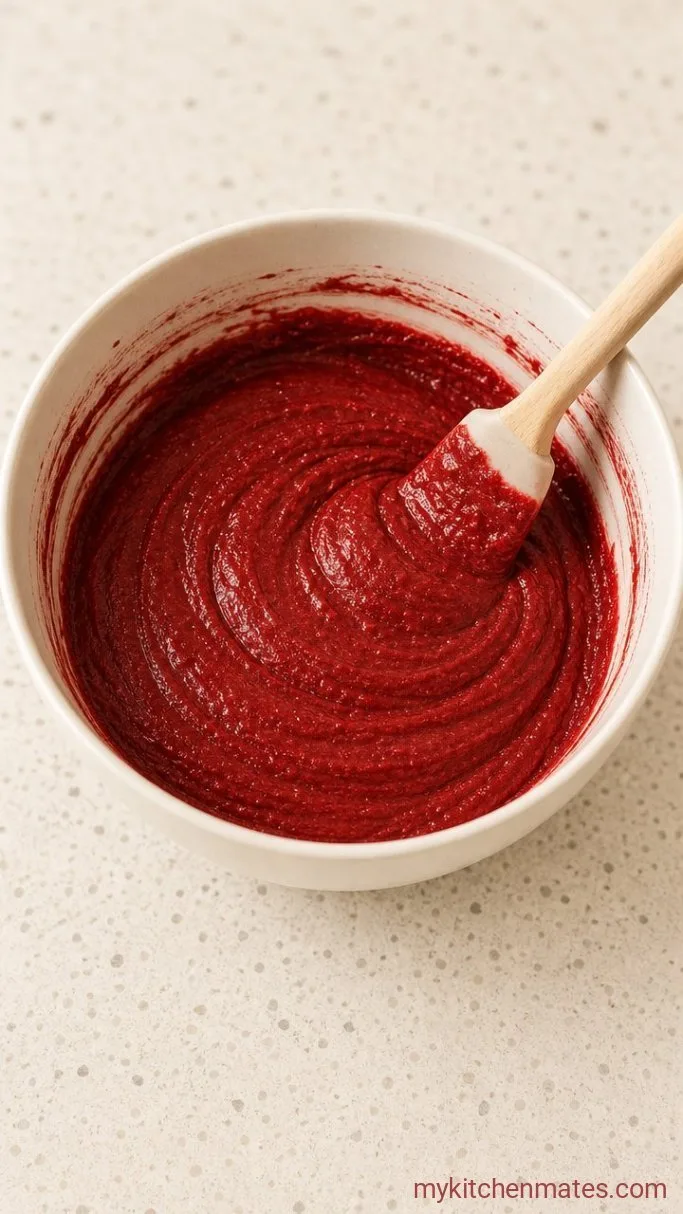
Pour the wet mixture over the dry ingredients and fold gently with a spatula. Fold for about 1 minute, just until you can’t see streaks of flour anymore. Stop the moment it comes together.
The batter will be thin, almost like pancake batter, and a deep red color. A few tiny lumps are fine, overmixing is the real danger.
You’re not trying to beat air out of this batter. The baking soda and vinegar are already setting up the lift, and folding too hard deflates that reaction, leaving you with flat layers.
Step 4: Bake the Layers
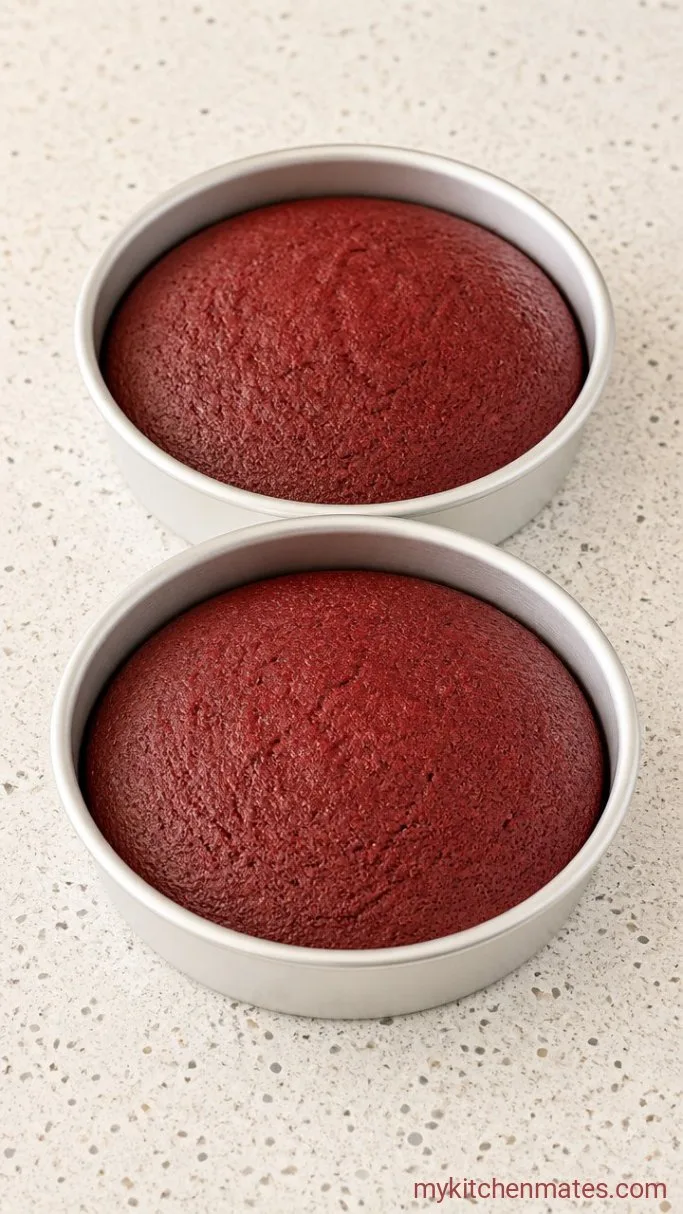
Preheat the oven to 350°F (175°C). Grease two 9-inch round cake pans, line the bottoms with parchment paper, and grease the paper too. Divide the batter evenly between the pans, then tap each one gently on the counter to pop any large air bubbles. Bake for 30 to 35 minutes.
A toothpick inserted in the center should come out with just a few moist crumbs. The tops will spring back when pressed lightly and pull away from the sides.
Let the layers cool in the pans for 10 minutes before turning them out onto a rack to cool completely. Warm cake melts frosting, so don’t rush this part.
Step 5: Beat the Cream Cheese Frosting
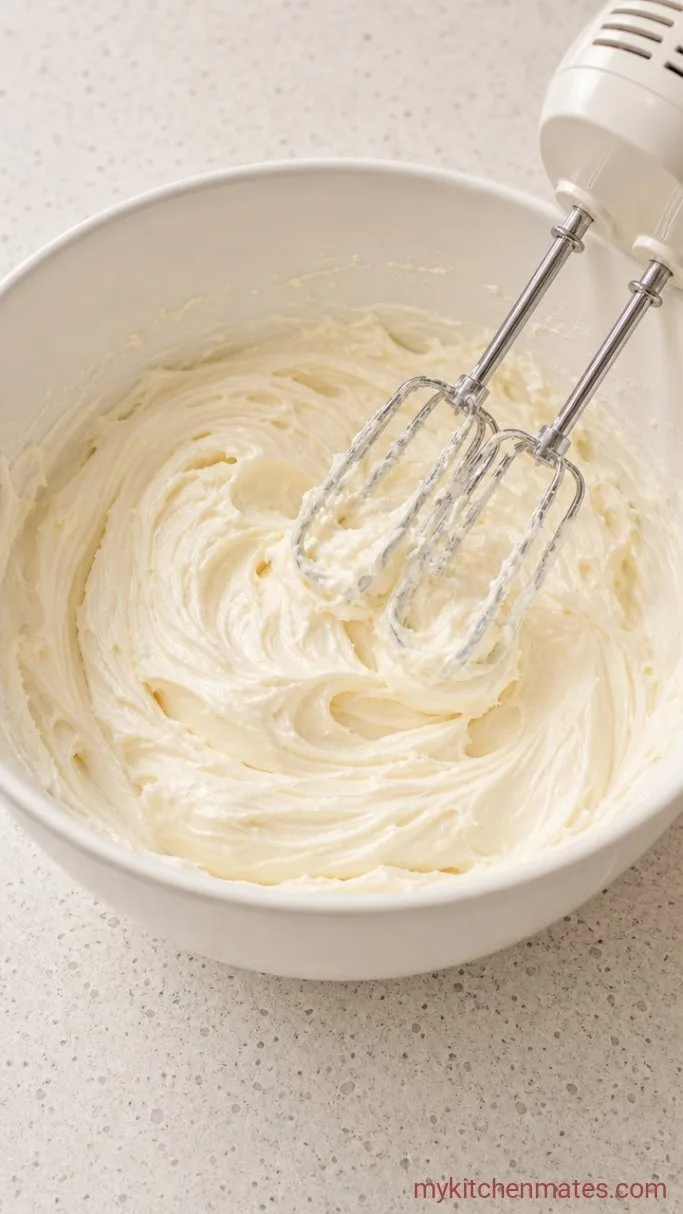
In a large bowl, beat the 16 oz cream cheese and ½ cup butter with an electric mixer on medium speed until smooth, about 2 minutes. Scrape down the bowl, then add the 4 cups powdered sugar in two batches, beating on low until combined. Add the 1 teaspoon vanilla and beat on high for 1 minute until fluffy.
The frosting should hold a soft peak when you lift the beater, and it should spread easily without being runny. If it feels too soft, pop it in the fridge for 10 minutes.
Cold cream cheese is fine, but softened cream cheese and butter whip up without tiny lumps. If you see white flecks of butter, keep beating for another minute.
Step 6: Frost and Stack the Cake
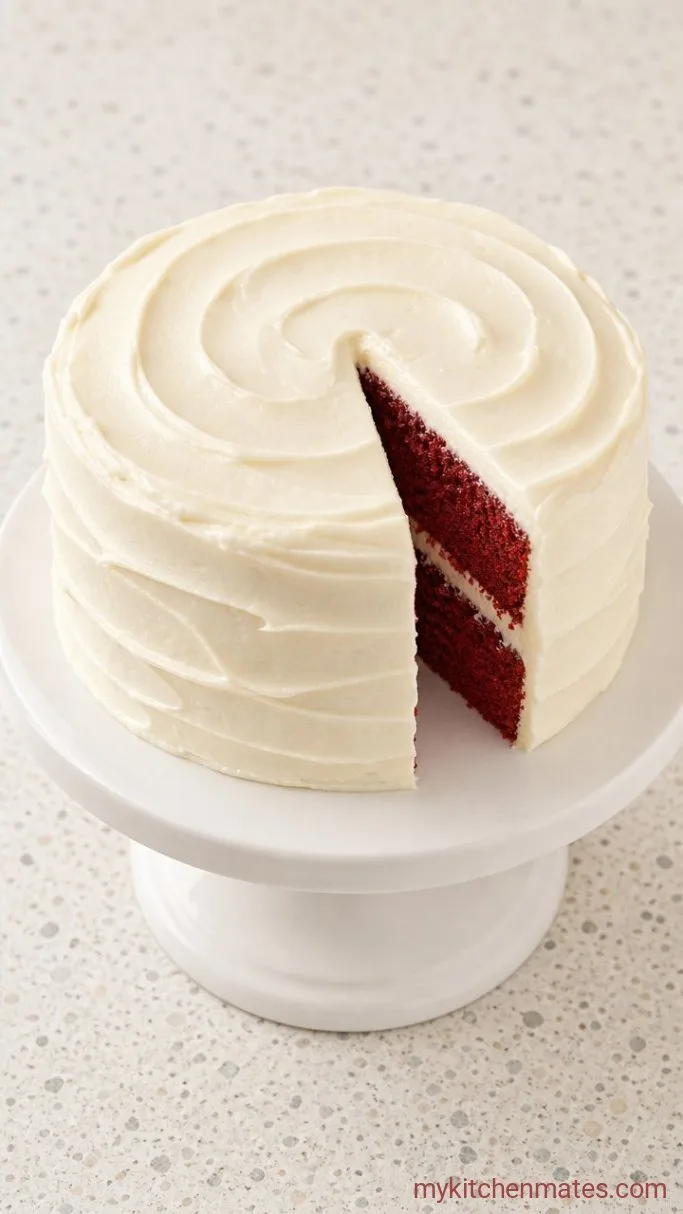
Place one cooled layer on a serving plate, bottom side up, so the flat surface faces you. Spoon about 1 cup of frosting onto it and spread to the edges. Set the second layer on top, top side up, and pile the remaining frosting over the top and down the sides. Use an offset spatula to create swoops and swirls.
Work with the frosting while it’s still cool. If the kitchen is warm, chilling the cake plate briefly helps the bottom layer not slide around.
Slice with a serrated knife and serve, watching the red crumb peek out from under that swoop of frosting. No candles required, but they sure look good on it.
A Few Tips for the Best Red Velvet Cake
- Chip away at the frosting prep: while the layers cool, make the frosting and keep it in the fridge. That way you can assemble the cake as soon as the rounds are ready and nothing feels rushed.
- For the truest red, use gel food coloring. Liquid can make the batter too thin and the color can bake out to a dull brick tone.
- When you measure the flour, spoon it into your cup and level it with the back of a knife. Scooping packs in too much flour and turns the cake dry.
- The cake layers can be made a day ahead. Cool them completely, wrap them in plastic, and leave them on the counter. Assemble and frost the next day.
Bake times by pan:
| Pan Size | Bake Time |
|---|---|
| Two 9-inch rounds | 30-35 mins |
| Three 8-inch rounds | 25-28 mins |
| 9×13-inch sheet pan | 27-32 mins |
Storing Leftovers
- Refrigerate: Cover the frosted cake loosely with plastic wrap and refrigerate up to 5 days. The cream cheese frosting stays firm and won’t weep.
- Serve Cold: Pull slices straight from the fridge or let them sit at room temperature for 30 minutes first. The cake tastes just as good chilled.
Frequently Asked Questions
Is red velvet cake just chocolate cake with food coloring?
No. A real red velvet has only a small amount of cocoa and gets its tangy flavor from buttermilk and vinegar, while chocolate cake is built around a much higher cocoa content and richer chocolate taste.
Can I freeze this cake?
You can. Wrap individual unfrosted layers in plastic and foil, then freeze up to 2 months. Thaw on the counter before frosting. The assembled cake freezes well too, but the frosting texture may soften a little once thawed.
Why is my cream cheese frosting lumpy?
The cream cheese or butter was likely too cold when you started, or the powdered sugar wasn’t sifted. Beat the cold ingredients alone for a minute before adding sugar, and always sift lumpy sugar.
Can I use a different frosting?
Absolutely. Swiss meringue buttercream or a classic ermine frosting are both lovely here. Just know that cream cheese is the traditional pick and the tang balances the cake’s sweetness best.
Classic Red Velvet Birthday Cake Recipe
Ingredients
Method
- Sift flour, cocoa, baking soda, and salt into a large bowl. Whisk to blend.
- In a separate bowl, whisk buttermilk, oil, melted butter, eggs, red food coloring, 1 tsp vanilla, and vinegar until smooth.
- Fold wet ingredients into dry until just combined, with a few small lumps okay.
- Grease two 9-inch round cake pans, line with parchment, and grease parchment. Preheat oven to 350°F (175°C). Divide batter evenly between pans. Bake 30-35 minutes until a toothpick comes out with moist crumbs. Cool in pans 10 minutes, then turn out onto a rack to cool completely.
- Beat cream cheese and ½ cup butter on medium until smooth, about 2 minutes. Add powdered sugar in two additions, then 1 tsp vanilla, and beat on high 1 minute until fluffy.
- Place one cooled layer on a plate, spread with 1 cup frosting. Top with second layer, cover top and sides with remaining frosting. Slice and serve.
Notes
