
Fudgy 20-Minute Mini Brownie Bites

These mini brownie bites are the kind of dessert you can pull together on a whim and have on the table in under half an hour. They bake up with crackly tops and dense, fudgy centers, and the tiny size means you don’t have to cut a pan.
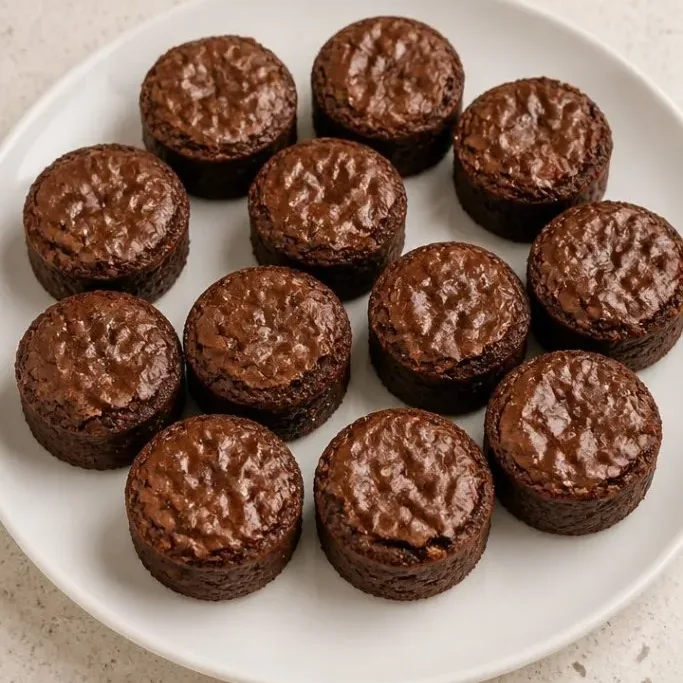
A batch disappears fast at potlucks, and they freeze beautifully for packed lunches. No mixer required, just one bowl and a whisk.
Why This Dessert Stays in the Rotation
I keep coming back to this recipe because the brownies stay fudgy for days, thanks to the extra egg yolk. They never turn cakey, even if you accidentally leave them in the oven a minute too long.
The edges set with a slight chew while the centers stay soft. And the one-bowl method means you’re not facing a sink full of dishes later.
Ingredients
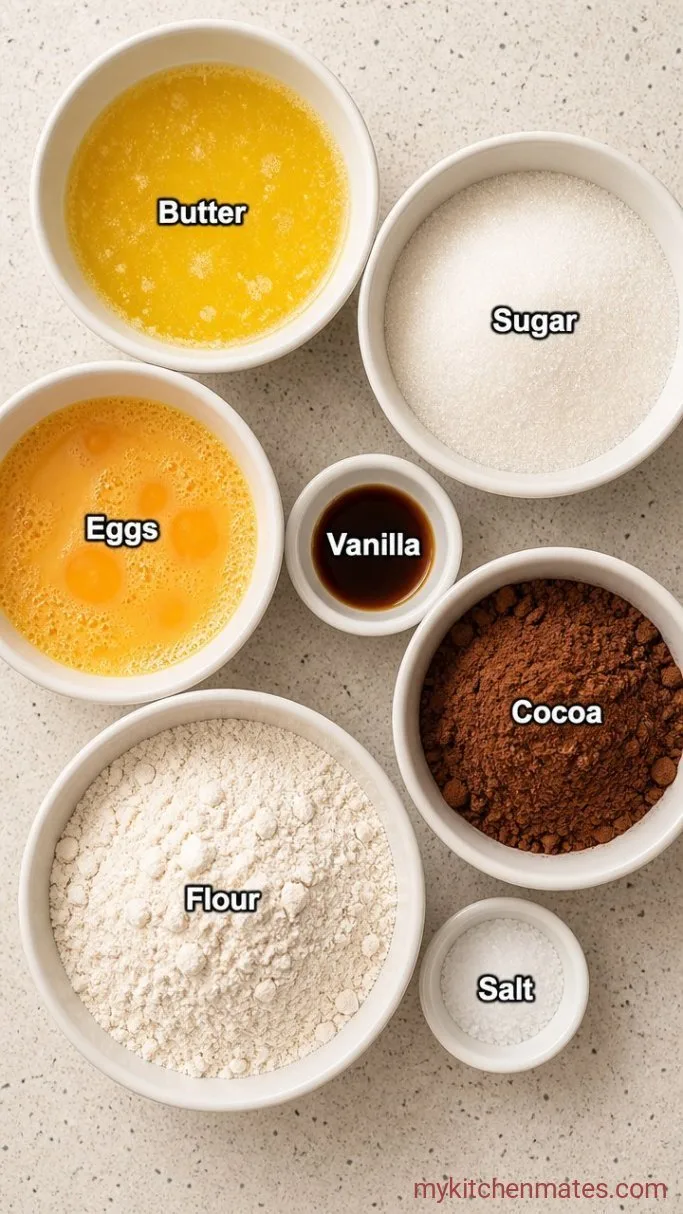
- 1/2 cup unsalted butter, melted and cooled slightly: I use melted butter for a denser, fudgier texture.
- 1 cup granulated sugar: gives the tops that shiny crackle.
- 1 large egg + 1 large egg yolk: the extra yolk keeps them extra fudgy.
- 1 teaspoon vanilla extract: pure vanilla if you have it.
- 1/2 cup unsweetened cocoa powder: natural or Dutch-process both work, but I prefer natural for a classic brownie taste.
- 1/2 cup all-purpose flour: spooned and leveled, not packed.
- 1/4 teaspoon fine sea salt: brings out the chocolate.
Variations / Substitutions
- Make them gluten-free: swap the flour with a 1:1 gluten-free blend; they’ll be just as fudgy.
- Dairy-free: use a neutral oil or melted coconut oil instead of butter, and use 2 whole eggs total instead of the egg plus yolk.
- Add espresso powder: stir 1/2 teaspoon into the batter to deepen the chocolate flavor without tasting like coffee.
- Fold in chocolate chips: about 1/3 cup mini chocolate chips added after the flour for little pockets of melted chocolate.
- Don’t swap the sugar: this recipe needs granulated sugar for structure; brown sugar makes the bites too soft and cakier.
Banana Parfait Cups are next on our list if these brownie bites are your kind of dessert.
How to Make Mini Brownie Bites
Step 1: Mix the Wet Ingredients
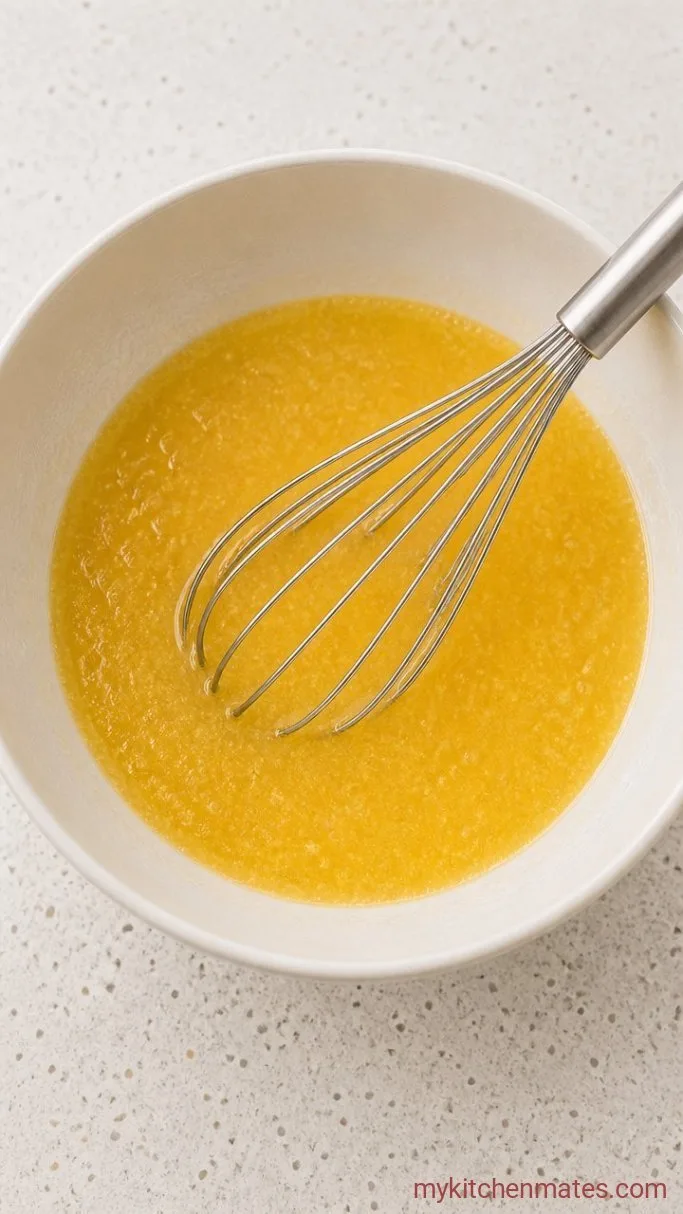
Move an oven rack to the middle position and preheat to 350°F (180°C). In a large bowl, whisk together the 1/2 cup melted butter, 1 cup sugar, the large egg plus the egg yolk, and 1 teaspoon vanilla until smooth and glossy.
The mixture will look thick and shiny as the sugar starts to dissolve. A full minute of whisking gives the tops that crackly texture later, so don’t rush this part.
Step 2: Stir in the Dry Ingredients
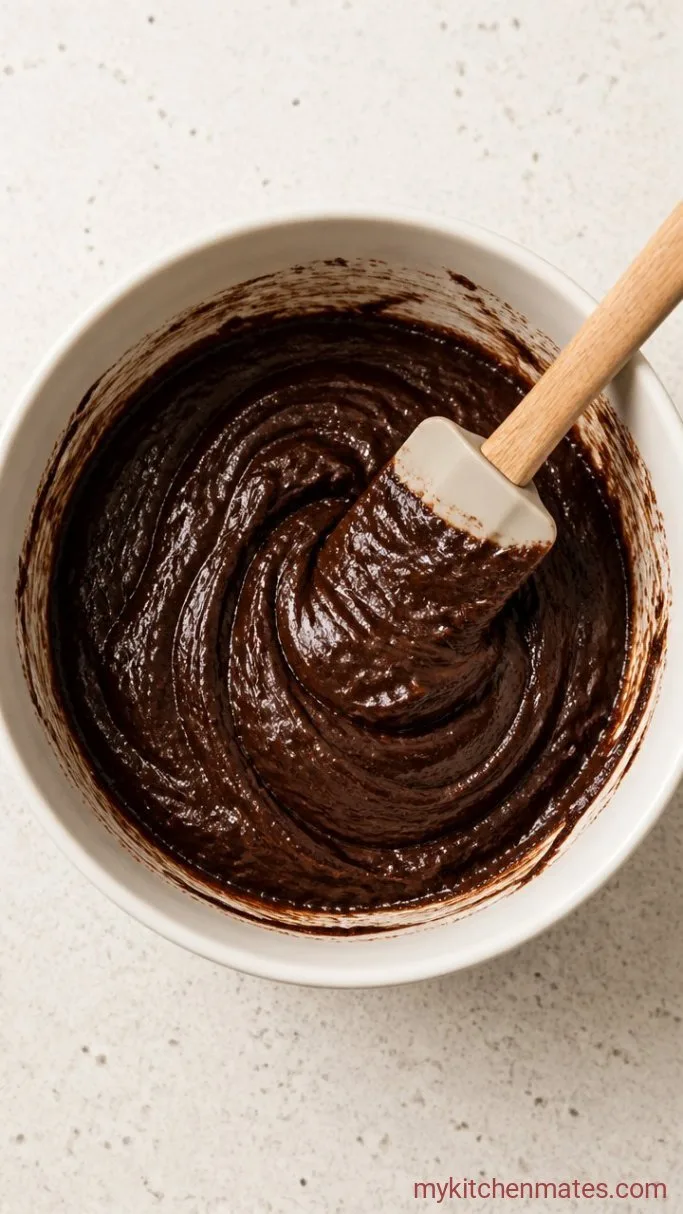
Sprinkle the 1/2 cup cocoa powder, 1/2 cup flour, and 1/4 teaspoon salt directly over the wet ingredients. Fold them in gently with a rubber spatula just until no dry streaks remain.
The batter will be dense and a bit sticky. Stop mixing the moment everything comes together; overworking the flour will make the bites tough.
Step 3: Fill the Pan
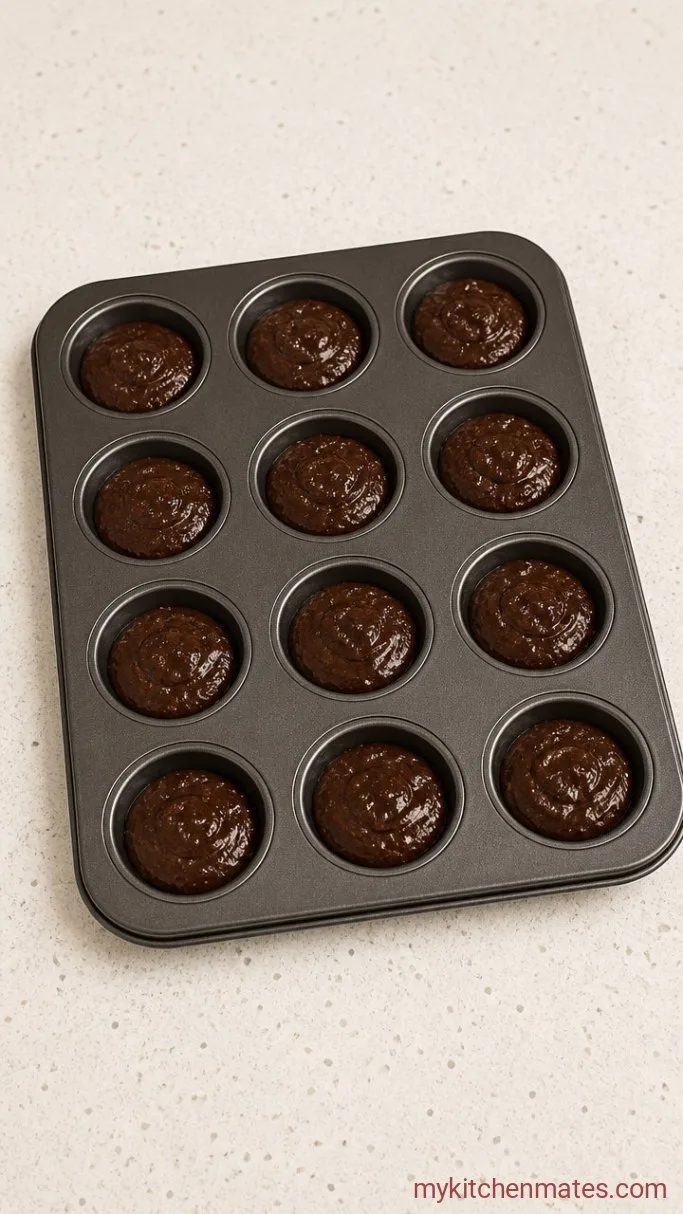
Grease a 24-cup mini muffin pan (or two 12-cup pans) generously with butter or nonstick spray. Spoon the batter evenly into the cups, filling each one about three-quarters full.
A small cookie scoop keeps this clean and evenly sized. If you don’t have one, two spoons work too, just nudge the stiff batter into the cups.
Step 4: Bake Until Just Set
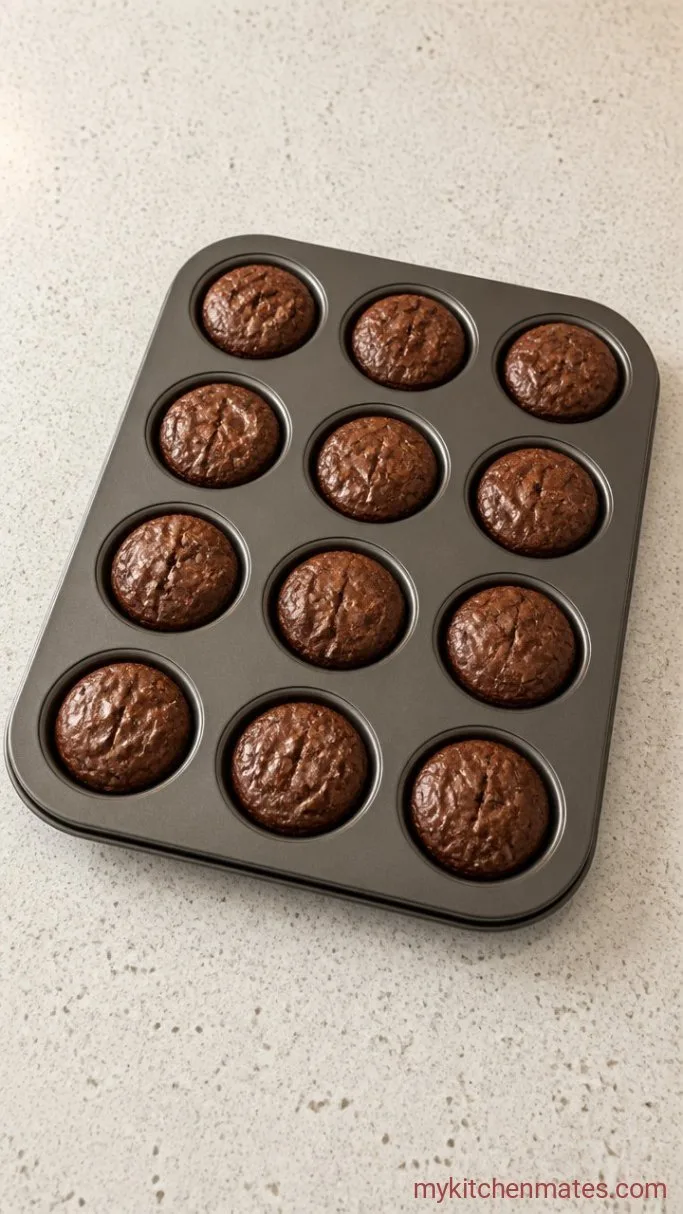
Slide the pan into the oven and bake at 350°F (180°C) for 10 to 12 minutes. The tops will lose their wet shine, and the edges will look set while the centers still feel soft.
Test with a toothpick: it should come out with a few moist crumbs, never wet batter. If the toothpick is clean, they’ve baked a minute too long but will still taste great.
Step 5: Turn Them Out and Serve
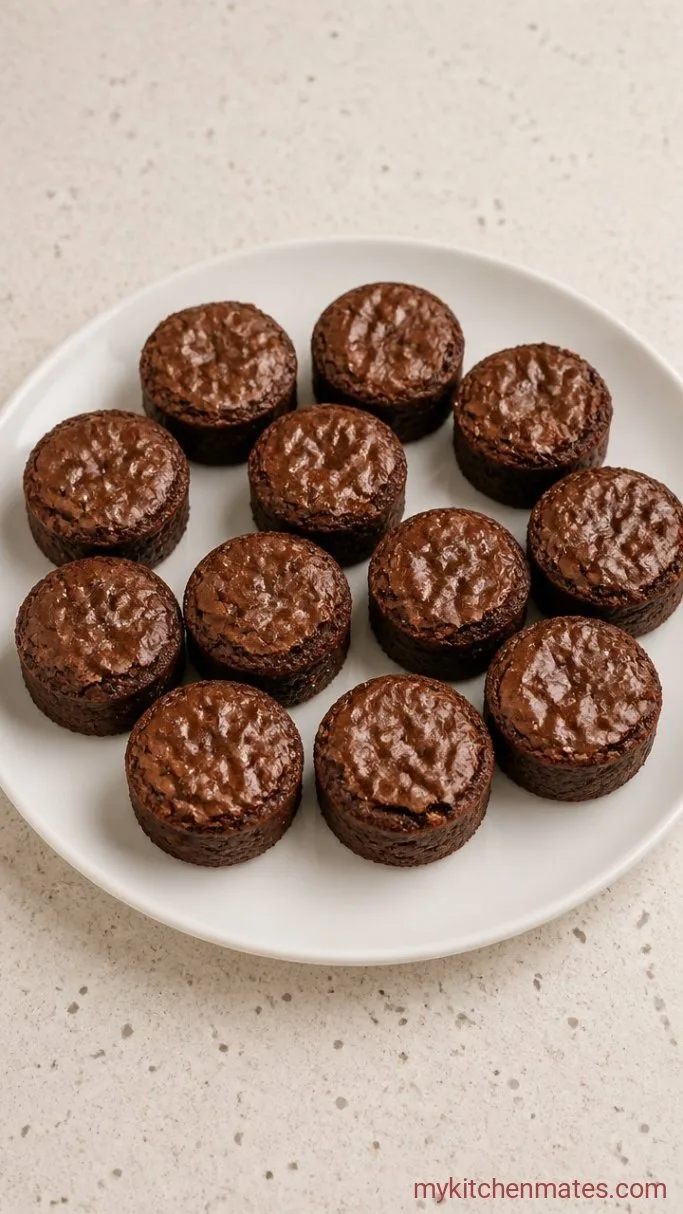
Let the bites cool in the pan for 5 minutes. Run a small offset spatula or a butter knife around the edges to loosen them, then lift them out onto a wire rack.
Serve them warm with their crackly tops and fudgy centers. Any leftovers can wait at room temperature in a sealed container.
A Few Notes Before You Start
- For the very crackliest tops, let the batter rest 5 minutes before scooping; it gives the sugar time to fully dissolve.
- Use a kitchen scale for the flour and cocoa. It’s the easiest way to avoid a dry batter.
- If your mini muffin pan is on the deeper side, you may get 18 slightly larger bites and need an extra minute or two of bake time.
- Double the recipe with no changes. The batter holds fine at room temperature while the first batch bakes.
Bake times can shift slightly with your pan:
| Pan Type | Bake Time |
|---|---|
| Light metal pan | 10 to 12 mins |
| Dark metal pan | 9 to 11 mins |
| Silicone pan | 12 to 14 mins |
Keeping Them Fresh
- Refrigerate: Keep leftover bites in an airtight container at room temperature for up to 3 days, or refrigerate for up to a week. They’ll firm up when chilled but soften again once they come back to room temp.
- Reheating: A quick 10 seconds in the microwave makes them taste freshly baked.
What to Serve With Mini Brownie Bites
For a quick dessert plate, set out a pile of bites with a bowl of softened vanilla ice cream and a jar of warm fudge sauce. They also hold their own beside a mug of coffee or a cold glass of milk.
Frequently Asked Questions
Can I make these in a regular muffin tin?
Yes, but you’ll get larger brownie cups. Bake them for 14 to 16 minutes at the same temperature.
Why did my brownie tops not get crackly?
Crackly tops come from fully dissolved sugar, so whisk the butter and sugar until the mixture no longer feels gritty.
Can I freeze the baked bites?
Yes. Freeze them in a single layer on a tray, then transfer to a freezer bag for up to 2 months. Thaw at room temperature.
My brownie bites stuck to the pan. What can I do?
Grease each cup thoroughly with butter or spray, and consider using paper mini muffin liners for a no-fuss release.
Mini Brownie Bites Recipe
Ingredients
Method
- Preheat oven to 350°F (180°C). Whisk butter, sugar, egg, egg yolk, and vanilla until glossy.
- Stir in cocoa powder, flour, and salt just until no dry streaks remain.
- Grease a 24-cup mini muffin pan and fill each cup about three-quarters full.
- Bake for 10 to 12 minutes until edges are set and a toothpick shows moist crumbs.
- Cool in the pan for 5 minutes, then loosen edges and turn out onto a rack. Serve warm or at room temperature.
Notes
