
Mario Birthday Cake with a Piped Buttercream Face

A vanilla layer cake that looks like Mario himself, with a simple buttercream face that freezes onto the top. It tastes like butter and vanilla, and the decoration trick means you don’t need an artist’s hand to pull it off.

The cake is sturdy enough to stack and frost without sliding, with a tender crumb from buttermilk. The buttercream face comes together on a piece of wax paper while the cake cools, so you do the hard part ahead of time.
Why This Cake Wins Birthdays
The buttermilk keeps the layers moist even hours after you cut the first slice, which is the real test for a party cake. The vanilla is present but gentle, so it pairs with whatever ice cream ends up on the plate.
The buttercream recipe makes enough to practice with. The colors mix in with gel paste, no streaks, and the leftover blue and red get used for a border you can pipe without worrying about perfection. The frozen face lifts off clean and lays flat on the cake, so the cartoon features stay crisp.
Ingredients

- 2 ½ cups all purpose flour: spooned and leveled, not scooped
- 2 teaspoons baking powder
- ½ teaspoon baking soda
- ½ teaspoon salt
- 1 cup unsalted butter, softened: plus more for the pans
- 2 cups granulated sugar
- 4 large eggs, room temperature
- 2 teaspoons vanilla extract
- 1 cup buttermilk, room temperature: or whole milk with 1 tablespoon lemon juice
- 2 cups unsalted butter, softened for the frosting: use good butter; the flavor shows
- 6 to 7 cups powdered sugar: sifted if lumpy
- 3 to 4 tablespoons heavy cream or whole milk
- 2 teaspoons vanilla extract for the frosting
- Red, royal blue, and ivory gel food coloring: liquid drops work in a pinch but the colors won’t be as bold
- Black and white buttercream for the details: a small batch or store bought tubes
Variations / Substitutions
- Chocolate cake base: swap ½ cup of the flour for cocoa powder and use hot coffee instead of buttermilk for a deeper color.
- Store bought topper: skip the buttercream face and place a clean, food safe Mario figurine or printed edible image on the finished cake.
- Dairy free: use plant based butter sticks and swap the buttermilk for almond milk mixed with 1 tablespoon vinegar. The frosting works the same way.
- Sheet cake version: spread the batter into a greased 9 by 13 inch pan and bake 10 minutes longer, then frost the top with a flat Mario scene using colored buttercream spatula work.
Cookie Birthday Cake is another dessert you’d probably love if you enjoy this cake.
How to Make a Mario Birthday Cake
Step 1: Mix the Cake Batter

Set an oven rack in the middle and preheat the oven to 350°F (175°C). Butter two 9 inch round cake pans, line the bottoms with parchment, and butter the parchment.
Beat the 1 cup butter and the 2 cups sugar in a large bowl with a mixer on medium high, until the mixture looks pale and fluffy, about 3 minutes. Scrape the bowl once, then add the 4 eggs one at a time, beating well after each so the batter stays emulsified.
The sound of the mixer will change from a slapping noise to a soft whir when the eggs are fully worked in, and the mix will look like thick mayonnaise. That texture means the cake will rise evenly without tunneling.
Step 2: Bake the Layers

Whisk the 2 ½ cups flour, 2 teaspoons baking powder, ½ teaspoon baking soda, and ½ teaspoon salt in a separate bowl. With the mixer on low, add the dry mix to the butter mixture in three additions, alternating with the 1 cup buttermilk, starting and ending with the flour. Stop as soon as the last streak of flour disappears.
Divide the batter between the pans and smooth the tops. Bake for 30 to 35 minutes, until the edges pull away and a toothpick in the center comes out clean. The tops will spring back when you press lightly. Cool the cakes in the pans on a rack for 10 minutes, then turn them out onto the rack to cool completely.
The layers should be flat enough to stack without trimming, but if they dome, let them cool fully and slice off the curved part with a long serrated knife so your final cake sits level.
Step 3: Whip the Buttercream
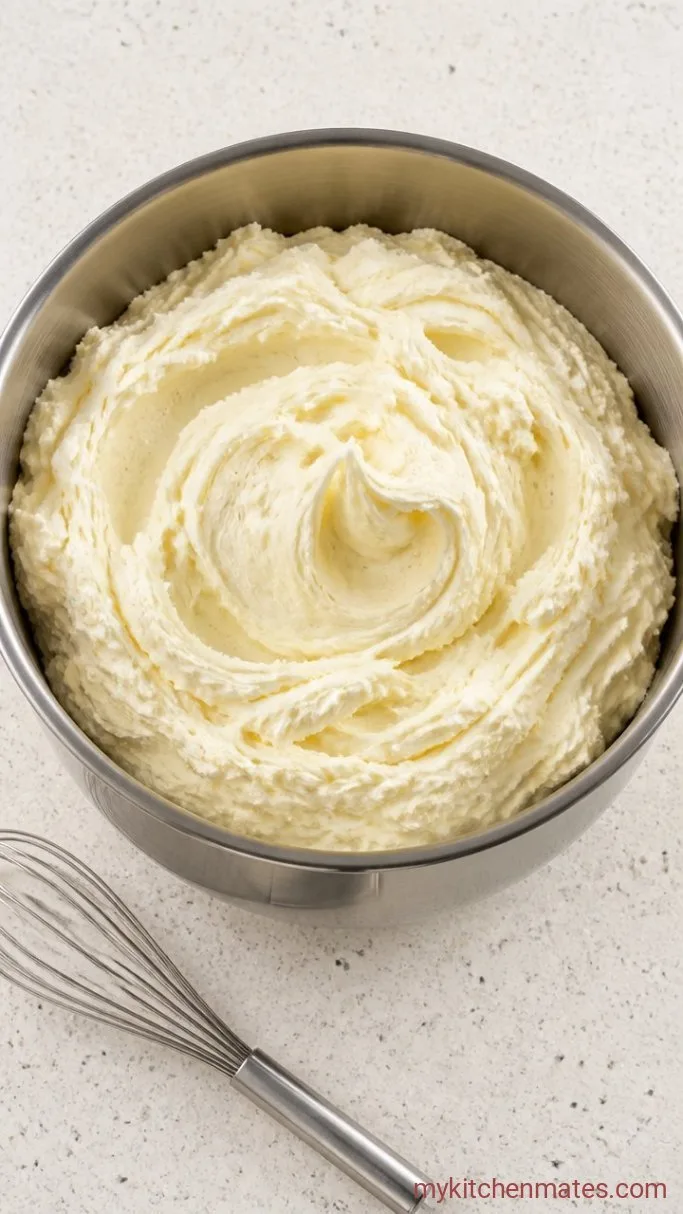
Beat the 2 cups frosting butter in a clean bowl on medium until it turns creamy and pale, about 2 minutes. Lower the speed and add the 6 cups powdered sugar a cup at a time, then the 2 teaspoons vanilla and 3 tablespoons cream.
Turn the mixer back to medium and beat for another 4 minutes. The buttercream will lighten and fluff up until it holds a soft peak. If it feels stiff, drizzle in the last tablespoon of cream. Scoop out 1 cup of the white frosting and set it aside for the face details. Divide the rest into thirds: tint one third red, one third blue, and leave the last third white but add a tiny drop of red and yellow gel to make a soft skin color.
The warmed bowl from the friction means the colors will deepen as they sit, so mix them a shade lighter than you think you need.
Step 4: Fill and Stack the Layers

Place one cooled cake layer on a serving plate, top side down. Spread a scant half cup of the white buttercream over it, all the way to the edge. Set the second layer on top, top side down again so the flat bottom becomes the top of the cake.
Cover the whole cake with a thin crumb coat of white buttercream, just enough to stick the crumbs, and chill the cake in the fridge for 20 minutes while you work on the face. Swirl the red buttercream over the sides, then spread the blue over the top third of the cake so it looks like Mario’s cap. Smooth it with an offset spatula and let the colors overlap slightly where they meet.
Step 5: Add the Mario Details

Tape a piece of wax paper over a printed Mario face template. Fit a piping bag with a small round tip, fill it with the skin tone buttercream, and pipe the outline of the nose and ears. Use white for the eyes and black for the pupils, mustache, and eyebrows. Freeze the piped sheet for 15 minutes until the features are firm.
Peel the frozen face off the wax paper and press it gently onto the top of the cake, just below the blue cap section. Pipe a white border around the base and a red shell border along the top edge of the hat, then add a white circle in the center of the cap and pipe a red letter “M” inside it. Serve right away or store covered in the fridge.
Tips for a Steady First Cake
- Weigh the batter: divide it by weight so the layers bake at the same rate. A kitchen scale eliminates the guesswork.
- Cool the layers upside down: rest each cake top side down on the rack to press out any small domes while they are still warm.
- Use gel colors: liquid food coloring can thin the buttercream and make it slip down the sides. Gel paste keeps the texture stiff.
- Freeze the face a little longer if it is soft: the buttercream needs to be hard enough that you can handle it without smudging the lines.
Bake times by pan size; a toothpick should come out clean and an instant read thermometer should read around 200°F to 205°F (93°C to 96°C):
| Pan size | Bake time |
|---|---|
| Two 8 inch round | 32 to 38 minutes |
| Two 9 inch round | 30 to 35 minutes |
| One 9 by 13 inch sheet | 38 to 42 minutes |
Keeping Mario Fresh
- Refrigerate: cover the cake and keep it in the fridge for up to 5 days. The buttercream will firm up, so let slices sit at room temperature for 10 minutes before eating.
- Freeze undecorated layers: wrap the cooled cakes in plastic and freeze them for up to a month. Thaw overnight in the fridge and then decorate.
Frequently Asked Questions
Can I assemble the cake a day before the party?
Yes. Frost and decorate the whole cake, cover it loosely, and refrigerate overnight. The buttercream face will stay crisp.
What if my buttercream separates while coloring?
Beat in 1 to 2 tablespoons of powdered sugar at a time until it comes back together. Adding too much liquid color can cause the split.
Can I use a box cake mix?
Yes. Prepare two 9 inch rounds from a white cake mix, then follow the frosting and decorating steps from Step 3 onward. The buttercream and face technique stay the same.
How do I get a sharp red “M” on the hat?
Pipe the white circle, freeze it for 5 minutes, then pipe the red “M” over it with a small star tip. Freezing the white base stops the colors from bleeding.
Mario Birthday Cake Recipe
Ingredients
Method
- Preheat oven to 350°F (175°C) and butter two 9 inch pans with parchment liners. Cream 1 cup butter and sugar until fluffy, about 3 minutes, then add eggs one at a time and vanilla.
- Whisk flour, baking powder, soda, and salt. Add to butter mixture in three additions, alternating with buttermilk, starting and ending with dry. Divide batter between pans and bake 30 to 35 minutes until a toothpick is clean. Cool 10 minutes in pans, then invert onto a rack.
- Beat 2 cups frosting butter until pale. Add powdered sugar gradually, then vanilla and 3 tablespoons cream. Beat on medium 4 minutes. Reserve 1 cup white, tint some red, some blue, and a small amount skin tone with gel coloring.
- Set one layer bottom side up, spread with white buttercream, top with second layer bottom up. Crumb coat with white buttercream and chill 20 minutes. Spread red on sides, blue on top third, and smooth.
- Pipe the Mario face on wax paper using skin tone, white, and black buttercream. Freeze 15 minutes, then press onto cake. Pipe white border on base, red border on hat, and add the red “M” inside a white circle on the blue cap.
Notes
