
Soft Pink Heart-Shaped Vanilla Cake (Coquette Birthday Cake)

A vanilla cake that feels like a vintage valentine, tinted soft pink and topped with buttery rosettes. It tastes like pure vanilla and sweet cream, and the heart shape does most of the work for you.
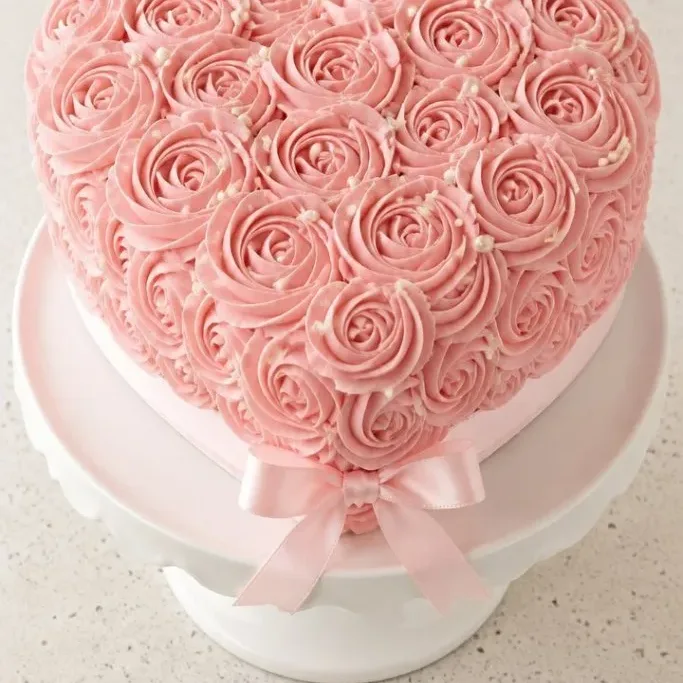
The decoration looks intricate, but it is just a piping bag and a few pearl sprinkles. Tie a ribbon around the base and you have a cake that photographs like a dream and tastes even better.
What Makes This Cake So Charming (and Totally Doable)
This is the birthday cake I keep returning to when I want something pretty that does not require a pastry degree. The crumb is tight and tender, with a clean vanilla flavor that lets the frosting shine.
The real secret is the crumb coat. A thin layer of buttercream locks in the crumbs and gives you a smooth canvas, so even a first-timer can pull off a polished finish. And because the heart shape is cut by hand with a simple template, you do not need a special pan.
Ingredients

- 2 1/2 cups (312 g) all-purpose flour: spooned and leveled, not scooped
- 2 1/2 tsp baking powder
- 1/2 tsp fine sea salt
- 1 cup (226 g) unsalted butter, softened: take it out of the fridge an hour ahead
- 1 3/4 cups (350 g) granulated sugar
- 4 large eggs, at room temperature
- 1 tbsp vanilla extract: the real stuff makes a difference here
- 1 cup (240 ml) whole milk, at room temperature
- pink gel food coloring: a little goes a long way for that soft blush
- 1/4 cup strawberry or raspberry jam (optional): for a thin layer of fruity filling
- 1 1/2 cups (340 g) unsalted butter, softened: (for the frosting)
- 4 cups (480 g) powdered sugar
- 1/4 cup (60 ml) heavy cream or whole milk
- 1 tsp vanilla extract: (for the frosting)
- pink gel food coloring: (for the frosting)
- pearl sprinkles and a clean satin ribbon: for the finish (remove ribbon before slicing)
Variations / Substitutions
- Darker Berry Cake: swap the vanilla extract for 1 tsp almond extract and fold 1/2 cup finely chopped fresh strawberries into the batter.
- Dairy-Free: use plant-based butter sticks and oat milk in both cake and frosting; the texture stays creamy.
- Different Color Story: a tiny dot of violet gel coloring makes a cool lilac, or leave it uncolored for a classic white wedding-cake look.
- No Gel Coloring: a few drops of pink liquid food coloring will work, though the shade will be lighter and take more to build.
Cartoon Birthday Cake is another dessert you’d probably love if you enjoy this cake.
How To Make a Soft Pink Heart Cake
Step 1: Cream the Butter and Sugar
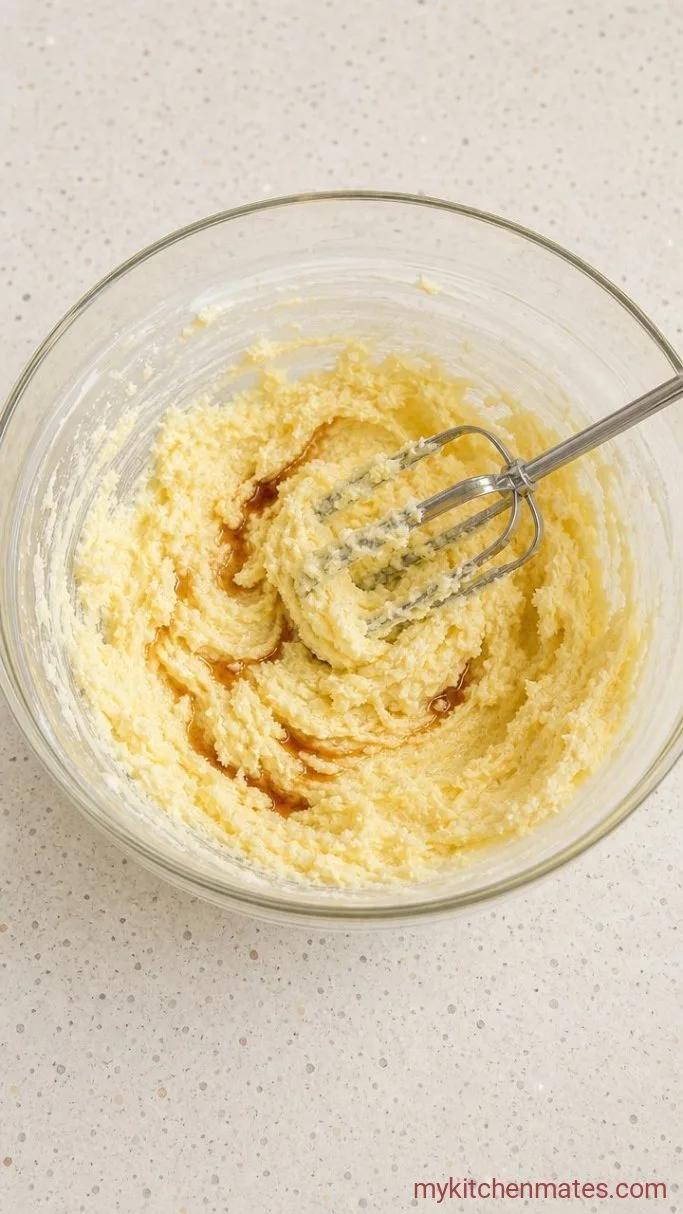
Preheat your oven to 350°F (175°C) and grease two 8-inch round cake pans, then line the bottoms with parchment. In a large bowl, beat the 1 cup softened butter and 1 3/4 cups sugar together on medium-high speed for a full 3 minutes, until the mixture looks pale and fluffy.
Scrape down the sides and beat in the 4 eggs one at a time, making sure each egg is fully incorporated before adding the next. The batter will look slightly curdled, which is normal. Mix in the 1 tablespoon vanilla, then add pink gel coloring a tiny bit at a time until the batter is a shade lighter than you want the final cake to be. The color deepens as it bakes.
Step 2: Alternate the Dry Ingredients and Milk

Whisk the 2 1/2 cups flour, 2 1/2 teaspoons baking powder, and 1/2 teaspoon salt together in a separate bowl. With the mixer on low, add the dry mixture in three parts, alternating with the 1 cup milk, starting and ending with the flour. Mix just until no dry streaks remain, about 15 seconds. Overbeating now will make the cake tough.
The batter will be thick and silky, not runny. Stop the mixer the moment it comes together.
Step 3: Divide and Bake the Layers
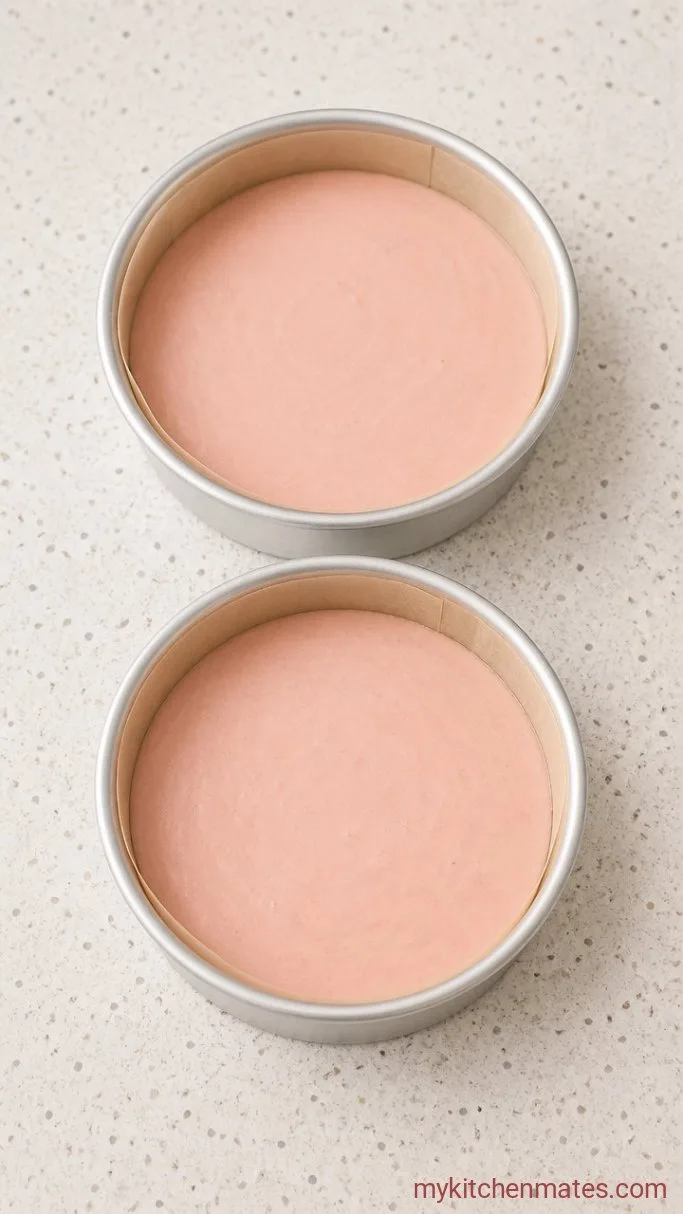
Scrape the batter evenly into the two prepared pans and smooth the tops with a spatula. Bake on the middle rack for 25 to 30 minutes, until the tops spring back when you tap them lightly and a toothpick inserted in the center comes out with a few moist crumbs.
Let the cakes cool in the pans on a wire rack for 10 minutes. Run a knife around the edges, turn them out, and let them cool completely. Warm cakes will melt the frosting, so this part is worth waiting for.
Step 4: Level the Layers and Cut the Hearts
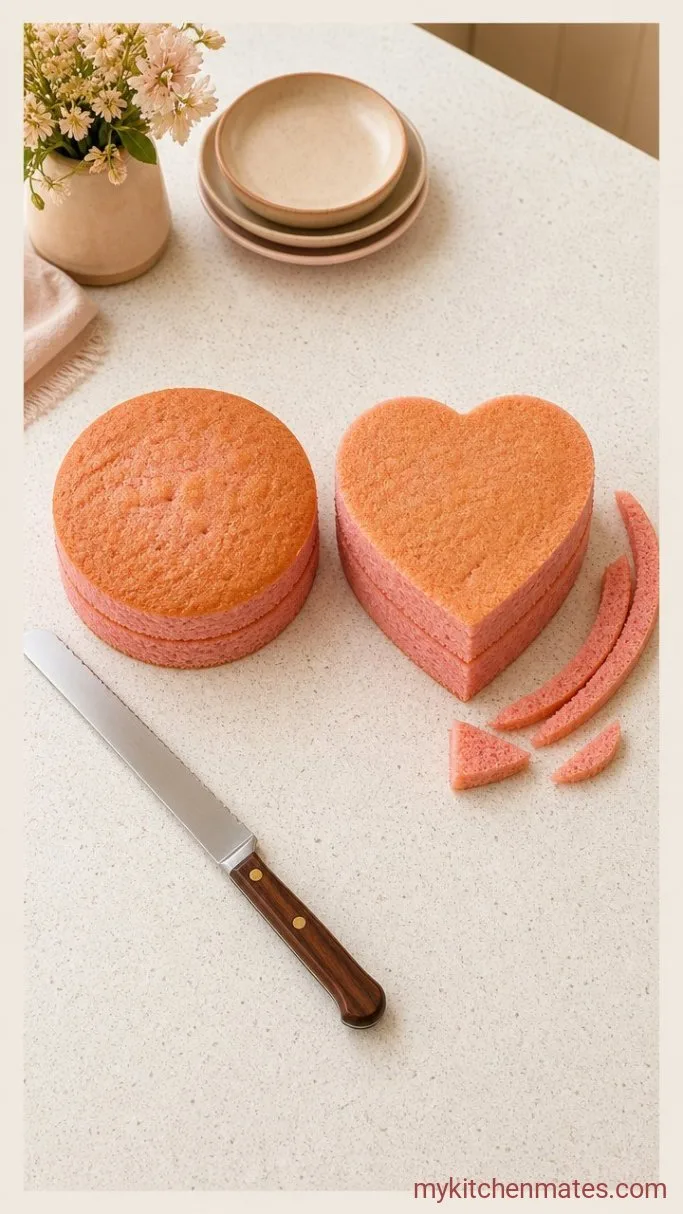
Once the cakes are cool to the touch, use a serrated knife to slice off any domes so each layer is flat. Print a simple heart template that fits inside an 8-inch circle, place it on top of a layer, and carefully cut around it with a small knife. Repeat with the second layer. Save the trimmings to snack on.
Chilling the leveled cakes for 20 minutes now makes them much easier to handle later.
Step 5: Whip the Buttercream
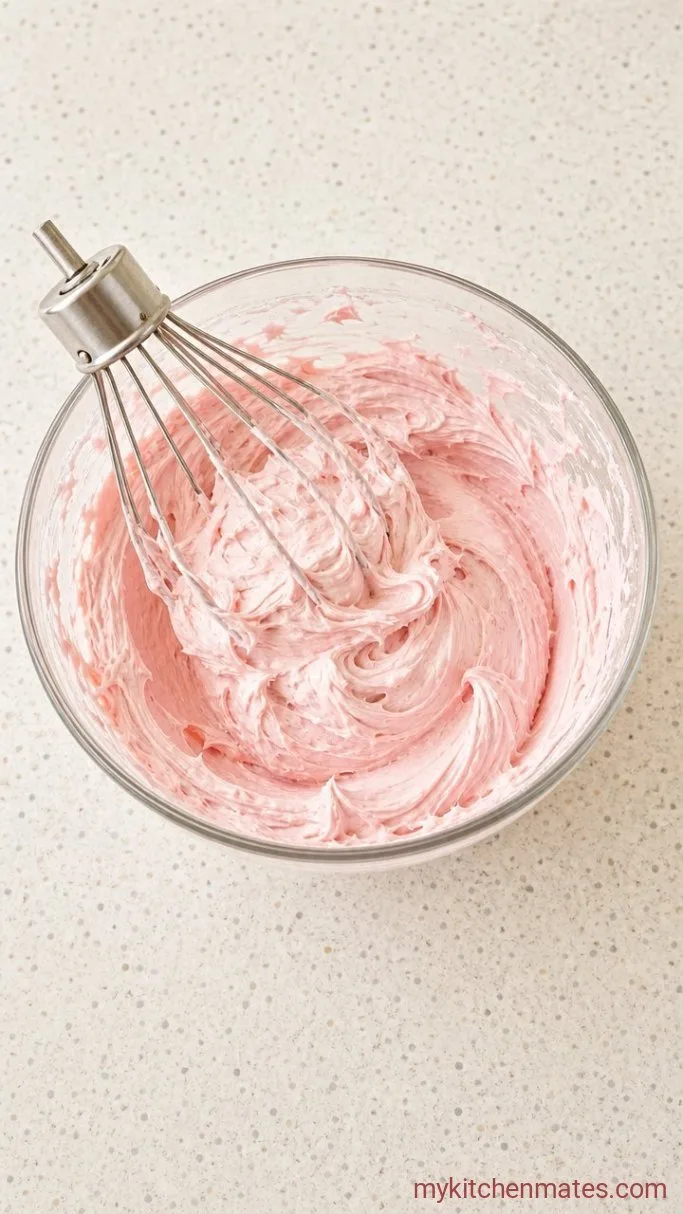
In a clean bowl, beat the remaining 1 1/2 cups butter on medium speed until smooth, about 1 minute. Gradually add the 4 cups powdered sugar, one cup at a time, beating on low after each addition so it does not puff up a cloud. Pour in the 1/4 cup cream and 1 teaspoon vanilla, then turn the mixer to high and beat for 2 full minutes. The buttercream will look pale, glossy, and nearly doubled in volume.
Stir in pink gel coloring until you reach the shade you like. If the bowl feels cool, the frosting is ready. If it seems too soft, chill it for 10 minutes and beat again briefly.
Step 6: Fill and Crumb Coat
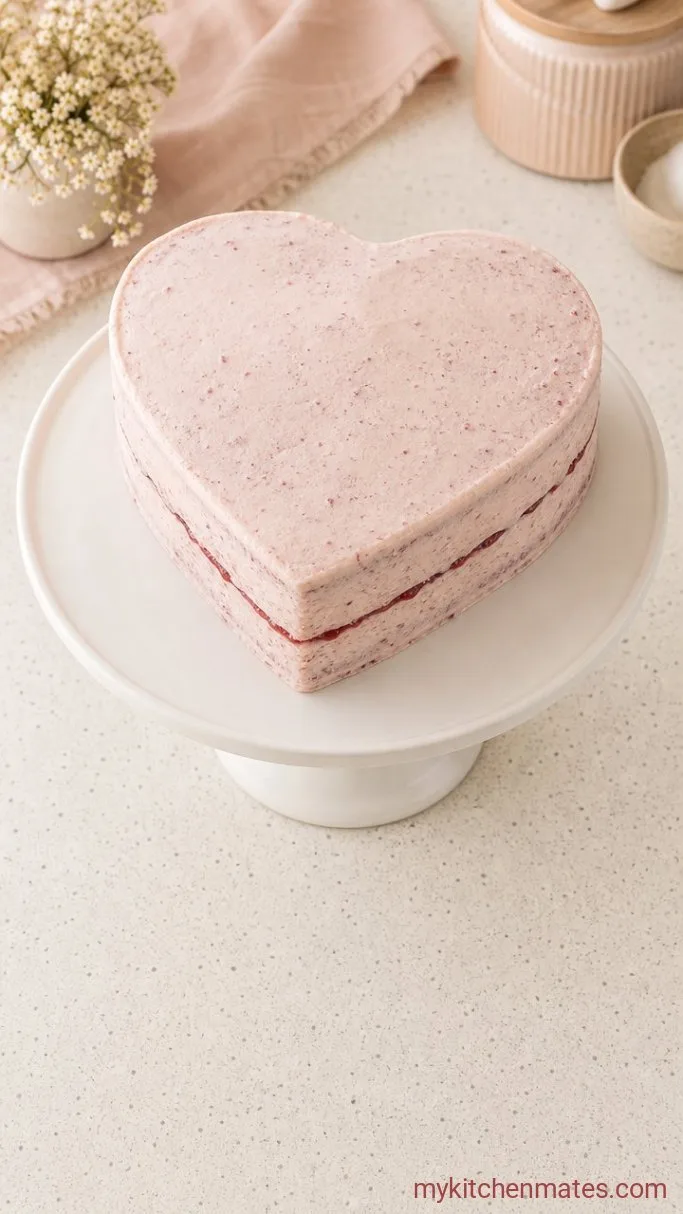
Place one heart layer on a cake stand or plate, cut side up. Spread a thin layer of buttercream over the top, then spoon on an optional thin layer of jam if you are using it. Place the second heart on top, cut side down. Cover the entire cake with a thin, messy coat of frosting, scraping away the excess. This is your crumb coat, and it does not need to be perfect.
Chill the cake for at least 30 minutes so the crumb coat sets firm. A cold cake is much easier to frost smoothly.
Step 7: Pipe the Rosettes and Tie the Ribbon

Cover the chilled cake with a final layer of buttercream, smoothing the top and sides with an offset spatula. Fit a piping bag with a large open star tip, fill it with the remaining frosting, and pipe rosettes all over the top surface, starting from the center and spiraling outward. Press pearl sprinkles into a few of the rosettes while they are still soft.
Tie a clean satin ribbon around the base of the cake, trimming the ends into neat angles. Set the cake out near your party lights and let it come to room temperature before serving so the frosting is soft and creamy.
Tips for a Cinch Heart Cake
- A cold cake cuts cleanly. Even 20 minutes in the freezer will give you sharp heart edges with fewer crumbs.
- If your buttercream feels too stiff to pipe, add a teaspoon of cream and beat again. It should hold its shape but feel silky.
- The ribbon is decorative only. Remove it before you cut the first slice so no one snips fabric with their fork.
- Leftover frosting can be piped onto parchment, frozen, and dropped onto a cupcake another day.
Bake times shift a little with pan size. Here is a quick guide:
| Pan Type | Bake Time at 350°F |
|---|---|
| Two 8-inch rounds | 25 to 30 minutes |
| Two 9-inch rounds | 20 to 25 minutes |
| One 9×13 sheet | 28 to 32 minutes |
Storing and Keeping This Cake Fresh
- Refrigerate: covered for up to 5 days. The buttercream seals in moisture, so the slices stay soft. Let them sit at room temperature for 20 minutes before eating.
Frequently Asked Questions
Can I start with a boxed white cake mix?
Yes. Follow the box directions, tint the batter pink, and use the frosting and decoration steps from this recipe. The heart cut-out still works.
I do not have gel food coloring. Will liquid coloring work?
It will, though you may need a full teaspoon to reach a visible pink. Gel gives a truer pastel without thinning the batter.
How do I keep the cake layers from doming too much?
Wrap damp cake strips around the pans before baking, or simply trim the domes flat once the cakes are cool. Both methods work.
Can I make this cake dairy-free?
Yes, swap the butter for a plant-based baking stick and the milk for oat milk in all components. The buttercream still pipes beautifully.
How far ahead can I make it?
Bake the layers a day ahead, wrap them tightly, and refrigerate. Frost and decorate the morning of the party. The fully frosted cake keeps well for 2 days.
Soft Pink Heart-Shaped Vanilla Cake (Coquette Birthday Cake) Recipe
Ingredients
Method
- Preheat oven to 350°F. Grease two 8-inch round cake pans. Beat 1 cup butter and sugar until pale and fluffy, 3 minutes. Add eggs one at a time, then vanilla and pink coloring.
- Whisk flour, baking powder, and salt. Add to creamed mixture alternately with milk, mixing just until combined.
- Divide batter into pans. Bake 25 to 30 minutes until a toothpick comes out with moist crumbs. Cool in pans 10 minutes, then turn out to cool completely.
- Level domed tops. Using a heart template, cut each round into a heart shape. Chill the layers 20 minutes.
- For the frosting, beat remaining 1 1/2 cups butter until smooth. Gradually add powdered sugar, cream, and vanilla; beat on high 2 minutes until light. Tint pink.
- Place one heart on a serving plate. Spread a thin layer of frosting, then optional jam. Top with second heart. Apply a thin crumb coat all over and chill 30 minutes.
- Frost the cake with a final smooth layer. Pipe rosettes on top with a star tip, press in pearl sprinkles, and tie a ribbon around the base. Bring to room temperature before serving.
Notes
