
Libby’s Pumpkin Pie: The Classic Recipe That Never Fails

Libby’s pumpkin pie is the one that shows up on every holiday table, and for good reason. It’s impossibly smooth, warmly spiced, and takes about 10 minutes to stir together before it slides into the oven.
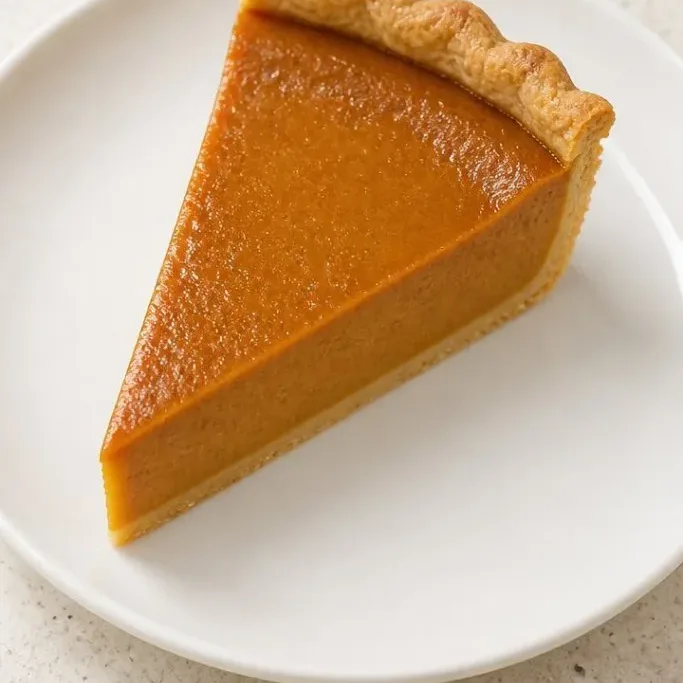
If you’ve never made pumpkin pie from scratch, this is the place to start. No tempering, no fuss, just a can of Libby’s pure pumpkin and a handful of pantry staples. Here’s how to do it so it comes out perfectly every time.
Why This Pie Always Works
The filling sets up silky and dense, with just enough cinnamon and ginger to warm you up without overpowering the pumpkin. I’ve made other pumpkin pies that weep or crack, but this one stays smooth and custard-like every single time.
It’s also the fastest pie filling I know. You whisk everything together in one bowl, pour it into a crust, and bake. No stove, no mixer, no stress. I keep a few cans of Libby’s in the pantry all fall, because this pie is the easiest way to feel like you pulled off something special.
And it tastes even better the next day, which means you can make it ahead and free up the oven on the big day.
Ingredients
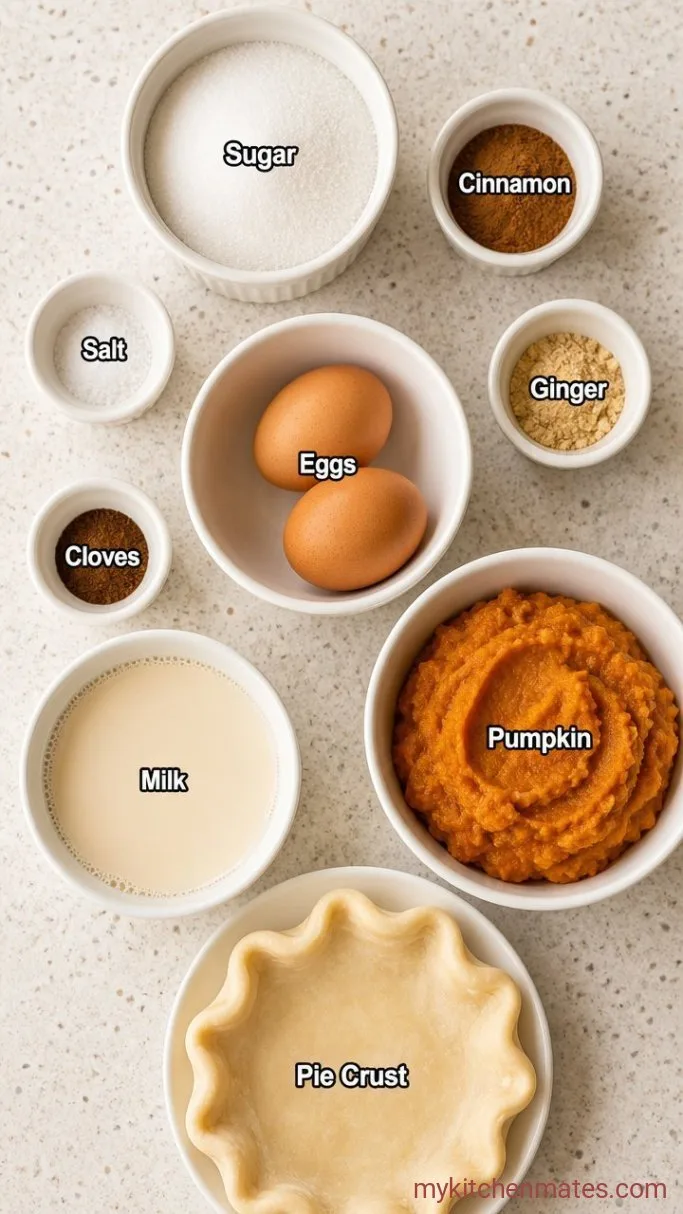
- 1 (9-inch) unbaked deep-dish pie crust: homemade or store-bought, no need to pre-bake
- 3/4 cup granulated sugar: sweetens without making the pie cloying
- 1 tsp ground cinnamon: the warm backbone of the filling
- 1/2 tsp salt: balances the sweetness and spices
- 1/2 tsp ground ginger: adds a gentle, peppery warmth
- 1/4 tsp ground cloves: a little goes a long way, don’t skip it
- 2 large eggs: room temperature for easier mixing
- 1 can (15 oz) Libby’s 100% Pure Pumpkin: not pumpkin pie mix
- 1 can (12 fl oz) evaporated milk: do not substitute sweetened condensed milk, it will ruin the texture
Variations / Substitutions
- Evaporated milk: you can use half-and-half for a richer pie, but the bake time may increase by a few minutes; regular milk makes the filling watery, so avoid it.
- Sugar: if you prefer a less sweet pie, reduce the sugar to 1/2 cup; the texture will be slightly softer but still set up.
- Spices: use 2 tsp pumpkin pie spice in place of the individual spices if that’s what you have on hand.
- Crust: a graham cracker crust gives a sweeter, crunchier base; pour the filling in gently so it doesn’t slide around.
- Dairy-free: replace the evaporated milk with full-fat canned coconut milk and use a flax egg (1 tbsp ground flax + 3 tbsp water, let sit 5 minutes); the pie will be a touch softer but still sliceable.
Pumpkin Pie Bars are next on our list if this pie is your kind of dessert.
How to Make Libby’s Pumpkin Pie
Step 1: Mix the Filling
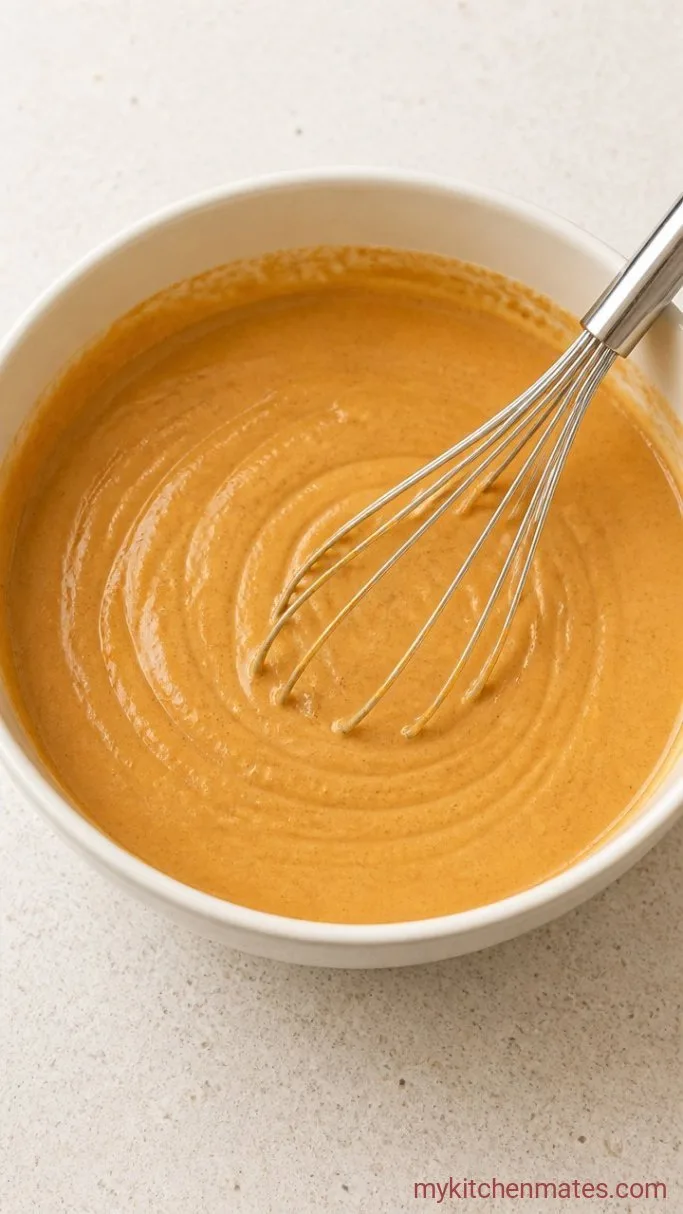
Preheat your oven to 425°F (220°C). In a large mixing bowl, whisk together the 3/4 cup sugar, 1 tsp cinnamon, 1/2 tsp salt, 1/2 tsp ginger, and 1/4 tsp cloves until no lumps remain. Add the 2 large eggs and whisk until smooth, then stir in the 15 oz can of pumpkin puree and the 12 oz can of evaporated milk. Keep whisking until the mixture is completely uniform and silky, about 1 minute.
The filling should look like a thin, velvety caramel; don’t worry if it seems loose, it will set up beautifully in the oven. Any small streaks of egg are fine, just make sure there are no pockets of dry spice.
Step 2: Fill the Crust
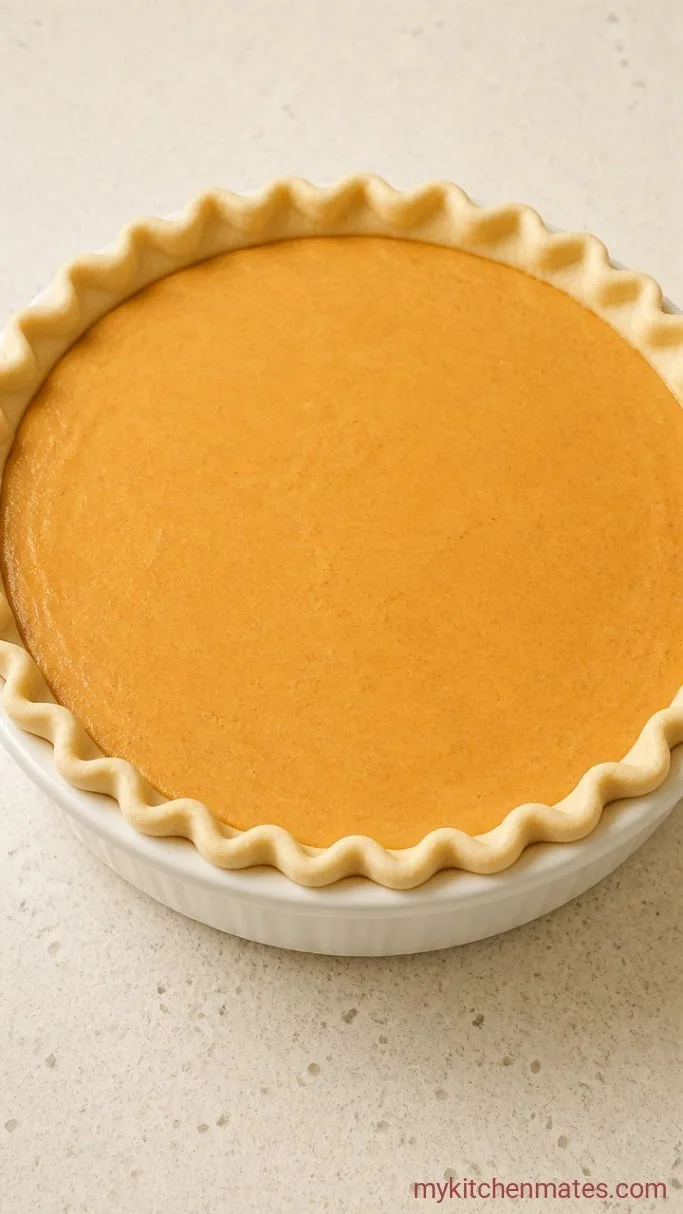
Place your unbaked 9-inch deep-dish pie crust on a foil-lined baking sheet (this catches any drips). Carefully pour the pumpkin filling into the crust, stopping just before the edge to leave a little room. If you have a bit of extra filling, don’t overfill; a small dish on the side bakes up into a bonus custard.
The crust should be cold from the fridge so it stays flaky. No need to pre-bake; the long, slow bake will cook it through without sogginess.
Step 3: Bake the Pie
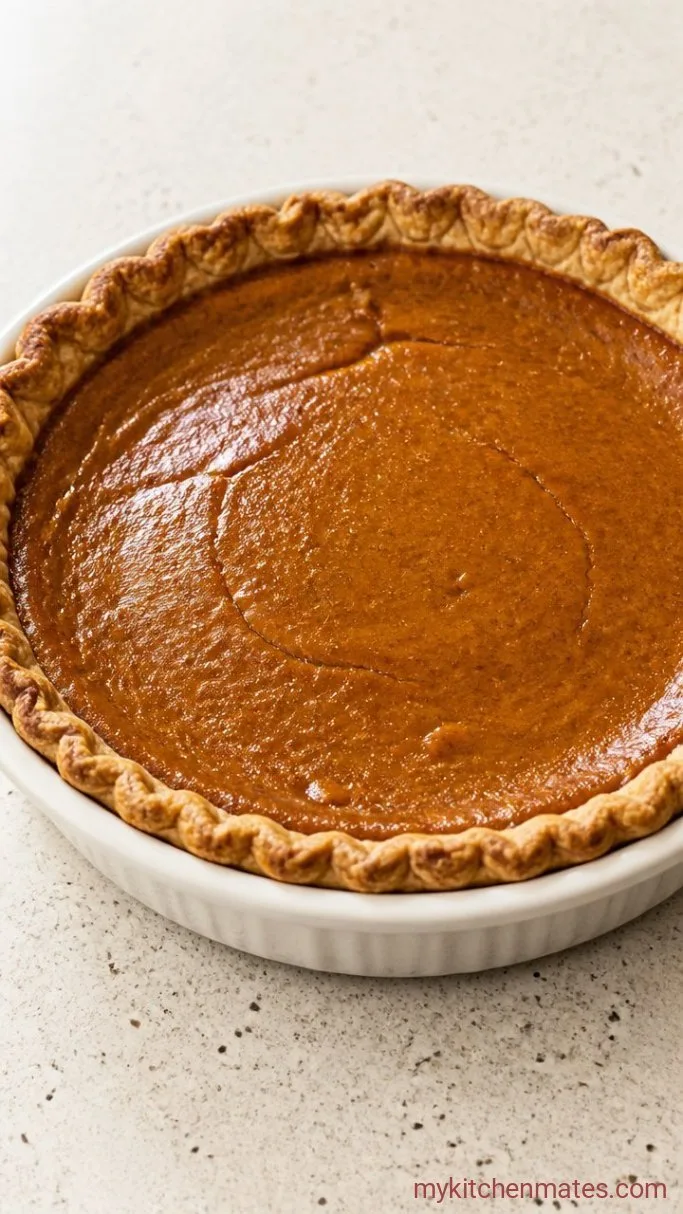
Slide the baking sheet into the preheated oven and bake at 425°F (220°C) for 15 minutes. Then, without opening the oven door, reduce the temperature to 350°F (175°C) and continue baking for 40 to 50 minutes longer, until the edges are set but the center still has a slight wobble when you gently shake the pan.
The pie will puff slightly and the surface will look matte and deeply golden. A knife inserted near the center should come out mostly clean with a little custard clinging to it. The filling will finish setting as it cools.
Step 4: Slice and Serve the Pie
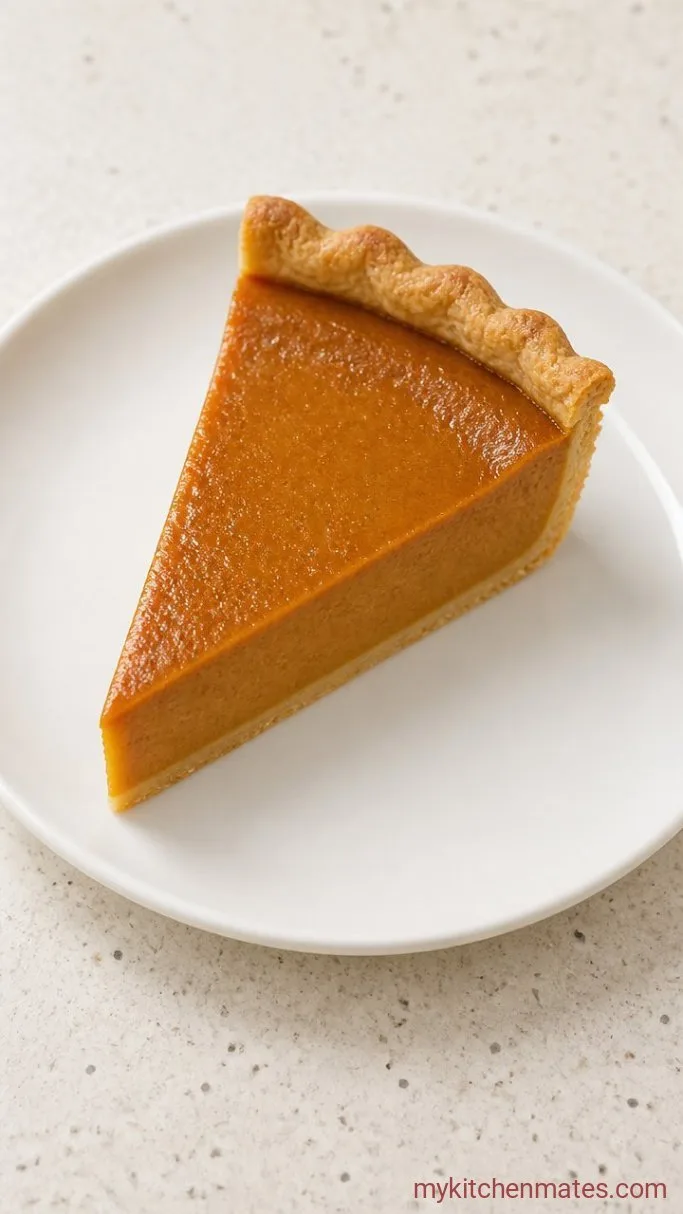
Let the pie cool completely on a wire rack, at least 2 hours. Resist the urge to cut into it warm, or the slices will slump and the center won’t be fully firm. Once cool, slice into wedges with a sharp, thin knife, wiping the blade between cuts for the cleanest edges.
Serve at room temperature or chilled. A swoop of lightly sweetened whipped cream is all it needs, maybe a sprinkle of cinnamon on top if you’re feeling fancy.
A Few Notes Before You Start
- Don’t skip the high-heat start; the initial 425°F blast helps set the crust and prevents a soggy bottom.
- Use a glass or ceramic pie plate for even browning, and avoid dark metal pans which can over-brown the crust.
- If the edges of the crust start to get too dark before the filling is done, loosely tent just the edges with aluminum foil or use a pie shield.
- Let the pie cool completely before covering and refrigerating; covering a warm pie traps moisture and makes the top weep.
- For the creamiest texture, whisk gently and don’t overbeat the eggs, which can add air bubbles that puff and crack.
If you’re feeding a crowd, you can double the filling for two pies without changing the bake time much. Here’s how to scale it:
| Ingredient | For 1 pie | For 2 pies |
|---|---|---|
| Sugar | 3/4 cup | 1 1/2 cups |
| Cinnamon | 1 tsp | 2 tsp |
| Salt | 1/2 tsp | 1 tsp |
| Ginger | 1/2 tsp | 1 tsp |
| Cloves | 1/4 tsp | 1/2 tsp |
| Eggs | 2 large | 4 large |
| Pumpkin | 1 can (15 oz) | 2 cans (30 oz) |
| Evaporated milk | 1 can (12 fl oz) | 2 cans (24 fl oz) |
Keeping Your Pie Fresh
- Refrigerate: once fully cooled, wrap the pie tightly in plastic wrap or store in an airtight container; it keeps well in the fridge for up to 3 days.
- Serve cold: pumpkin pie tastes wonderful straight from the fridge. There’s no need to reheat, which can make the crust soggy.
Frequently Asked Questions
Can I use homemade pumpkin puree?
Yes, but the texture of the pie depends on it. Homemade puree can be more watery, so drain it well or strain it through cheesecloth before using, or the filling may not set properly.
Why did my pie crack?
Cracks usually mean the pie baked too long or cooled too quickly. Take it out when the center still jiggles slightly and let it cool gradually on a wire rack away from drafts.
Can I freeze this pumpkin pie?
Absolutely. Bake and cool the pie completely, then wrap it tightly in a layer of plastic wrap followed by foil. Freeze for up to 1 month and thaw overnight in the refrigerator before serving.
Can I use sweetened condensed milk instead of evaporated milk?
No, that swap won’t work here. Sweetened condensed milk is much thicker and sweeter, and it will make the filling overly dense and sugary. Stick with evaporated milk for the classic silky texture.
Libby’s Pumpkin Pie Recipe
Ingredients
Method
- Preheat oven to 425°F. Whisk sugar, cinnamon, salt, ginger, and cloves in a large bowl.
- Whisk in eggs, then stir in pumpkin and evaporated milk until smooth.
- Pour filling into the unbaked pie crust set on a foil-lined baking sheet.
- Bake at 425°F for 15 minutes, then reduce heat to 350°F and bake 40 to 50 minutes more, until edges are set and center jiggles slightly.
- Cool completely on a wire rack for at least 2 hours, then slice and serve.
Notes
