
3-Ingredient Jif Peanut Butter Cookies

These cookies come together with three ingredients you probably have right now. Stir, scoop, and bake — you’re half an hour from a tray of warm, crackly-topped peanut butter cookies.
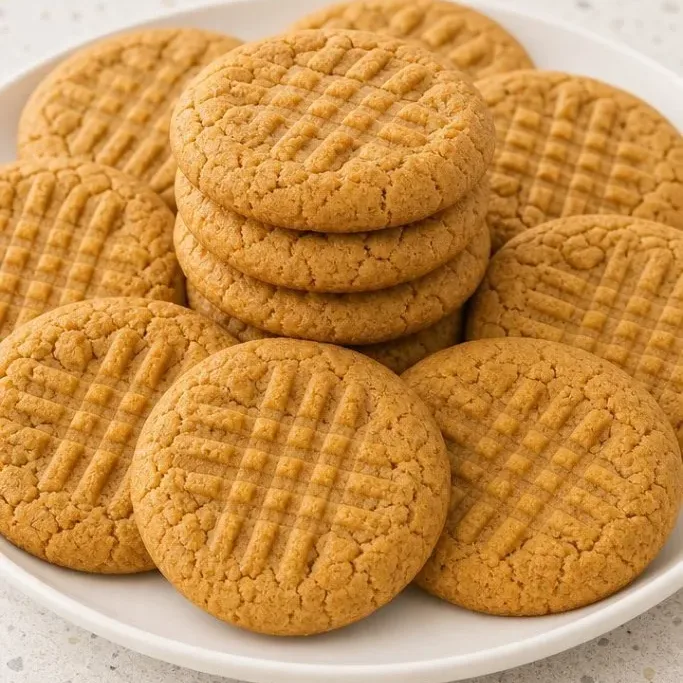
They taste like a fresh reminder of why the simplest recipes are often the most satisfying. Crunchy edges, a soft middle, and pure peanut butter flavor without anything getting in the way.
What Makes These Cookies So Good
There’s no flour, no butter, and no leavening in this dough. That means every bite is dense with peanut butter, and the edges get wonderfully crisp while the center stays just tender.
Jif creamy peanut butter already has a balanced salt and sweetness built in. It carries the cookie, so your only job is mixing the three ingredients and letting the oven take over.
That little bit of vanilla is the one extra I never skip. It rounds out the roasted nuttiness so the cookie tastes fuller, not just sweet.
Ingredients
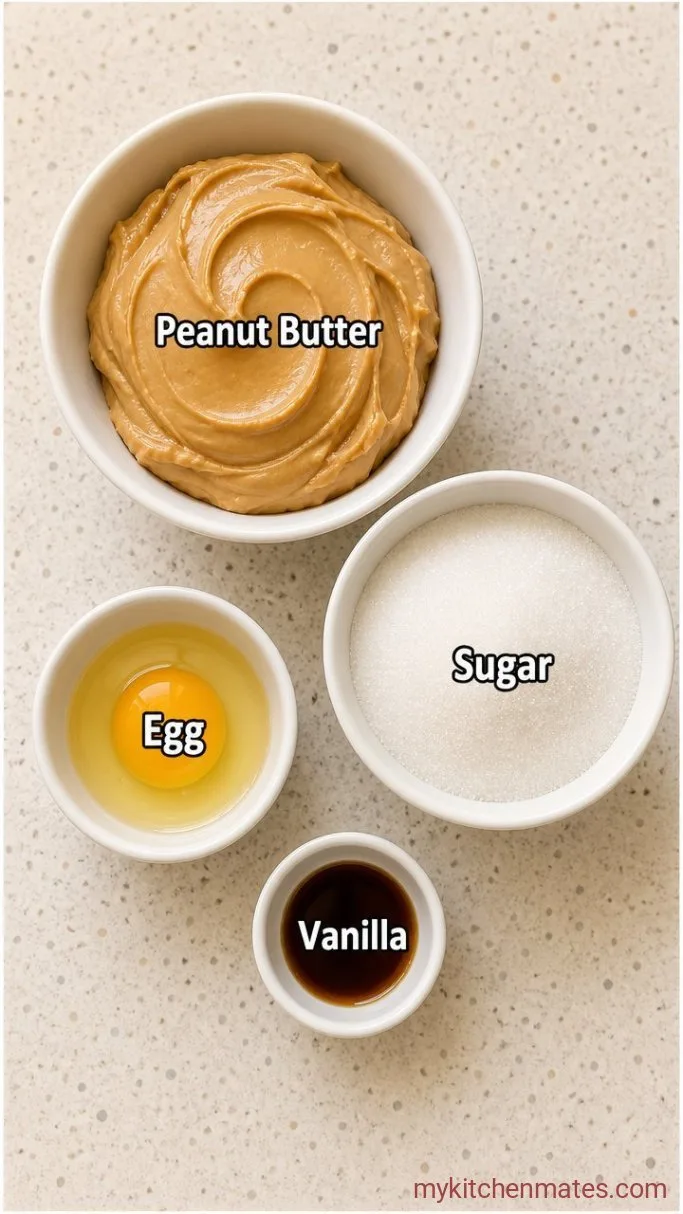
- 1 cup Jif creamy peanut butter: the classic red lid jar works best. Do not use natural peanut butter here.
- 1 cup granulated sugar: white sugar gives that fine, crackly top and a crisp rim.
- 1 large egg: binds the dough without making it cakey.
- 1 teaspoon vanilla extract: optional, but it adds a warm, round note.
Variations / Substitutions
- Chunky peanut butter: swap in the crunchy Jif for a cookie with little peanut pieces scattered through the center.
- Half brown sugar: replace ½ cup of the granulated sugar with light brown sugar for a chewier cookie with a hint of molasses.
- A handful of mini chocolate chips: stir about ⅓ cup into the finished dough if you like a chocolate peanut butter moment.
Fresh Watermelon Milkshake makes the perfect drink to sip alongside these cookies.
How to Make Jif Peanut Butter Cookies
Step 1: Mix the Dough
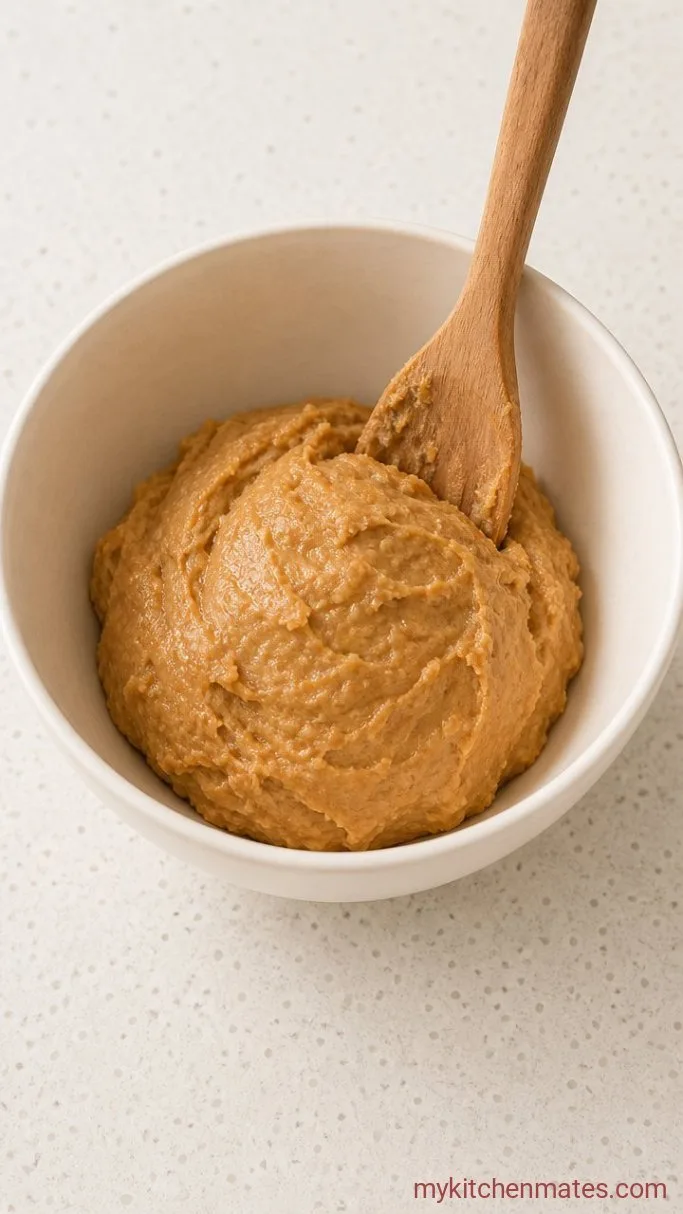
Preheat your oven to 350°F and line two baking sheets with parchment paper. In a medium mixing bowl, stir together the 1 cup peanut butter, 1 cup sugar, the egg, and the 1 teaspoon vanilla until no streaks remain, about 30 seconds of steady mixing.
The dough will look thick and a little oily on the surface. That is exactly what you want — it will not spread much in the oven, so don’t worry if it seems stiff.
Step 2: Shape the Cookies
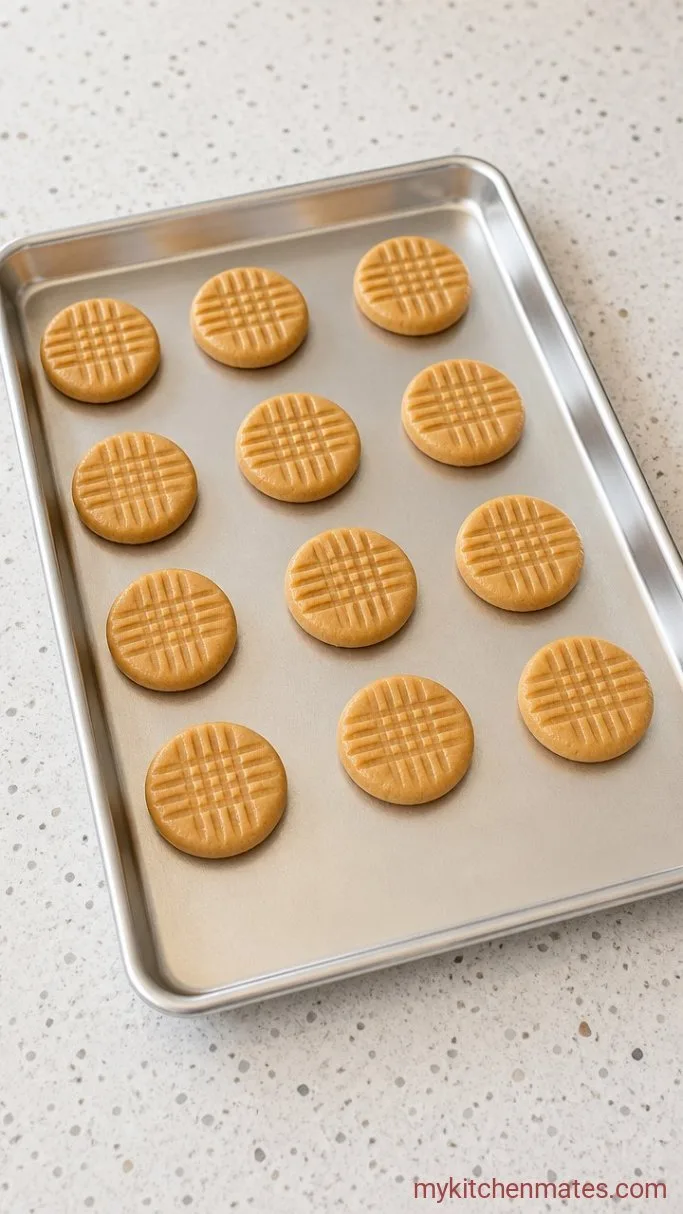
Scoop level tablespoons of dough and roll them briefly between your palms into smooth balls. Roll each ball in a small dish of extra granulated sugar, then place them on the prepared sheets about 2 inches apart. Press a fork dipped in sugar across each ball to make the classic crosshatch pattern, flattening them to about ½ inch thick.
Flattening is important because these cookies hold their shape. The fork marks also help the center bake through evenly.
Step 3: Bake the Cookies
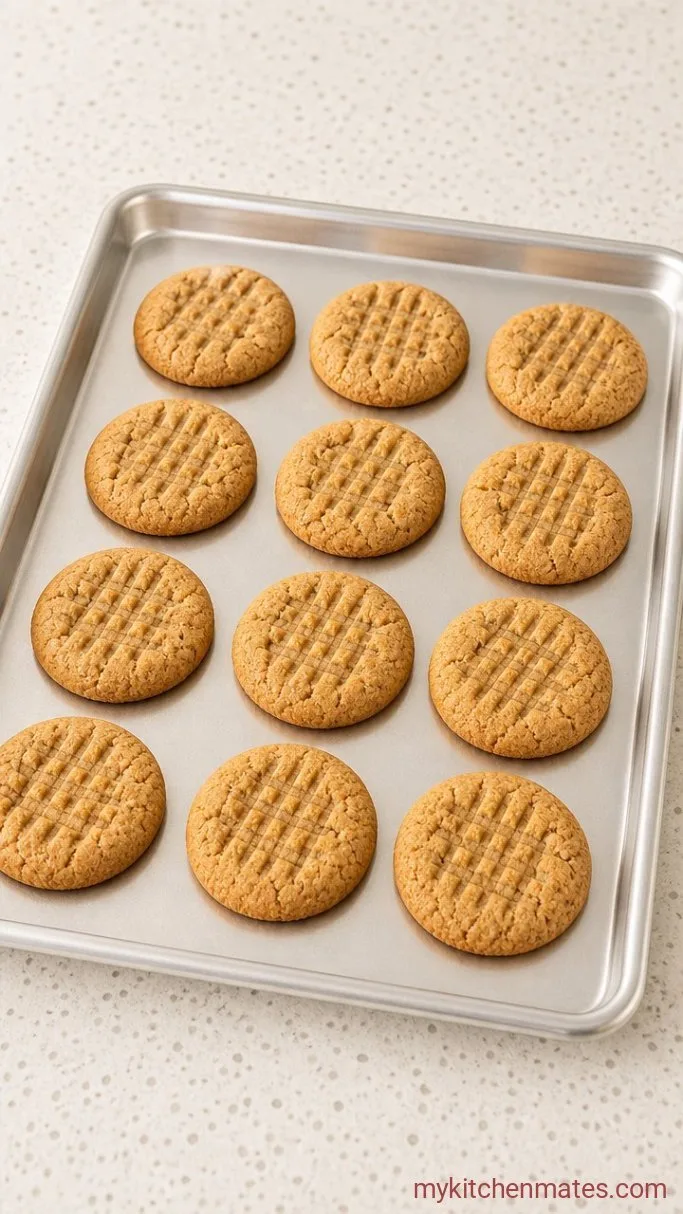
Slide the sheets into the 350°F oven and bake for 10 to 12 minutes, until the edges are just set and the tops are lightly puffed. They will still look a little soft in the middle, which is fine.
The edges turn golden brown a few seconds before the rest of the cookie finishes baking. Pull them at that point and the centers will stay tender as they cool.
Step 4: Cool and Serve
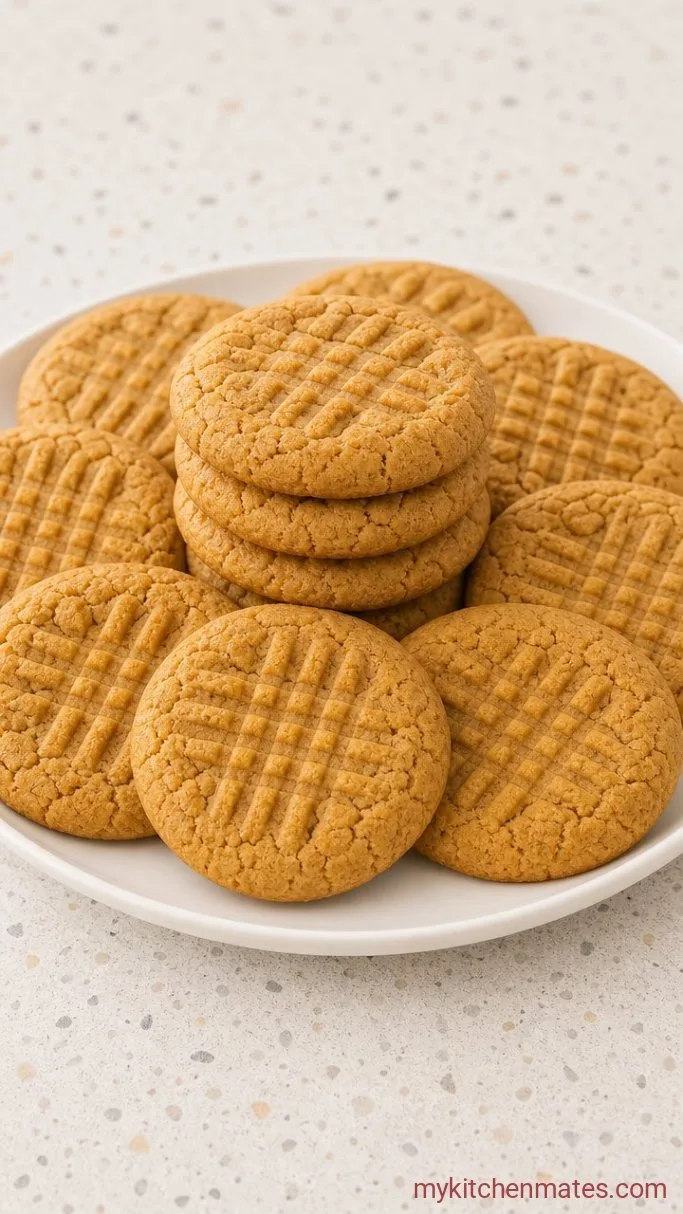
Let the cookies rest on the hot baking sheet for exactly 5 minutes, then transfer them to a wire rack with a thin spatula. They need those few minutes on the sheet to firm up before you move them.
Serve them warm if you can. The edges stay crisp and the middle will almost melt in your mouth.
Tips for the Best Peanut Butter Cookies
- Measure the peanut butter by scooping it into a dry measuring cup and leveling it off. A heavy hand here makes the dough greasy.
- If your kitchen is warm, pop the shaped dough trays into the fridge for 10 minutes before baking. This helps the cookies keep their crosshatch marks.
- A small cookie scoop keeps every cookie the same size so they all finish baking at the same moment.
- These cookies freeze well. Stack them between layers of parchment in an airtight container and thaw on the counter.
Bake times shift slightly depending on your pan.
| Pan type | Bake time at 350°F |
|---|---|
| Light-colored aluminum sheet | 11 to 12 minutes |
| Dark or nonstick sheet | 9 to 10 minutes |
Storing Leftover Cookies
Keep them in an airtight container on the counter for up to 5 days. To bring back the crisp edges, warm the cookies in a 300°F oven for 3 to 4 minutes. You can freeze the baked cookies for up to a month — they are just as good straight from the freezer with a cold glass of milk.
Frequently Asked Questions
Can I use natural peanut butter?
No. Natural peanut butter separates and makes the dough oily, and the cookies will spread and crumble.
Can I use crunchy Jif?
Yes. The small peanut pieces give the cookies a little extra texture and a slightly softer center. The bake time stays the same.
Can I freeze the cookie dough?
Yes. Scoop the dough into balls, place them on a tray, and freeze until solid. Transfer to a zip-top bag and freeze for up to 3 months. Bake straight from frozen, adding 1 to 2 minutes to the bake time.
Jif Peanut Butter Cookies Recipe
Ingredients
Method
- Preheat oven to 350°F and line two baking sheets with parchment. Stir peanut butter, sugar, egg, and vanilla until smooth.
- Scoop tablespoon-sized dough balls, roll in sugar, and place on sheets 2 inches apart. Press with a fork dipped in sugar to make a crosshatch.
- Bake 10 to 12 minutes, until edges are set and lightly golden. Centers will look soft.
- Cool on the sheet for 5 minutes, then transfer to a wire rack. Serve warm.
Notes
