
Crunchy Quick Japanese Pickled Vegetables (Asazuke)

Japanese pickled vegetables, or tsukemono, are the little piles of bright, salty crunch that sit alongside nearly every traditional meal. They cut through rich flavors and add a fresh, lively note to a simple rice bowl or piece of grilled fish.
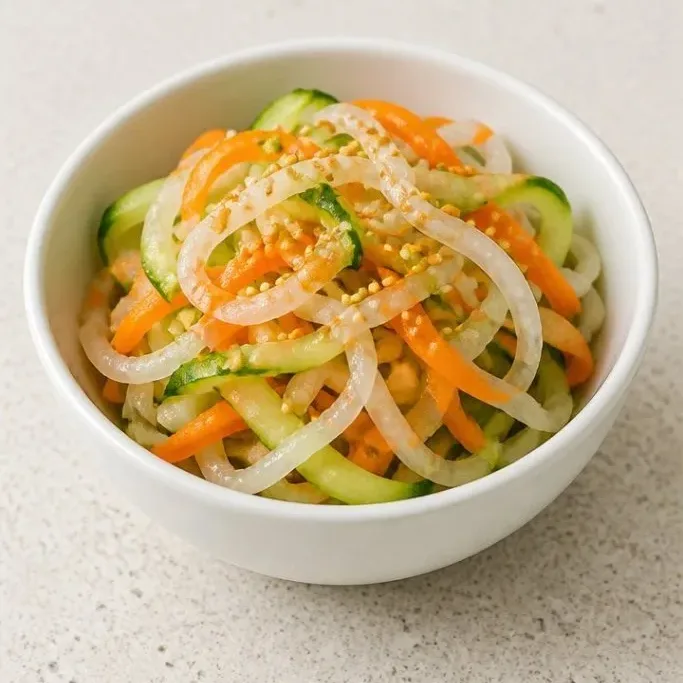
This quick asazuke version skips the long fermentation. You get crisp, tangy pickles with just a handful of pantry ingredients and about 10 minutes of hands-on work, then a short rest while you finish the rest of dinner.
Why These Quick Pickles Work
The salt draws out moisture and seasons the vegetables from the inside, while rice vinegar adds clean acidity without overwhelming. It is not a sour, aggressive pickle. It is gentle and bright, with the vegetables still tasting like themselves.
Because you use whatever sturdy vegetables you have on hand, the recipe never gets boring. Carrots, radishes, cucumber, even napa cabbage all work, and the proportions bend to whatever is in the crisper.
Ingredients
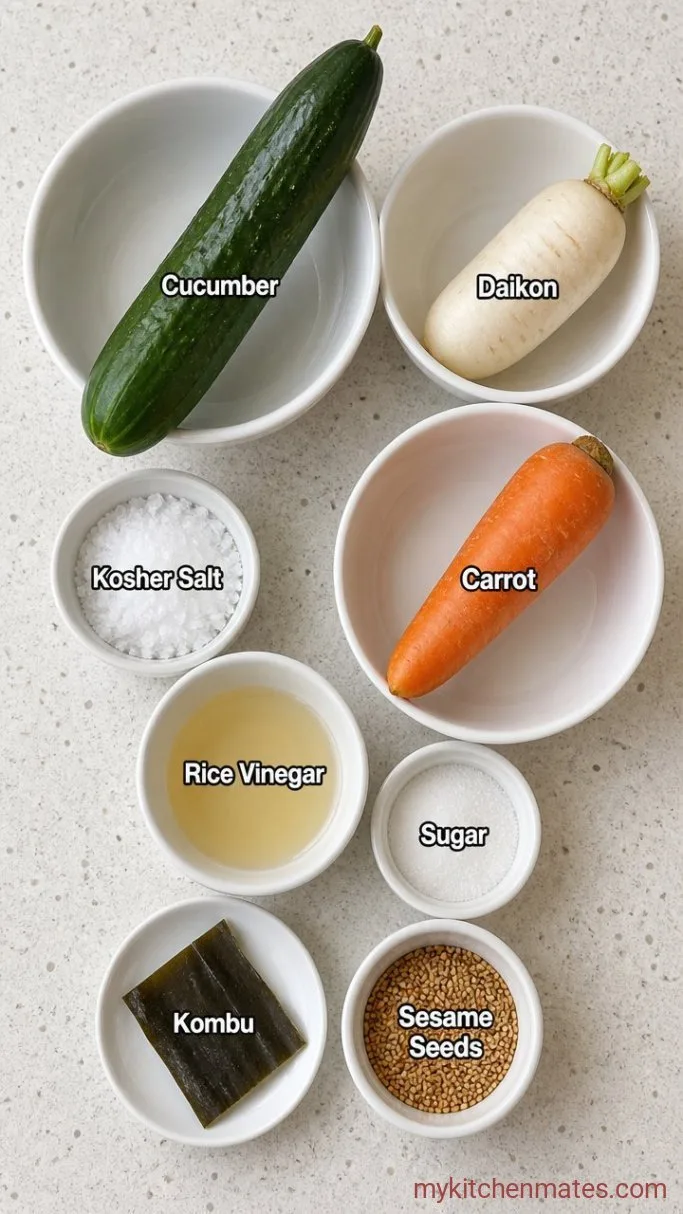
- 1 English cucumber: firm and seedless for the best crunch
- 1 small daikon radish (about 6 oz): peppery and crisp, easily swapped for more cucumber
- 1 medium carrot: adds a little natural sweetness and color
- 2 tsp kosher salt: draws out water and seasons deeply; use half as much if using table salt
- 1 tbsp unseasoned rice vinegar: gentle acidity that does not mask the vegetables
- 1 tsp sugar: balances the salt and softens the vinegar bite
- 1 square inch dried kombu (optional): infuses a subtle savory note
- 1 tsp toasted sesame seeds: for a nutty finish right before serving
Variations and Substitutions
- Different vegetables: thin ribbons of napa cabbage, sliced radishes, or turnips work just as well. Stick to about 4 cups of sliced vegetables total.
- Add heat: toss in a pinch of red pepper flakes or a few thin slices of fresh jalapeño with the seasonings.
- Lower sugar: the sugar is modest, but you can leave it out or swap for a teaspoon of mirin.
- No kombu: the pickles are still great without it. A tiny splash of soy sauce added to the seasoning liquid can mimic part of that savory depth.
- Sesame oil: drizzle a little toasted sesame oil over the top just before serving for a richer finish.
Japanese Fried Rice is a great main dish to serve alongside these vegetables.
How to Make Quick Japanese Pickled Vegetables
Step 1: Slice the Vegetables
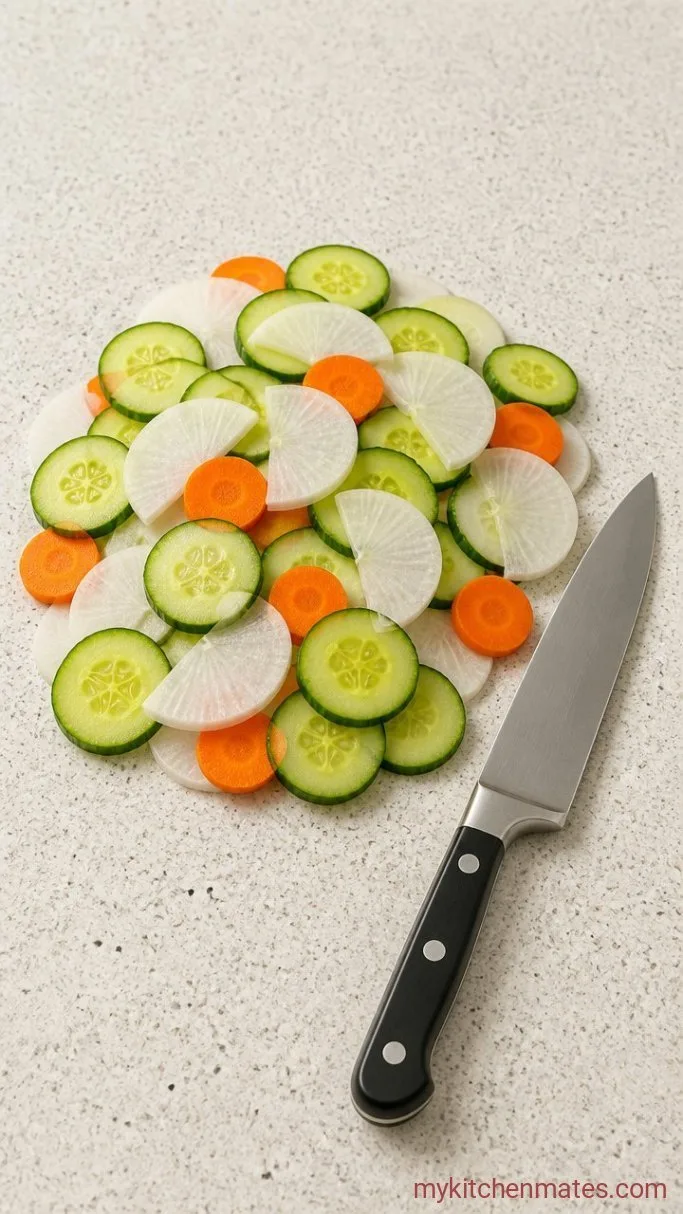
Slice the cucumber, daikon, and carrot into thin rounds or half moons, aiming for pieces about ¼ inch thick. A mandoline makes this fast and even, but a sharp knife is fine. You want every piece roughly the same thickness so they pickle at the same rate, so take an extra minute to cut them evenly.
You should end up with a big fluffy pile of pale vegetables. The daikon will look almost translucent white, the cucumber bright green, and the carrot pops orange. If some slices are much thicker, the thinner ones will soften while the thicker ones stay raw and hard, so sort through and restack any obvious outliers.
Step 2: Whisk the Seasonings

In a small bowl, whisk together the 2 tsp kosher salt, 1 tbsp rice vinegar, and 1 tsp sugar until the sugar and salt dissolve completely. It takes about 30 seconds of steady stirring. If the sugar does not seem to be dissolving, a 10-second zap in the microwave helps.
The liquid should look clear and feel smooth between your fingers, with no grittiness. If you are using the kombu, drop the square inch of dried seaweed right into the seasoning mixture now so it starts to hydrate and release its umami.
Step 3: Toss and Massage
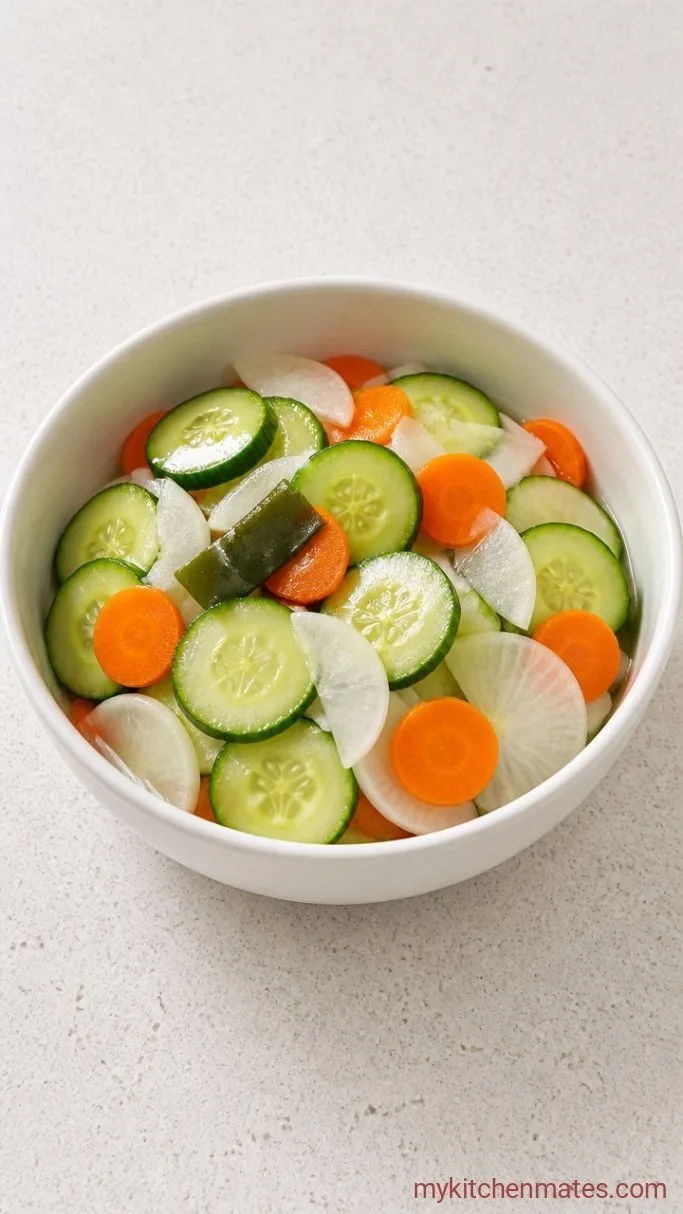
Place the sliced vegetables in a large bowl. Pour the seasoning mixture over them, then use your hands to toss and massage everything for a full 1 to 2 minutes. Really work the vegetables, squeezing gently as you toss. The salt will immediately start pulling water out, and you will feel the slices soften slightly under your fingers.
The vegetables will wilt just a little and release their own liquid, turning the bottom of the bowl wet. The cucumber and daikon will begin to look glossy and slightly translucent around the edges. That moisture is exactly what you want, so do not pour it off.
Step 4: Press and Chill
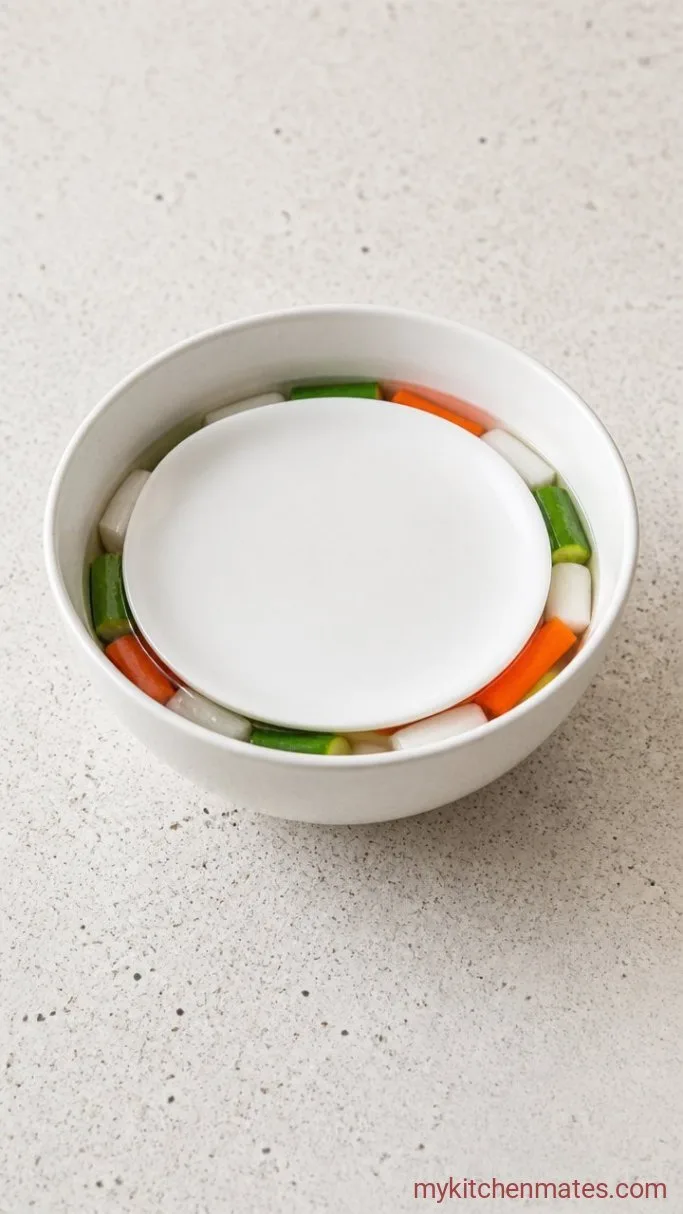
Transfer the vegetables along with every drop of liquid into a clean glass container or a sturdy resealable plastic bag. Press a small plate or a sealed bag of water directly on top of the vegetables so they stay submerged in the brine. Cover the container and refrigerate for at least 30 minutes, though a full hour deepens the flavor more.
Check on them halfway through if you can. The brine will turn a little cloudy and the vegetable slices will look saturated and flexible, like they have taken on a gentle shine. This is the point where they are perfectly pickled for immediate eating.
Step 5: Spoon and Serve
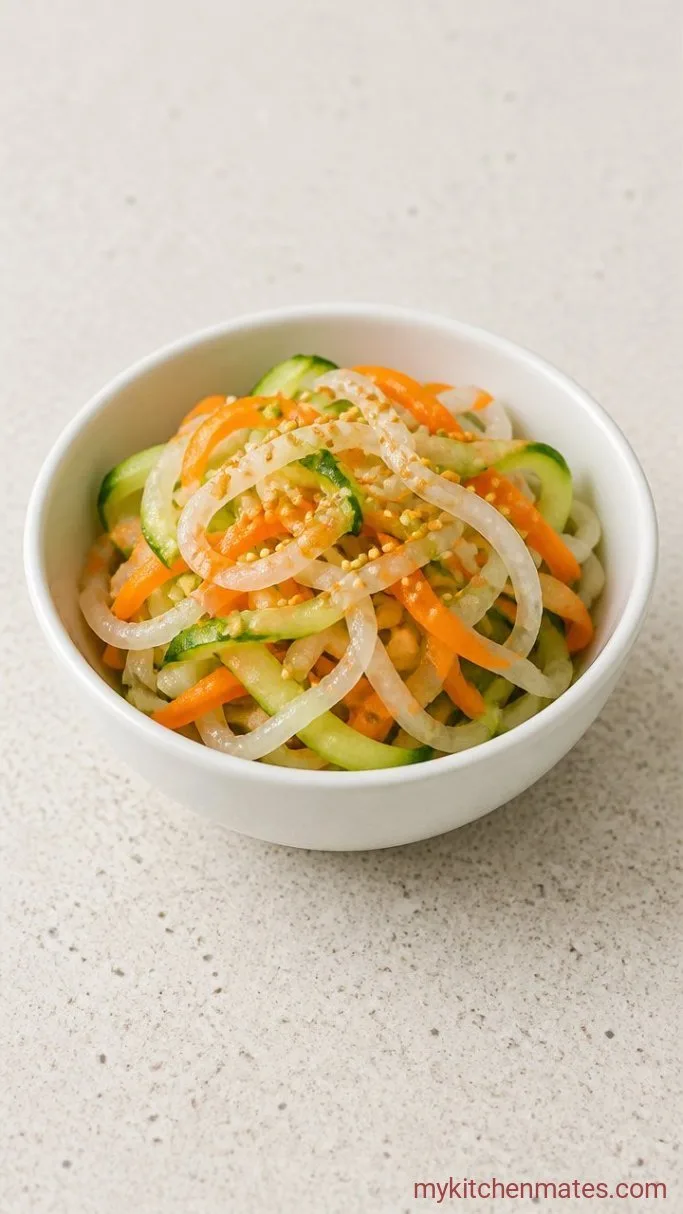
Lift the pickles from the brine with a slotted spoon and transfer them to a small serving bowl. Drain them briefly if you prefer a drier pickle, but a little clinging brine is part of the appeal. Scatter the toasted sesame seeds over the top right before setting the bowl on the table.
Serve these pickles cold or at room temperature alongside rice, grilled fish, or tucked into a bento box. They stay crunchy and refreshing even alongside rich, fatty dishes, acting as a cool little reset between bites.
A Few Notes Before You Start
- Use firm, unblemished vegetables. A soft cucumber or woody carrot will not give you that signature crisp texture, no matter how carefully you salt.
- Do not skip the hand massage. This is where the salt gets evenly distributed and the vegetables start to release their water; stirring with a spoon leaves some pieces oversalted and others bland.
- Taste a slice after 30 minutes and decide if you want more time. The pickles will continue to soften and get saltier the longer they sit, so pull them at your preferred crunch level.
- The leftover brine can dress a simple salad or be tossed into cooked, cooled rice for instant flavor, so do not pour it down the drain.
Storing Leftovers
- Refrigerate: Pack the pickles in their brine in an airtight container. They stay crunchy for about 3 days; after that the vegetables soften and the flavor deepens. They are still tasty for up to 5 days, just less crisp.
- Serve cold: These are meant to be eaten chilled or at room temperature straight from the fridge. No reheating needed.
What Goes Well With These Pickles
A scoop of these tangy pickles next to a bowl of hot short-grain rice and a piece of miso-glazed salmon makes a complete, satisfying plate. They also hold their own beside a rich turkey tonkatsu, where the cool, clean crunch balances the fried crust. If you are packing a lunch, tuck a few slices into a teriyaki chicken rice bowl, and they will keep everything tasting fresh even after it has sat in a container for a few hours.
Frequently Asked Questions
Can I use regular cucumbers instead of English cucumber?
Yes. Seedless English cucumbers stay firmest, but a regular cucumber works. Scoop out the watery seed core before slicing to keep the brine from getting diluted.
How long do the pickles last in the fridge?
They keep well for 3 days for the best crunch, and up to 5 days with softer texture. The flavor actually deepens after a day or two.
Do I really need the kombu?
No. The kombu adds a subtle savory note but the pickles are delicious without it. A tiny dash of soy sauce in the brine gives a similar effect in a pinch.
Can I make a larger batch?
Absolutely. Keep the vegetable total to about 4 cups sliced for every 2 tsp salt, 1 tbsp vinegar, and 1 tsp sugar. The method stays the same.
Quick Japanese Pickled Vegetables (Asazuke) Recipe
Ingredients
Method
- Slice the cucumber, daikon, and carrot into ¼-inch thick rounds.
- Whisk the salt, rice vinegar, and sugar until dissolved, and add the kombu if using.
- Toss the vegetables with the seasoning mixture and massage by hand for 1 to 2 minutes.
- Pack the vegetables and all their liquid into a container, press a weight on top, and refrigerate for 30 minutes.
- Lift from the brine with a slotted spoon, transfer to a bowl, and scatter with sesame seeds before serving.
Notes
