
One-Pan Sticky Honey Baked Chicken Thighs

These honey baked chicken thighs come out of the oven with a deep amber glaze, sticky enough to cling to every bite but not so sweet it reads like dessert. The sauce is just a handful of pantry ingredients whisked together and poured right over the chicken—no marinating, no searing, no extra pans.
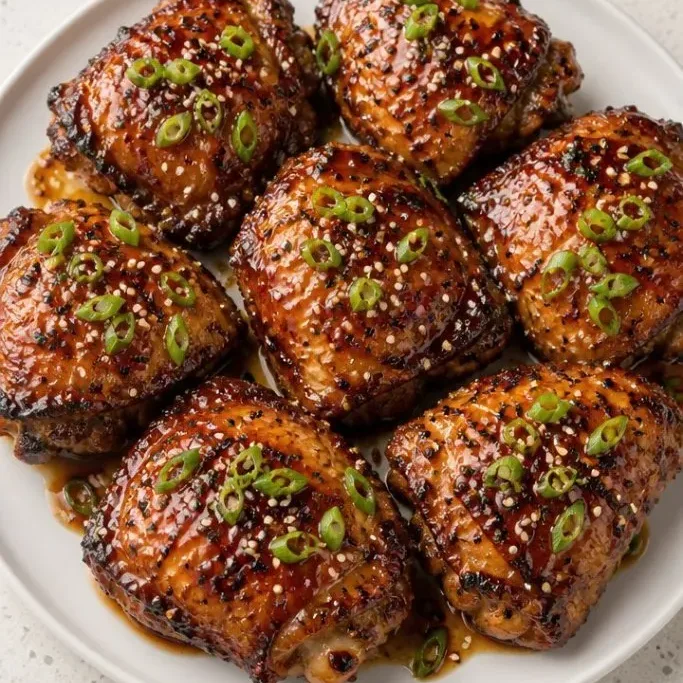
It’s the kind of dinner that feels a little special on a Tuesday, but the work is done in ten minutes flat.
Why This Honey Chicken Keeps a Spot in the Rotation
The thighs stay juicy even if you overshoot the timer by a few minutes, because the thighs and the glaze protect each other in the oven. The honey caramelizes onto the skin while the soy sauce and garlic keep it savory, giving you that glossy, lacquered finish that usually takes a lot more fuss.
I make this when I need something everyone at the table will eat without me standing in the kitchen the whole time. The oven does the heavy lifting, and what’s left in the pan is a concentrated sauce you’ll want to spoon over rice or roasted vegetables.
Ingredients
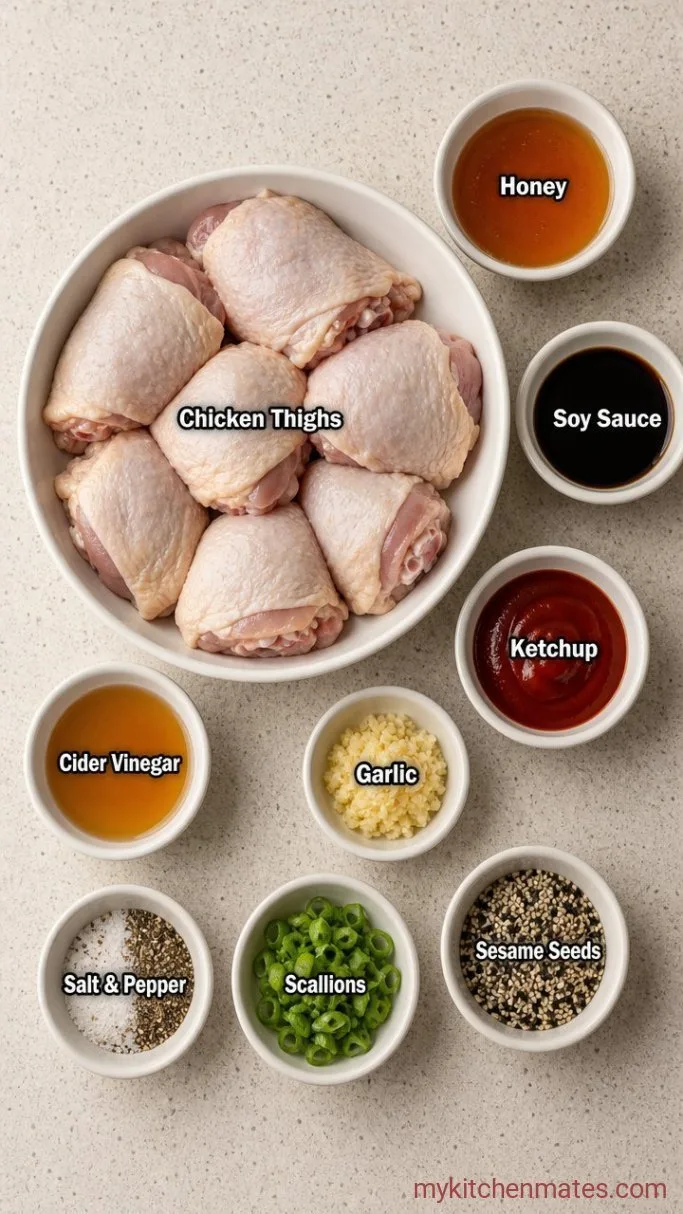
- 8 bone-in, skin-on chicken thighs (about 2 lbs): the skin gets crisp and holds the glaze beautifully
- ⅓ cup honey: mild or wildflower both work; avoid a very dark buckwheat here
- 3 tbsp soy sauce: use regular or low-sodium, whichever you have
- 2 tbsp ketchup: adds a little tang and deepens the color
- 4 cloves garlic, minced: fresh gives a sharper kick than jarred
- 1 tbsp apple cider vinegar: brightens the glaze so it doesn’t taste flat
- ½ tsp black pepper
- ¼ tsp salt: only add if you are using low-sodium soy sauce; otherwise hold it
- Optional garnish: sliced scallions and a pinch of sesame seeds
Variations / Substitutions
- Boneless thighs: use the same weight, cut bake time to 25 to 30 minutes and watch the glaze closely.
- Chicken breasts: they will cook faster and dry out more easily, so pull them at 160°F (71°C) and let carryover heat finish the job.
- Maple instead of honey: maple syrup works, but the glaze will be thinner and less sticky, so you may want to reduce it on the stovetop for 2 minutes before baking.
- Add heat: whisk in 1 teaspoon of sriracha or a generous pinch of red pepper flakes.
- Gluten-free: swap the soy sauce for tamari, then proceed exactly as written.
- Herb switch: rosemary or fresh thyme sprigs tucked under the chicken add an earthy note.
If you like this style of hands-off baking, the Sticky Garlic Soy Drumsticks on the site follow a similar set-it-and-forget-it method with an even darker glaze.
How to Make One-Pan Sticky Honey Baked Chicken Thighs
Step 1: Whisk the Glaze
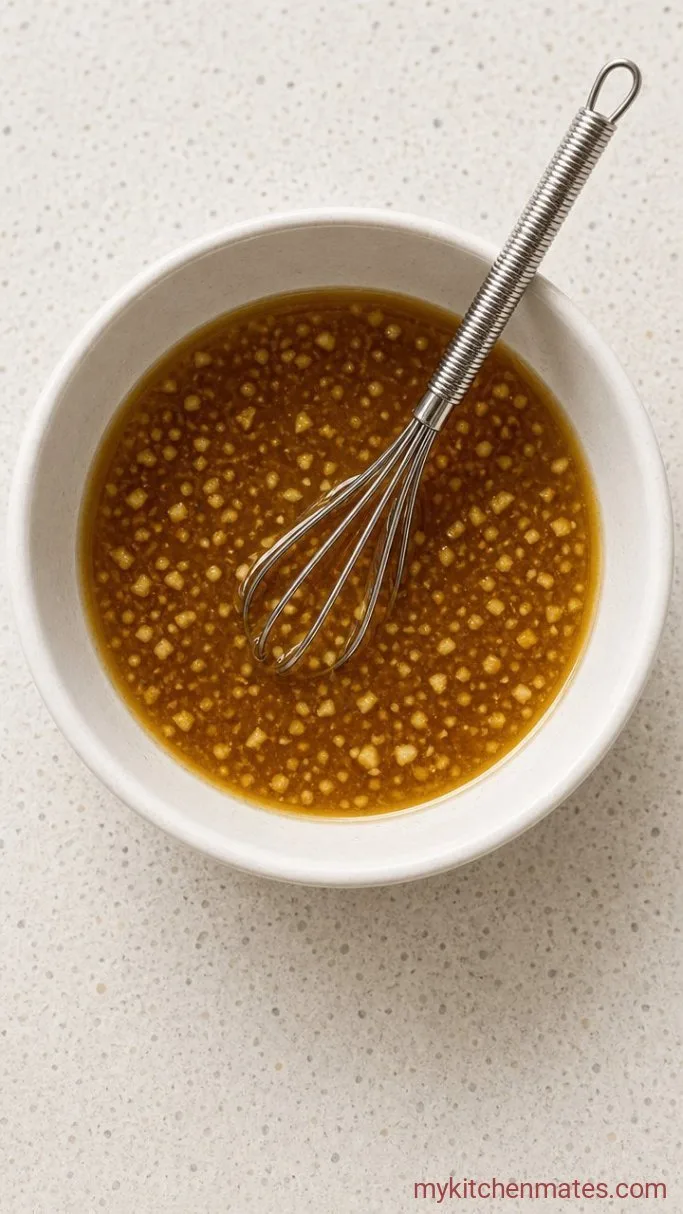
Preheat your oven to 400°F (200°C). In a bowl large enough to hold the chicken, whisk together the ⅓ cup honey, 3 tbsp soy sauce, 2 tbsp ketchup, minced garlic, 1 tbsp apple cider vinegar, and ½ tsp black pepper. If you are using low-sodium soy sauce, whisk in the ¼ tsp salt now; if you are using regular soy sauce, skip it.
The mixture will look thin and glossy, almost like a thinned barbecue sauce. That’s what you want—it will thicken and cling as it bakes.
Step 2: Arrange the Chicken
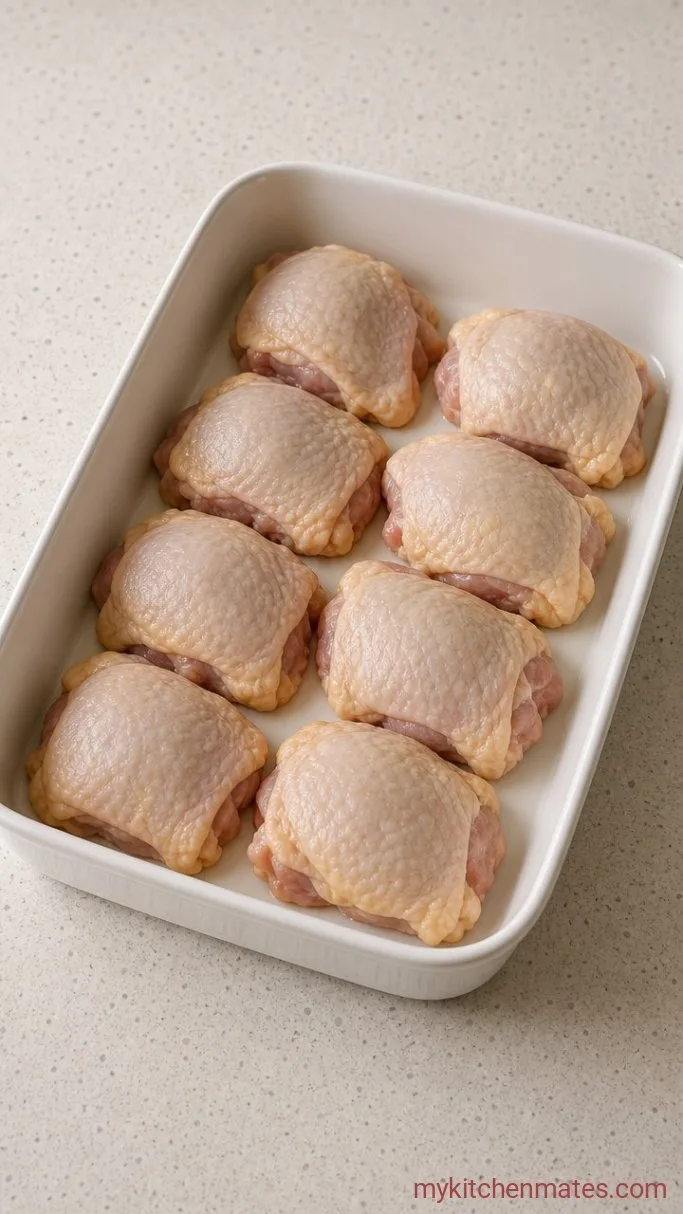
Pat the chicken thighs dry with paper towels so the skin can crisp rather than steam. Place them skin side up in a single layer in a 9×13 baking dish or a rimmed sheet pan. Pour the glaze over the top, then use tongs to flip each thigh a couple of times until every piece is coated and ends up skin side up again.
Don’t crowd the pan. Leaving a little space between the thighs lets the hot air circulate and helps the skin render evenly. If the pieces are touching shoulder to shoulder, the skin underneath stays pale and gummy.
Step 3: Bake Until Lacquered
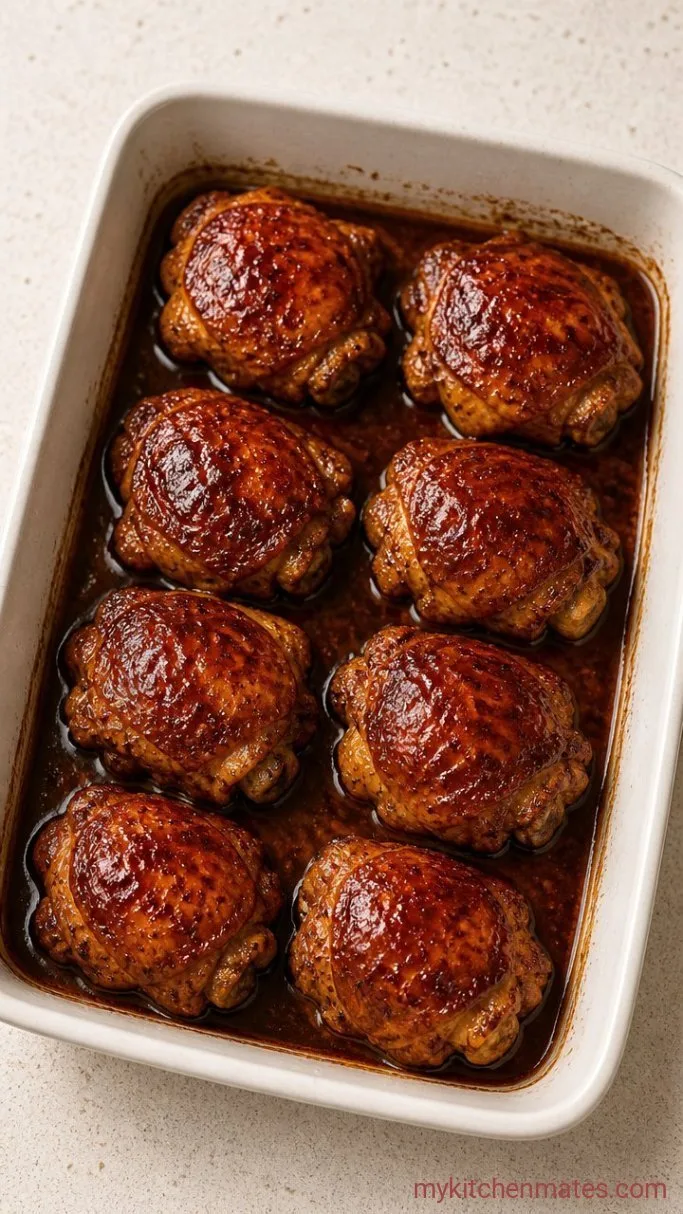
Slide the pan into the oven and bake uncovered for 35 minutes. At the halfway mark, around 18 minutes in, pull the pan out and spoon some of the pooling glaze back over the chicken so the tops stay glossy. Return the pan to the oven and finish baking until the skin is deep mahogany and the thickest part of a thigh reads 175°F (79°C) on an instant-read thermometer.
The sauce in the bottom of the pan will look darker and slightly thickened. If it seems thin, that’s fine—it will concentrate more under the broiler in the next step.
Step 4: Broil and Serve
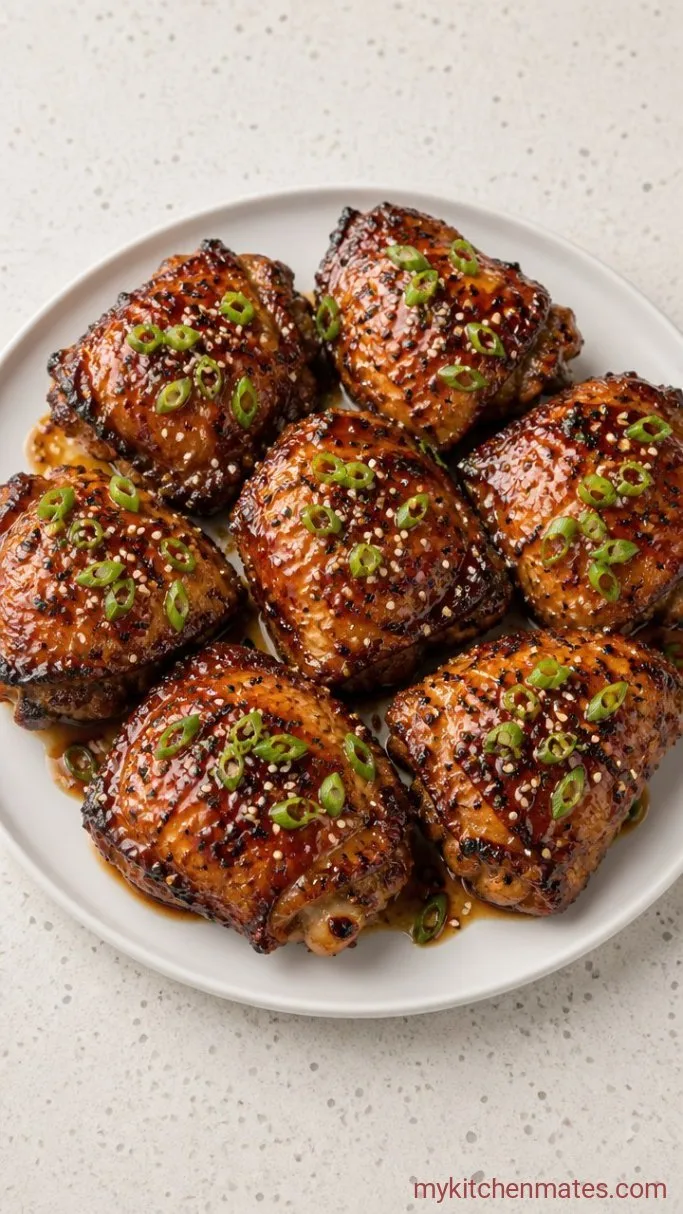
Switch the oven to broil on high and move the rack to the top third, about 6 inches from the element. Broil the chicken for 2 to 3 minutes, keeping an eye on it the whole time. You want the skin to blister and bubble in spots, not burn. The honey makes it go from glossy to charred fast, so set a timer.
Pull the pan out when the edges look just shy of too dark. Spoon the sticky pan sauce over each thigh, scatter with scallions and sesame seeds if you’re using them, and serve immediately while the skin is still shatter-crisp.
Tips for the Stickiest, Most Even Glaze
- Pat the chicken fully dry—wet skin won’t brown and the glaze slides right off.
- Flip and baste halfway—that one spoon-over at 18 minutes makes the difference between a dull finish and that lacquered look.
- Use a dark metal pan: if you have one. It absorbs and radiates more heat, giving you crispier skin in the same amount of time.
- Don’t broil for more than 3 minutes without watching—honey-based glazes go from caramelized to burnt in about thirty seconds.
Bake times by cut:
| Cut | Bone-in, skin-on | Boneless, skin-on |
|---|---|---|
| Thighs | 35–40 mins | 25–30 mins |
| Drumsticks | 35–40 mins | — |
| Breasts | 30–35 mins (pull at 160°F) | 20–25 mins (pull at 160°F) |
Storing Leftover Honey Baked Chicken
- Refrigerate: cool the chicken completely, then store in an airtight container for up to 4 days. The glaze will soften the skin, but the meat stays moist.
- Reheating: pop the thighs under the broiler for 3 to 4 minutes or in a 375°F (190°C) oven for 10 minutes to re-crisp the skin. A microwave works in a pinch, but the skin won’t crisp back up.
- Serve cold: the thighs are surprisingly good straight from the fridge over a crunchy salad the next day.
What to Serve with Sticky Honey Baked Chicken Thighs
Steamed jasmine rice soaks up the pan sauce without competing, and a quick cucumber salad with rice vinegar cuts the richness. For a low-fuss vegetable, roast broccoli florets on a separate sheet pan while the chicken bakes—they’ll be done around the same time and you can toss them with a little of the extra glaze.
If you want something to round out the meal with very little extra effort, simple buttered peas or quick sautéed green beans let the chicken stay the star.
Frequently Asked Questions
Can I use chicken drumsticks instead of thighs?
Yes, drumsticks work well. They are similar in size and fat content, so the bake time stays the same at 35 to 40 minutes for bone-in pieces.
Do I need to marinate the chicken first?
No marinating is needed. The glaze bakes into the skin and meat as the fat renders, so you get plenty of flavor without the extra time.
What if I don’t have apple cider vinegar?
Rice vinegar or plain white vinegar both work. Lemon juice can stand in, but the flavor will be slightly less round and a bit sharper.
Can I make this ahead of time for a crowd?
Yes, you can bake the chicken fully, cool it, and refrigerate overnight. To serve, reheat in a 350°F (175°C) oven for 15 minutes, then finish under the broiler for 2 to 3 minutes to recrisp the skin. The glaze will darken more on the second bake, so watch it closely.
Honey Baked Chicken Thighs Recipe
Ingredients
Method
- Preheat oven to 400°F (200°C). Whisk honey, soy sauce, ketchup, garlic, vinegar, and black pepper in a bowl. If using low-sodium soy sauce, add salt.
- Pat chicken dry. Place skin side up in a 9×13 baking dish or sheet pan, pour glaze over, and flip to coat all pieces, finishing skin side up.
- Bake for 35 minutes, basting with pan juices at the 18-minute mark, until skin is mahogany and internal temp reaches 175°F (79°C).
- Switch oven to broil on high. Broil 2 to 3 minutes until skin bubbles and chars in spots. Spoon pan sauce over thighs and serve with scallions and sesame seeds.
