
Hello Kitty Sugar Cookies with Royal Icing

These Hello Kitty sugar cookies are the kind of treat that makes a birthday table or bake sale feel extra special. The dough is a simple vanilla cut-out that bakes up clean and holds the Hello Kitty silhouette beautifully.

You get crisp edges, a soft middle, and a smooth coat of royal icing that sets firm enough to stack. Decorate them with the classic red bow and a tiny yellow nose, or keep it pastel for a baby shower. They taste as happy as they look.
Why These Cookies Are So Much Fun
The vanilla butter dough is sturdy enough to keep every detail of the cutter, so you never open the oven to a puffy, unrecognizable blob. That one trick, a quick chill and a no-nonsense flour ratio, is what makes these a keeper.
The decorating is the real joy. Piping the outline and then flooding the face feels like a tiny craft project. And the royal icing hardens to a silky, matte finish that crunches softly when you bite in.
Ingredients
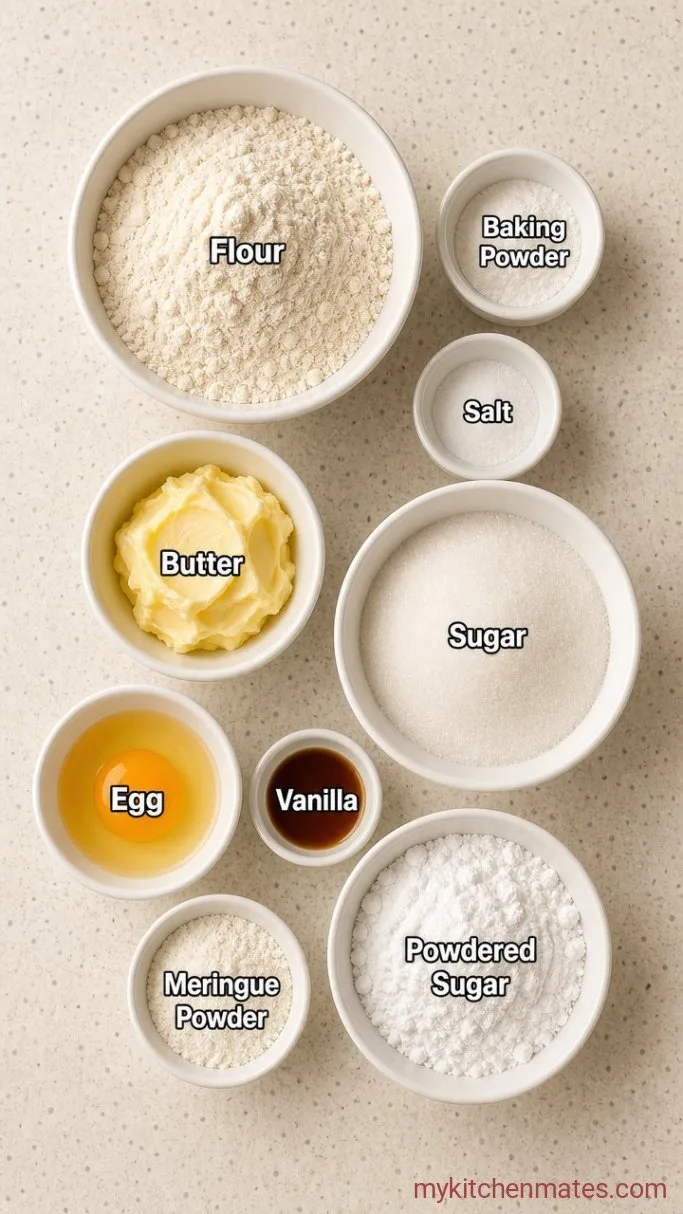
- 2 1/2 cups all-purpose flour: measured by spooning into the cup, not scooping.
- 1 tsp baking powder: helps the cookie rise just enough to stay tender.
- 1/2 tsp salt: fine sea salt.
- 3/4 cup unsalted butter, softened: still cool to the touch, not melty.
- 3/4 cup granulated sugar: fine white sugar for a smooth dough.
- 1 large egg: room temperature works best.
- 1 1/2 tsp vanilla extract: pure vanilla gives the cookies that cozy bakery note.
- For the royal icing: 3 tbsp meringue powder, 4 cups powdered sugar, 5-6 tbsp warm water, food coloring (black, pink, yellow).
Variations / Substitutions
- Use a gluten-free 1:1 flour blend: the one with xanthan gum keeps the dough from spreading.
- Color the cookie dough: add a few drops of gel food coloring to the dough if you want a pink or pastel base instead of plain vanilla.
- Skip the meringue powder: you can use 3 tbsp of pasteurized liquid egg whites plus an extra 1/4 tsp cream of tartar, but the icing may take a bit longer to set.
- Dairy-free: swap the butter for a stick-style vegan butter that holds its shape in baking.
Mickey Mouse Sugar Cookies are next on our list if these cookies are your kind of dessert.
How To Make Hello Kitty Sugar Cookies
Step 1: Mix the Cookie Dough
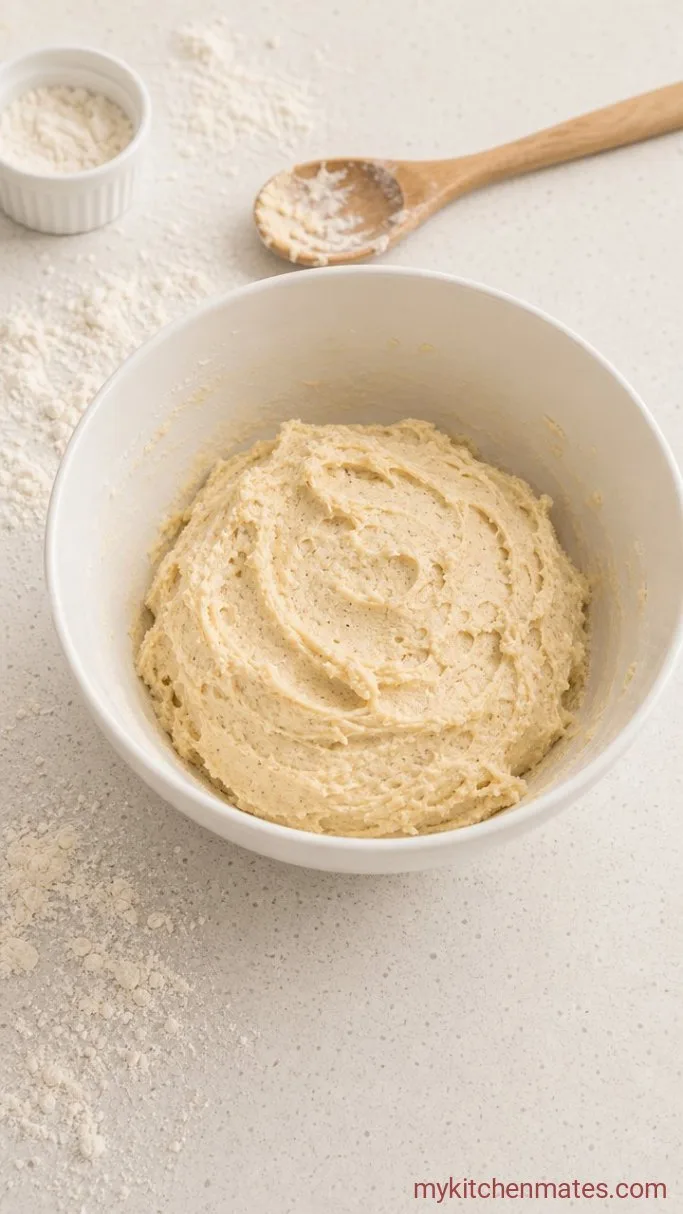
Whisk the 2 1/2 cups flour, 1 tsp baking powder, and 1/2 tsp salt together in a medium bowl. In a large bowl or stand mixer, beat the 3/4 cup softened butter and 3/4 cup sugar on medium speed for about 2 minutes, until it looks pale and fluffy. Then scrape down the bowl and beat in the 1 large egg and 1 1/2 tsp vanilla until just combined. With the mixer on low, slowly add the flour mixture and mix until no dry streaks remain.
The dough will seem a little crumbly at first, then come together into a soft ball that pulls away from the sides of the bowl. Stop mixing as soon as it does, because overworking it can make the cookies tough.
Step 2: Chill and Roll the Dough
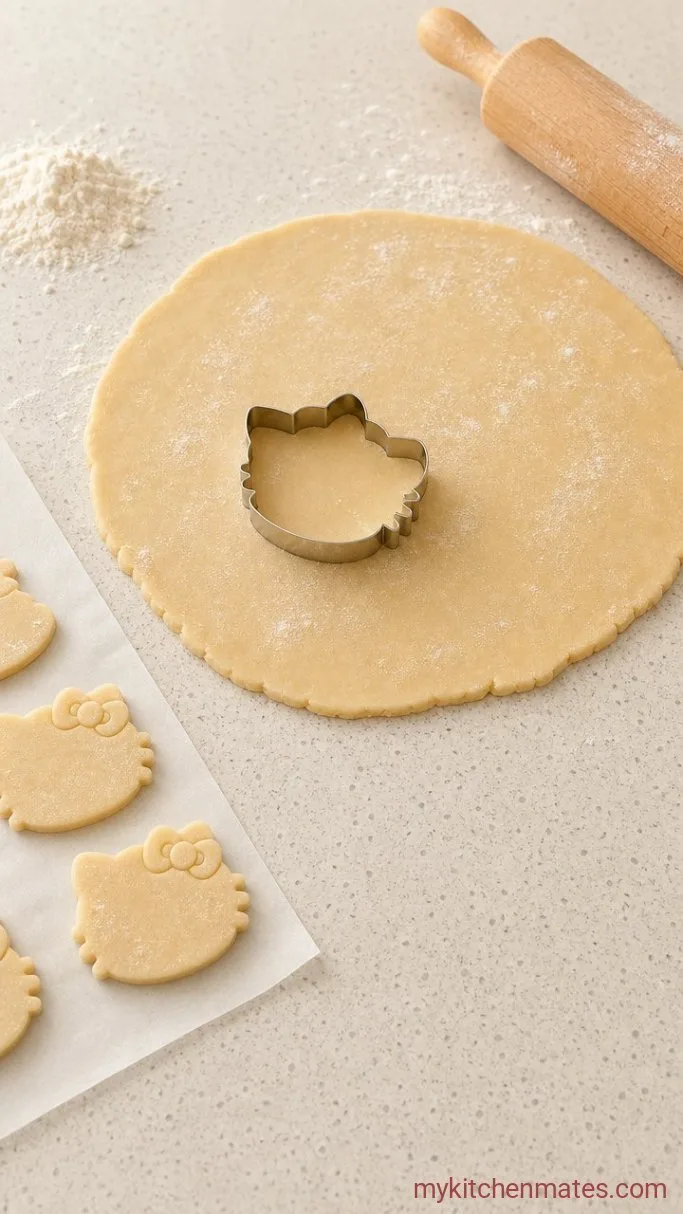
Divide the dough in half, shape each half into a flat disc, and wrap them in plastic. Refrigerate for at least 30 minutes, or up to 2 days if you want to get ahead. Chilling stops the butter from melting too fast in the oven so the Hello Kitty shape stays sharp.
When you are ready to bake, preheat the oven to 350°F (175°C) and line two baking sheets with parchment paper. On a lightly floured surface, roll one disc to about 1/4 inch thick. Press the Hello Kitty cookie cutter straight down, lift cleanly, and place the shapes on the sheet about an inch apart. They will not spread much, so you can fit quite a few on one tray.
Step 3: Bake Until Just Set
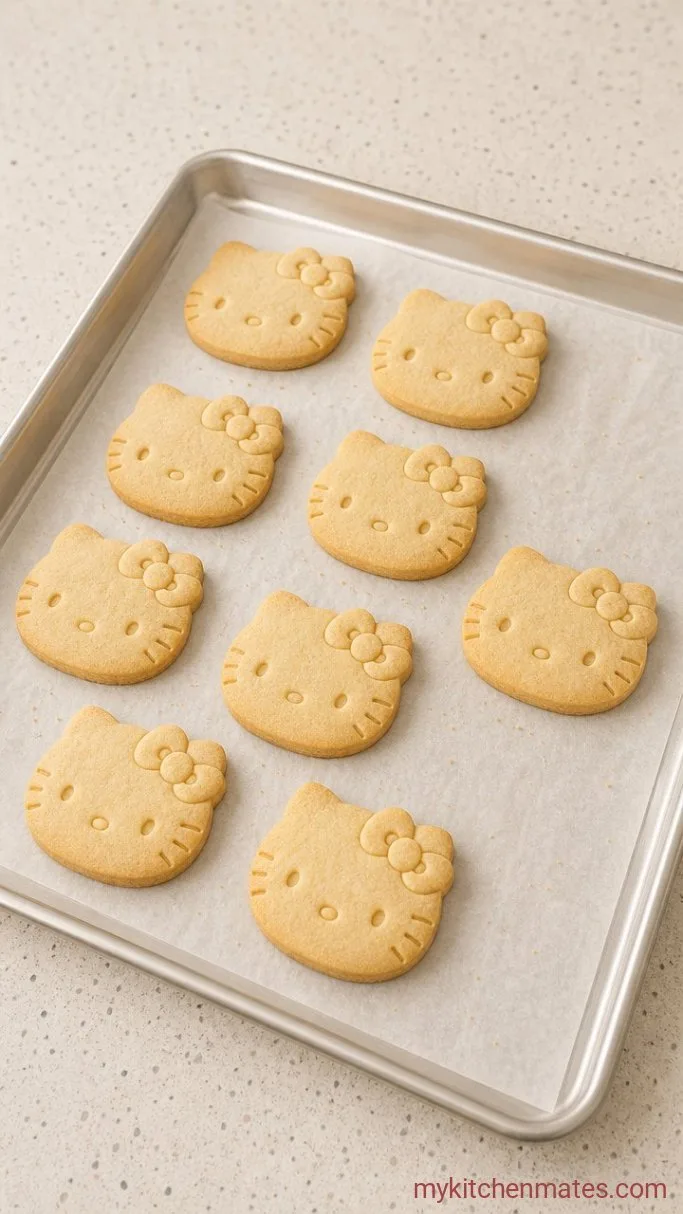
Slide the tray into the middle of the oven and bake for 10 to 12 minutes, depending on your thickness. The cookies are ready when the edges look dry and just barely start to turn a light golden color. The centers will still look pale, and that is exactly what you want.
Let them rest on the hot baking sheet for 2 minutes, then transfer them to a wire rack to cool completely. If you ice them while they are even a little warm, the icing will melt into a puddle.
Step 4: Whisk Up the Royal Icing
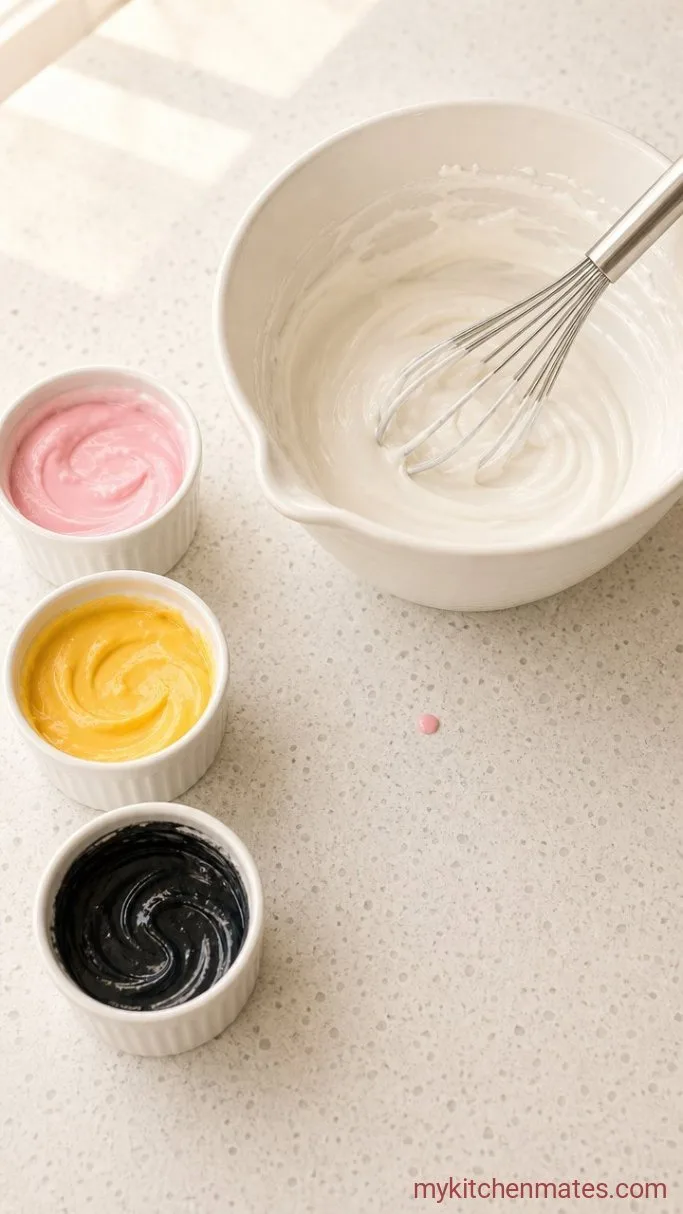
In a clean mixer bowl, combine the 3 tbsp meringue powder, 4 cups powdered sugar, and 5 tbsp warm water. Beat on low until glossy, about 3 to 4 minutes. Add water a few drops at a time to get a thick, toothpaste-like consistency for piping outlines. Scoop half into a piping bag fitted with a small round tip. Thin the remaining icing with water, a tiny splash at a time, until it flows smoothly and a ribbon of icing disappears back into the surface in about 8 seconds. This is your flood icing.
Divide both thick and thin icing into batches for white, black, pink, and yellow, and tint with gel food coloring. Keep the bowls covered with a damp paper towel so they do not crust over while you work.
Step 5: Pipe and Decorate the Cookies

Using the thick white icing, pipe an outline around the edge of a cooled cookie and around the eyes and nose area. Switch to the thinner white icing and flood the face inside the outline, using a toothpick to nudge it into the corners. Let that layer set for about 20 minutes, until it is dry to the touch.
Pipe a tiny yellow oval for the nose, two black dots for the eyes, and a red or pink bow with the thicker icing. Add the bow’s little loops on either side of the right ear. Let the cookies sit uncovered at room temperature for 1 to 2 hours so the icing hardens fully before stacking or serving.
Before You Start
- Chilling the dough is not optional. Even 20 minutes in the freezer makes a big difference if you are short on time.
- Keep a small bowl of clean water and a toothpick nearby. You can smooth out wobbly icing lines or pop air bubbles right away.
- If the icing starts to dry and become stringy while you pipe, re-mix it with a drop or two of water.
- Use gel food coloring, not liquid. Liquid can thin the icing too much and the colors will look washed out.
- Leftover icing freezes wonderfully. Press plastic wrap directly onto the surface, seal in a container, and freeze up to 3 months.
Cookie thickness makes a difference in bake time, so here is a quick guide.
| Thickness | Bake Time |
|---|---|
| 1/8 inch | 9 to 11 minutes |
| 1/4 inch | 10 to 12 minutes |
| 3/8 inch | 12 to 14 minutes |
Keeping Hello Kitty Cookies Fresh
- Store: the fully dried cookies in an airtight container at room temperature for up to 1 week. Place a sheet of parchment paper between layers so the icing does not stick.
- Freeze: decorated cookies by freezing them in a single layer on a sheet pan first. Once solid, stack them in a container with parchment. They thaw on the counter in about 15 minutes.
What To Serve With Hello Kitty Sugar Cookies
A warm cup of Earl Grey tea lets the bergamot notes play against the vanilla and sweet icing without overwhelming anything. For a dessert table, set them next to a platter of fresh strawberries and small chocolate-dipped pretzel rods. The mix of textures and the little hit of salt makes the cookie’s sweetness pop.
Frequently Asked Questions
Can I make these cookies egg free?
Yes. Replace the egg with 1/4 cup of unsweetened applesauce or a commercial egg replacer. The dough will be a bit softer, so chill it a few minutes longer before rolling.
What can I use if I do not have a Hello Kitty cookie cutter?
You can print a Hello Kitty face template, cut it out, and use a small paring knife to trace the shape on the rolled dough. It takes a steady hand, but you will get the same look.
Why did my royal icing never set hard?
The most common reason is too much water. Add water just a few drops at a time and test the flood consistency on a plate first. Also, avoid storing cookies in a humid spot until the icing is completely dry.
Can I use this dough for other shaped cookies?
Absolutely. This is my go-to cut-out cookie recipe for any intricate cutter, from unicorns to letters. It holds fine details well as long as the dough stays cold.
How do I get the pink and red colors bright without a ton of dye?
Use a tiny dab of gel color and let the icing sit covered for 10 minutes, then stir again. The color deepens as it rests, so you can use less dye overall.
Hello Kitty Sugar Cookies Recipe
Ingredients
Method
- Whisk flour, baking powder, and salt together in a bowl. Cream butter and sugar, then beat in egg and vanilla. Mix in dry ingredients until dough comes together.
- Divide dough, shape into discs, and chill at least 30 minutes. Roll to 1/4 inch thick and cut with a Hello Kitty cutter. Place on parchment-lined sheets.
- Bake at 350°F for 10 to 12 minutes until edges are barely golden. Cool on the sheet 2 minutes, then transfer to a wire rack to cool completely.
- Beat meringue powder, powdered sugar, and 5 tbsp water for thick piping icing. Thin a portion with water to flood consistency. Tint with gel colors.
- Pipe white outlines, flood the face, let set. Add yellow nose, black eyes, and pink bow with thicker icing. Let dry 1 to 2 hours before serving.
Notes
