
Crispy Gluten Free Waffles (Ready in 20 Minutes)

These gluten free waffles come out crisp on the outside and tender in the middle, and you do not need a cabinet full of specialty flours to pull it off. A good cup-for-cup blend does the heavy lifting.

The batter comes together in one bowl while the iron heats, so they land on the table in around 20 minutes. No one will guess they are gluten free.
What Makes These Waffles So Good
The texture is the thing here. A generous splash of oil in the batter and a short rest before cooking give the outside that light, shattery crispness that gluten free baked goods tend to lose.
Inside they stay soft and pillowy, not dry or gritty. They hold up to a heavy pour of maple syrup and stay warm long enough to eat at a relaxed pace.
Ingredients
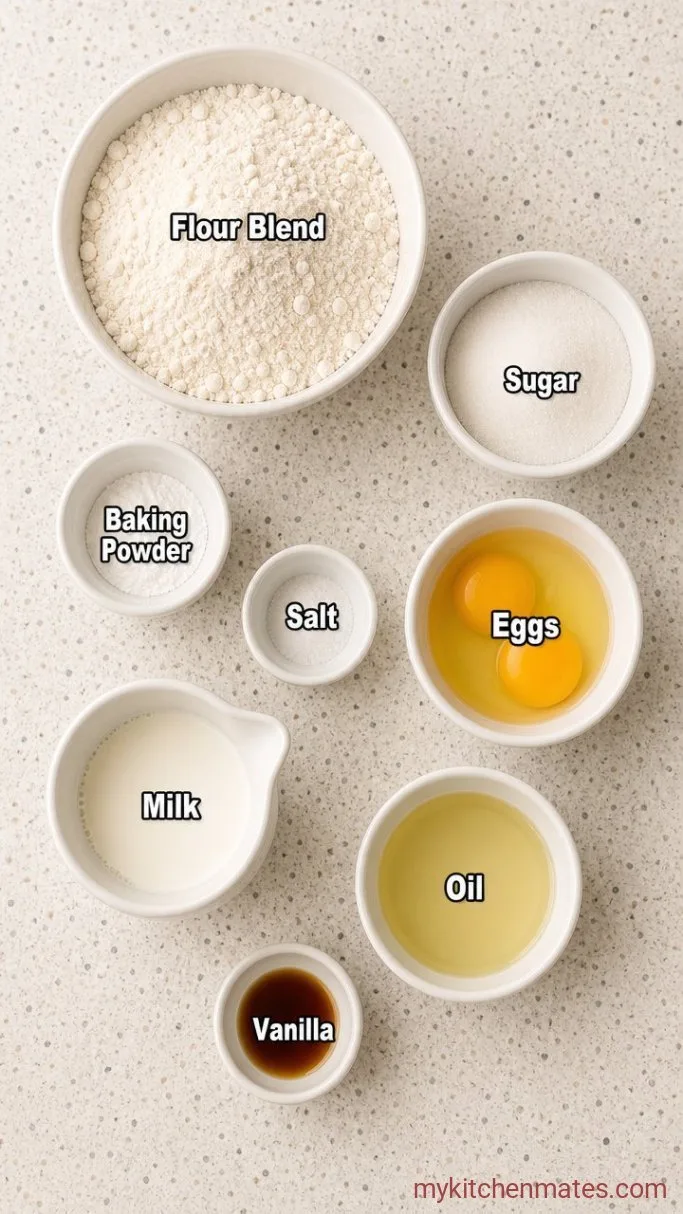
- 2 cups gluten free all-purpose flour blend: look for one that lists xanthan gum in the ingredients, which helps bind the batter.
- 2 tbsp granulated sugar: adds just enough sweetness and helps browning.
- 1 tbsp baking powder: make sure it is fresh for the tallest lift.
- 1/2 tsp fine sea salt: brings the flavor forward.
- 2 large eggs: at room temperature if you remember, but cold works too.
- 1 3/4 cups whole milk: any unsweetened non-dairy milk works here (almond, oat, or soy).
- 1/3 cup neutral oil: avocado, vegetable, or light olive oil. This is the key to getting the outside crisp.
- 1 tsp vanilla extract: rounds out the taste.
Variations / Substitutions
- Dairy free: swap the whole milk for the same amount of unsweetened oat milk and the waffles will still brown and crisp well.
- No eggs: replace each egg with a flax egg (1 tbsp ground flax plus 2.5 tbsp water, rested 5 minutes), though the waffles will be a touch less airy.
- Less sugar: you can drop the sugar down to 1 tbsp for a more savory waffle, great under fried eggs.
- Different flour blend: if you use one without xanthan gum, stir in 1/2 tsp xanthan gum separately or the batter might spread and stick.
Tender Gluten Free Blueberry Scones go perfectly with these waffles for a cozy morning or afternoon.
How to Make Crispy Gluten Free Waffles
Step 1: Mix the Dry Ingredients
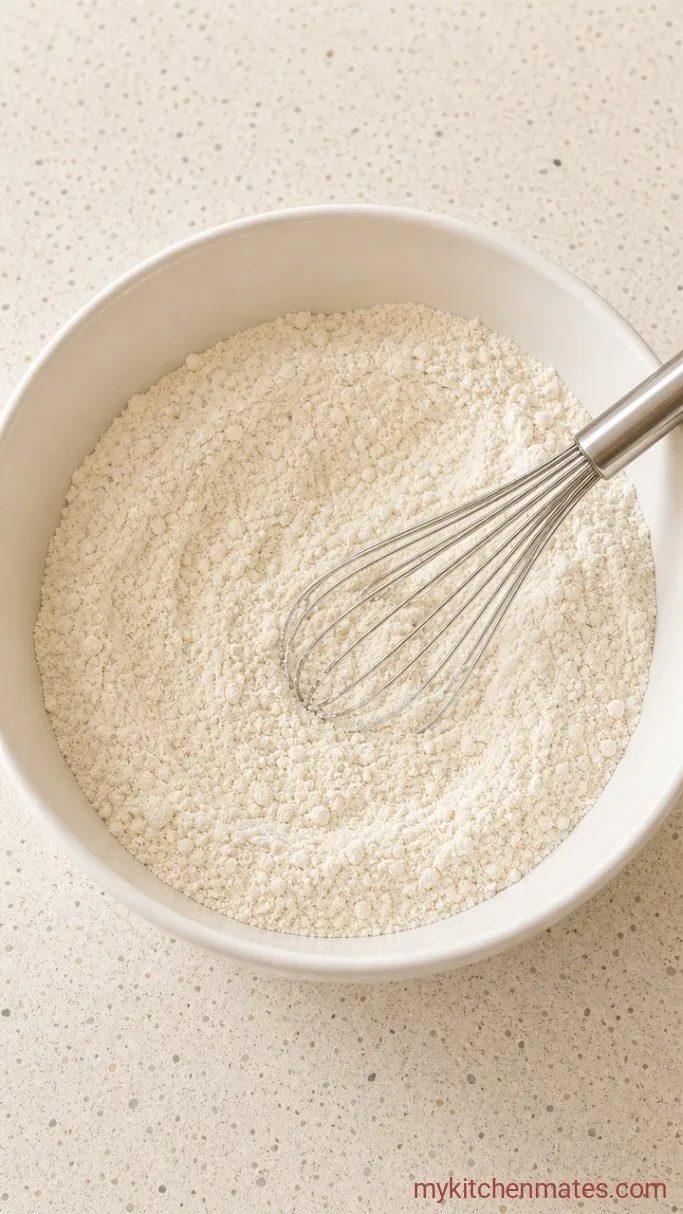
Preheat your waffle iron to a medium-high setting while you whisk the 2 cups flour blend, 2 tbsp sugar, 1 tbsp baking powder, and 1/2 tsp salt together in a large bowl. A quick whisk breaks up any lumps from the flour blend and distributes the leavening evenly.
Step 2: Whisk the Wet Ingredients
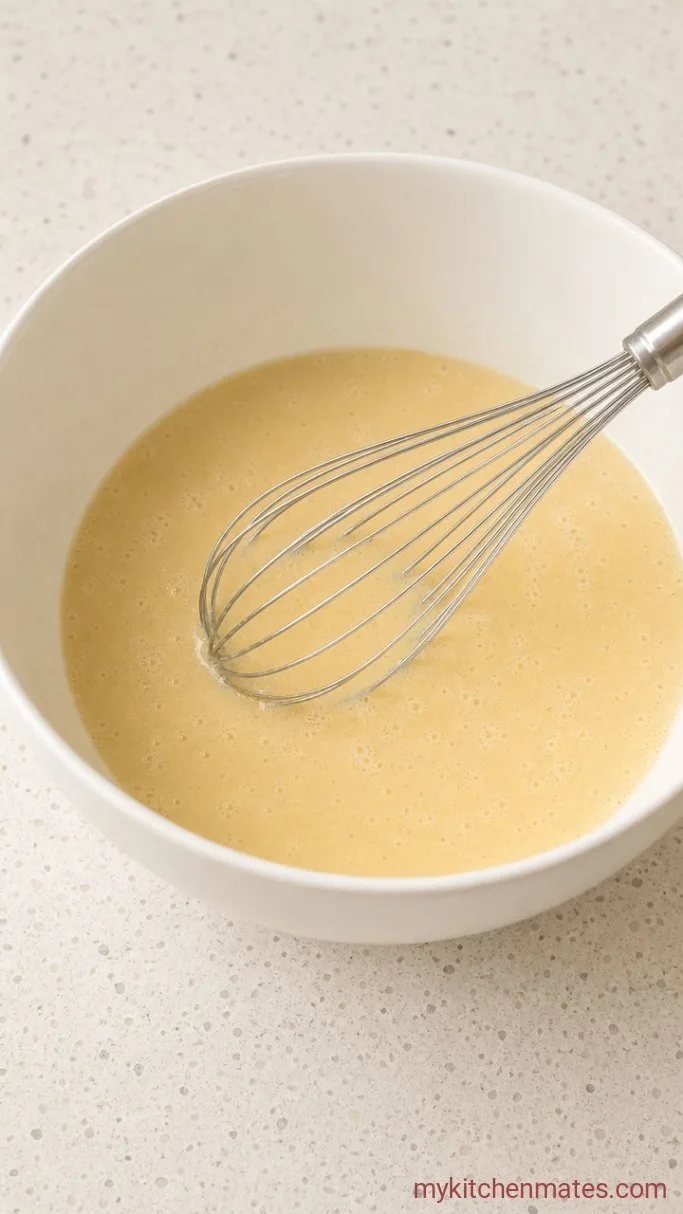
Crack the 2 eggs into the same bowl (fewer dishes) and add the 1 3/4 cups milk, 1/3 cup oil, and 1 tsp vanilla. Whisk everything together until the batter is smooth and no dry pockets remain. It will look a little thinner than typical waffle batter, and that is exactly right.
Step 3: Combine the Batter
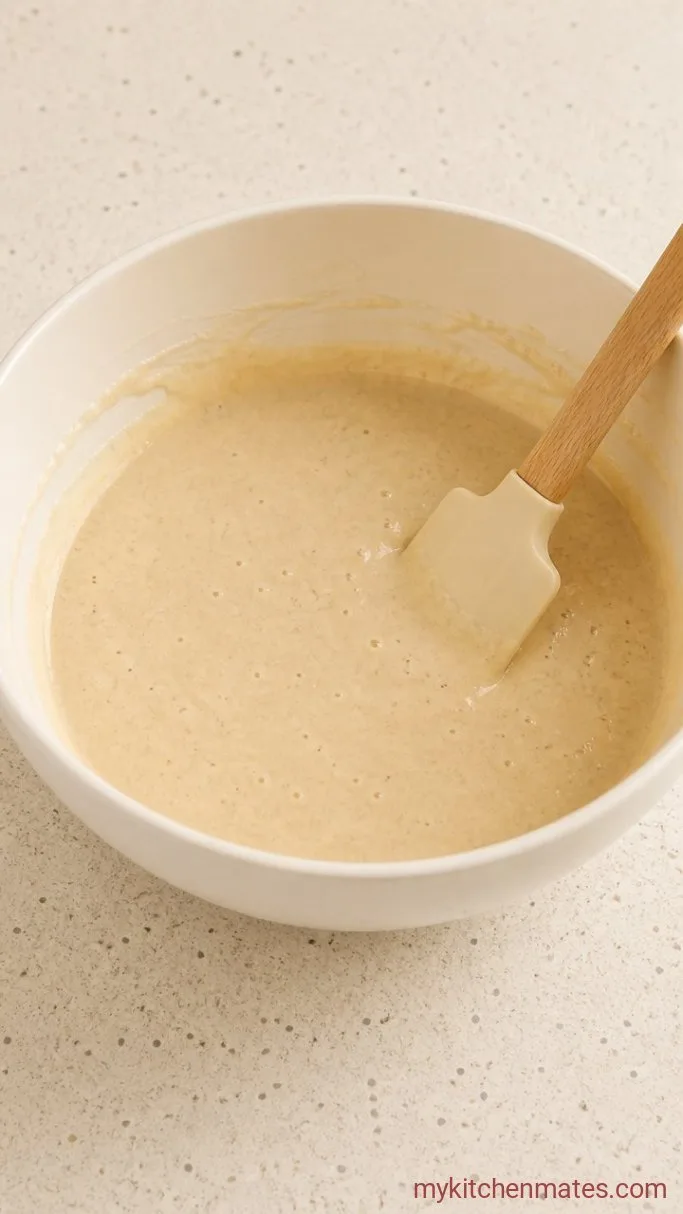
Let the batter rest at room temperature for 5 minutes while the iron fully preheats. This short rest gives the starches and gums in the flour blend time to hydrate, which makes the interior softer and helps the waffles release cleanly from the iron later. Do not whisk again, just give it a gentle stir once more before ladling.
Step 4: Cook the Waffles
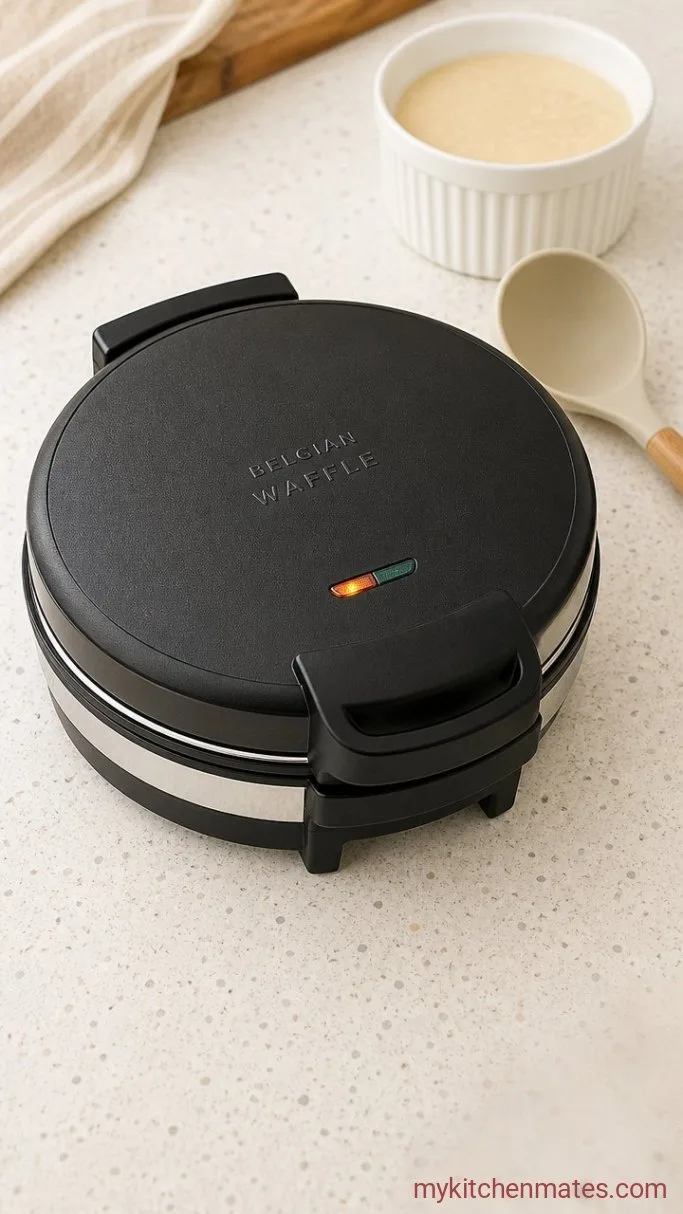
Lightly grease the hot iron with a spray of oil or a brush of melted butter, even if the plates are nonstick. Ladle in enough batter to just cover the lower grid (about 1/2 cup for a standard Belgian iron), close the lid, and cook until the steaming slows way down and the waffle is deep golden, 4 to 5 minutes. If your iron has a doneness indicator light, wait until it switches off and then give it 30 extra seconds for a crispier finish.
A little practice with the first waffle will tell you the exact amount of batter your particular iron needs. Too little and you get thin edges, too much and it spills over, but neither one ruins the batch.
Step 5: Serve Them Hot and Crispy
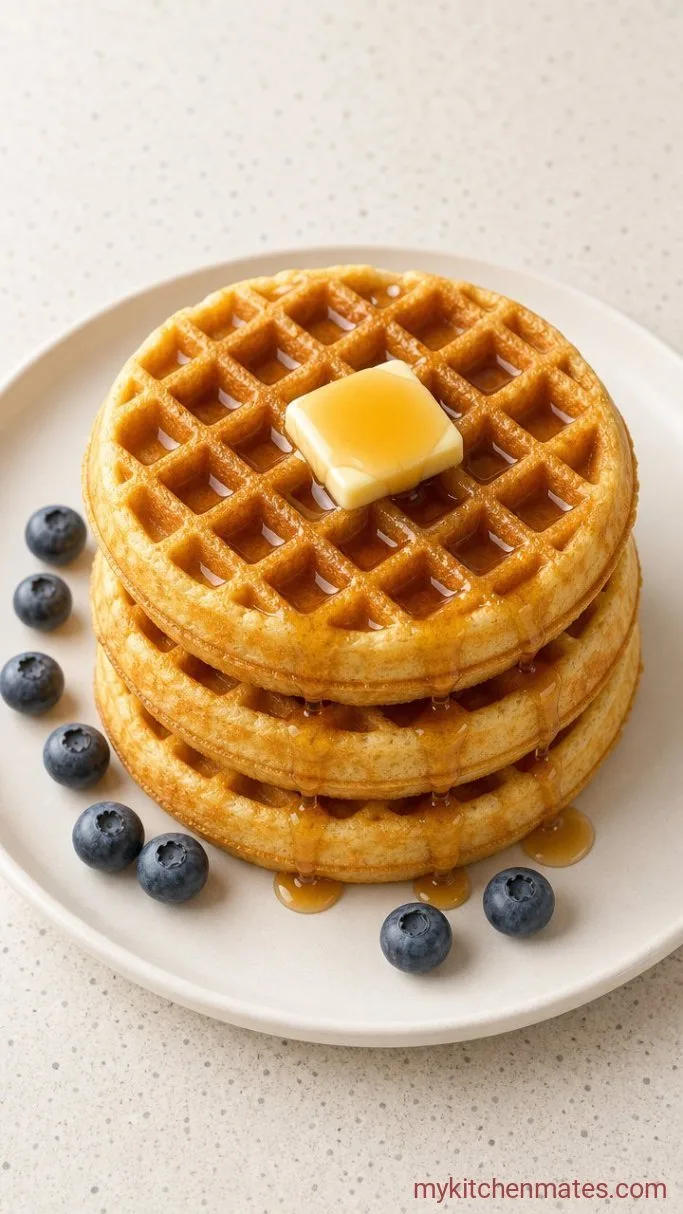
Slide the waffles onto a wire rack set over a baking sheet in a 200°F (95°C) oven if you are making a big batch, or straight onto plates if you are serving right away. Stack them up with fresh berries, a pat of butter, and a generous pour of warm maple syrup while they are still steaming.
A Few Tips for Crispy Gluten Free Waffles
- Do not cut back on the oil. It is not there for moisture alone, it creates a thin, crisp shell as the moisture from the milk evaporates inside the iron.
- If your waffle iron has a dark nonstick coating, check them a minute earlier than the time given here, since darker surfaces brown faster.
- Give the iron a fresh spray of oil between each batch. Even good nonstick can grab on the second or third round.
- Keep finished waffles separate, not stacked, if they need to wait. Stacking traps steam and softens the crisp surface you just worked for.
Cook times by your waffle iron style:
| Iron type | Approximate cook time |
|---|---|
| Classic Belgian (deep pockets) | 4 to 5 minutes |
| Standard round waffle iron | 3 to 4 minutes |
| Mini waffle maker | 2 to 3 minutes |
Storing and Reheating Leftovers
- Refrigerate: cool waffles completely on a rack, then store in an airtight container in the fridge for up to 3 days. They will lose a little crunch but reheat well.
- Freeze: arrange cooled waffles in a single layer on a baking sheet, freeze until solid, then transfer to a zip-top bag for up to 2 months. No need to thaw before reheating.
- Reheating: pop frozen or refrigerated waffles straight into a toaster on a medium setting, or into a 350°F (175°C) oven for 6 to 8 minutes until hot and crisp again.
What to Serve With These Waffles
A classic stack with salted butter and warm maple syrup never misses, but a bowl of macerated strawberries spooned over the top feels like the weekend. For something savory, serve them alongside crispy bacon and a soft scramble. The waffles absorb the runny egg yolk and stay crisp, which is a very good combination.
Frequently Asked Questions
Why did my waffles turn out soft instead of crisp?
The iron likely was not fully preheated, or the waffles sat stacked on a plate for too long. Make sure the iron is hot enough that a drop of water skitters across the surface, and keep cooked waffles on a rack in a warm oven until serving.
Can I make the batter the night before?
Yes. Whisk everything together, cover, and refrigerate for up to 12 hours. In the morning, give it a gentle stir and expect the batter to thicken slightly. You may need to add a tablespoon or two of milk to loosen it back to the original consistency.
How do I reheat frozen waffles without a toaster?
Place them on a baking sheet in a 350°F (175°C) oven directly from frozen for about 8 minutes, flipping once halfway. The microwave will make them limp, so skip it if you want any crispness back.
Can I use this batter for pancakes?
The batter is a bit thinner than ideal pancake batter, so you will get wide, thin pancakes. You can try adding an extra 2 tablespoons of flour blend to thicken it up, but the texture will not be quite as fluffy as a dedicated pancake recipe.
Gluten Free Waffles Recipe
Ingredients
Method
- Preheat the waffle iron to medium-high. Whisk the flour blend, sugar, baking powder, and salt in a large bowl.
- Add the eggs, milk, oil, and vanilla to the same bowl and whisk until smooth.
- Let the batter rest 5 minutes while the iron finishes heating, then stir gently.
- Grease the hot iron, ladle in batter, and cook until deep golden and steaming slows, 4 to 5 minutes per waffle.
- Serve immediately on plates with your favorite toppings, or keep warm on a rack in a 200°F oven.
Notes
