
Flaky Gluten-Free Scones That Actually Taste Like Scones

These gluten-free scones are flaky and tender, with golden craggy tops and a buttery crumb that rivals any wheat version. The dough comes together in one bowl and bakes in about 18 minutes.
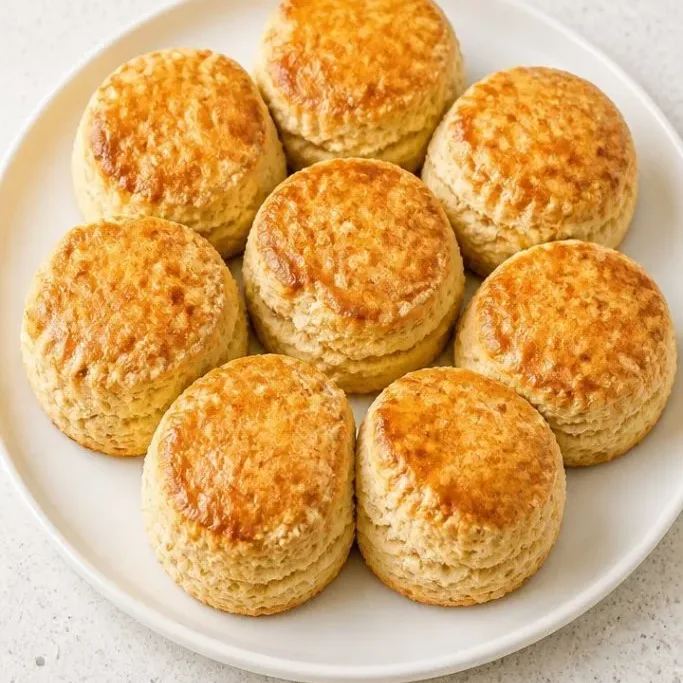
A good gluten-free flour blend and cold butter are the only real secrets. You can have warm scones on the table in under half an hour, ready for jam, cream, or just a swipe of salted butter.
Why These Gluten-Free Scones Work
Gluten-free baking can be a gamble, but these scones are reliably good. The dough uses a dairy-forward approach, relying on buttermilk and cream to add the tenderness that gluten would normally provide.
I’ve lost count of how many batches I’ve made, and they always bake up tall and layered rather than flat and crumbly. The flavor is rich and buttery, not overly sweet, so they work for breakfast or alongside a bowl of soup.
The crumb stays moist for a day, and a quick reheat in the oven brings back the crisp edges. That alone has kept this recipe in my rotation.
Ingredients
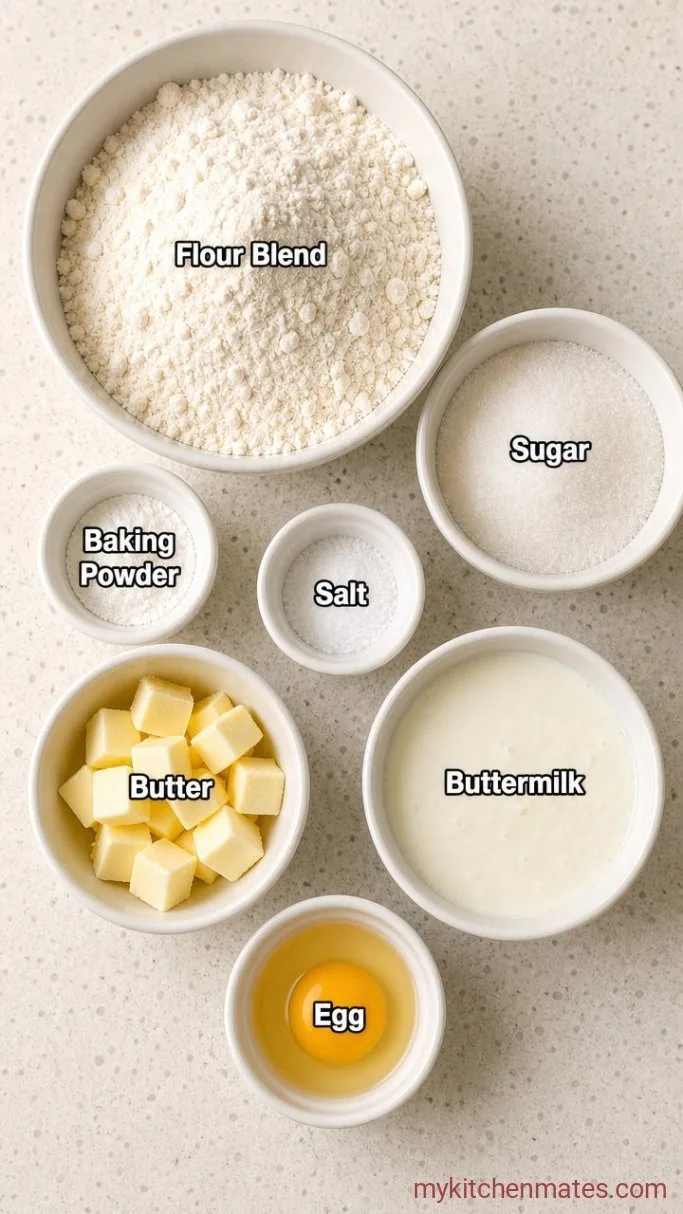
- 2 cups (280g) 1-to-1 gluten-free flour blend (with xanthan gum): weighing it gives the most consistent texture; King Arthur Measure for Measure and Bob’s Red Mill 1-to-1 both work well here.
- 1/4 cup (50g) granulated sugar: adds just enough sweetness; reduce to 2 tbsp for a more savory scone.
- 1 tbsp baking powder: double-acting baking powder ensures a good rise even without gluten.
- 1/2 tsp fine sea salt
- 1/2 cup (113g) cold unsalted butter, cut into small cubes: cold butter is what creates the flaky layers.
- 3/4 cup (180ml) cold buttermilk, plus extra for brushing: the acidity helps tenderize the crumb; whole milk with 1 tsp white vinegar works in a pinch.
- 1 large egg, cold: gives the scones structure and a little extra richness.
Variations / Substitutions
- Dairy-Free: swap in a plant-based butter stick and use oat milk soured with 1 tsp lemon juice instead of buttermilk.
- Add-Ins: fold in 1/2 cup fresh blueberries, dark chocolate chips, or dried currants after the wet ingredients are mixed in.
- Savory Scones: reduce the sugar to 1 tbsp, and stir in 1/2 cup shredded sharp cheddar and 2 tbsp finely chopped chives alongside the buttermilk.
- Glaze: whisk together 1/2 cup powdered sugar with 1 to 2 tbsp milk for a quick drizzle once the scones have cooled.
Fluffy Gluten Free Buttermilk Pancakes go perfectly with these scones for an easy brunch spread.
How to Make Gluten-Free Scones
Step 1: Whisk the Dry Ingredients

Preheat the oven to 400°F (200°C) and line a baking sheet with parchment paper. In a large bowl, whisk together the 2 cups (280g) gluten-free flour blend, 1/4 cup (50g) sugar, 1 tbsp baking powder, and 1/2 tsp salt until everything is evenly distributed.
Gluten-free flour blends can settle and compact in the bag, so giving the dry mix a good whisk prevents dense pockets of flour or leavening later on. You should see no streaks of baking powder.
Step 2: Rub in the Butter
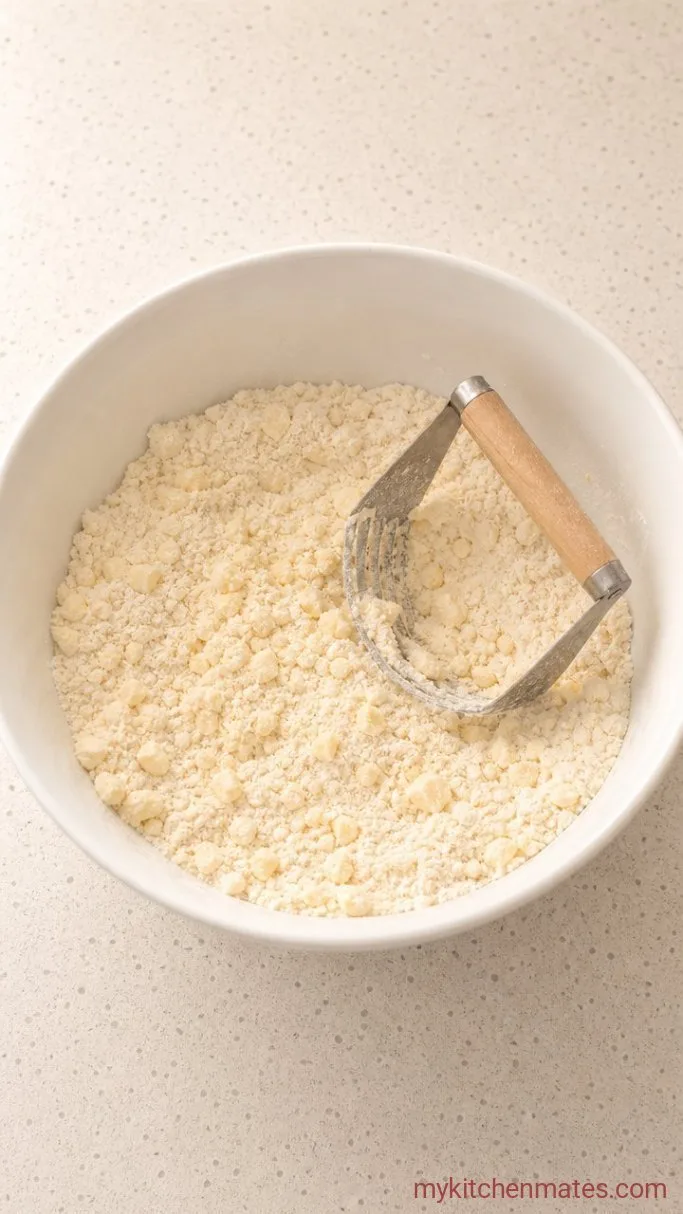
Add the 1/2 cup (113g) cold butter cubes to the bowl. Use your fingertips or a pastry blender to cut the butter into the dry ingredients, working quickly until the mixture looks like coarse crumbs with a few pea-sized pieces of butter still visible, about 3 minutes.
Those uneven bits of butter are what melt in the oven and create the flaky layers. If your hands start to warm up, run them under cold water and dry them well before continuing so the butter stays firm.
Step 3: Stir in the Wet Ingredients
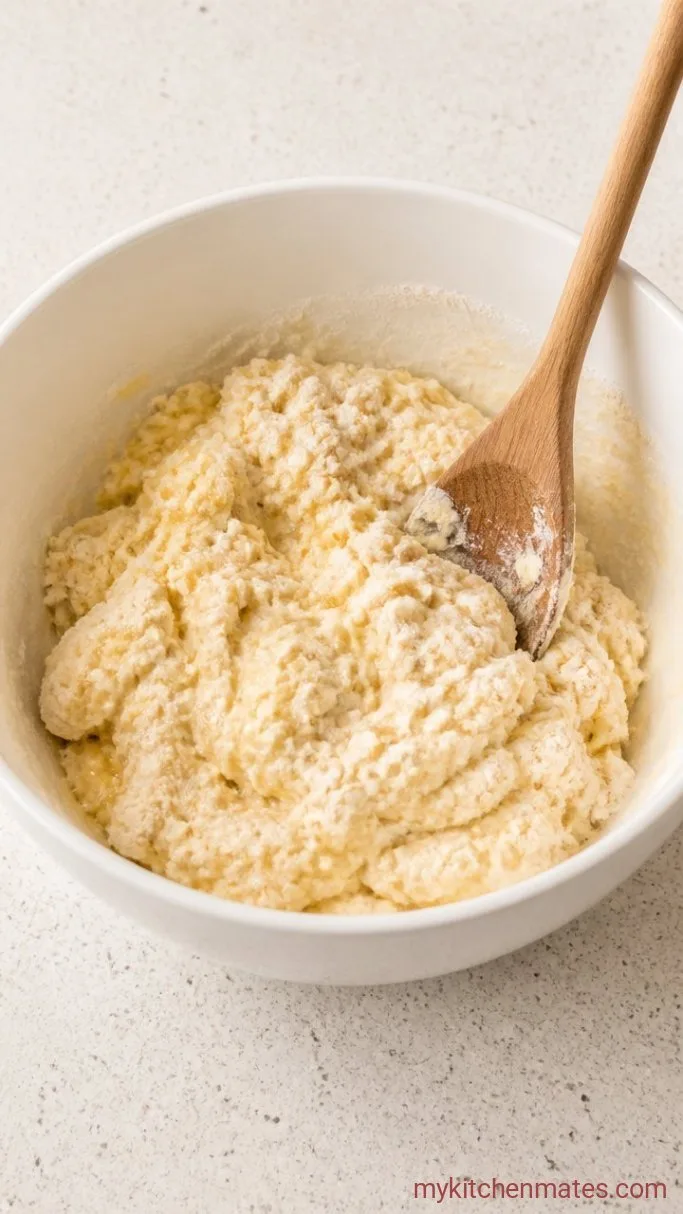
Pour the 3/4 cup (180ml) cold buttermilk and the 1 cold egg into a small bowl or liquid measuring cup and whisk them together. Pour the mixture all at once into the flour mixture and stir with a fork or a flexible spatula just until a shaggy dough forms and no dry pockets remain, about 30 seconds of gentle mixing.
Gluten-free dough will look stickier than wheat dough, and that’s normal. Resist the urge to add more flour now. Too much extra flour makes the scones dry and dense rather than tender.
Step 4: Shape and Bake the Scones
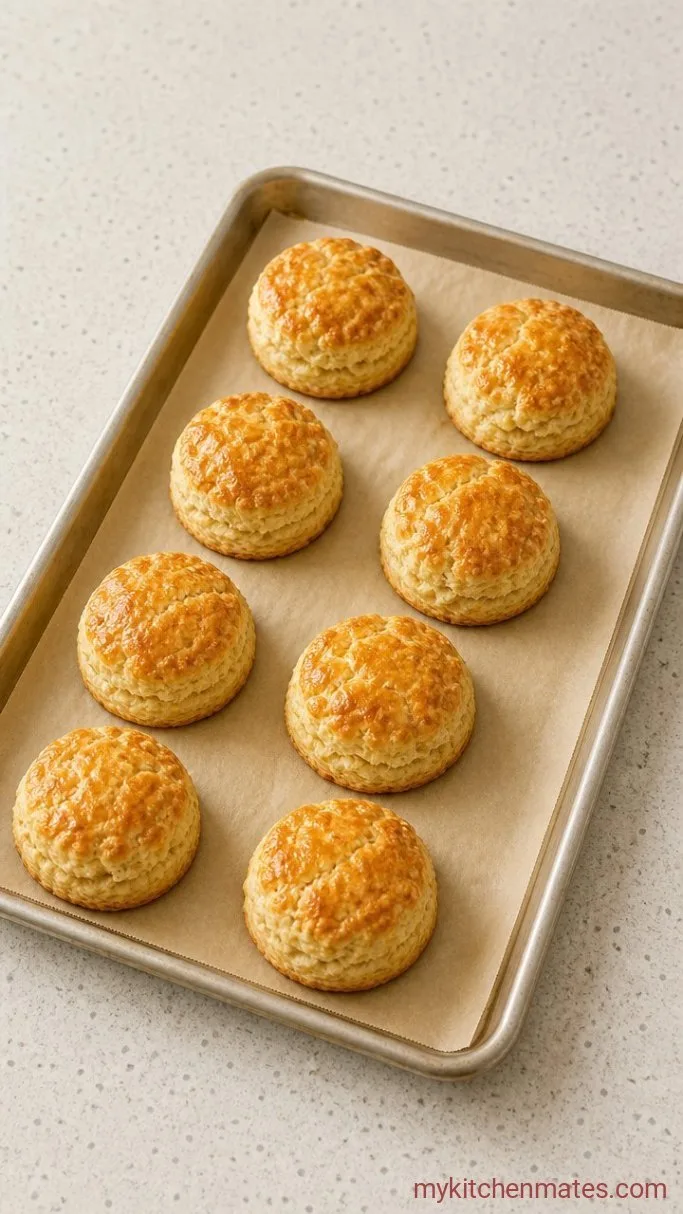
Turn the dough out onto a surface lightly dusted with more gluten-free flour. Gently pat it into a 1-inch thick round that measures roughly 7 inches across. Use a sharp knife or bench scraper to cut the round into 8 wedges, then transfer them to the prepared baking sheet, spacing them about 2 inches apart. Brush the tops lightly with the extra buttermilk.
Bake for 18 to 20 minutes, until the tops are deeply golden and the edges look set and dry. Rotate the pan halfway through baking so they color evenly.
If the dough is so sticky it’s hard to handle, dust your hands and the bench scraper lightly with flour. Try to work with a light touch. Overworking the dough here will make the scones tough rather than flaky.
Step 5: Cool and Serve
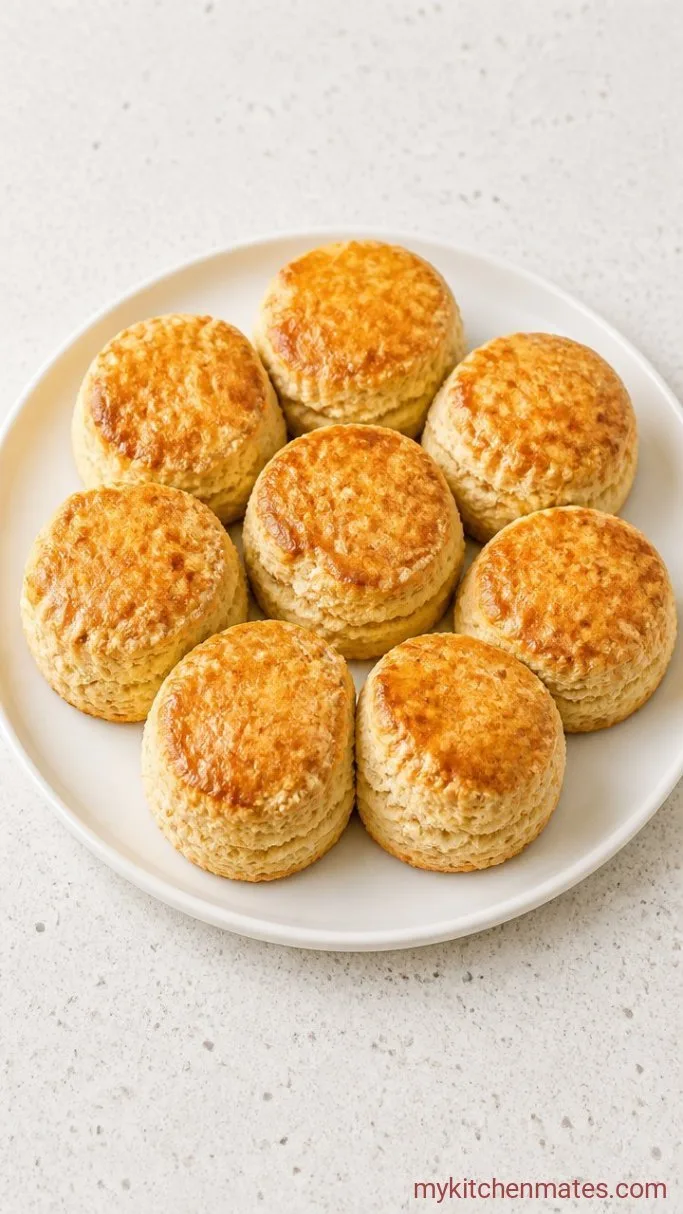
Let the scones cool on the baking sheet for 5 minutes, then transfer them to a wire rack. Serve them warm, split open with a pat of butter, or let them cool to room temperature if you’re planning to store them.
The tops will be crisp and golden right out of the oven, and the crumb inside will be tender and steamy when you break one open. A little salted butter melting into the warm layers is hard to beat.
Tips for Flaky Gluten-Free Scones
- Start with cold everything: cold butter, cold egg, and cold buttermilk. Warm fat blends into the flour instead of creating steam pockets, so you lose the flakiness.
- Weigh your flour if you can: gluten-free blends vary wildly by volume. Using a scale with the gram measurement above gives you the same dough every time.
- Don’t twist the cutter if you use a round biscuit cutter: if you prefer round scones, press straight down without twisting. A twisting motion seals the edges and can prevent the scones from rising fully.
- A bench scraper is your best friend here: it helps lift the sticky dough without adding extra flour and makes clean cuts through the round.
Bake times adjust with thickness:
| Wedge Thickness | Bake Time at 400°F (200°C) |
|---|---|
| 3/4 inch | 15 to 17 minutes |
| 1 inch | 18 to 20 minutes |
| 1 1/4 inch | 22 to 24 minutes |
Storing Leftover Scones
- Refrigerate: store fully cooled scones in an airtight container at room temperature for up to 2 days, or in the refrigerator for up to 5 days. The fridge keeps them moist but can soften the crust.
- Reheating: warm refrigerated scones in a 350°F (175°C) oven for 5 to 7 minutes to bring back some crispness. A toaster oven works well too.
- Freeze baked scones: wrap each one individually and freeze for up to a month. Thaw at room temperature and reheat as above.
What to Serve with Gluten-Free Scones
For a classic cream tea, pile on clotted cream and good strawberry jam. The richness of the cream plays off the buttery crumb, and the jam’s acidity cuts through it all. A savory soup, like a roasted tomato or curried butternut squash, makes a great lunch pairing because the scones soak up the broth without falling apart.
Frequently Asked Questions
Can I use a gluten-free flour blend without xanthan gum?
Yes, but you’ll need to add 1/2 teaspoon of xanthan gum to the dry ingredients. Without it, the scones tend to crumble and won’t hold their shape as well.
Why did my scones spread into flat discs?
The butter or the buttermilk probably got too warm before baking. Pop the cut scones in the fridge for 10 minutes before they go into the oven to firm up the butter.
Can I freeze the unbaked dough?
Yes. Cut the scones, place them on the baking sheet, and freeze until solid. Transfer to a freezer bag. Bake from frozen at the same temperature, adding 3 to 5 minutes to the bake time.
My dough was so sticky I couldn’t shape it. What went wrong?
A little stickiness is normal, but if it’s unworkable, the flour blend may not have enough starch. Chill the dough for 15 minutes and use a well-floured bench scraper to handle it.
Can I make these with a dairy-free butter?
A good plant-based butter stick works, and the scones will still be tender. Choose one with a high fat content and keep it as cold as you would regular butter.
Gluten-Free Scones Recipe
Ingredients
Method
- Whisk the flour blend, sugar, baking powder, and salt together in a large bowl.
- Rub the cold butter into the dry ingredients until the mixture looks like coarse crumbs with some pea-sized butter pieces.
- Stir the cold buttermilk and egg together, then pour into the flour mixture and stir just until a shaggy dough forms.
- Turn the dough onto a floured surface, pat into a 1-inch thick round, cut into 8 wedges, and place on a parchment-lined baking sheet. Brush with extra buttermilk and bake at 400°F (200°C) for 18 to 20 minutes until deeply golden.
- Cool on the baking sheet for 5 minutes, then transfer to a wire rack and serve warm.
Notes
