
Moist Gluten Free Red Velvet Cake with Cream Cheese Frosting

This gluten free red velvet cake is tender, moist, and has that classic tangy cocoa flavor with a velvety crumb. No one will guess it’s gluten free because there’s no grit or dryness, just a rich, red crumb and a thick swoop of cream cheese frosting.
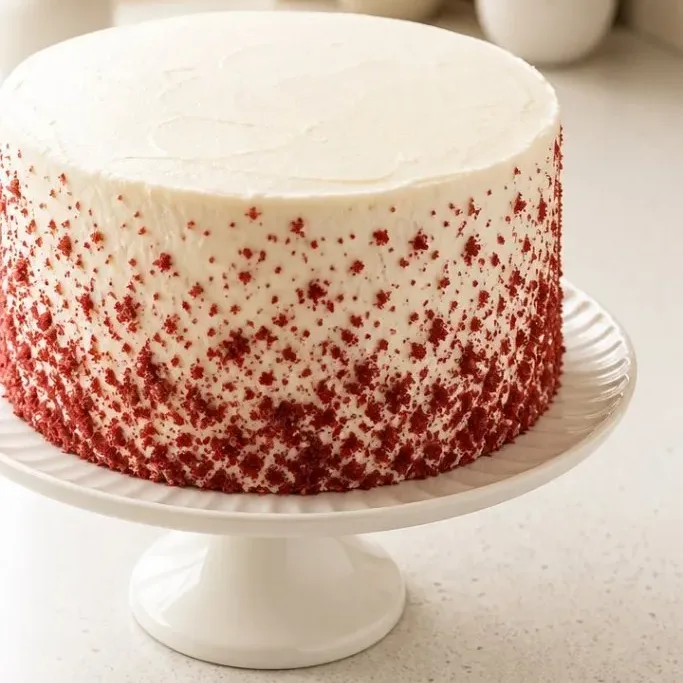
It’s the cake I turn to for birthdays, Valentine’s Day, or any celebration when someone needs a gluten free treat that still feels special. Best part? It’s a straightforward layer cake that bakes up evenly every time.
Why This Gluten Free Red Velvet Stays Moist
Most gluten free red velvet cakes end up dry or crumbly, so I built this one to stay soft for days. Buttermilk and a touch of vinegar keep the crumb tender, while the right gluten free flour blend gives structure without that sandy aftertaste.
The frosting is a classic cream cheese buttercream, tangy and just sweet enough to balance the cocoa. Together they hit every note you want in a red velvet cake, and slicing into it always gets a reaction.
Ingredients
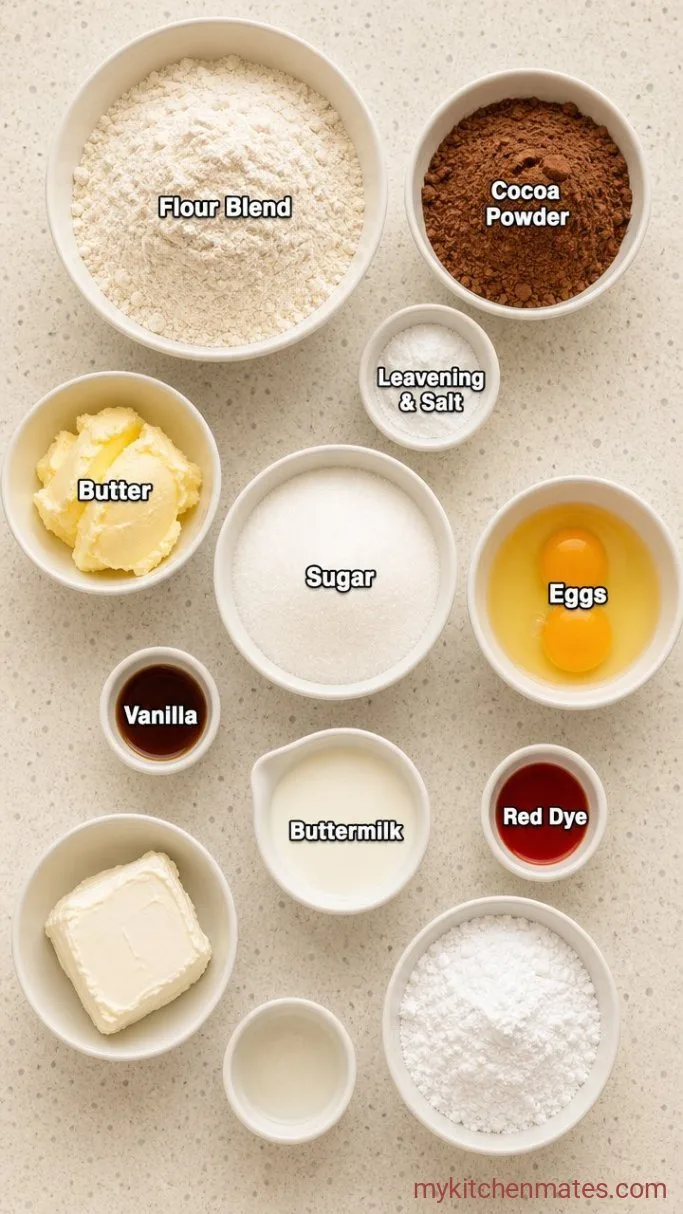
- 1 1/2 cups gluten free all-purpose flour blend (with xanthan gum): I use a 1:1 blend like Bob’s Red Mill for the most reliable texture.
- 2 tbsp cocoa powder: natural unsweetened, not Dutch process, for that subtle chocolate note.
- 1 tsp baking powder
- 1/2 tsp baking soda
- 1/2 tsp salt
- 1/2 cup unsalted butter, softened
- 3/4 cup granulated sugar
- 2 large eggs, at room temperature
- 1 tsp vanilla extract
- 1 tbsp red food coloring (liquid): use gel for a more concentrated color, or see Variations for natural options.
- 1 cup buttermilk, at room temperature
- 1 tsp white vinegar
For the Frosting
- 8 oz cream cheese, cold block form: full-fat, straight from the fridge so it whips up thick.
- 1/2 cup unsalted butter, softened
- 3 cups powdered sugar: sifted if lumpy.
- 1 tsp vanilla extract
- Pinch of salt
Variations / Substitutions
- Dairy free: use a vegan butter and cream cheese alternative, and replace buttermilk with 1 cup unsweetened almond milk mixed with 1 tbsp lemon juice. The cake will be a bit less rich but still delicious.
- Natural red coloring: substitute 1 tbsp beet powder and 1 extra tbsp buttermilk for the food coloring; the color will be a muted pinky-red, not bright crimson.
- Cocoa swap: for a deeper chocolate flavor, use 3 tbsp cocoa powder and reduce flour by 1 tbsp.
Gluten Free Mug Cake is another dessert you’d probably love if you enjoy this cake.
How to Make Gluten Free Red Velvet Cake
Step 1: Whisk the Dry Ingredients
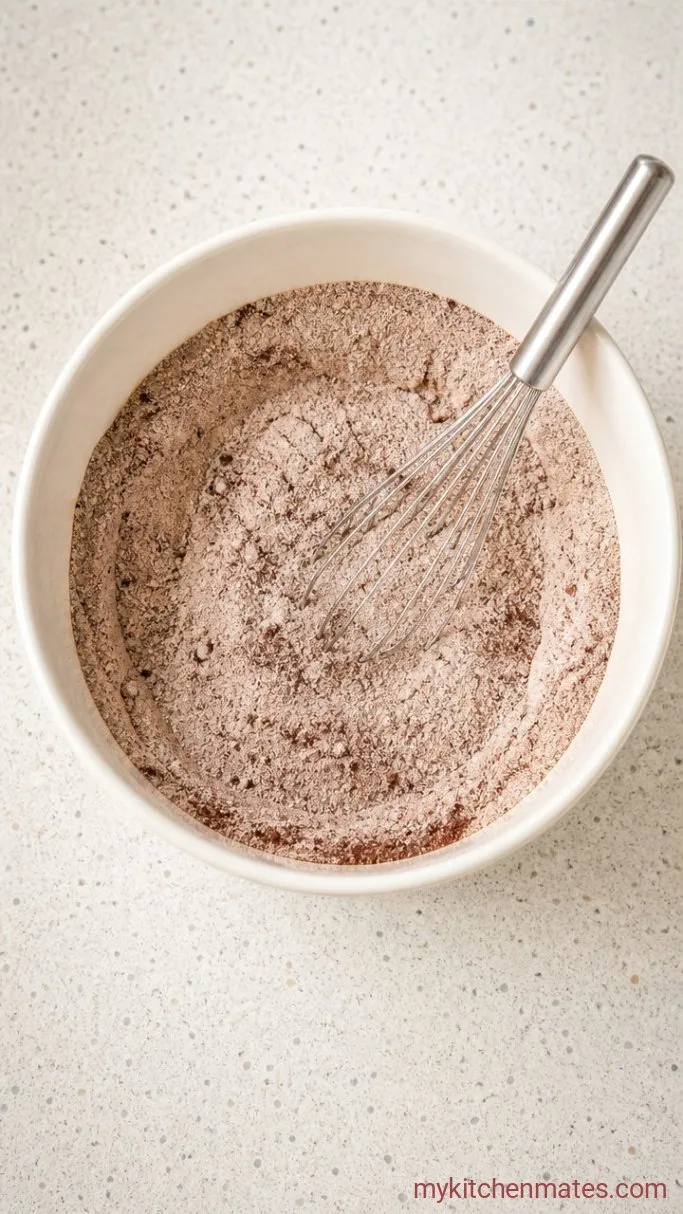
Preheat the oven to 350°F (175°C). Grease two 8-inch round cake pans and line the bottoms with parchment. In a medium bowl, whisk together the 1 1/2 cups gluten free flour blend, 2 tbsp cocoa powder, 1 tsp baking powder, 1/2 tsp baking soda, and 1/2 tsp salt until no lumps remain.
The cocoa will be speckled through the flour, which is fine—just make sure the leaveners are evenly distributed so the cake rises without tunnels.
Gluten free flours can clump, so whisking for a full 30 seconds is worth it. Set the bowl aside while you cream the butter.
Step 2: Cream the Butter and Sugar
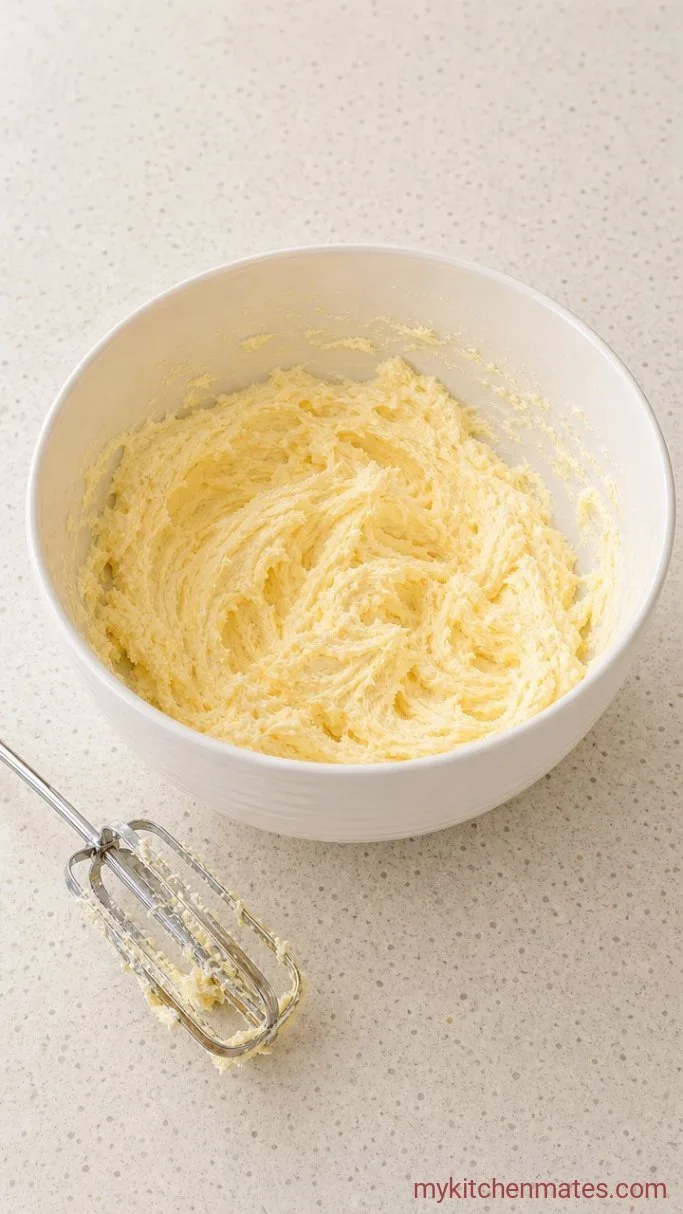
In a large bowl or the bowl of a stand mixer, beat 1/2 cup softened butter and 3/4 cup granulated sugar on medium speed until pale and fluffy, about 3 minutes. Scrape down the bowl.
The mixture will lighten in color and look airy; you want that to trap air for a tender crumb.
If the butter is too cold, it won’t cream well, so let it sit out for an hour before starting.
Step 3: Combine the Batter
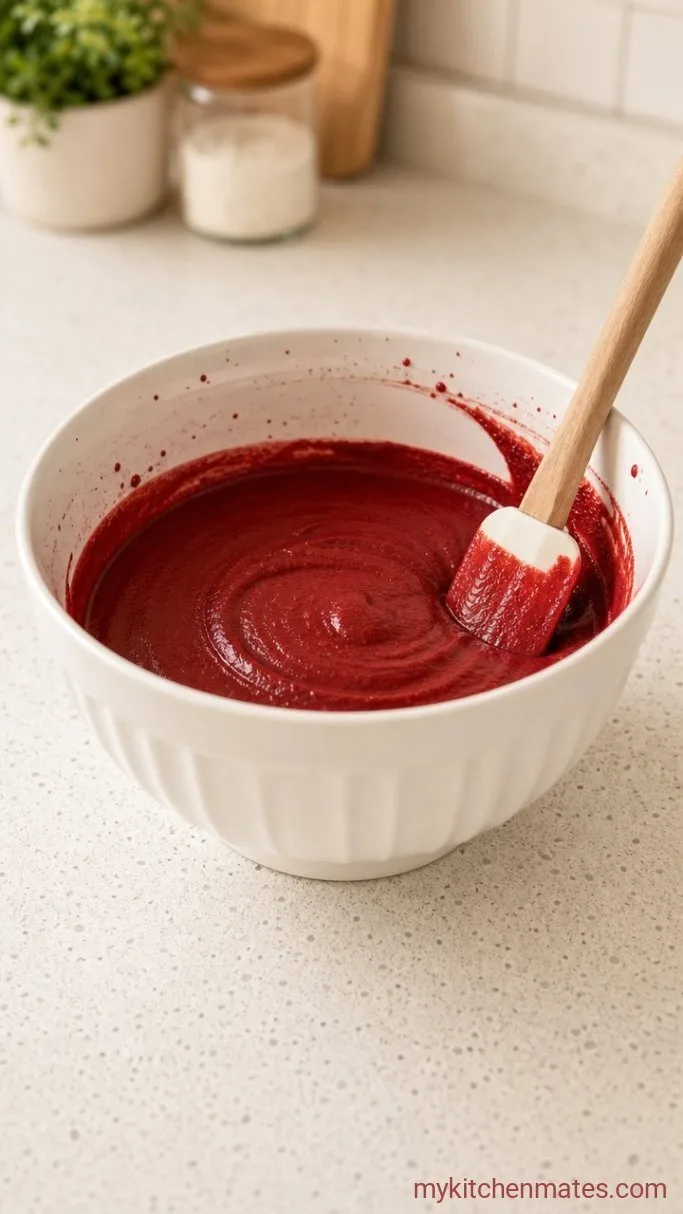
Add the 2 eggs one at a time, beating well after each. Mix in 1 tsp vanilla and 1 tbsp red food coloring. With the mixer on low, add a third of the dry mix, then half the buttermilk, and repeat, ending with dry mix. Stir in 1 tsp white vinegar just until combined; don’t overmix.
The batter will be a vivid red and thick but pourable. A few small streaks of flour are okay right before you add the vinegar, because the vinegar will thin it slightly and smooth it out.
Overmixing develops gluten in wheat flour, but here overmixing can make gluten free batters gummy, so stop as soon as the flour disappears.
Step 4: Bake the Layers
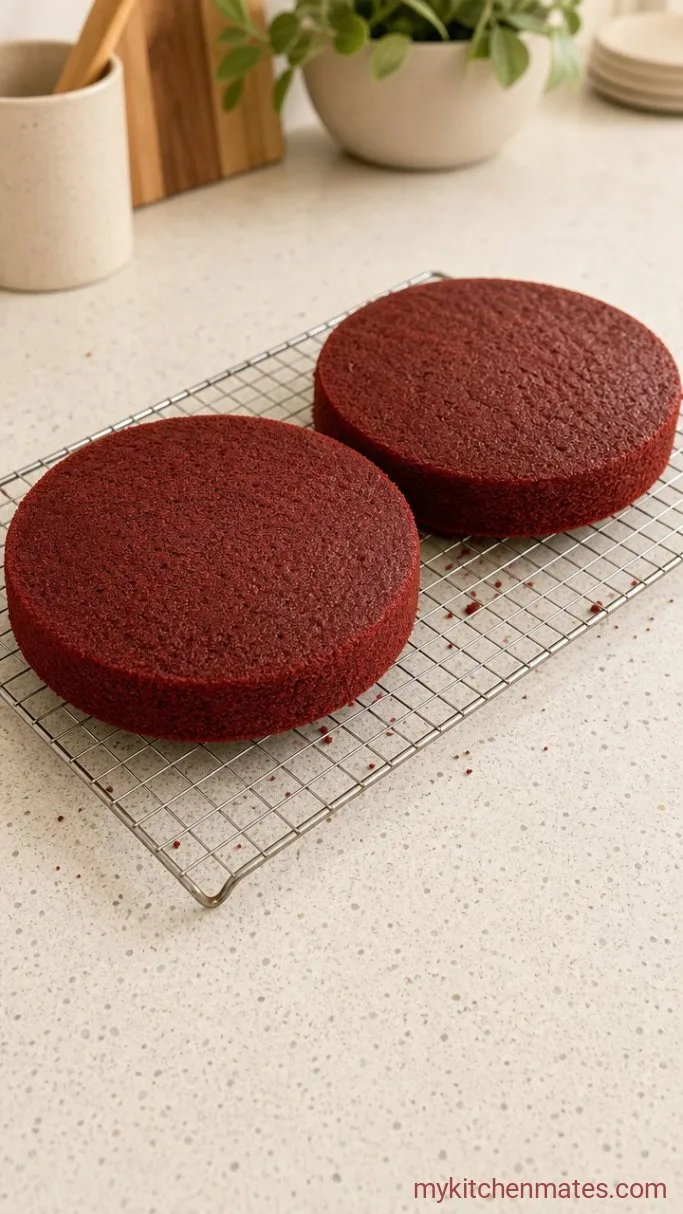
Divide the batter evenly between the prepared pans and smooth the tops. Bake for 25 to 30 minutes, until a toothpick inserted in the center comes out with just a few moist crumbs and the cakes spring back lightly when touched.
The edges will have pulled slightly from the sides and the tops will be flat, not domed, which is perfect for stacking.
Rotate the pans halfway through if your oven has hot spots. Gluten free cakes are more sensitive to uneven heat, so an extra 3 minutes could make a difference between moist and dry.
Step 5: Whip the Cream Cheese Frosting
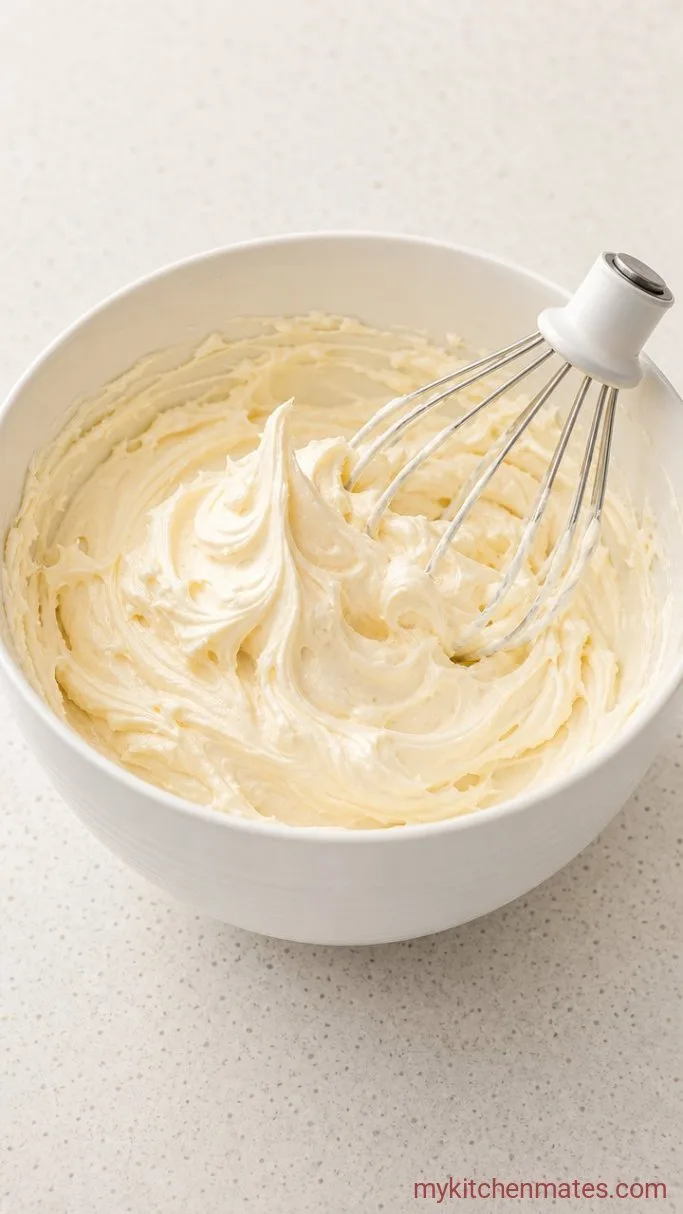
While the cakes cool, make the frosting. In a clean bowl, beat 8 oz cold cream cheese and 1/2 cup softened butter on medium speed until smooth and no lumps remain, about 2 minutes. Gradually beat in 3 cups powdered sugar, 1 tsp vanilla, and a pinch of salt, then increase speed to high and whip for 1 minute until fluffy.
The frosting should be thick and spreadable, holding its shape when you lift the beaters. If it’s too soft, chill it for 15 minutes.
Cold cream cheese gives body to the frosting without having to add loads of extra sugar. The pinch of salt balances the sweetness.
Step 6: Frost and Assemble the Cake
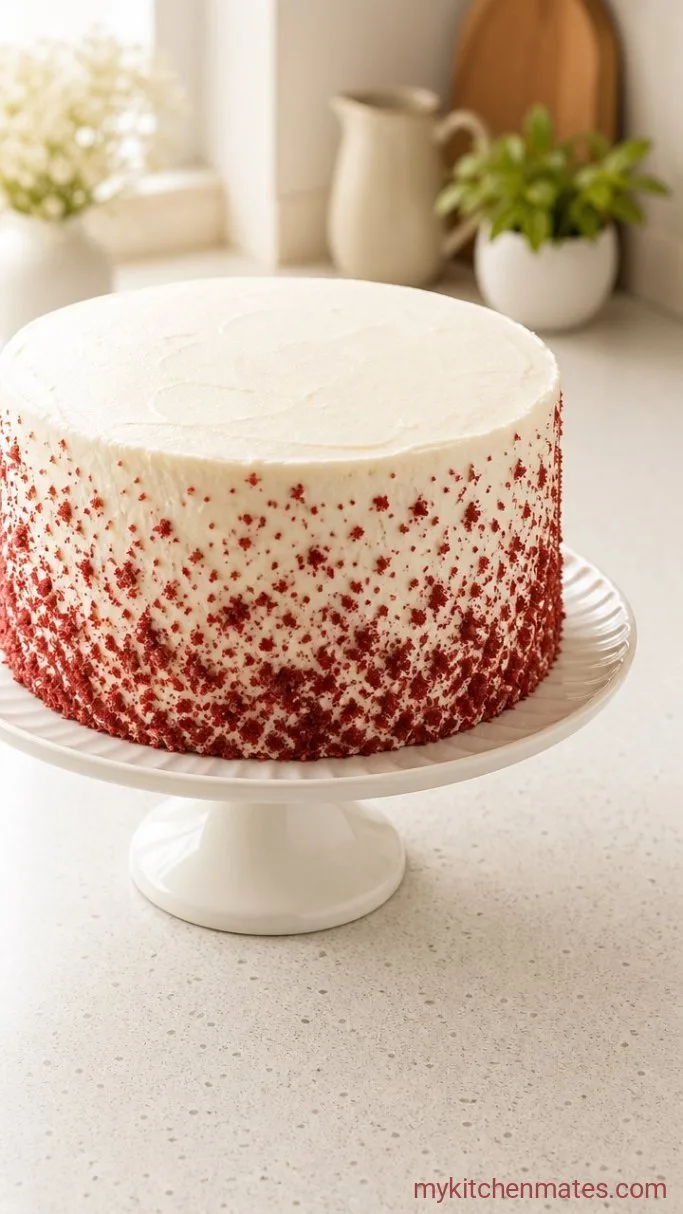
Once the cakes are completely cool, place one layer on a serving plate. Spread a generous cup of frosting over the top, then add the second layer upside down so the flat bottom is on top for a clean finish. Cover the top and sides with the remaining frosting, swirling it decoratively.
A bench scraper or offset spatula helps smooth the sides, but even a messy swoop looks homey and inviting. Scatter a few red sprinkles or cake crumbs if you like.
Slice and serve at room temperature, and watch the clean red crumb get a wow. The cake stays moist even the next day.
Tips for the Best Gluten Free Red Velvet Cake
- Let the ingredients come to room temperature: eggs, buttermilk, and butter. This helps them emulsify and traps air, which is especially important for gluten free batters.
- Measure your flour blend by spooning it into the cup and leveling. Scooping directly from the bag compacts it and leads to a dense, dry cake.
- Don’t skip the vinegar. It reacts with the baking soda to create lift and adds that signature red velvet tang, even in small amount.
- If you want extra red hue in the cake layers, add 1 teaspoon of liquid red food coloring to the frosting as well and swirl gently for a marbled look (optional).
Bake times by pan size; a toothpick test is more reliable than the timer.
| Pan Size | Bake Time | Notes |
|---|---|---|
| 8-inch rounds | 25-30 mins | Standard recipe |
| 9-inch rounds | 22-27 mins | Thinner layers |
| Cupcakes | 18-22 mins | Fills about 18 |
Keeping Your Cake Fresh
- Refrigerate: Store leftover cake in an airtight container in the fridge for up to 5 days. The frosting seals in moisture, so it won’t dry out.
- Freeze: Wrap cooled, unfrosted cake layers in plastic wrap and freeze for up to 2 months. Thaw overnight in the fridge before frosting.
- Serve Cold or Room Temp: The cake is wonderful straight from the fridge, but let it sit at room temperature for 30 minutes for the softest crumb.
Frequently Asked Questions
Can I bake this as a sheet cake?
Yes, pour the batter into a greased 9×13-inch pan and bake at 350°F for 30-35 minutes. The center should spring back and a toothpick comes out clean.
Can I freeze the whole frosted cake?
It’s not ideal; the cream cheese frosting can become watery when thawed. Freeze the unfrosted layers and frost after thawing for best texture.
My cake sank in the middle, what happened?
Usually that’s from opening the oven door too early or underbaking. Gluten free cakes need the full bake time and a hot oven to set the structure, so rely on the toothpick test.
What frosting can I use instead of cream cheese?
A Swiss meringue buttercream works well and holds up at room temperature longer, though it’s less tangy. Or try a vanilla bean buttercream for a sweeter option.
Moist Gluten Free Red Velvet Cake with Cream Cheese Frosting Recipe
Ingredients
Method
- Preheat oven to 350°F. Grease two 8-inch round pans, line with parchment. Whisk flour, cocoa, baking powder, baking soda, and salt.
- Beat butter and sugar until fluffy. Add eggs, vanilla, and food coloring; mix well.
- Alternate adding dry ingredients and buttermilk to the butter mixture, ending with dry. Stir in vinegar just until combined.
- Divide batter into pans. Bake 25-30 minutes until a toothpick has moist crumbs. Cool completely.
- For frosting, beat cream cheese and butter smooth. Gradually beat in powdered sugar, vanilla, and salt; whip until fluffy.
- Place one cake layer on a plate, spread frosting, top with second layer. Frost top and sides. Slice and serve.
Notes
