
5-Minute Gluten Free Mug Cake

A warm, fudgy single-serve chocolate cake that comes together in a mug in about 5 minutes. No fancy ingredients, no science experiment, just a reliable gluten free dessert when the craving hits.
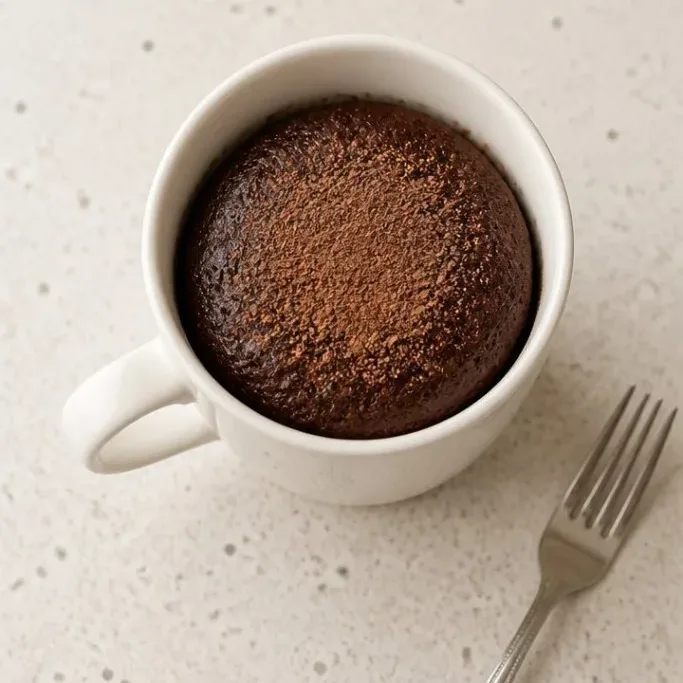
Why This Mug Cake Always Works
Most gluten free mug cakes turn out gummy or dry before you finish half of it. This one stays moist and tender because the fat and liquid are balanced with a gluten free flour blend that already has xanthan gum, so you get a real cake crumb instead of a rubbery puck.
It also uses a small amount of beaten egg to give it just enough lift without that overwhelming eggy taste. The result is rich, deeply chocolaty, and exactly what you want to eat straight out of the cup with a scoop of cold ice cream on top.
Ingredients

- 3 tbsp gluten free all-purpose flour: a blend with xanthan gum works best
- 2 tbsp granulated sugar: use any white or light brown sugar
- 2 tbsp unsweetened cocoa powder: natural or Dutch process
- 1/4 tsp baking powder: check that it is fresh
- 1 pinch salt: brings out the chocolate
- 3 tbsp whole milk: any milk, dairy or nondairy, is fine
- 1 tbsp neutral oil: like avocado, canola, or melted coconut oil
- 1/4 tsp vanilla extract
- 1 tbsp beaten egg: crack an egg into a small bowl, beat it with a fork, and measure out 1 tablespoon, save the rest for another mug cake or scrambled eggs
Variations / Substitutions
- Dairy free: use your favorite unsweetened nondairy milk and stick with a neutral oil, the texture stays the same
- Extra rich: swap the oil for melted butter and the whole milk for half and half
- Mocha flavor: add 1/2 tsp instant espresso powder to the dry mix before stirring
- Add ins: fold 1 tablespoon of mini chocolate chips or a few raspberries into the batter right before microwaving
- Less sweet: reduce sugar to 1 1/2 tbsp and use a very dark cocoa powder
Gluten Free Pound Cake is another dessert you’d probably love if you enjoy this cake.
How to Make Gluten Free Mug Cake
Step 1: Mix the Dry Ingredients

Grab a microwave safe mug that holds at least 12 ounces so the batter has room to rise without spilling over. Toss the 3 tbsp gluten free flour, 2 tbsp sugar, 2 tbsp cocoa powder, 1/4 tsp baking powder, and pinch of salt directly into the mug. Stir everything together with a small whisk or a fork until the mixture looks uniform and no white streaks of flour remain, about 20 seconds.
Step 2: Stir in the Wet Ingredients
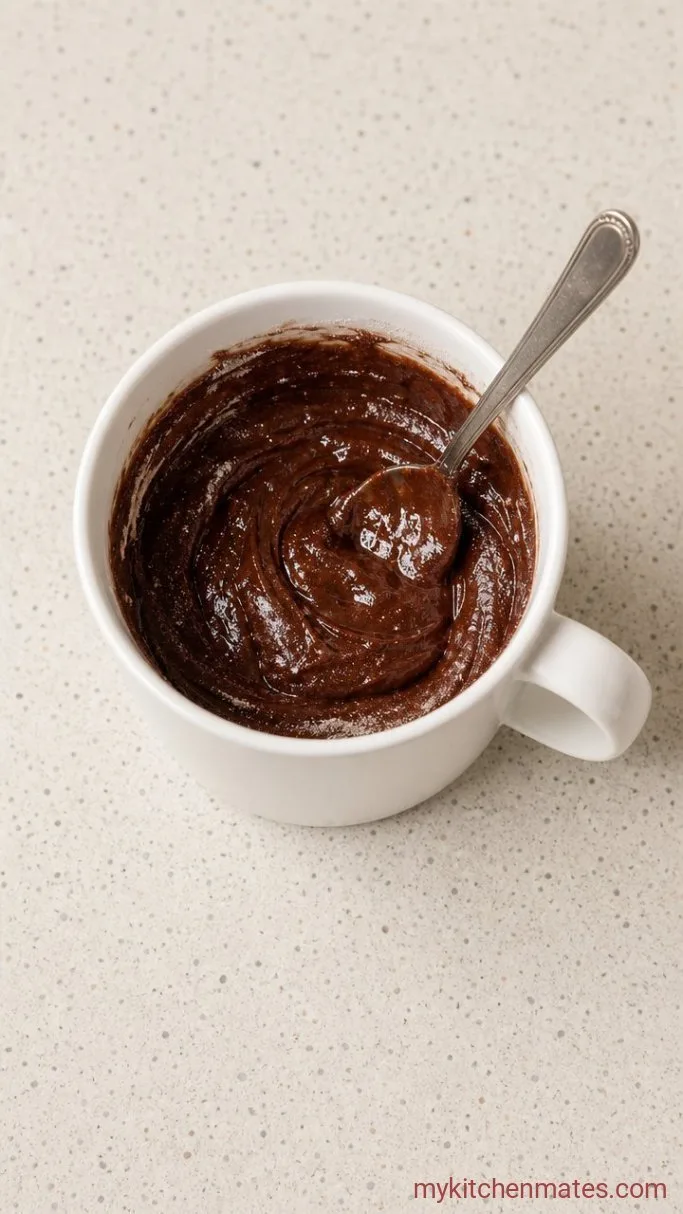
Pour the 3 tbsp milk, 1 tbsp oil, 1/4 tsp vanilla, and the 1 tbsp beaten egg into the dry mix. Stir vigorously with your fork, scraping the bottom and sides, until you have a thick, glossy batter with no dry pockets. A fully mixed batter will be the color of dark melted chocolate and will drip slowly off the fork.
Step 3: Microwave the Cake
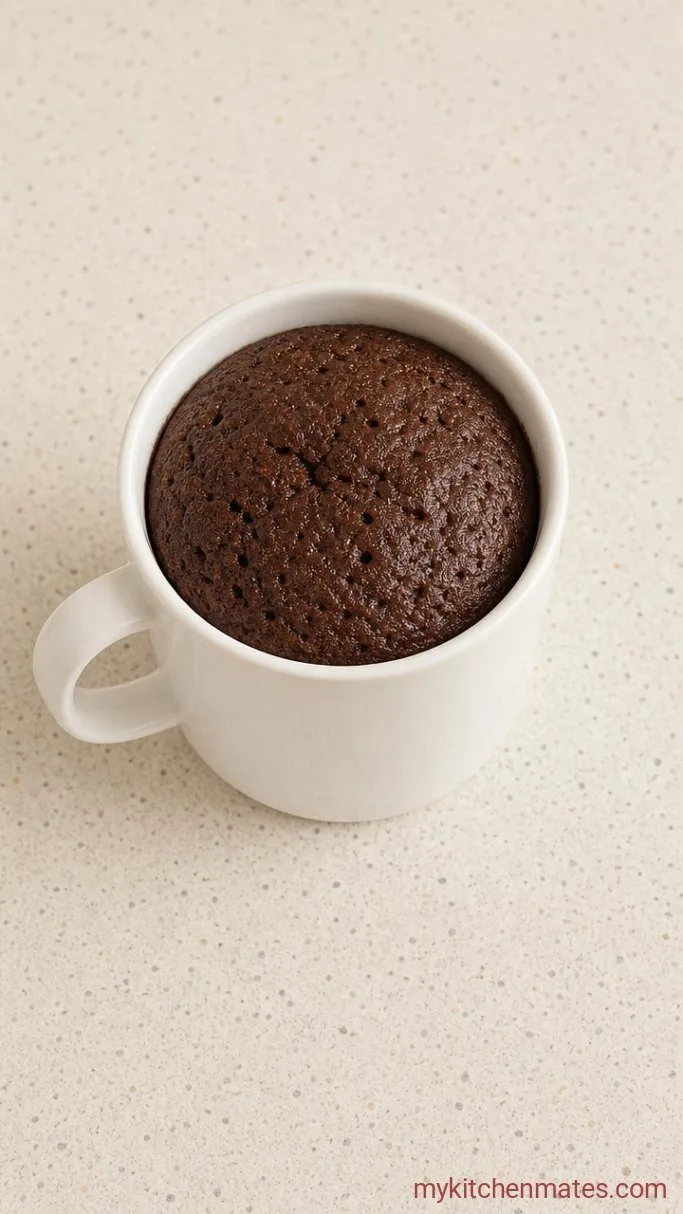
Place the mug in the center of the microwave and cook on high for 60 to 90 seconds. Start checking at the 60 second mark. The cake is done when the top looks set and the edges have just started to pull away from the mug. A tiny bit of moisture on the surface is okay, it will finish cooking from residual heat as it rests for 30 seconds.
Step 4: Top and Dig In
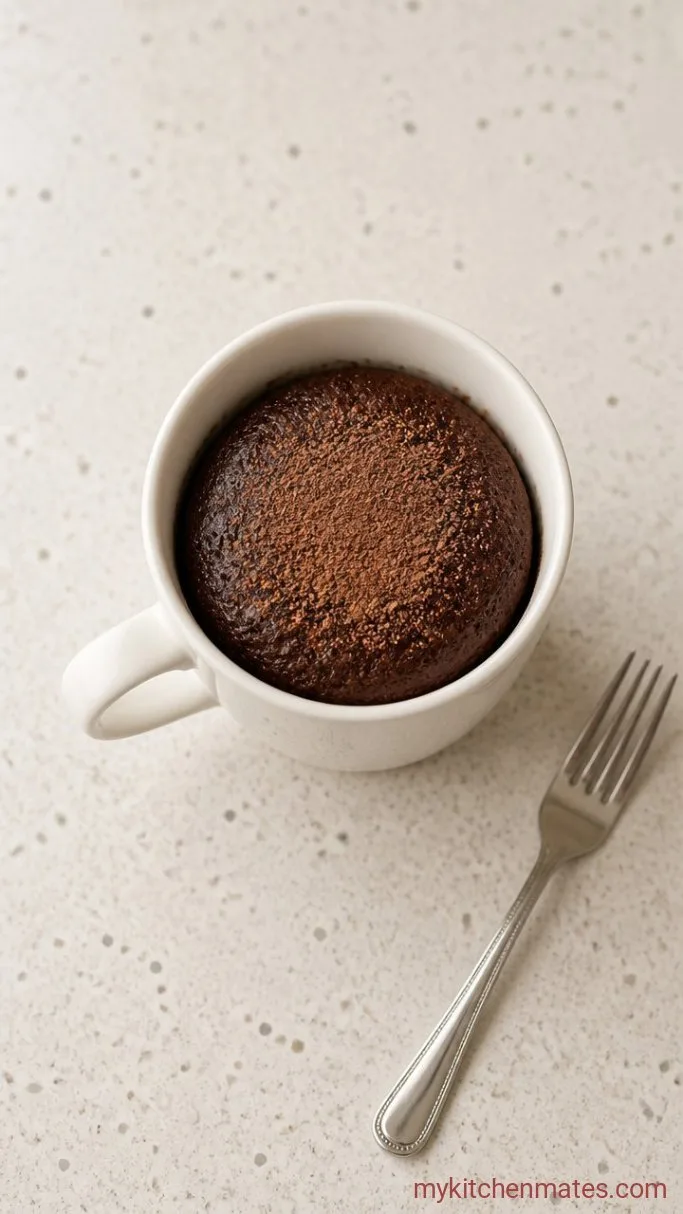
Let the mug cool for 1 minute because the handle can stay hot even when the cake is ready. Dust the top with a little powdered sugar or drop a small scoop of vanilla ice cream right into the mug. The ice cream will melt into the warm cake at the first spoonful, and that contrast of hot and cold is exactly the point.
A Few Tips Before You Microwave
- Use a wide, straight sided mug rather than a narrow tall one. The batter spreads out and cooks more evenly without a raw middle.
- Do not overmix once the wet ingredients go in. Stir just until no dry spots remain, overworking can give the cake a tough, dense texture.
- If you do not finish the mug in one sitting, cover it and leave at room temperature for an hour or two. It will not hold its texture well overnight, so plan to eat it fresh.
Microwave power varies, so use these times as a guide:
| Wattage | Cook Time | Notes |
|---|---|---|
| 700W | 90 seconds | May need an extra 10 seconds |
| 900W | 75-85 seconds | Start checking at 70 seconds |
| 110W | 60-75 seconds | The cake finishes quickly, check early |
| 120W+ | 50-65 seconds | Watch closely, overbaking is easy |
Frequently Asked Questions
Can I make this without egg?
Yes. Use 1 tablespoon unsweetened applesauce or a flax egg in place of the beaten egg. The cake will be slightly denser and more tender, but still very good.
Why did my mug cake overflow?
The mug was likely too small. Always use a mug that holds at least 12 fluid ounces to give the batter space to rise. A wide bowl shaped mug helps even more than a tall narrow one.
Can I bake this in a regular oven instead?
You can. Pour the batter into a small greased ramekin and bake at 350°F (175°C) for 12 to 14 minutes, until a toothpick comes out mostly clean. The texture will be a little more even than the microwave version.
What if my gluten free flour blend does not have xanthan gum?
The cake will be looser and more crumbly. If that happens, add 1/8 tsp xanthan gum to the dry ingredients to get a better structure, or choose a blend that already includes it.
Gluten Free Mug Cake Recipe
Ingredients
Method
- In a 12 ounce microwave safe mug, stir together the flour, sugar, cocoa, baking powder, and salt until fully combined.
- Pour in the milk, oil, vanilla, and beaten egg. Stir vigorously until a smooth, glossy batter forms with no dry spots.
- Microwave on high for 60 to 90 seconds, checking at 60 seconds. The cake is ready when the top is set and edges pull away from the mug.
- Let rest 1 minute, then dust with powdered sugar or top with ice cream and serve warm.
Notes
