
Soft and Chewy Gluten Free Peanut Butter Cookies

These gluten free peanut butter cookies need no specialty flour at all. They come out soft in the center with lightly crisp edges, and the dough comes together in one bowl in about ten minutes.
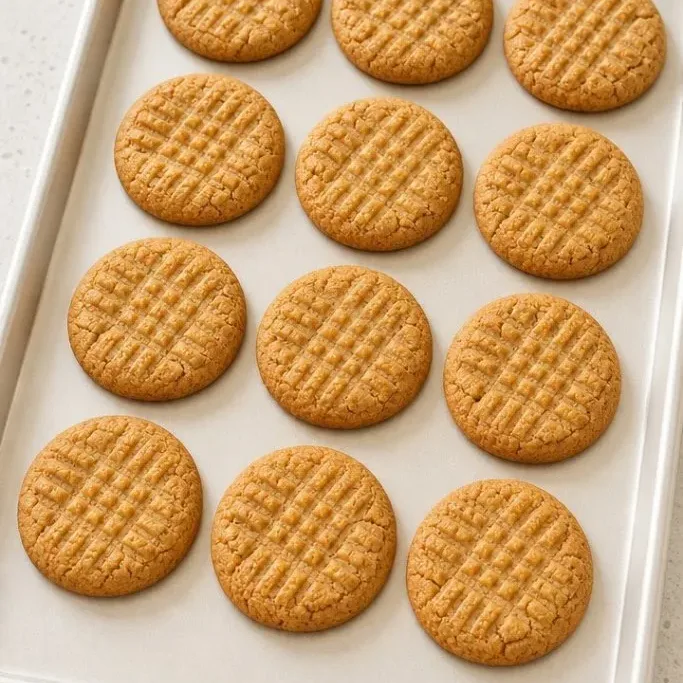
They’re the kind of cookie you can make on a Tuesday after work and still have time to enjoy a warm one before dinner. (You didn’t hear that from me.)
What Makes These Cookies So Good
The peanut butter brings all the richness and structure, so there is no flour to measure. Brown sugar keeps them chewy while a little granulated sugar helps the edges set and take on that crinkly look.
A quick crosshatch with a fork flattens the dough and gives them the classic bakery look. The middles stay tender, and the whole batch disappears fast.
Ingredients
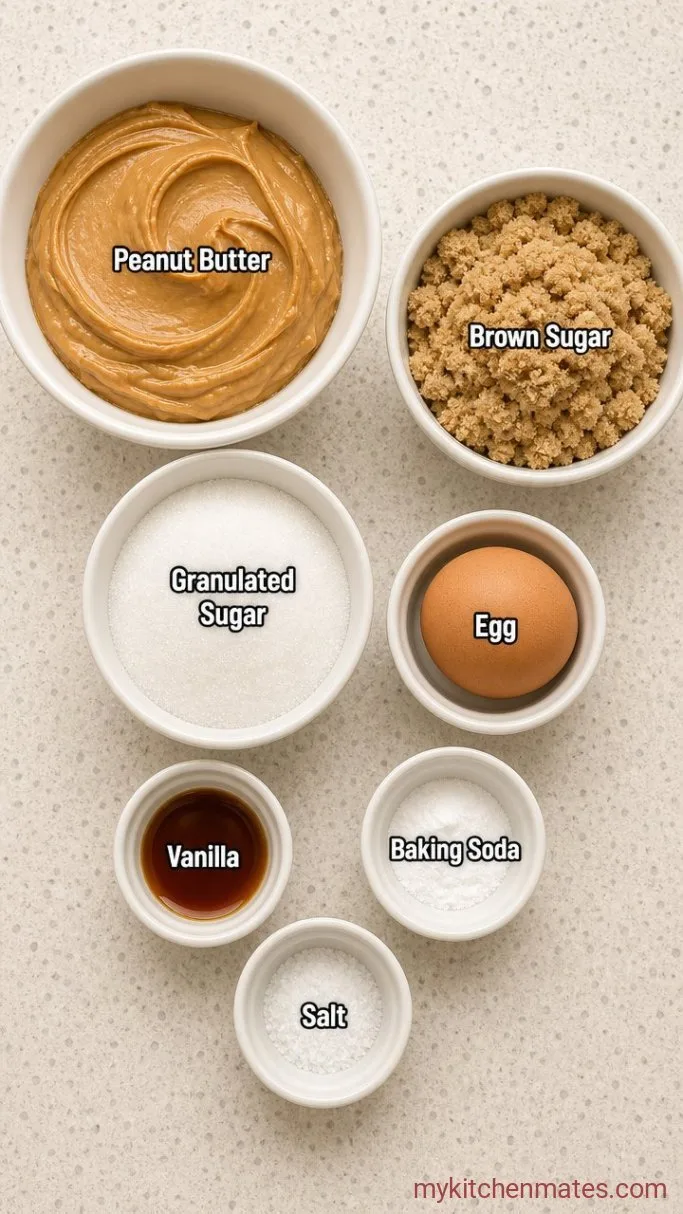
- 1 cup creamy peanut butter: the standard no-stir kind like Jif or Skippy works best here, not natural.
- 3/4 cup packed light brown sugar: gives the cookies their soft chew.
- 1/4 cup granulated sugar: helps the edges crisp up.
- 1 large egg: cold from the fridge is fine.
- 1 tsp vanilla extract: optional, but adds a cozy warmth.
- 1/2 tsp baking soda: lifts the dough for a softer middle.
- 1/4 tsp fine sea salt: skip this if your peanut butter is already salted.
Variations / Substitutions
- Crunchy peanut butter: swap it in for creamy if you want more texture in every bite.
- Chocolate chips: fold in 1/3 cup mini semisweet chips after the dough comes together.
- Dark brown sugar: use it in place of light brown for a deeper molasses note.
- Peanut-free: try creamy almond butter or sunflower seed butter. The dough will be a bit stickier, so chill for 20 minutes before scooping.
- Extra salt on top: a tiny flake of sea salt right after baking makes the peanut butter taste pop.
Gluten Free Cake Mix Cookies are another dessert you’d probably love if you enjoy these cookies.
How to Make Gluten Free Peanut Butter Cookies
Step 1: Mix the Wet Ingredients
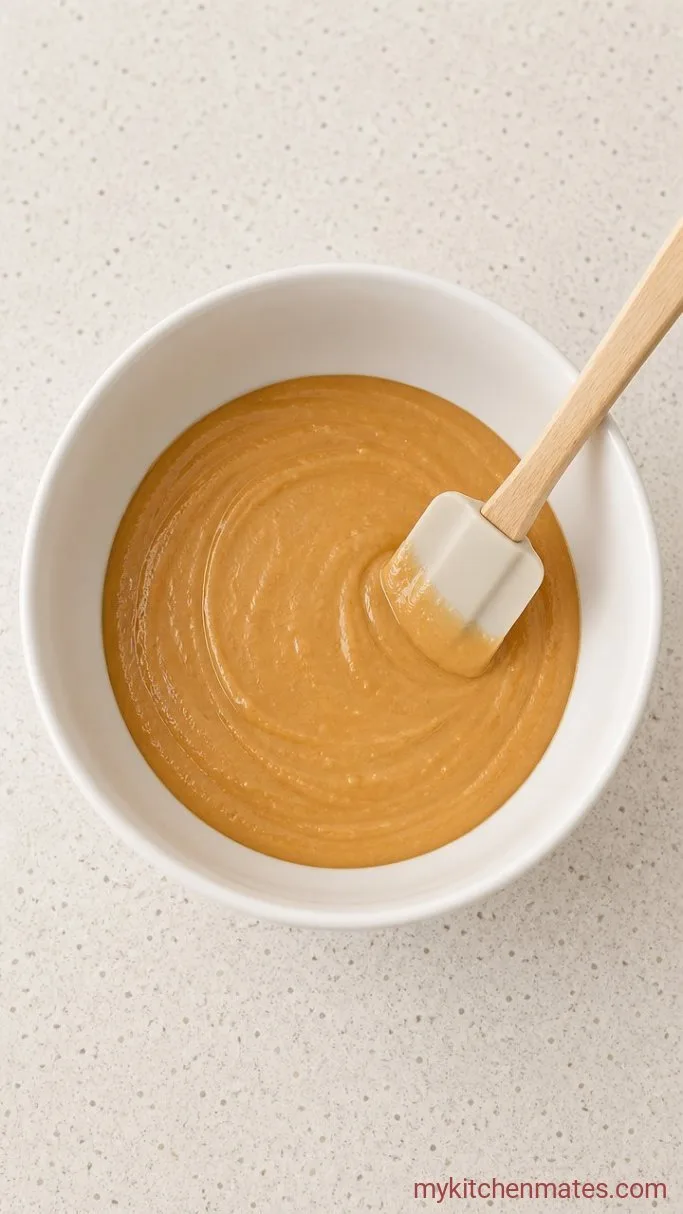
Preheat the oven to 350°F (175°C) and line two baking sheets with parchment paper. In a large bowl, beat the 1 cup peanut butter, 3/4 cup brown sugar, 1/4 cup granulated sugar, 1 egg, and 1 tsp vanilla with a wooden spoon or a hand mixer until smooth and glossy, about 1 minute.
The mixture will look thick and a little greasy at first, then pull together into a shiny dough. Stop as soon as it is uniform—no need to keep mixing.
Step 2: Stir in the Dry Ingredients
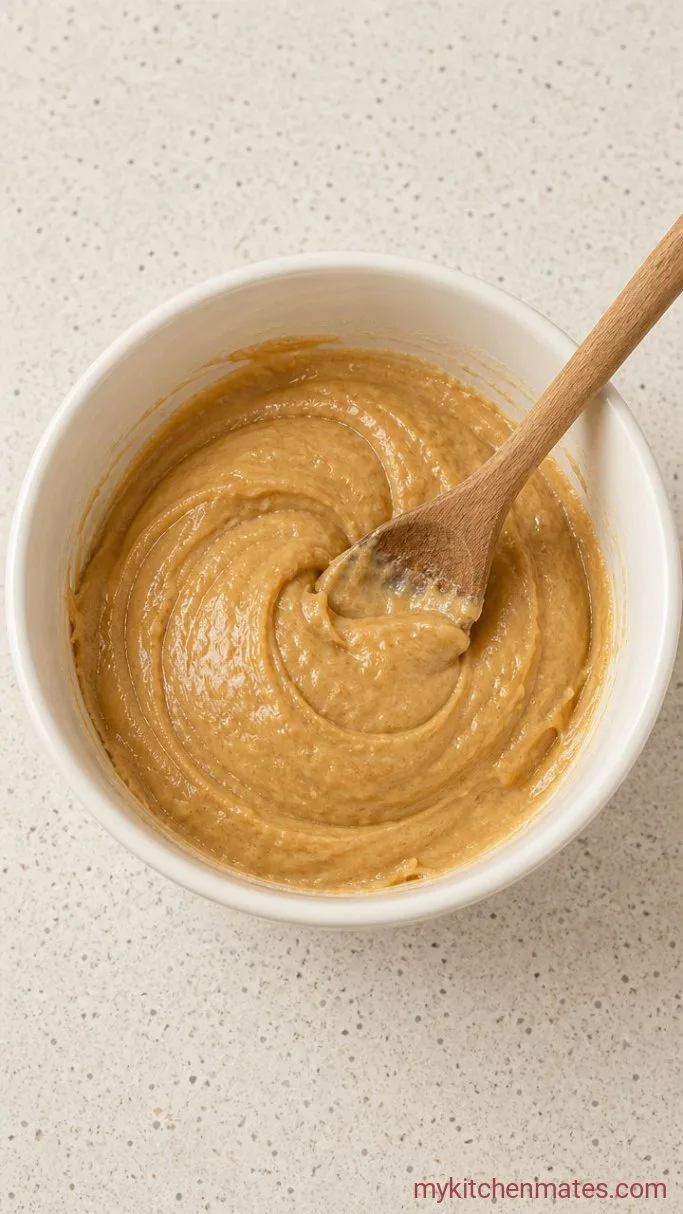
Add the 1/2 tsp baking soda and 1/4 tsp sea salt directly over the dough and stir them in until no white streaks remain. The dough will stiffen noticeably and feel almost like a stiff frosting.
Scrape the bottom of the bowl to catch any dry patches. If the dough is too soft to handle, pop it in the fridge for 10 minutes while the oven finishes heating.
Step 3: Scoop and Crosshatch the Dough
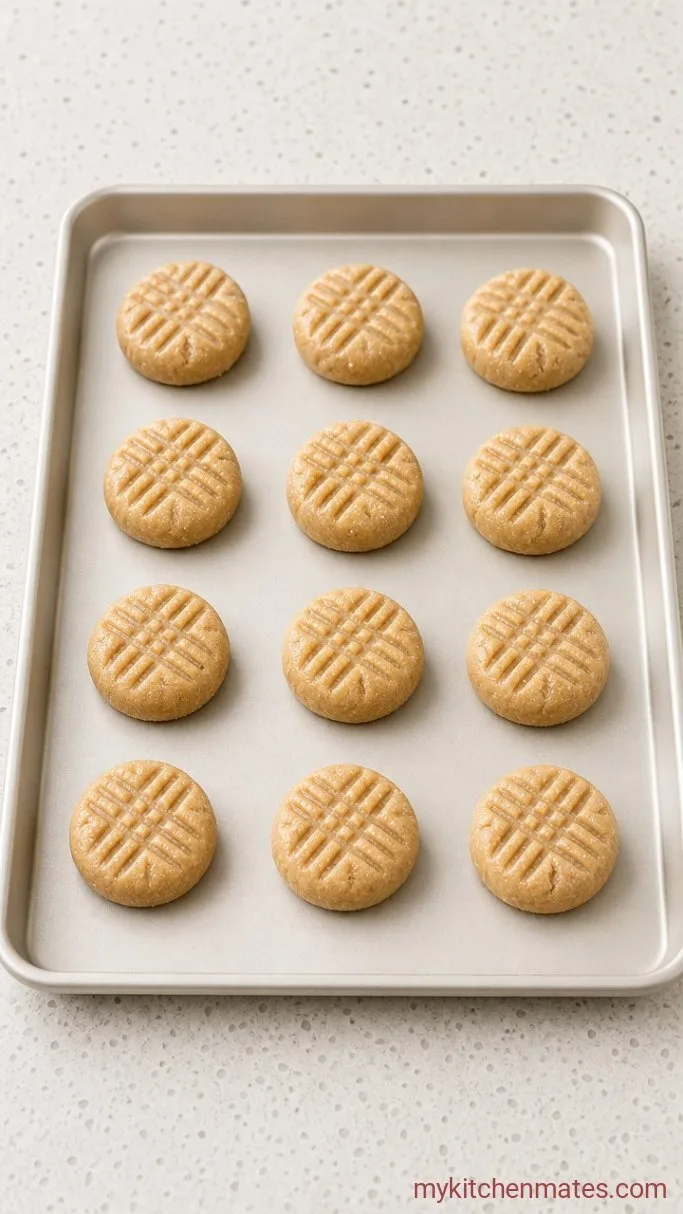
Scoop rounded tablespoonfuls of dough and roll them into balls with damp hands. Space them about 2 inches apart on the lined baking sheets. Press a fork into each ball twice, making a crosshatch pattern, and flatten them to about 1/2 inch thick.
Damp hands stop the dough from sticking to your palms. Press firmly enough to leave deep marks but not so hard that the cookie splits.
Step 4: Bake Until Golden
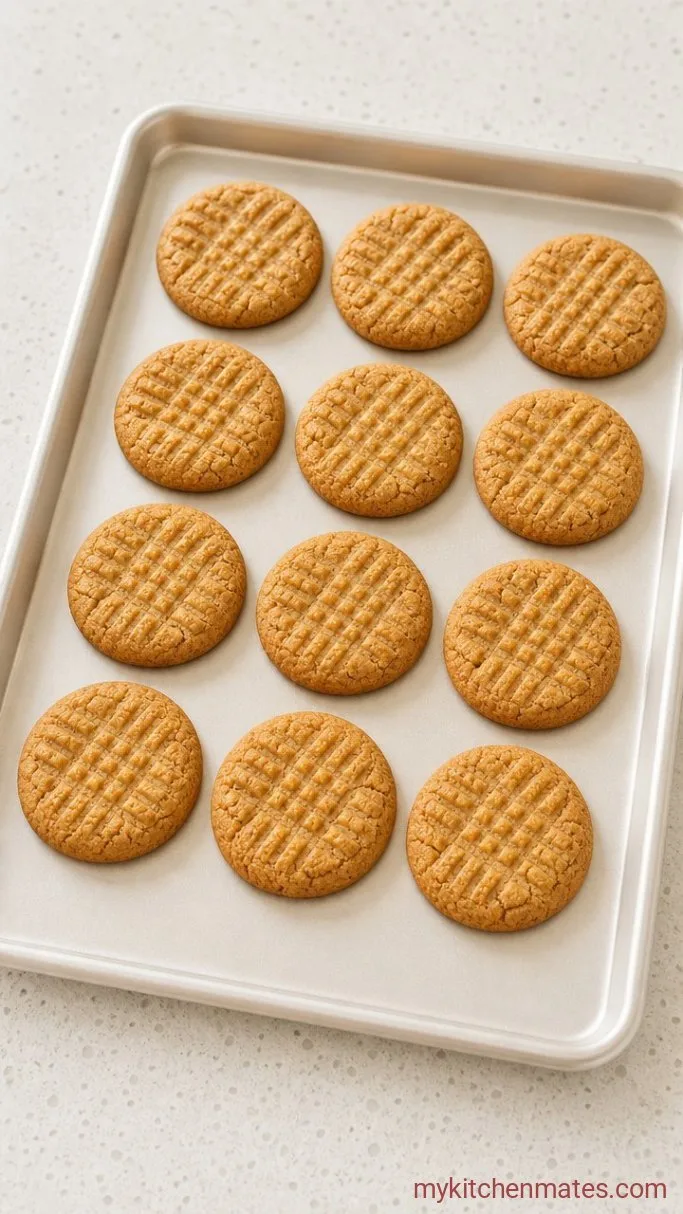
Bake one sheet at a time on the middle rack for 10 to 12 minutes. The cookies are ready when the edges look set and barely golden while the centers still appear soft and a little puffed. Let them cool on the sheet for 5 minutes, then transfer to a wire rack.
Once fully cooled, stack them on a plate or tuck them into a cookie jar. They’ll be soft in the middle with crinkly, lightly crisp rims.
A Few Notes Before You Start
- Stick with standard peanut butter.: Natural peanut butter is too runny and can make the cookies spread into puddles. If that’s all you have, stir it thoroughly and chill the dough for 30 minutes first.
- Do not overbake.: The cookies continue to set on the hot sheet after you pull them from the oven. Pull them when the centers still look a little underdone.
- Chill if the dough feels loose.: On a warm day, rolling the dough into balls can get messy. Chill the bowl for 15 minutes and the dough will firm right up.
- Use a light hand when shaping.: Roll gently so you do not compact the dough, which can make the cookies dense and dry.
Storing Leftovers
- Refrigerate: Keep cookies in an airtight container at room temperature for up to 5 days. A small slice of bread in the container helps them stay soft.
- Reheating: A 10-second zap in the microwave revives that just-baked chewiness beautifully.
Frequently Asked Questions
Can I freeze the dough?
Yes. Roll the dough into balls, freeze them solid on a tray, then transfer to a freezer bag. Bake straight from frozen, adding 1 to 2 minutes to the time.
Why did my cookies turn out crumbly?
Crumbly cookies usually mean the dough was over-mixed after adding the baking soda, or they baked a minute too long. Stir the dry ingredients in just until combined and pull them when the centers still look soft.
Can I use a sugar substitute?
A granular brown sugar replacement works in a 1:1 swap, though the edges will be less crisp. Skip granulated sweeteners that change texture.
Are these cookies dairy free?
Yes, as long as your peanut butter, sugars, and vanilla are dairy free. Most standard brands fit, but it is always good to check labels.
Gluten Free Peanut Butter Cookies Recipe
Ingredients
Method
- Preheat oven to 350°F (175°C). Beat peanut butter, brown sugar, granulated sugar, egg, and vanilla until smooth and glossy.
- Stir in baking soda and salt until no dry streaks remain. The dough will stiffen.
- Scoop rounded tablespoonfuls of dough, roll into balls, and place 2 inches apart on lined baking sheets. Press each ball with a fork in a crosshatch pattern to flatten.
- Bake 10 to 12 minutes, until edges are set and lightly golden but centers look soft. Cool on the sheet 5 minutes, then transfer to a rack. Stack once fully cooled.
Notes
