
7-Ingredient Gluten-Free Key Lime Pie

This gluten-free key lime pie is creamy, tangy, and comes together with just 7 simple ingredients. It’s the kind of dessert that feels special but doesn’t keep you in the kitchen all afternoon.

A buttery gluten-free crust holds a silky lime filling that sets up in the fridge with no fuss. Serve it straight from the cold with a cloud of whipped cream.
Why This Pie Works
The filling strikes the right balance between sweet and sour. The tart key lime juice cuts through the rich condensed milk so each bite stays bright, not cloying.
The crust uses store-bought gluten-free graham crackers, so it tastes just like the classic cookie crust without any gritty texture. A quick blind bake gives it a crisp snap that holds up under the creamy filling.
Ingredients

- 1 1/2 cups gluten-free graham cracker crumbs: from about 10 to 12 full sheets
- 1/4 cup granulated sugar: helps the crust brown and stay crisp
- 6 tablespoons unsalted butter, melted: use butter, not margarine, for the best flavor
- 2 (14 oz) cans sweetened condensed milk: the base for a no-cook filling
- 4 large egg yolks, at room temperature: they blend in smoothly when not fridge-cold
- 1/2 cup key lime juice: fresh or bottled, but fresh gives the brightest taste
- 2 teaspoons key lime zest: the oils in the zest deepen the lime flavor
Variations / Substitutions
- Dairy-free: use sweetened condensed coconut milk and swap the butter for a plant-based stick butter.
- No key limes: regular Persian limes work fine. The pie will be a little less floral but just as tangy.
- Different crust: an almond flour crust or a simple nut and date crust makes a nice grain-free option if graham crackers aren’t on hand.
- Zest swap: if you can’t find key limes for zesting, use regular lime zest so you still get those pops of green.
Gluten Free Peach Crisp is another reader favorite dessert worth making next.
How to Make Gluten Free Key Lime Pie
Step 1: Mix and Press the Crust
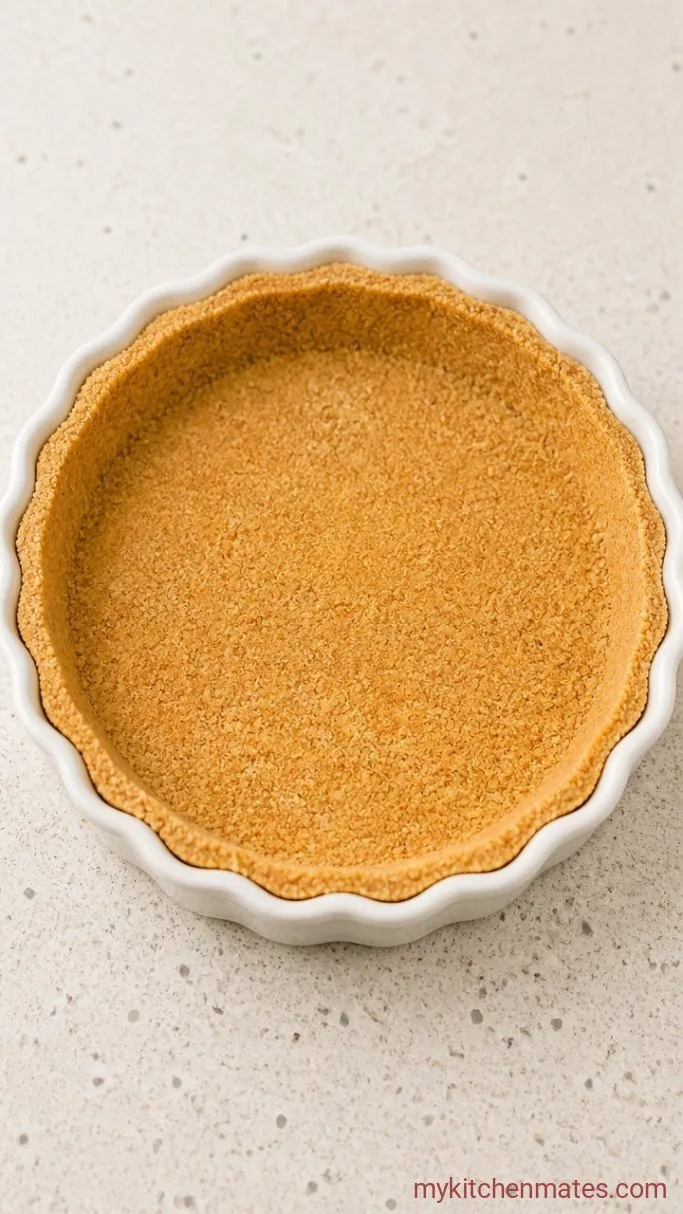
Stir the gluten-free graham cracker crumbs, 1/4 cup sugar, and melted butter in a bowl until the mixture looks like wet sand. Tip it into a 9-inch pie dish and press it firmly across the bottom and up the sides, using the bottom of a measuring cup to pack it down.
Slide the crust into a 350°F (175°C) oven and bake for 10 minutes, just until the edges start to smell toasty and turn a shade darker. You’re not aiming for deep brown here, just setting the shape so it stays crisp under the filling.
Step 2: Whisk the Filling

In a large bowl, whisk the sweetened condensed milk, egg yolks, key lime juice, and lime zest until the mixture is smooth and no streaks of yolk remain. You’ll notice it thicken slightly as the acid from the lime hits the milk.
Take a second to scrape the sides and bottom of the bowl with a spatula. A few unblended pockets of condensed milk can make parts of the pie less tangy, so a quick scrape gives you an even filling.
Step 3: Bake the Pie
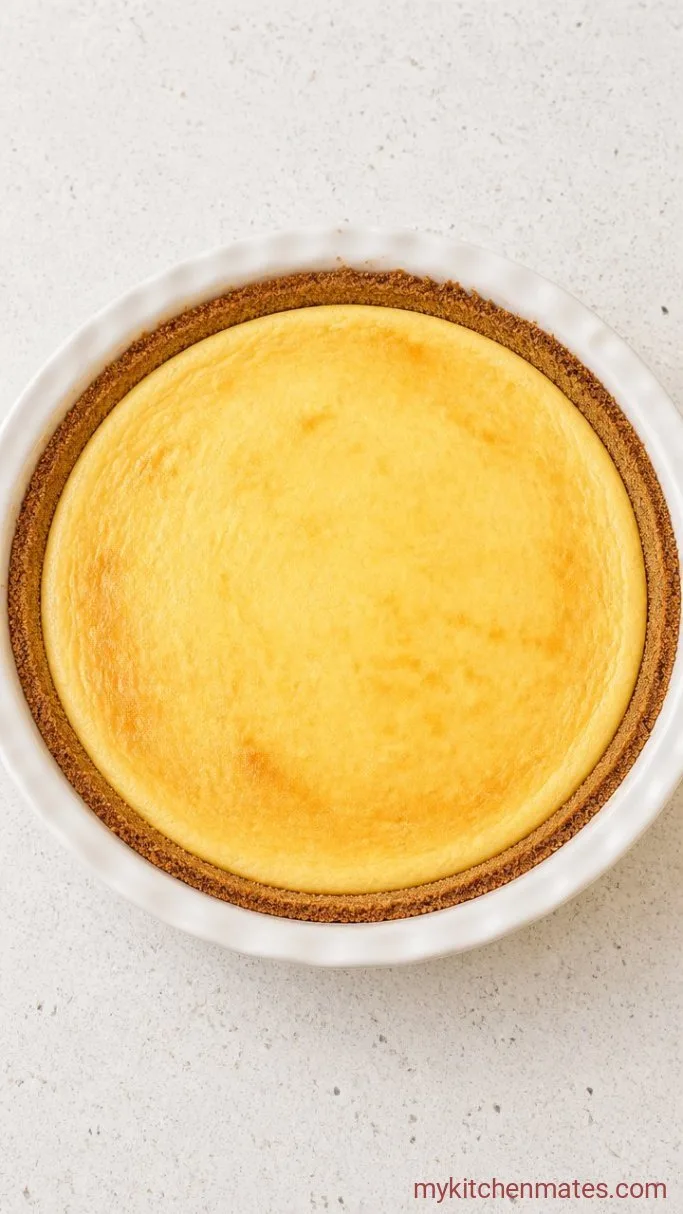
Pour the filling into the warm crust right on the center rack. Give the dish a gentle wiggle to level the top.
Bake at the same 350°F (175°C) for about 15 minutes. The edges will look just set while the center still jiggles like soft custard when you nudge the pan. Don’t wait for it to firm up completely in the oven, or the pie can crack later as it cools.
Step 4: Chill, Slice, and Serve
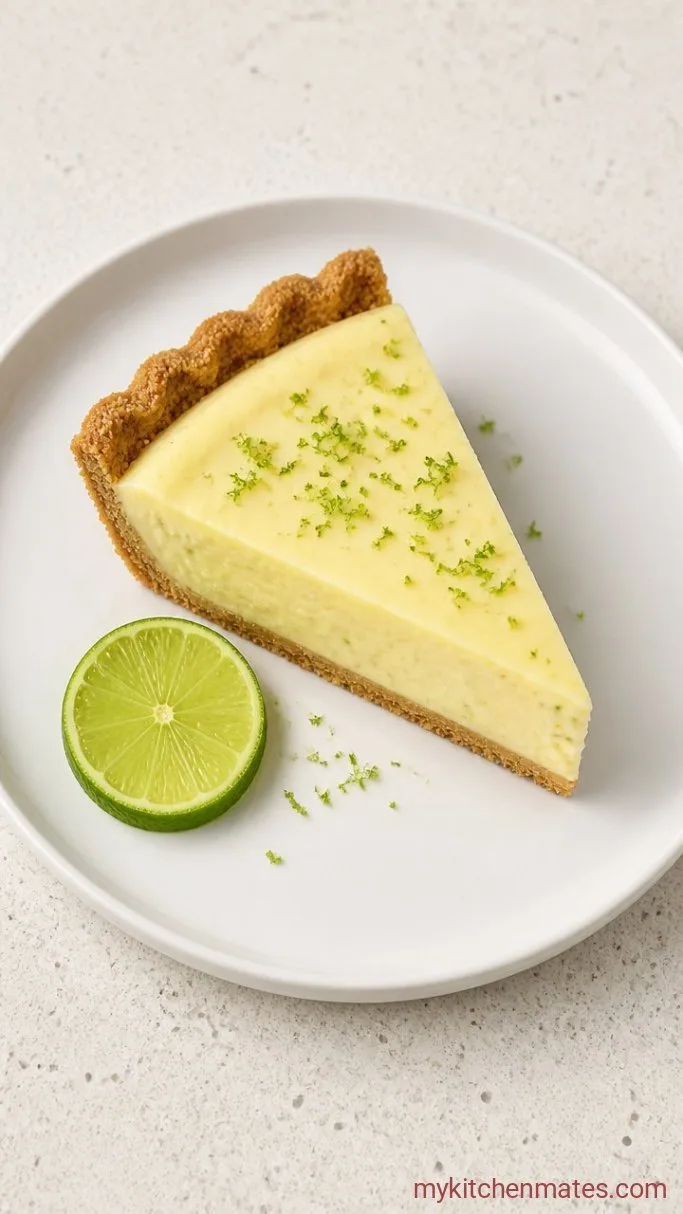
Let the pie cool on a wire rack until the dish is just warm to the touch, then move it to the fridge. Chill for at least 4 hours, or overnight, until the filling is fully firm and slices cleanly.
Run a thin knife around the edge, cut into wedges, and serve cold. Top each slice with a dollop of whipped cream and maybe a thin lime wheel on the side.
Tips for the Creamiest Pie
- Use room temperature egg yolks. Cold yolks can make the filling lumpy and harder to whisk into the condensed milk smoothly.
- Don’t overbake. The filling sets up more in the fridge, so pulling it when the center still wobbles keeps the texture silky.
- Chill overnight if you can. The flavors meld and the pie slices much better after a full 8 to 12 hours.
- Grate the zest right over the mixing bowl so the fragrant oils fall directly into the filling.
Storing Leftovers
Cover the pie dish tightly with plastic wrap or a lid and keep it refrigerated up to 4 days. The crust will stay crisp for the first day or two, then soften slightly, but the filling only gets smoother.
What to Serve With Key Lime Pie
A big spoonful of lightly sweetened whipped cream balances the tart lime. Fresh raspberries or sliced strawberries add a pop of red and their own acidity that plays well with the citrus.
Frequently Asked Questions
Can I use regular limes?
Yes. The flavor will be a little less floral and a bit sharper, but the pie will still be deliciously tangy.
Can I make this dairy-free?
Absolutely. Use sweetened condensed coconut milk and a plant-based butter in the crust. The pie sets up the same way.
Why did my pie crack?
It was likely overbaked. Take the pie out of the oven when the edges look set but the center still jiggles. A cooling rack helps prevent cracks too.
Can I use a different gluten-free crust?
Sure. An almond flour crust or a simple pressed nut crust both work well and keep the dessert gluten-free.
Gluten Free Key Lime Pie Recipe
Ingredients
Method
- Preheat oven to 350°F (175°C). Stir crumbs, sugar, and butter until damp, press into a 9-inch pie dish, and bake 10 minutes.
- Whisk condensed milk, egg yolks, lime juice, and zest until smooth and slightly thickened.
- Pour filling into the warm crust. Bake 15 minutes, until edges are just set and the center still jiggles.
- Cool on a rack, then chill at least 4 hours. Slice and serve cold with whipped cream.
Notes
