
Easy No-Spread Gingerbread House Cookies

These sturdy gingerbread house cookies hold their shape in the oven and bake into crisp, flat pieces that lock together with royal icing. The dough is spiced with ginger, cinnamon, and a touch of clove, with a deep molasses flavor that tastes like the holidays.
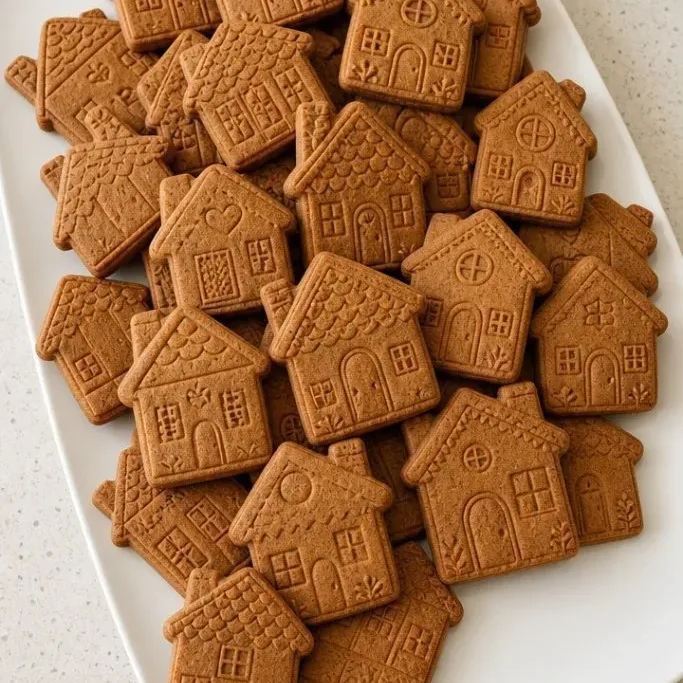
You can roll and cut the dough the same day, or make it ahead and chill overnight. Either way, the cookies come out with clean edges and almost zero spread, which is exactly what you want when you are building a little house.
Why These Cookies Hold Up
The dough is designed to be firm, not puffy. Less butter and no baking powder keep the pieces from puffing or warping, so your walls stay straight and your roof panels sit flat. A long chill relaxes the gluten and chills the fat, which stops spreading before it starts.
The spice is noticeable but not sharp. Ginger warms the cookie first, then cinnamon and clove round it out. The molasses gives the dough its color and that soft chew right out of the oven, but within a few hours the cookies dry into crisp builders that snap cleanly.
This is the recipe I keep coming back to for any cutout gingerbread, not just houses. Once you see how well it holds a shape, you will use it for all your holiday cutouts.
Ingredients
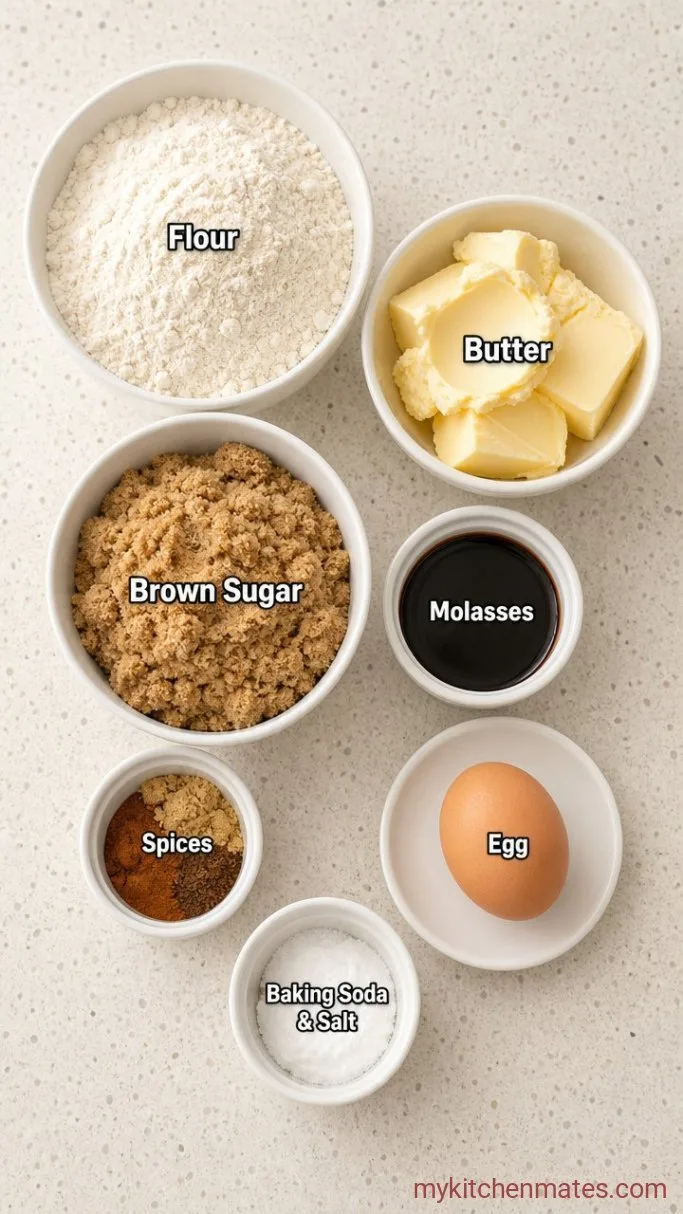
- 3 cups (375 g) all-purpose flour: spooned and leveled, not scooped, to avoid a dry dough
- 1 tbsp ground ginger: for a warm, spicy backbone
- 2 tsp ground cinnamon
- ½ tsp ground cloves
- ½ tsp baking soda: just enough to soften the crumb without puffing the cookies
- ½ tsp fine sea salt
- ¾ cup (170 g) unsalted butter, softened: cooler than room temperature is fine; you will cream it a little
- ½ cup (100 g) packed light brown sugar
- ⅔ cup (160 ml) unsulphured molasses: not blackstrap, which can overpower the spice
- 1 large egg, cold from the fridge
Variations and Substitutions
- Swap half the butter for vegetable shortening: the dough spreads even less and the cookies stay a touch sturdier after baking. Flavor stays close to the original.
- Use dark brown sugar: a little more molasses intensity, very nice against the spice.
- Add orange zest: 1 teaspoon of finely grated zest rubbed into the sugar before creaming lifts the whole cookie.
- Make it vegan: use a neutral oil instead of butter (⅓ cup plus 1 tbsp works), swap the egg for 3 tbsp aquafaba, and use vegan-friendly sugar.
- Skip the cloves: if cloves are too strong for you, increase the cinnamon to 1 tbsp and call it a day.
No-Spread Snowman Sugar Cookies are next on our list if these cookies are your kind of dessert.
How to Make Gingerbread House Cookies
Step 1: Mix the Dough
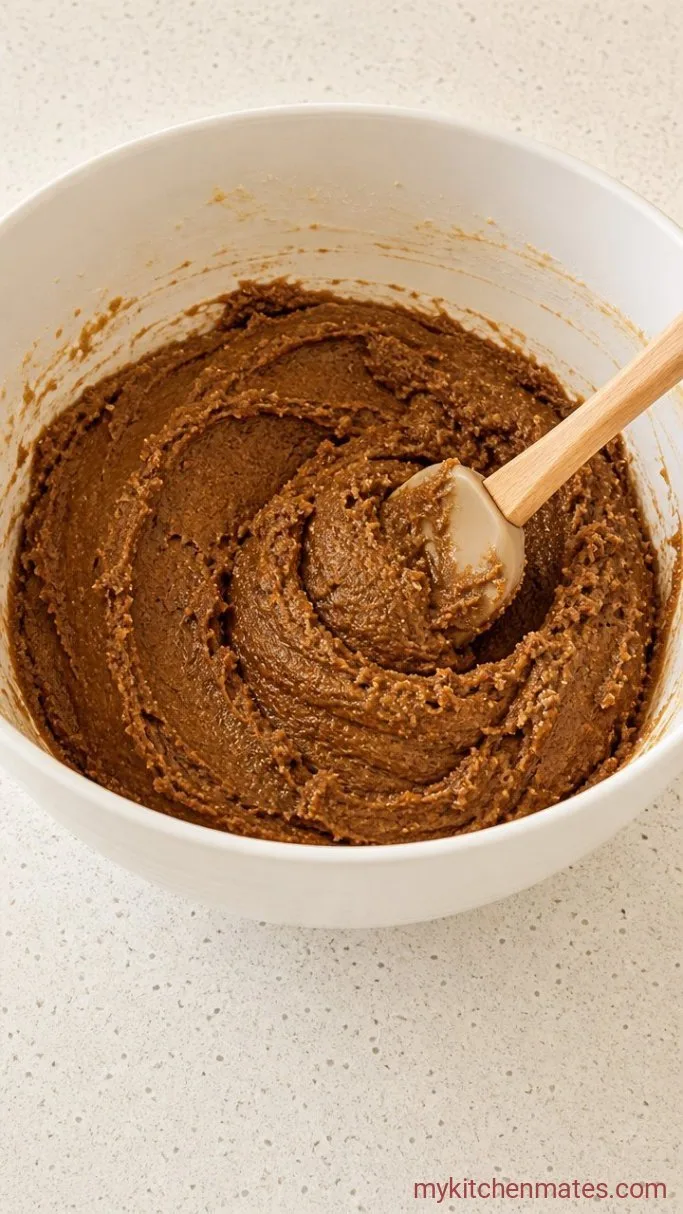
Whisk the 3 cups flour, ginger, cinnamon, cloves, baking soda, and salt together in a bowl so the spices are evenly distributed. In a stand mixer fitted with the paddle, beat the softened butter and brown sugar on medium speed until the mixture looks pasty and a little fluffy, about 2 minutes. Scrape down the bowl, pour in the ⅔ cup molasses, and beat again until combined. The molasses will make the mixture look glossy and a bit looser. Add the cold egg and mix until it disappears, about 30 seconds.
With the mixer on low, add the flour mixture in two additions. Stop as soon as the last streak of flour vanishes. The dough will be soft and slightly sticky, a deep brown color, and it will smell heavily of molasses and ginger.
Do not overmix now; overworked dough can toughen as it chills. It is okay if the dough looks a little shaggy when you turn it out.
Step 2: Wrap and Chill the Dough
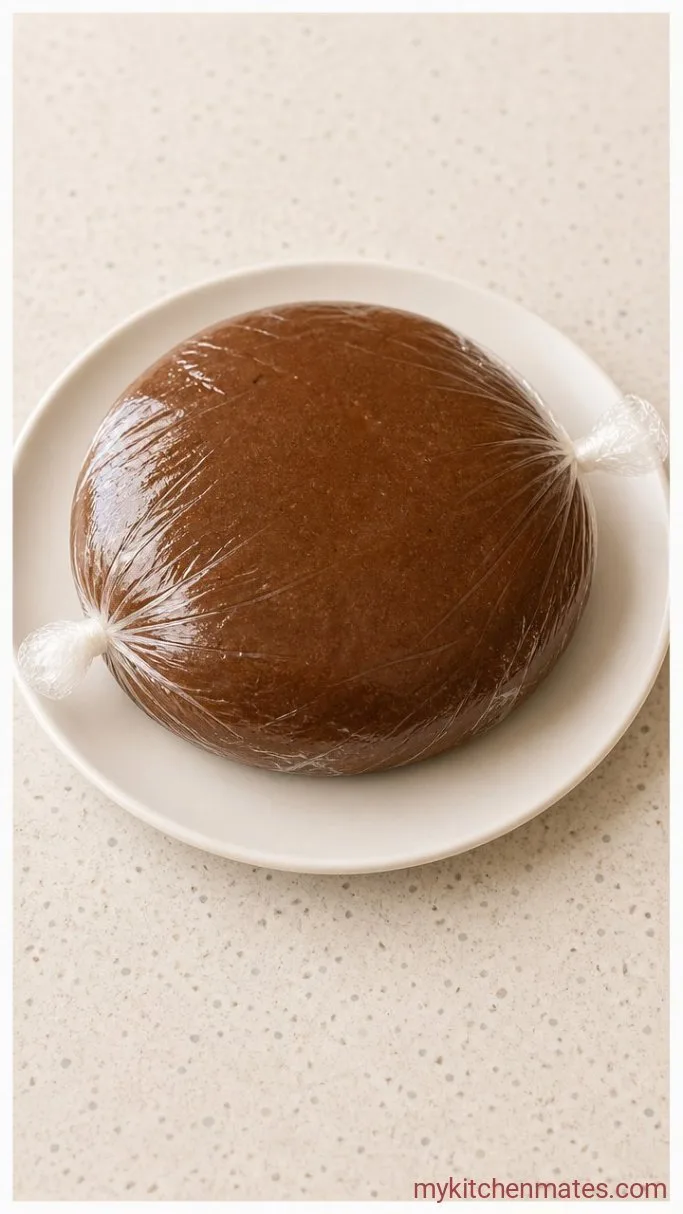
Turn the dough onto a sheet of plastic wrap and press it into a flat disk about an inch thick. Wrap it tightly and refrigerate for at least 2 hours, or up to 2 days. The dough goes from sticky and impossible to roll to firm and workable after a good chill.
When you press a finger into the chilled dough, it should feel like cold modeling clay and barely give. If it still feels soft after 2 hours, give it another 30 minutes. Chilling is the single most important step for a no-spread cookie, so do not rush this.
Step 3: Roll and Cut the Shapes
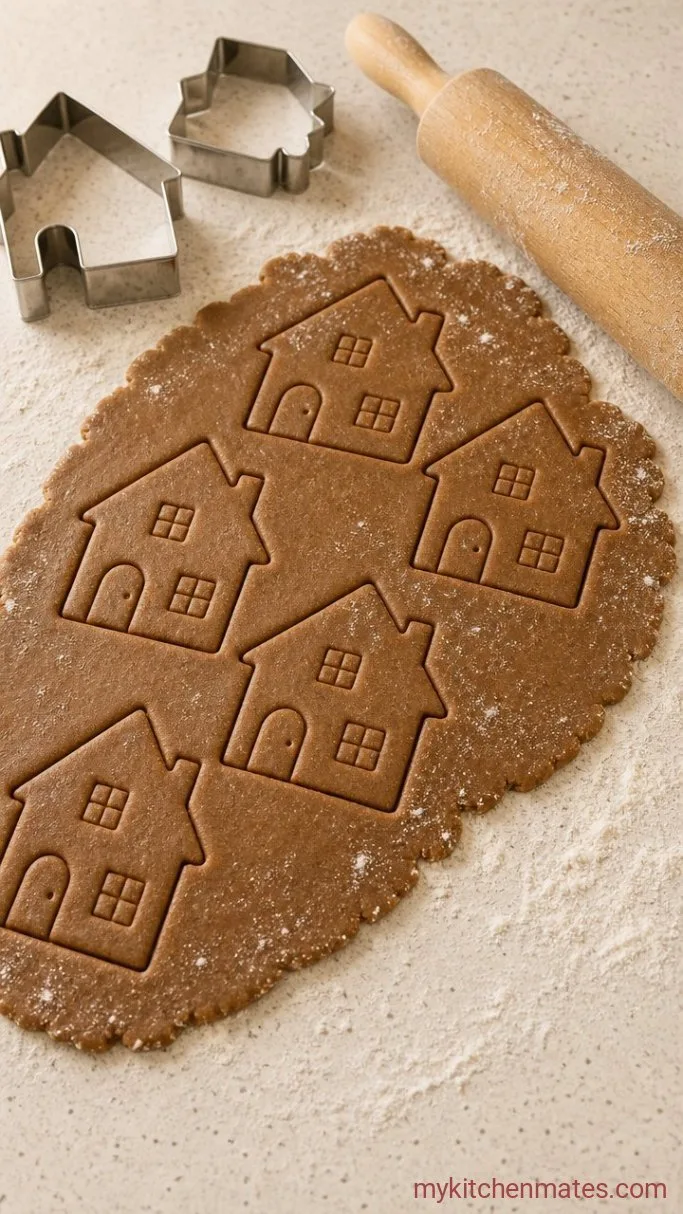
Preheat your oven to 350°F (175°C) and line two baking sheets with parchment paper. Cut the chilled dough in half and keep one piece in the fridge while you work with the other. Lightly dust your counter and rolling pin with flour. Roll the dough out until it is a little thicker than ¼ inch, aiming for an even thickness across the whole slab. Any thin patches will bake too dark and might snap during assembly.
Dip your cutter in flour before each cut and press straight down without twisting. Twisting can seal the edges and make for uneven baking. Use a small spatula to transfer the shapes to the prepared sheet, leaving about an inch between them. They will not spread much, but they need some room for air to circulate.
Gather the scraps, press them together gently, and re-roll once. Any more than one re-roll and the dough starts to toughen. If the house pattern calls for windows or doors, cut those out now before baking; a small knife works well.
Step 4: Bake the Cookies
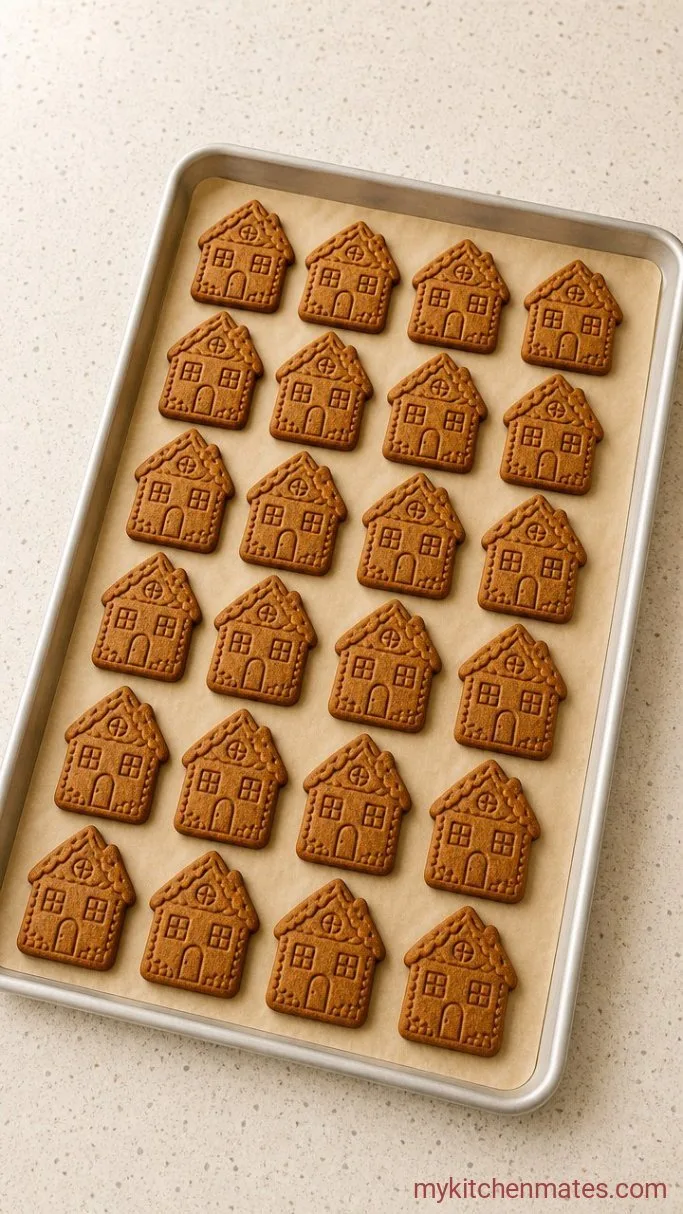
Slide the baking sheet onto the middle rack and bake for 12 to 15 minutes. At the 12-minute mark, check the edges. They should be set and just beginning to darken, while the centers look dry and firm, not puffy. If your oven runs hot you might pull them at 13 minutes; if the shapes are larger, they may need closer to 15.
The cookies will feel slightly soft when you take them out. That is normal. They crisp as they cool. Do not bake them until they are rock-hard in the oven or they will taste overdone and bitter.
Let the cookies rest on the hot baking sheet for 5 minutes. This gives them a chance to firm up before you move them, which cuts down on breakage.
Step 5: Cool Completely
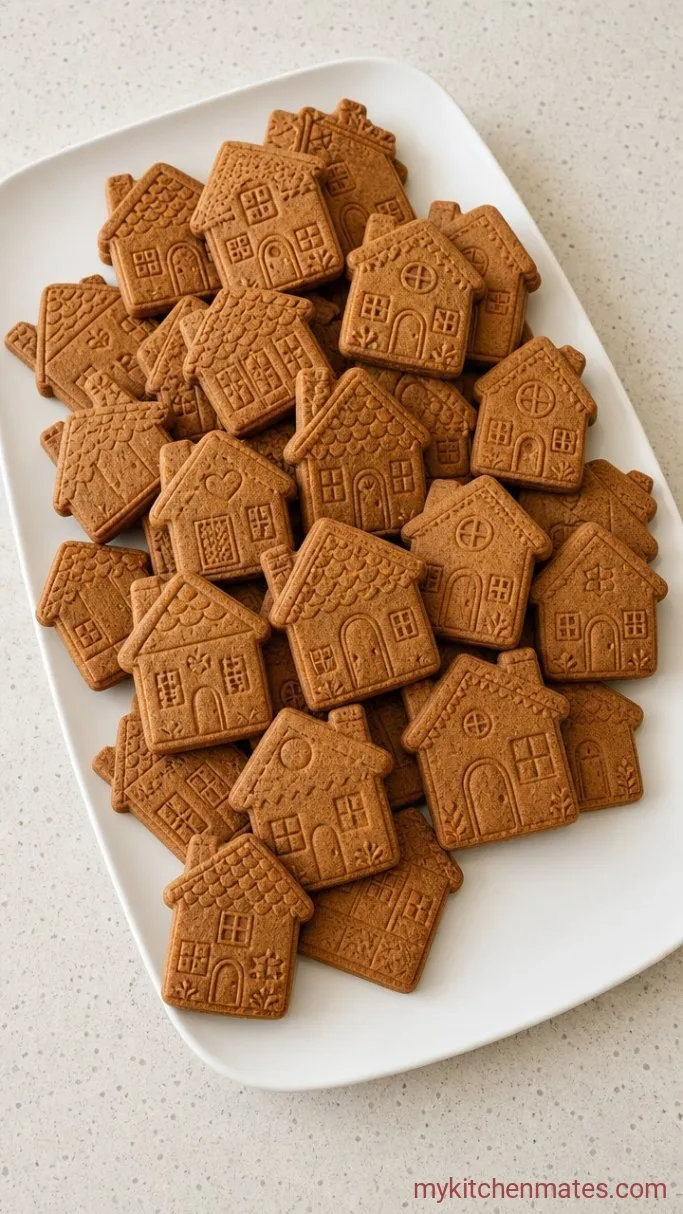
Use a thin spatula to lift each cookie onto a wire rack. Handle them gently while they are still warm. Leave them on the rack until they are fully cool to the touch, about an hour. The color will deepen just a little, and the surface will feel dry and smooth.
Once cooled, the cookies are ready to decorate and assemble. Pile them flat in an airtight container until you are ready to build, or ice them right away. The sight of a stack of crisp, exact cookie pieces is pretty satisfying on its own.
Tips for a No-Spread Gingerbread House
- Take the chill seriously.: If the dough warms up while you roll, slide the cut shapes on the baking sheet into the fridge for 10 minutes before baking. This resets the firmness and keeps edges clean.
- Use parchment, not a greased pan.: Butter or oil on the baking sheet can act like a slip-and-slide and encourage the cookies to spread, even slightly.
- Weigh your flour if you can.: Too much flour makes the dough crumbly and hard to roll; too little and the cookies lose their structure. 375 grams with the spoon-and-level method is the sweet spot.
- Bake one test cookie first.: Ovens vary. Baking a single piece lets you see if the dough spreads or if your bake time needs a nudge up or down before you commit a whole sheet.
- Let them dry out overnight before building.: Freshly baked cookies still hold a little moisture. If you plan to construct a house, let the pieces sit uncovered at room temperature overnight. They get even sturdier.
Bake times by thickness:
| Thickness | Bake Time | Result |
|---|---|---|
| ⅛ inch | 9–11 mins | Crisp, snappy (good for eating) |
| just over ¼ inch | 12–14 mins | Firm with slight chew inside, ideal for building |
| ⅜ inch | 14–16 mins | Very sturdy, may feel dense |
Storing and Building Later
- Refrigerate the dough: wrapped tight, it keeps for up to 2 days before rolling. Let it sit at room temperature for 10 minutes if it is too firm to roll.
- Store baked cookies: layer them between sheets of parchment in an airtight container at room temperature for up to a week. Do not refrigerate baked cookies, or they may soften.
- Freeze unbaked cutouts: freeze the shapes on a tray, then stack them with parchment and freeze for a month. Bake straight from frozen, adding 2 minutes to the bake time.
Frequently Asked Questions
Can I use all butter instead of part shortening?
Yes. The cookies will still hold their shape well as long as you chill the dough thoroughly and do not skip the overnight drying time. A little spread at the very edges is normal and does not affect assembly.
Why did my cookies puff up in the oven?
The dough was likely too warm when it went in, or the baking soda was not evenly mixed. Chill the cut shapes for a few minutes before baking and whisk the dry ingredients well.
Can I make these gluten-free?
You can swap in a 1-to-1 gluten-free flour blend that contains xanthan gum. The dough may be a bit more fragile to roll, so roll between two sheets of parchment. The cookies will still firm up nicely.
Can I skip the molasses?
No. Molasses is what gives these cookies their color, flavor, and snap. Substituting honey or maple syrup will make the dough sticky, spread more, and soften over time.
How long does the baked house last?
If you are keeping it as decoration, the assembled house can sit out for weeks. For eating, the cookies stay fresh for about a week if sealed, but once assembled and exposed to air, they will stale sooner.
Gingerbread House Cookies Recipe
Ingredients
Method
- Whisk flour, ginger, cinnamon, cloves, baking soda, and salt together.
- Beat butter and brown sugar until pasty, then mix in molasses and egg.
- Add dry ingredients in two additions. Wrap dough and chill at least 2 hours.
- Roll out to just over ¼ inch thick and cut shapes. Place on parchment-lined sheets.
- Bake at 350°F (175°C) for 12 to 15 minutes, until edges are set and centers dry. Cool 5 minutes on the pan, then transfer to a rack to cool completely.
Notes
