
Crusty Dutch Oven Sourdough Bread (No-Knead)

This Dutch oven sourdough bread gives you a dark, crackling crust and an airy, tangy crumb with very little hands-on work. A hot, sealed pot traps steam the way a professional oven does, so you get that bakery look and sound at home.

No kneading, no fancy gear beyond a Dutch oven and a bowl. If your starter is lively and you give the dough time, this loaf practically takes care of itself.
Why This Crusty Loaf Stays in the Rotation
The crust shatters under a serrated knife, loud enough to make you stop and smile. Inside, the crumb is open and chewy with the distinct sourdough tang that only comes from a long, cold proof.
I keep coming back to this version because it delivers on both texture and flavor while being forgiving. You shape it the night before, let the fridge do the work, and bake it whenever you are ready the next day.
Ingredients
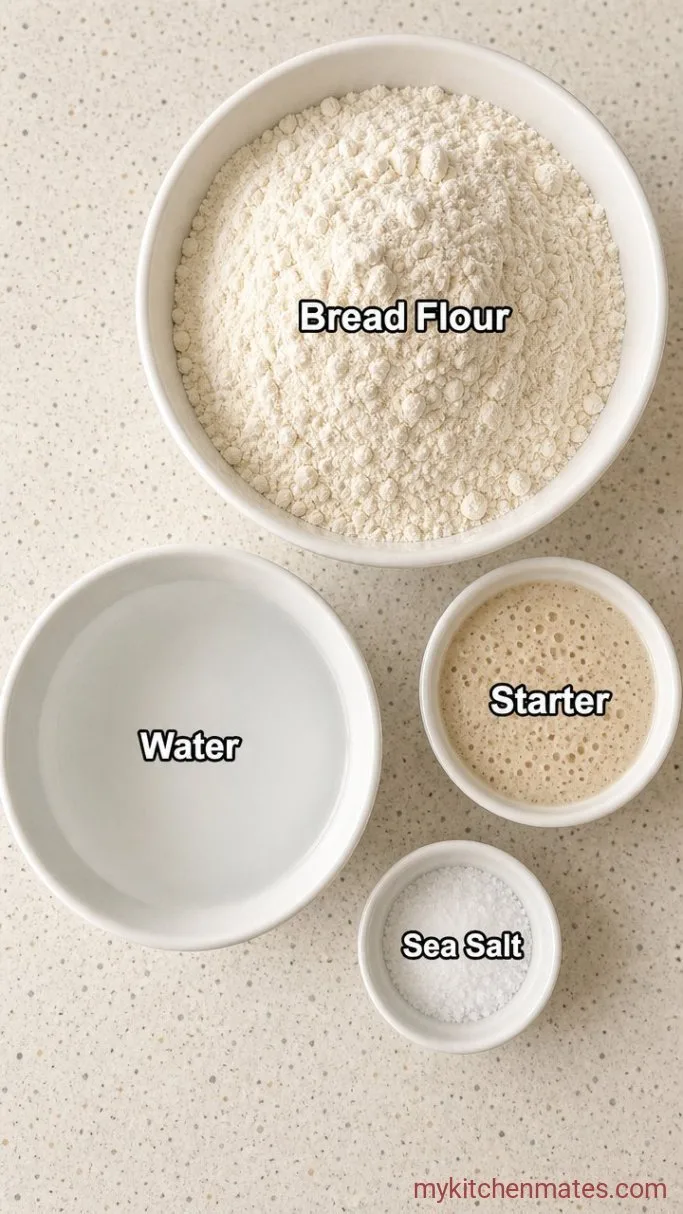
- 500g (about 4 cups) bread flour: high-protein flour builds the most open crumb, but all-purpose will still produce a good loaf.
- 350g (1½ cups plus 2 tbsp) water: cool tap water, not warm, for the long ferment.
- 100g (scant ½ cup) active sourdough starter: fed and bubbly, at its peak.
- 10g (1¾ tsp) fine sea salt: use a salt that dissolves easily, not coarse crystals.
Variations / Substitutions
- Swap half the bread flour for whole wheat or rye: the loaf will be a little denser with a deeper, nutty flavor.
- Add mix-ins after the first fold: a handful of toasted sesame seeds, sunflower seeds, or chopped olives folded in gently.
- Use spelt flour for a tender crumb: spelt absorbs less water, so reduce the total water by 25g if you go all in on spelt.
- Skip the banneton: a medium bowl lined with a floured tea towel works just fine.
Creamy One-Pot Dutch Oven Potato Soup makes a comforting soup to pair with this bread.
How to Make Dutch Oven Sourdough Bread
Step 1: Mix the Dough (Autolyse)
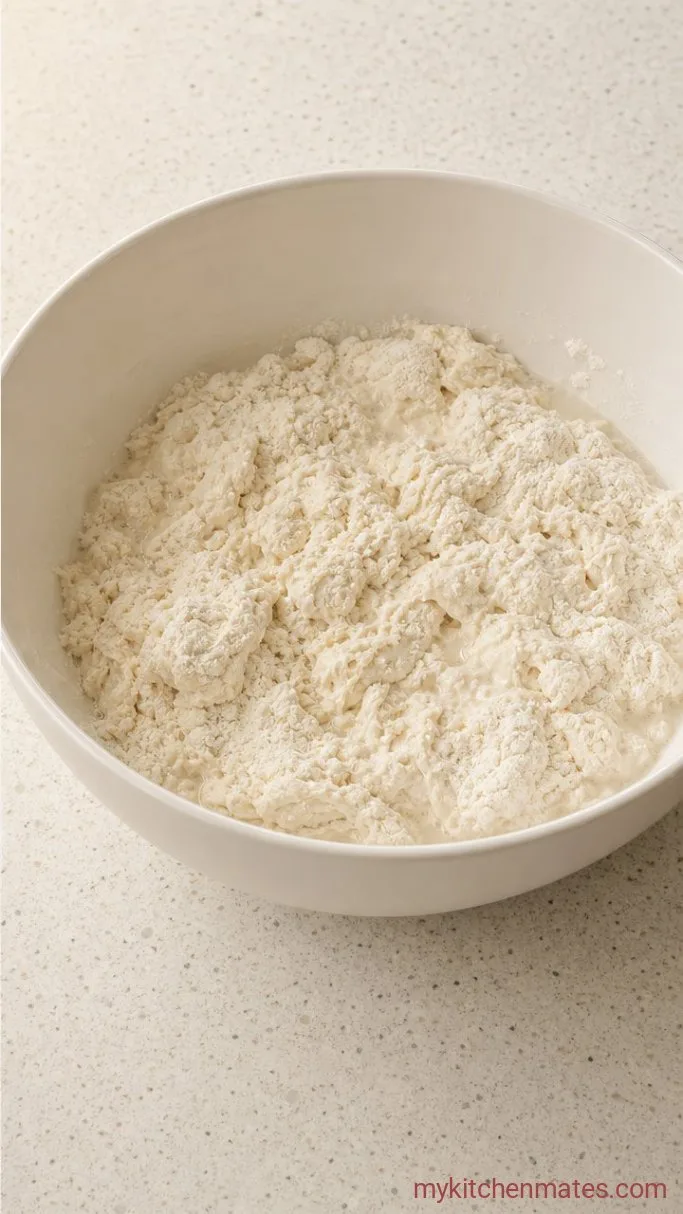
In a large bowl, stir together the 500g bread flour and 350g water until no dry spots remain. Cover with a damp towel or plastic wrap and let it rest for 30 to 45 minutes. This autolyse jumpstarts gluten development and makes the dough easier to handle later.
The mixture will look like a shaggy, lumpy mass at first. That is exactly right. Letting it sit without moving it allows the flour to fully hydrate, and you will notice it become slightly more cohesive just from the rest.
If you skip this step, the dough will be stickier through the folds and harder to shape cleanly. A half hour of waiting saves frustration down the line.
Step 2: Incorporate the Starter and Salt
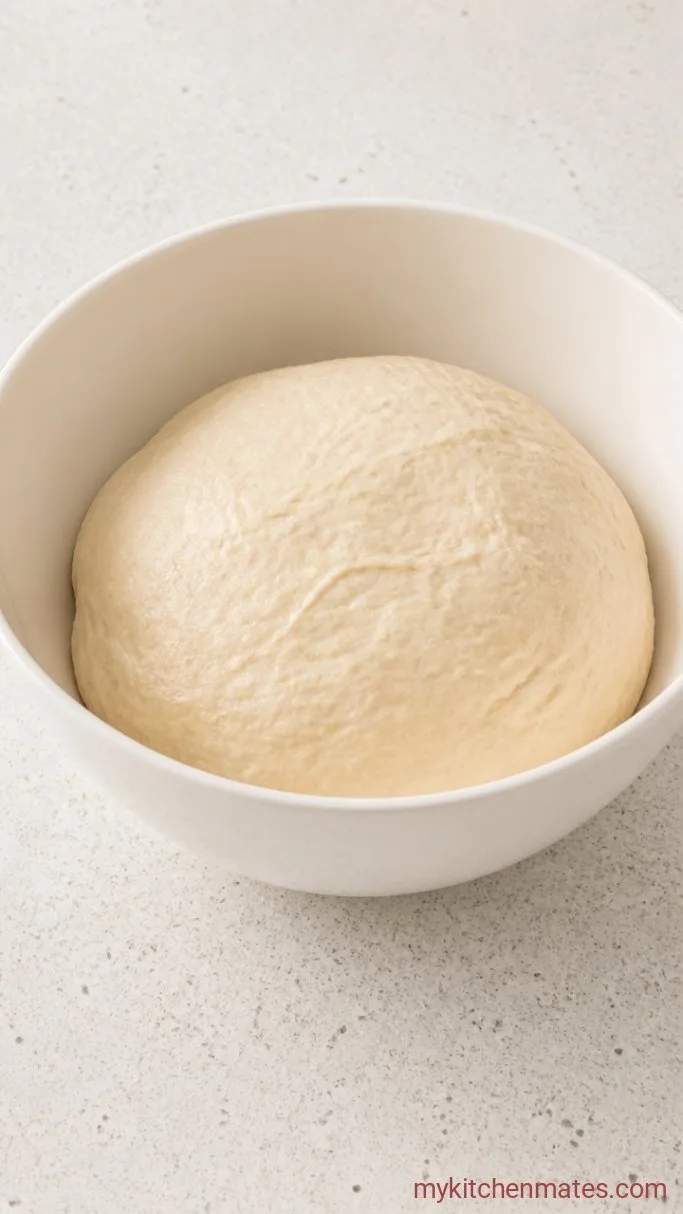
Add the 100g active starter and 10g salt to the rested dough. Pinch and squeeze the mixture with a wet hand until everything is evenly combined. The dough will feel sticky and a little tight at this stage. Cover the bowl again and let it sit for 30 minutes.
As you work the starter and salt through, the dough will go from a separated mess to a unified, glossy mass. The salt tightens the gluten slightly, so the dough might feel firmer than you expect, but that relaxes during the first rest.
The starter needs to be at its peak of activity, domed and full of bubbles. If it passes the float test (a spoonful floats in water), it is ready to lift a whole loaf.
Step 3: Fold the Dough
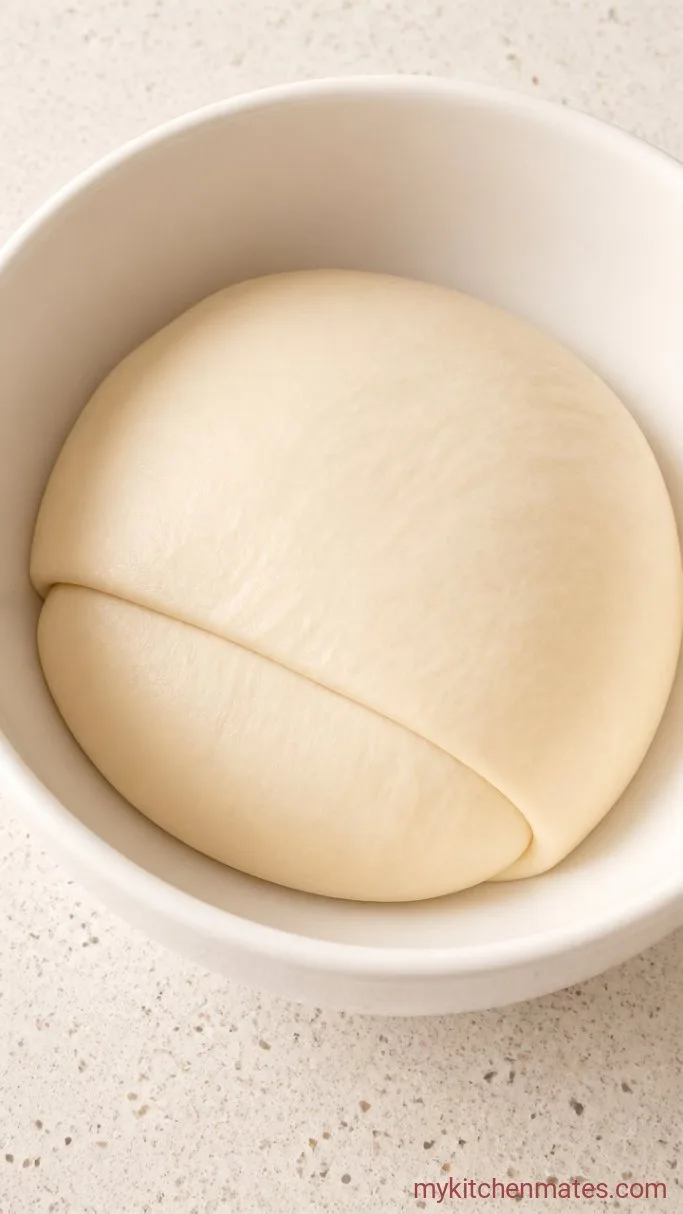
Perform a set of stretch and folds: with a wet hand, reach under one side of the dough, stretch it upward, and fold it over the top. Rotate the bowl a quarter turn and repeat until you have folded all four sides. Cover the dough and let it rest for 30 minutes. Repeat this set 3 to 4 times total, every 30 minutes, for about 2 hours. Then let the dough continue its bulk fermentation undisturbed until it has nearly doubled and the surface is dotted with small bubbles, typically 4 to 5 hours from the initial mix in a room around 70°F (21°C).
During the first fold, the dough will spread and feel loose. By the third set, you will notice it holds its shape in a tighter dome between folds and resists your stretching. That growing elasticity is the gluten network forming, and it is what traps the gases that create an open crumb.
If your kitchen runs cooler, the bulk ferment may stretch toward 6 hours. Watch the dough, not the clock. A dough that has not risen enough will bake up dense, regardless of how you shape it.
Step 4: Shape and Cold Proof the Dough
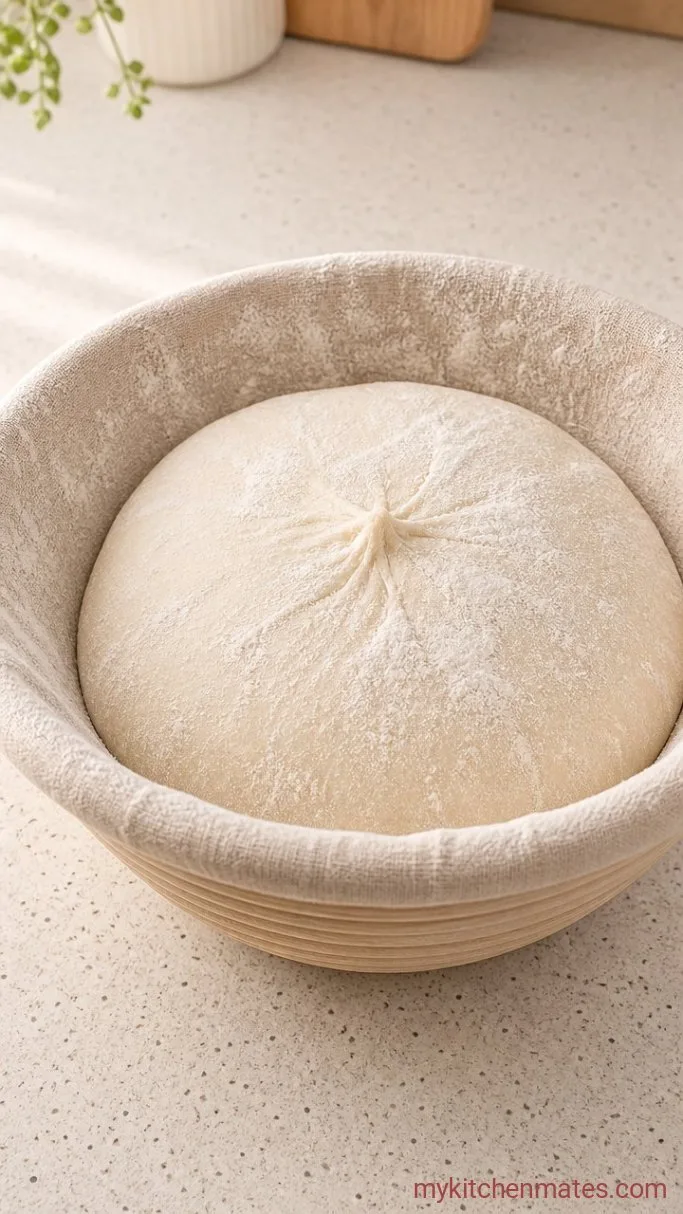
Scrape the dough onto a lightly floured surface. Gently shape it into a round by folding the edges toward the center, then flip it seam side down. Cup your hands around the far side and drag the dough toward you to build surface tension. Let it rest uncovered for 20 minutes while you dust a banneton or bowl generously with rice flour or a mix of flour and cornmeal. After the rest, flip the dough so the smooth side faces down and the seam faces up, then pinch the seam closed and drop it into the prepared basket. Cover with a damp towel or plastic and refrigerate for 12 to 18 hours.
The shaped dough will feel smooth and taut, almost like a water balloon. That surface tension is what keeps the loaf from spreading sideways in the hot pot. A slack shape leads to a flat, disc-like loaf.
The long cold proof builds flavor and makes the dough easier to score. If you rush it and bake after only a few hours in the fridge, the loaf will lack the deep sour notes and the crust may blister less.
Step 5: Bake the Loaf
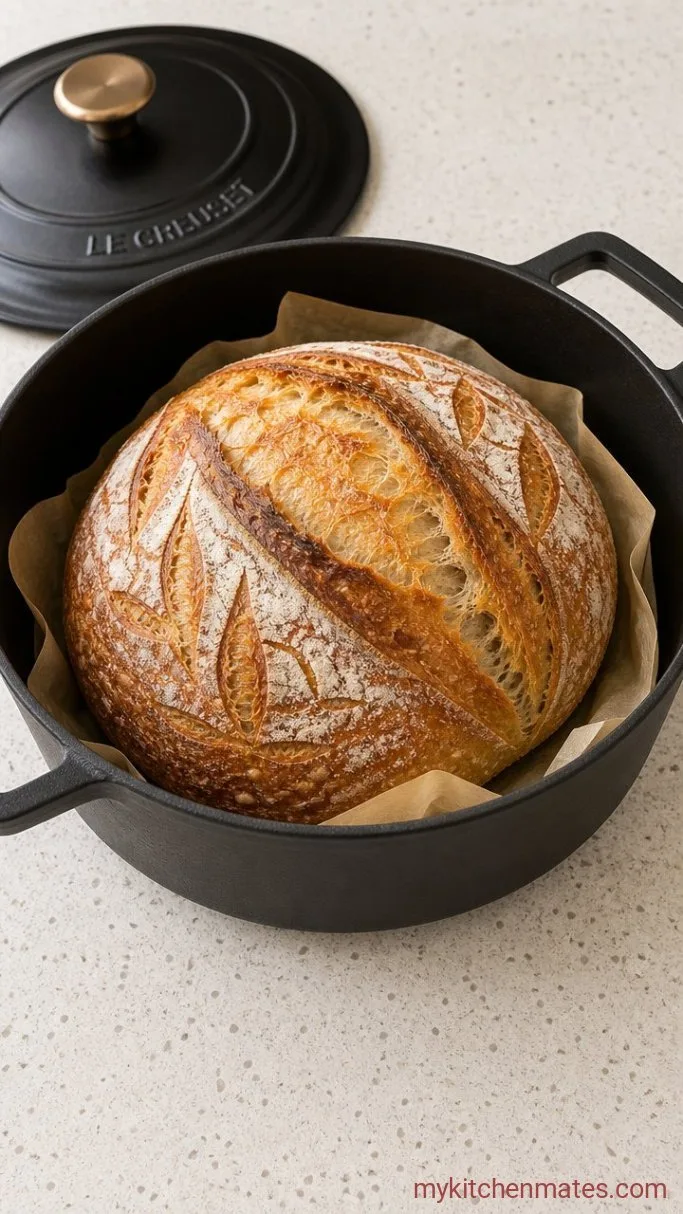
Place a Dutch oven (5 to 6 quarts works well) with its lid into the oven and preheat to 450°F (230°C). Give the pot at least 30 minutes to fully heat through. When the pot is screaming hot, remove it carefully, take off the lid, and tip the cold dough out of the banneton onto a piece of parchment paper. Slash the top in one swift line or a shallow cross with a razor blade or sharp lame, then lift the parchment and lower the dough into the hot pot. Cover immediately and bake for 30 minutes. Remove the lid and continue baking for another 15 to 20 minutes, until the crust is deeply brown all over.
The moment the dough hits the hot pot, you will hear a faint sizzle. Steam trapped under the lid keeps the crust soft during the first half of baking, allowing the loaf to spring up tall, then the uncovered finish hardens and colors it.
If the dough sticks to the basket, a gentle nudge with a floured hand usually releases it. Scoring is not just for looks; it gives the expanding gases a controlled place to escape, so the loaf does not burst at the seam.
Step 6: Cool and Slice the Bread
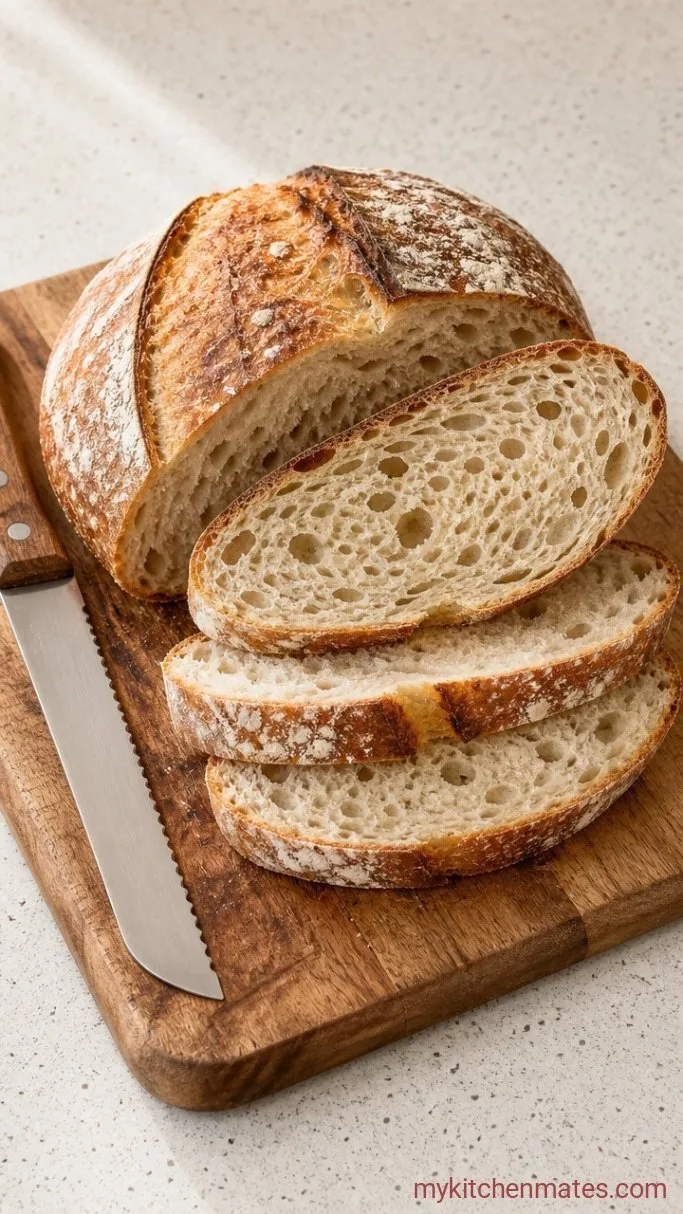
Lift the finished loaf out of the pot using the parchment and set it on a wire rack. Let it cool completely, at least 2 hours, before you cut into it. Saw through the crust with a serrated bread knife and listen for that crisp crackle.
The loaf will keep singing as it cools, a series of tiny pops that signal the crust setting. Cutting too soon turns the crumb gummy, no matter how perfectly you baked it.
Serve slices with a smear of salted butter while they are still fresh, and watch the steam rise from an open, glossy crumb.
A Few Notes Before You Get Your Hands in the Dough
- Weigh your ingredients if you can.: Flour compacts dramatically in a cup, so a scale gives you the same dough every time.
- Feed your starter 4 to 6 hours before mixing.: You want it bubbly and doubled, not hungry and runny. A weak starter will not lift the loaf.
- If your kitchen is cold, extend the bulk fermentation.: Set the bowl near a slightly-on oven or in a turned-off microwave with a mug of hot water to nudge things along.
- Score deeply and with confidence.: A timid slash seals back up in the oven and does not release steam effectively. Aim for about a quarter-inch depth.
Bake times for common Dutch oven sizes:
| Dutch oven size | Covered bake | Uncovered bake |
|---|---|---|
| 4 to 5 qt | 30 mins | 15 to 20 mins |
| 6 to 7 qt | 28 mins | 15 to 17 mins |
Storing Leftover Bread
- Room temperature: Keep the cut side down on a wooden board for 1 to 2 days. A bread box or paper bag works, but plastic softens the crust.
- Freezing: Wrap the whole loaf or thick slices tightly in foil and freeze for up to 3 months. Thaw at room temperature, then refresh in a 350°F oven for 5 to 10 minutes to bring the crust back.
- Reheating: A few minutes in a hot oven or toaster revives that just-baked crackle better than a microwave ever will.
What to Serve with Dutch Oven Sourdough Bread
Thick slices dunked into a tomato soup or a brothy bean stew soak up liquid without falling apart. For breakfast, a slab toasted dark and piled with smashed avocado, flaky salt, and a drizzle of olive oil turns into a meal. The tang plays especially well with sharp cheddar, so a grilled cheese made on this bread is a small weekend upgrade.
Frequently Asked Questions
Can I skip the overnight cold proof?
No. The long chill develops the sour flavor, sets the crust, and reduces the dough’s stickiness for scoring. Without it, the loaf tastes one-dimensional and often spreads in the pot.
Why is my dough a sticky mess when I try to shape it?
It might be over-hydrated for your flour, or the gluten has not developed enough. A few extra folds during bulk fermentation, along with a generous dusting of flour on your hands and surface, usually fixes it.
Do I really need a Dutch oven?
A Dutch oven gives the most reliable steam, but you can bake on a preheated baking stone with a metal bowl inverted over the loaf, or place a pan of hot water in the oven. The crust will be decent, though not quite as blistered.
My starter passed the float test, but the loaf didn’t rise much.
The starter might have just peaked and begun to fall. Feed it again and wait until it is domed and still climbing when you mix the dough. Overproofed bulk fermentation can also cause a loaf to collapse, so watch the dough’s volume, not just the time.
Dutch Oven Sourdough Bread Recipe
Ingredients
Method
- Stir together flour and water until no dry spots remain. Cover and rest 30 minutes.
- Add starter and salt to the dough, pinch and squeeze until uniform, then cover and rest 30 minutes.
- Perform a set of stretch and folds, rotating the bowl each time. Repeat 3 to 4 times at 30-minute intervals, then let bulk ferment until nearly doubled, 4 to 5 hours total.
- Shape into a tight round on a floured surface, rest 20 minutes, then place seam side up in a floured banneton. Cover and refrigerate 12 to 18 hours.
- Preheat a 5 to 6 qt Dutch oven at 450°F for 30 minutes. Turn dough onto parchment, score the top, lower into the hot pot, cover, and bake 30 minutes. Uncover and bake 15 to 20 minutes more until deeply browned.
- Cool completely on a wire rack before slicing with a serrated knife.
Notes
