
Crusty Italian Bread with a Crisp, Golden Crust

This crusty Italian bread is the loaf you want when you’re craving a shatteringly crisp crust and a soft, airy inside that soaks up olive oil like a dream. It’s a lean dough with nothing to hide — just flour, water, yeast, and salt.
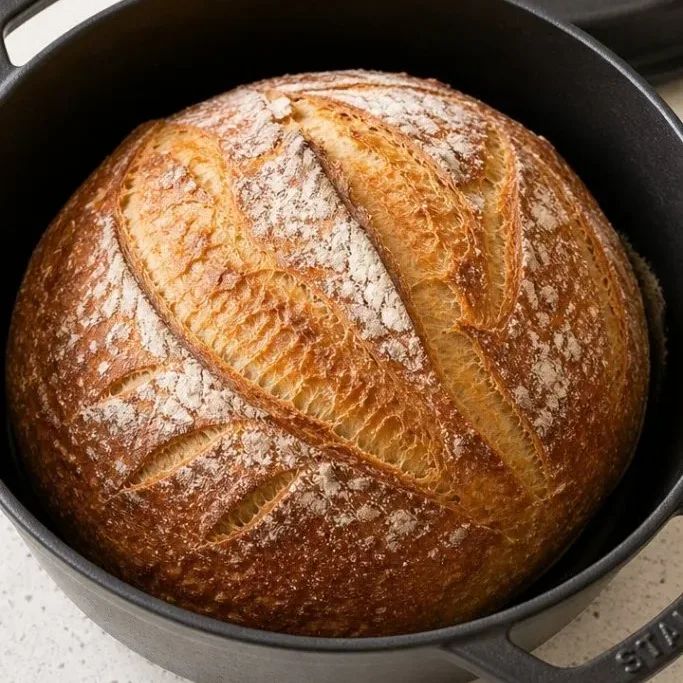
Most of the time is hands-off while the yeast does the work. Once you pull a steaming, golden loaf from your own oven, you’ll realize bakery bread is something you can absolutely nail at home.
What Makes This Italian Bread So Good
The magic is in the contrast. A deeply browned, crackling crust gives way to a chewy, tender crumb that’s full of irregular holes. That contrast comes from a wet, slack dough and a big blast of steam the moment the loaf hits the hot oven.
It tastes like the loaves from a corner Italian bakery — a whisper of nuttiness from the long fermentation, but no sourdough starter or special gear needed. Just good flour, patience, and a water pan that turns your kitchen into a steam oven.
Ingredients
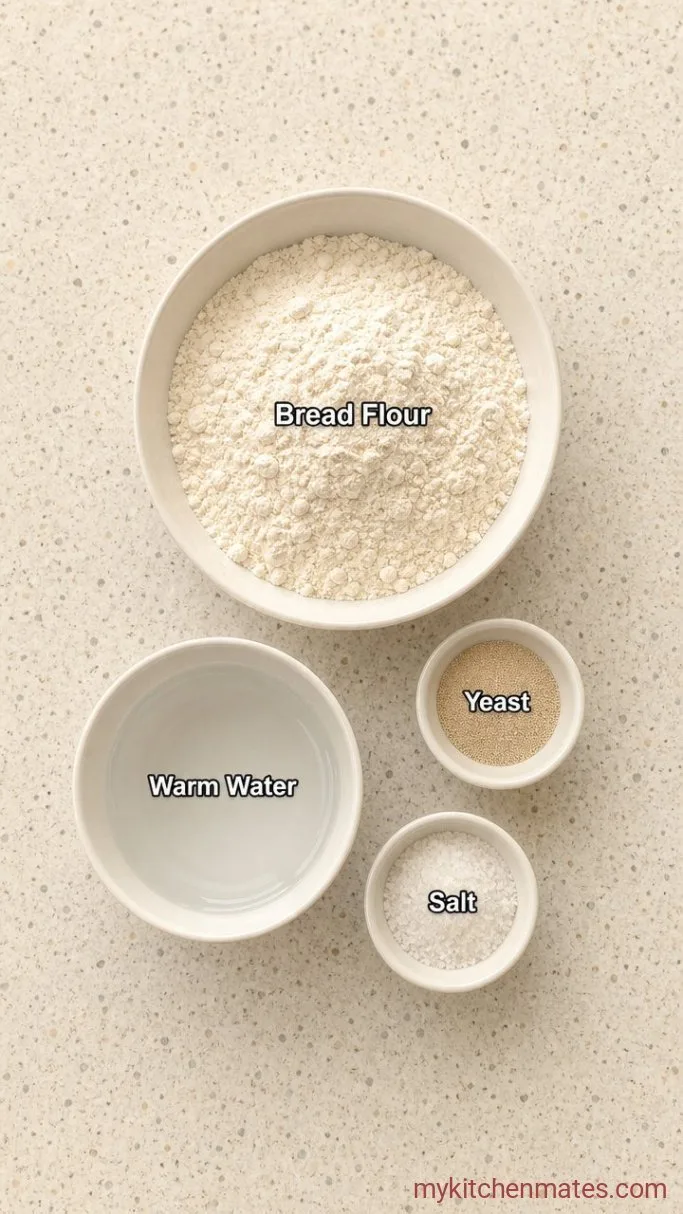
- 4 cups (500g) bread flour: high-protein flour gives the loaf its chewy structure and strong rise.
- 2 teaspoons fine sea salt: don’t skimp; it’s the only flavor beyond the wheat.
- 1 teaspoon instant yeast: I use SAF instant so there’s no proofing step.
- 1 3/4 cups (420ml) warm water: about 105°F to 110°F, just warm to the touch.
Variations / Substitutions
- All-purpose flour: swap in the same weight, but the crust will be softer and the crumb less chewy. Bread flour is worth it for that classic snap.
- Herbs: fold in 1 tablespoon chopped fresh rosemary or 1 teaspoon dried oregano when you mix the dough for a fragrant, savory loaf.
- Overnight no-knead version: reduce yeast to 1/4 teaspoon, mix everything, and let the dough sit at room temperature for 12 to 18 hours. Proceed with shaping from there.
Italian Sausage Tortellini Soup is a cozy soup to serve with this bread.
How to Make Crusty Italian Bread
Step 1: Mix the Dough

In a large bowl, whisk together 4 cups bread flour, 2 teaspoons salt, and 1 teaspoon instant yeast. Pour in the 1 3/4 cups warm water and stir with a spatula until no dry flour remains. The dough will be shaggy and sticky — that’s exactly what you’re after at this stage.
Cover the bowl and let it rest for 30 minutes. This autolyse step lets the flour fully absorb the water, which makes the gluten development easier later on.
Step 2: Stretch and Fold the Dough
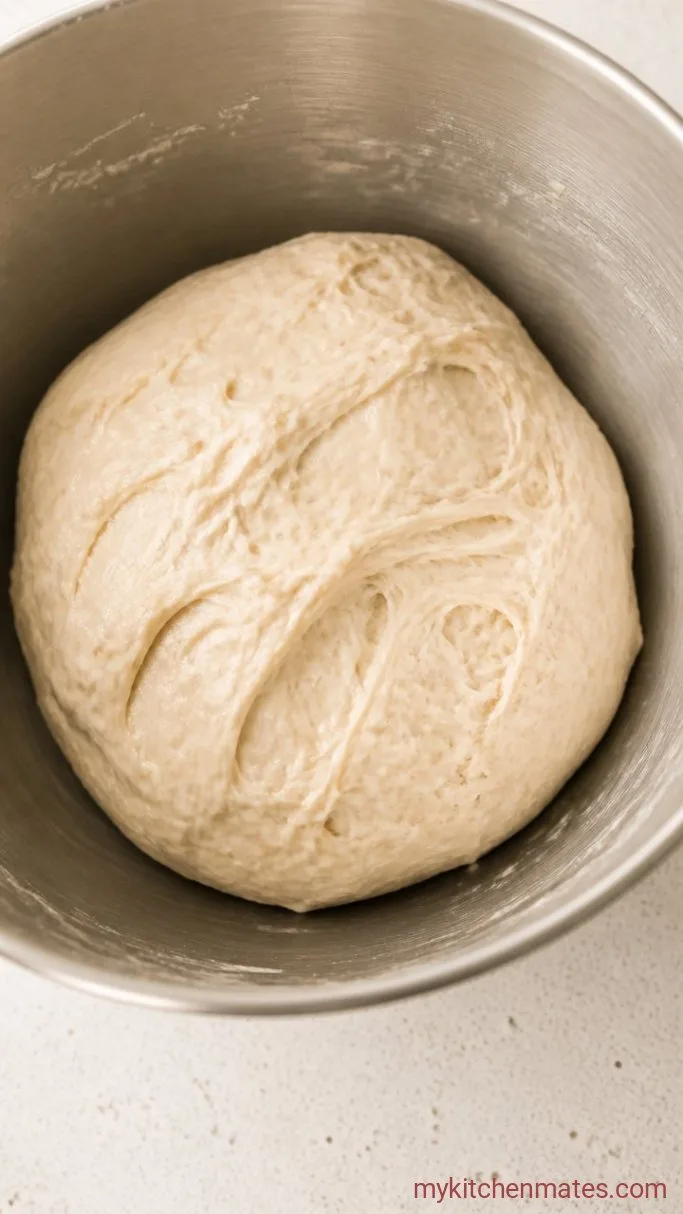
Wet your hand to stop sticking, then reach underneath the dough, stretch a section upward, and fold it over the top. Turn the bowl a quarter turn and repeat until you’ve done four folds. Cover and rest for another 30 minutes.
Do two more rounds of stretching and folding, resting 30 minutes between each round. By the third round, the dough will feel smooth and stretchy, and you’ll see big bubbles forming just under the surface.
Step 3: Shape the Loaf

Scrape the dough onto a lightly floured counter. With floured hands, pull the edges into the center to form a rough ball, then flip it seam side down. Cup your hands around the dough and drag it toward you in short pulls to tighten the surface into a taut skin. Let it rest uncovered for 15 minutes.
For a longer loaf, flatten the ball gently into a rectangle, fold the top third down and the bottom third up like a letter, and pinch the seam closed. Roll the cylinder gently to even out the shape.
Step 4: Proof the Loaf

Place the shaped loaf on a floured couche or a parchment-lined baking sheet, seam side down (or up if you prefer a rustic split). Cover it loosely with plastic wrap or a clean towel and let it proof at room temperature for about 45 minutes, until it looks noticeably puffy.
The finger-dent test tells you when it’s ready: press a floured finger lightly into the side. If the dough springs back fast, give it more time. If it springs back slowly and leaves a small indentation, it’s perfectly proofed and ready to bake.
Step 5: Score and Bake the Loaf

Position a baking stone or an inverted heavy sheet pan on the middle oven rack and place a metal pan on the bottom rack. Preheat the oven to 450°F (230°C) for at least 30 minutes. When the oven is fully hot and the loaf is proofed, slide the parchment directly onto the hot stone. Immediately pour 1 cup of hot water into the bottom pan, shut the door, and do not open it for the first 20 minutes.
Bake with the steam for 20 minutes, then carefully remove the water pan (or let it finish evaporating) and continue baking for another 15 to 20 minutes. The loaf is done when the crust is a deep, burnished gold and it sounds hollow when you tap the bottom. Transfer to a wire rack and let it cool at least 30 minutes before slicing — the crackle you hear as it cools is your reward.
Tips for a Crisp Crust Every Time
- Weigh your flour if you can.: If you’re using cups, spoon the flour in and level it; scooping directly from the bag packs the cup and leads to a dense, heavy loaf.
- Don’t skip the steam.: A pan of hot water on the bottom rack is the simplest, most reliable way to get that shiny, crackling crust at home. Ice cubes on a preheated tray work too, but the water pan is fuss-free.
- Let it cool completely.: Cutting into a steaming loaf mashes the crumb and leaves it gummy. Wait until it’s just warm, about 30 to 45 minutes, and the texture will be light and chewy.
Bake times will vary slightly depending on shape:
| Loaf shape | Steam phase | Dry bake | Total approximate bake time |
|---|---|---|---|
| Round boule | 20 mins | 15–20 mins | 35–40 mins |
| Long batard | 20 mins | 10–15 mins | 30–35 mins |
| Two smaller loaves | 20 mins | 10–12 mins per batch | 30–32 mins |
Keeping Bread Fresh
- Room temperature: wrap the loaf in a clean kitchen towel and keep it on the counter for up to 2 days. Avoid plastic bags, which soften the crust.
- Reheating: refresh slices or the whole loaf in a 350°F (175°C) oven for 5 to 7 minutes. The crust will crisp right back up.
- Serve cold: the bread is still tasty at room temperature, though the crust loses its initial crackle. Toasting brings it back to life.
What to Serve with Crusty Italian Bread
A big bowl of minestrone or a simple tomato soup turns this bread into the ultimate dunking vehicle — the airy crumb drinks up broth without falling apart. It’s just as good alongside roasted chicken, where the crusty heel is perfect for mopping up pan juices and garlicky oil.
Frequently Asked Questions
Can I use active dry yeast instead?
Yes, dissolve the same amount of active dry yeast in the warm water and let it foam for 5 minutes before mixing. The rest of the steps stay the same.
Why is my crust soft and not crisp?
It usually comes down to steam. Make sure you add a pan of hot water the moment the bread goes in, and don’t open the oven door for the first 20 minutes. A too-low oven temperature can also stop the crust from setting properly.
Can I bake this without a baking stone?
Absolutely. An overturned heavy sheet pan, preheated for the same 30 minutes, works nearly as well. Slide the parchment right onto the hot pan and bake as directed.
My loaf turned out dense. What went wrong?
That often happens when too much flour is added during shaping, or when the dough isn’t handled gently enough. Keep the surface floured only lightly and avoid punching the dough down; you want to preserve those bubbles.
Crusty Italian Bread Recipe
Ingredients
Method
- Whisk the flour, salt, and yeast in a large bowl. Add the warm water and stir until a shaggy dough forms. Cover and rest 30 minutes.
- With a wet hand, stretch and fold the dough four times. Cover, rest 30 minutes, and repeat the stretch-and-fold twice more, resting 30 minutes between each round.
- Turn the dough onto a floured surface, shape into a taut round or batard, and let it rest uncovered for 15 minutes.
- Place the loaf on a floured couche or parchment-lined baking sheet, cover loosely, and proof about 45 minutes until puffy and the finger-dent test leaves a slow spring-back.
- Preheat the oven to 450°F (230°C) with a baking stone on the middle rack and a metal pan on the bottom rack. Slide the loaf onto the hot stone, pour 1 cup hot water into the bottom pan, and bake 20 minutes. Remove the water pan and bake 15 to 20 more minutes until deep golden and hollow-sounding. Cool completely on a rack.
Notes
