
High-Protein Cottage Cheese Ninja Creami

This Cottage Cheese Ninja Creami gives you a thick, scoopable ice cream with more protein than most store-bought pints. It uses nothing more than cottage cheese, a little milk, and a sweetener you already have, then the machine turns the frozen base into something genuinely creamy.

You do a quick blend, freeze it overnight, and let the Ninja Creami do the rest. The result is a dessert that feels like a treat but keeps you full far longer than standard ice cream.
Why This High-Protein Ice Cream Works
The cottage cheese brings a mild tang and a dense, smooth body, but once it’s blended and frozen, the Creami shaves through the ice crystals and churns it into something that tastes like a rich, soft-serve custard. No chalky protein powder aftertaste here.
Because cottage cheese is already full of protein and fat, you don’t need eggs or cream to get a velvety texture. This recipe has become my go-to on nights when I want dessert and don’t want to fuss with a cooked custard base.
The final spin takes under two minutes, and you can eat it right away or press it back into the pint and stash it in the freezer. Every scoop is cold, a little sweet, and just tangy enough that a handful of berries feels right on top.
Ingredients
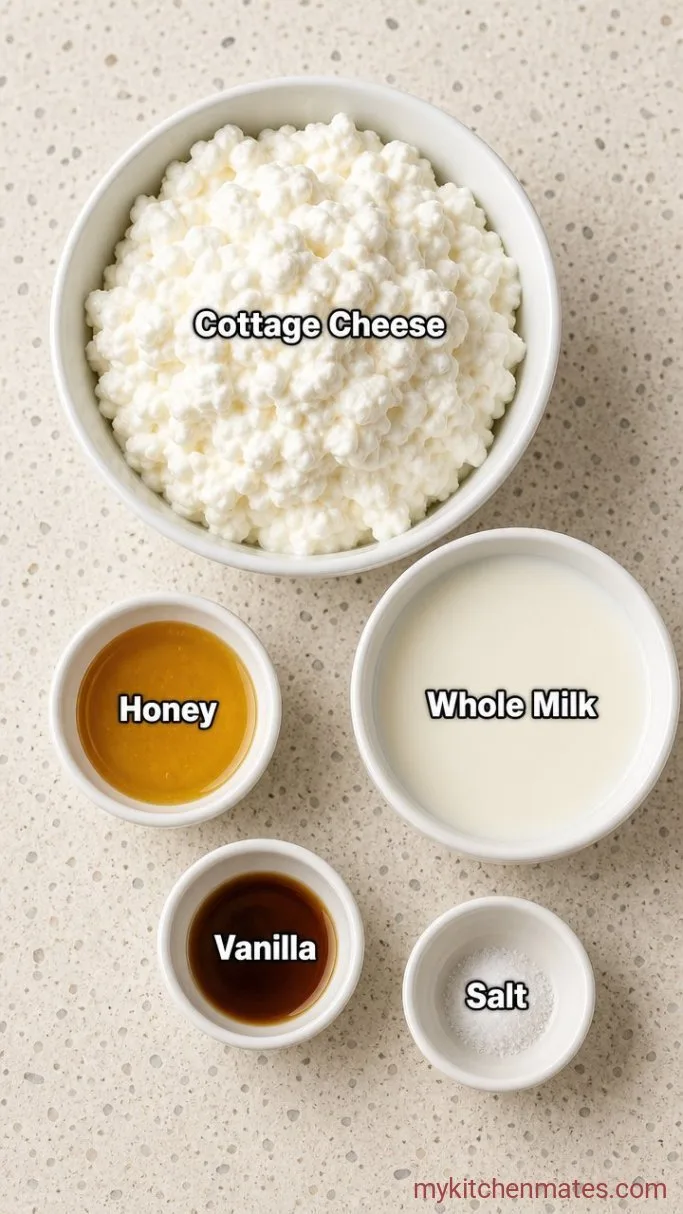
- 1 cup full-fat cottage cheese: 4% milkfat gives the creamiest result, but 2% works too. Avoid fat-free, which turns icy.
- 1/4 cup whole milk: any milk you have will work; the fat in whole milk helps the texture stay scoopable.
- 2 tbsp honey or maple syrup: adjust to your sweetness preference. Granulated sweetener can leave a gritty texture, so liquid sweeteners blend better.
- 1 tsp vanilla extract: use pure vanilla if you have it; the flavor stands out against the mild cheese.
- Pinch of salt: just a tiny bit makes the sweetness read clearer and rounds out the tang.
Variations / Substitutions
- Swap the sweetener: agave, date syrup, or a zero-calorie liquid sweetener all work. If you use a dry granulated sweetener, let it dissolve fully in the milk before blending.
- Berry ripple: fold a small handful of frozen raspberries into the pint after the first spin and run a re-spin cycle. The berries break down into swirls.
- Chocolate version: add 2 tbsp unsweetened cocoa powder to the blender with the other ingredients. The cocoa settles into a fudgy, dense ice cream.
- Dairy-free: use a thick plant-based cottage cheese alternative if you can find one, and swap the milk for oat or coconut milk from a carton.
High-Protein Cottage Cheese Flatbread is perfect for serving on the side of this recipe.
How to Make Cottage Cheese Ninja Creami
Step 1: Blend the Base
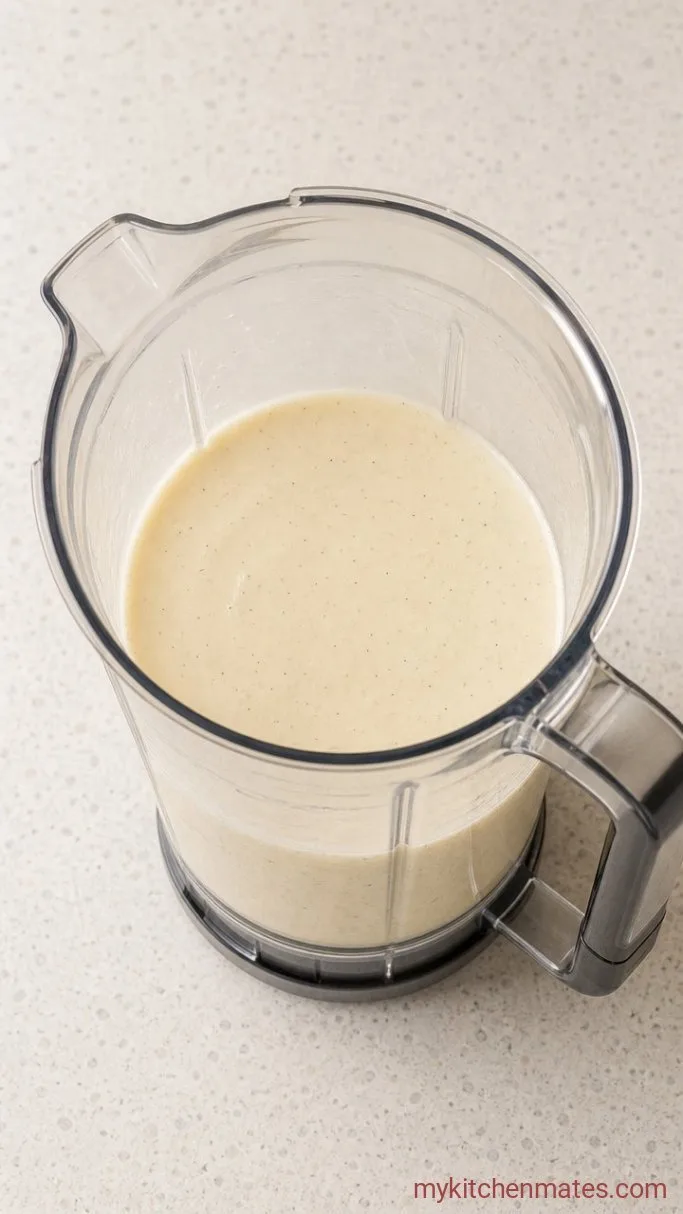
Add the 1 cup cottage cheese, 1/4 cup milk, 2 tbsp honey, 1 tsp vanilla, and a pinch of salt to a blender. Blend on high for about 30 to 45 seconds, pausing once to scrape down the sides.
You want the mixture to be completely smooth with no visible curds at all. Run a finger through it after blending. If it feels even a little grainy, blend for another 20 seconds until it’s silky.
Don’t rush this part. Any remaining lumps will freeze into hard bits that the Creami can’t fully smooth out.
Step 2: Freeze the Base Solid
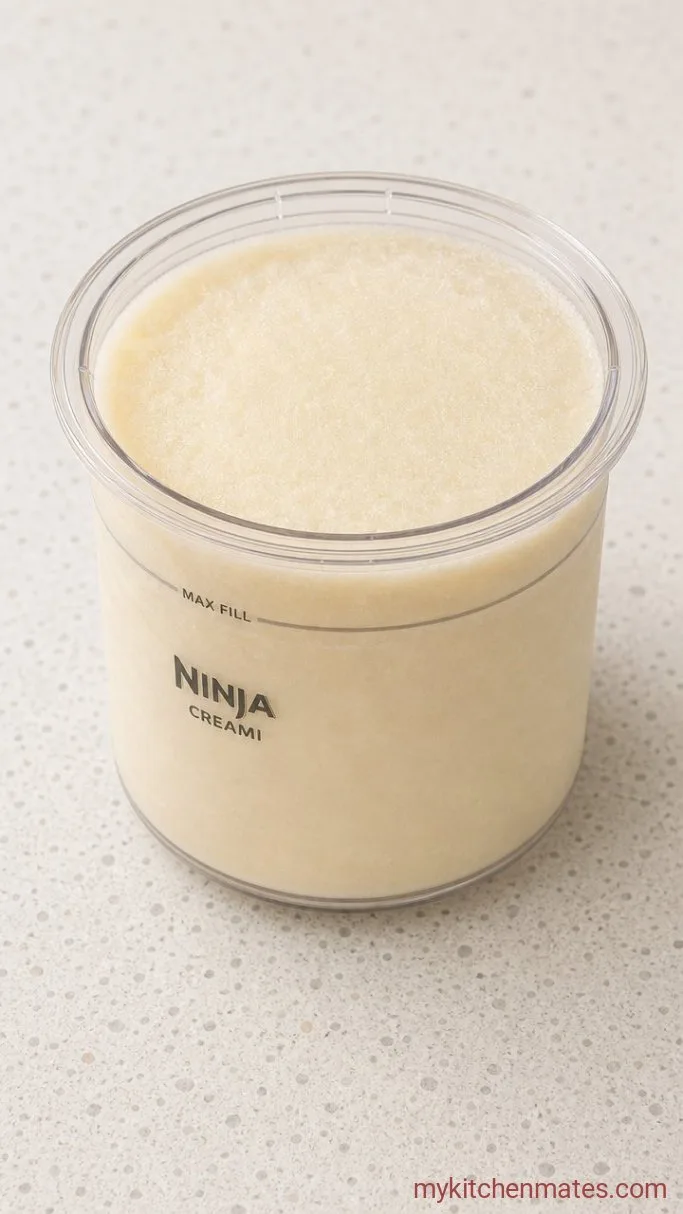
Pour the blended mixture into a clean Ninja Creami pint container, leaving the fill-line visible. Set the pint flat in the freezer and freeze for at least 24 hours. The base must be fully frozen through, not just firm on top.
After 24 hours, the surface should be solid and frosty, with no jiggle in the center if you tilt the pint. A level freeze helps the machine process the whole block evenly, so give the pint a gentle tap on the counter before it sets to remove any air bubbles.
Step 3: Process Until Creamy
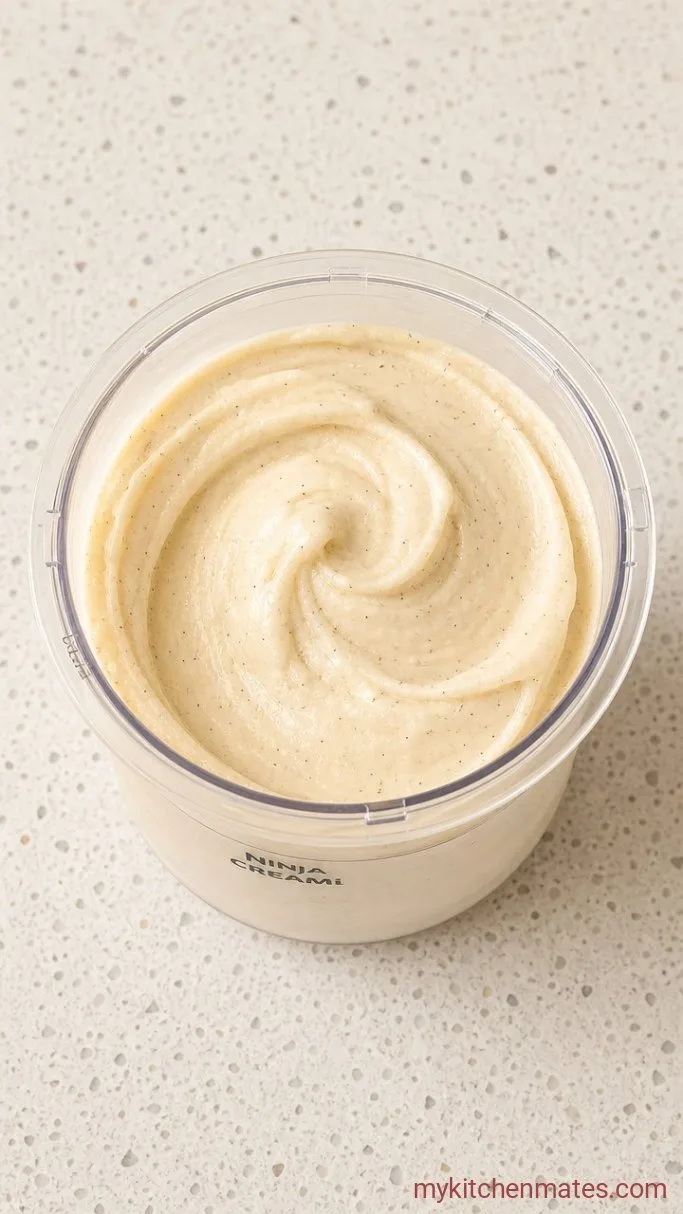
Remove the pint from the freezer and run it under warm water for about 10 seconds to loosen the edges. Place it in the Ninja Creami outer bowl and lock the lid. Select the “Lite Ice Cream” setting and let the first spin finish.
Scrape down the sides with a spatula. The center may still look crumbly and pale. Add 1 tablespoon of milk right down the middle, then run one re-spin cycle. That extra liquid and the second pass are what give it the soft-serve texture.
If it still looks powdery, add one more tablespoon of milk and spin again. The whole block should turn glossy and scoopable in under three minutes total.
Step 4: Scoop and Serve
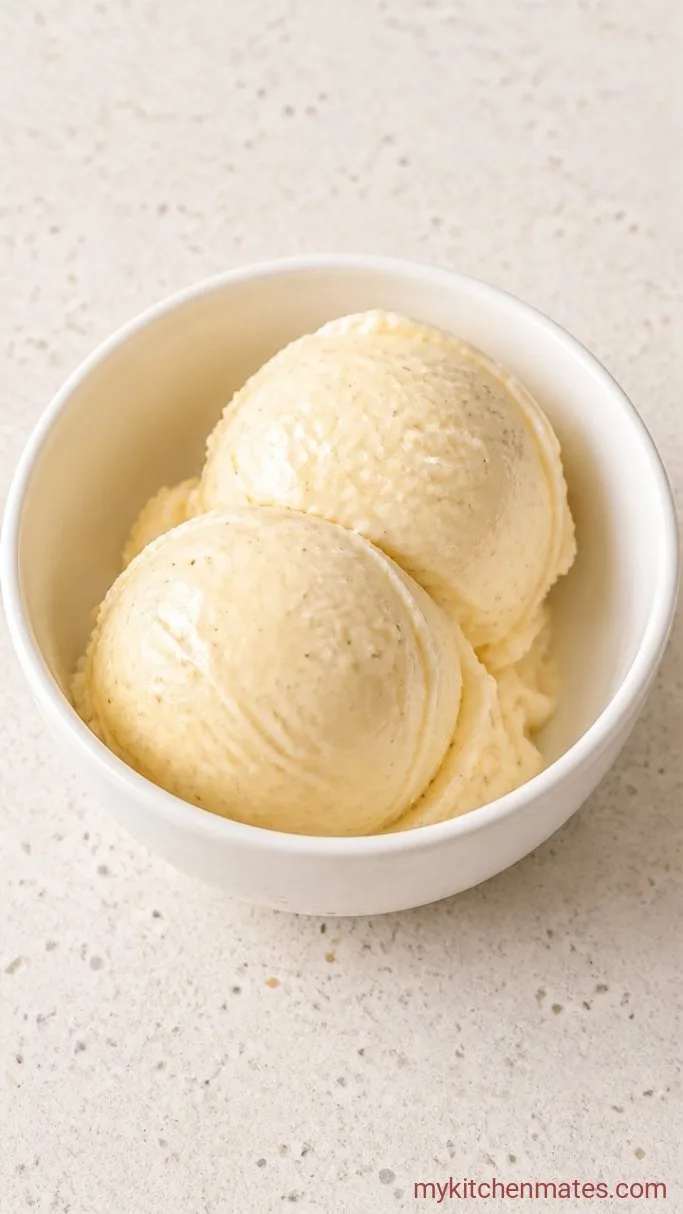
Run an ice cream scoop along the top of the pint to pull out a rounded mound. Scoop into a chilled bowl. The surface will be smooth and slightly soft at the edges, holding its shape for a few minutes before it begins to melt.
Top with fresh berries, a drizzle of honey, or a few crushed nuts right before serving. Eat it immediately while the texture is at its creamiest, because once it refreezes, it firms up and will need another quick spin later.
Tips for the Creamiest Texture
- Use the “Lite Ice Cream” cycle even though there is no traditional custard here. It applies the right amount of blending pressure to break down the frozen block without overheating it.
- Always add a splash of liquid before the re-spin. A single tablespoon of milk makes the difference between a crumbly, icy snow and a smooth scoop.
- If your blender leaves the mixture even slightly gritty, strain it through a fine-mesh sieve before pouring into the pint. The extra minute pays off.
- Sweeten just a bit more than you think you need. Cold dulls sweetness, so what tastes balanced at room temperature can read muted once frozen.
- Don’t skip the salt. It pulls the honey and vanilla forward and keeps the cottage cheese from tasting flat.
Storing Leftovers
Press a piece of plastic wrap directly onto the surface of any leftover ice cream, snap the lid on, and return the pint to the freezer. It will keep for up to 1 month.
To serve again, let the pint sit on the counter for 5 minutes, then run it through one full “Lite Ice Cream” cycle. You probably won’t need a re-spin unless you let it freeze for several days.
What to Serve With Cottage Cheese Ice Cream
A handful of warm, juicy berries works well, especially strawberries or blackberries that are lightly crushed so their juices bleed into the cold cream. A crisp biscotti on the side gives you something to bite into against the soft ice cream. If you want dessert for a crowd, scoop it over a warm, fudgy brownie and let the heat melt the edges just a little.
Frequently Asked Questions
Can I use a different milk?
Yes. Any milk you have works, but whole milk gives the creamiest mouthfeel. Using water or a very thin plant milk can make the base freeze harder and taste icy.
Why is my ice cream powdery after the first spin?
A powdery result means the base needs more liquid. Add 1 tablespoon of milk and run a re-spin. If it’s still not smooth, add another tablespoon and spin again.
Can I make this without a Ninja Creami?
No, the Creami’s blade shaves through the frozen block in a way a standard food processor cannot. You won’t get the same creamy texture without it.
Is the cottage cheese flavor strong?
No. Blending smooths it out, and the vanilla and sweetener cover most of the tang. What remains is a mild, clean dairy taste, similar to a light cheesecake base.
Can I double the recipe?
Doubling works if you have a second pint container, but don’t overfill a single pint above the fill line. The machine needs headroom to process properly.
Cottage Cheese Ninja Creami Recipe
Ingredients
Method
- Blend cottage cheese, milk, honey, vanilla, and salt in a blender until completely smooth and grit-free, about 45 seconds.
- Pour the mixture into a Ninja Creami pint, level it, and freeze for 24 hours until solid.
- Run warm water over the pint for 10 seconds, lock it into the machine, and process on “Lite Ice Cream.” Scrape down the sides, add 1 tbsp milk, and run one re-spin cycle until glossy.
- Scoop into bowls, add your favorite toppings, and serve right away.
Notes
