
3-Ingredient No-Churn Condensed Milk Ice Cream

This ice cream uses just three ingredients, no machine, and barely any effort. The texture is dense, creamy, and scoops like a dream straight from the freezer.
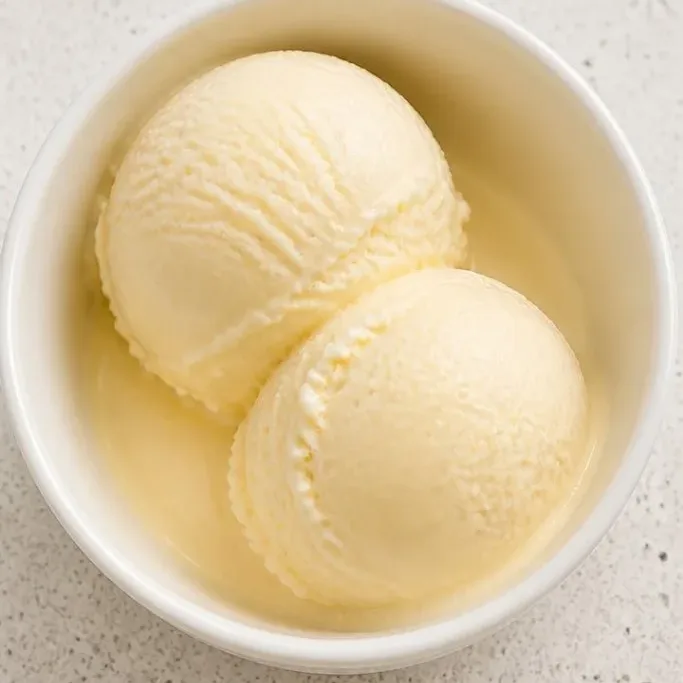
Whip, fold, freeze. That’s all. It tastes like pure vanilla and sweet cream, and it’s the kind of dessert you’ll actually make on a weeknight because it feels special with so little work.
What Makes This No-Churn Ice Cream So Good
Sweetened condensed milk does two things at once. It sweetens the base and locks in a velvety, soft-scoop texture so you never get icy crystals.
Because there is no churning, the cream stays light and airy. The result is a scoop that melts slowly and tastes richer than most store-bought tubs. It’s the version I keep coming back to when I want real ice cream without pulling out a machine.
Ingredients
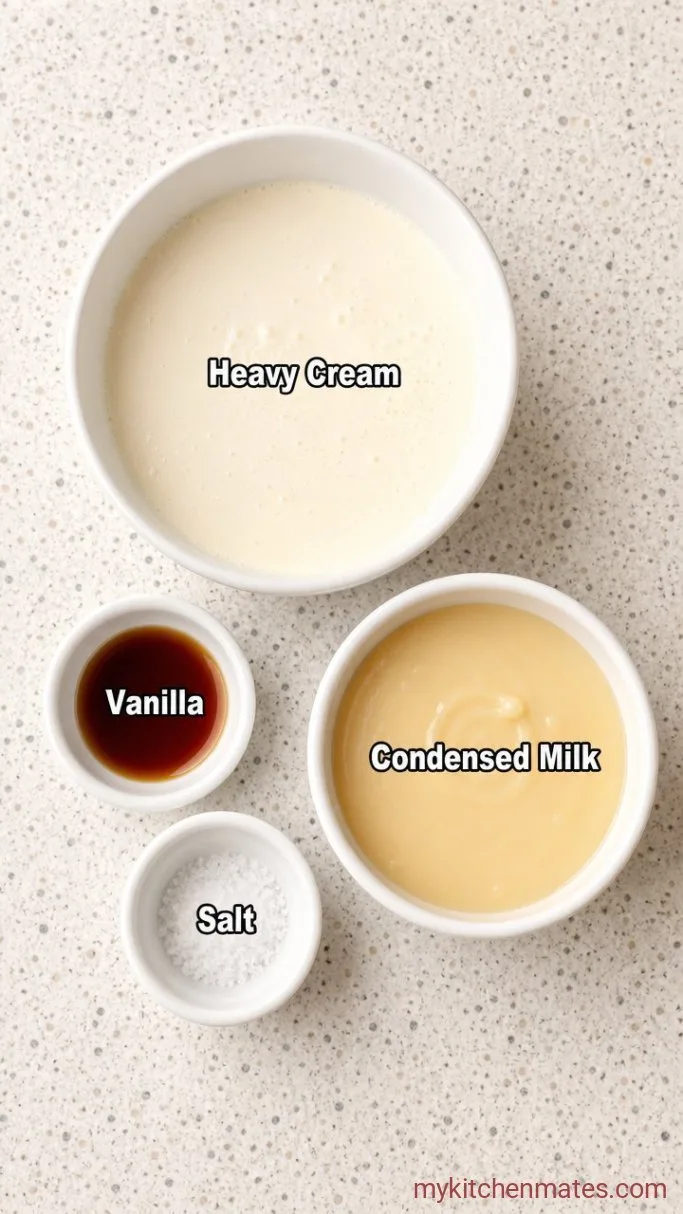
- 2 cups heavy cream, cold: straight from the fridge, full-fat
- 1 (14 oz) can sweetened condensed milk: not evaporated milk, it must be thick and sweet
- 2 tsp vanilla extract: real vanilla makes a noticeable difference here
- Pinch of fine salt: optional, but it brightens the whole thing
Variations / Substitutions
- Chocolate: whisk ⅓ cup unsweetened cocoa powder into the condensed milk before folding, then add a handful of chopped dark chocolate
- Espresso chip: stir 1 tbsp instant espresso powder into the condensed milk, then fold in ½ cup chocolate chips after mixing
- Fresh fruit swirl: fold the base gently, then ripple through ½ cup crushed ripe berries or mango puree right before freezing
- Dairy-free: swap the heavy cream for full-fat coconut cream (the solid part from chilled cans) and use a can of sweetened condensed coconut milk
Microwave Brownies are next on our list if this ice cream is your kind of dessert.
How to Make 3-Ingredient No-Churn Condensed Milk Ice Cream
Step 1: Whip the Cream
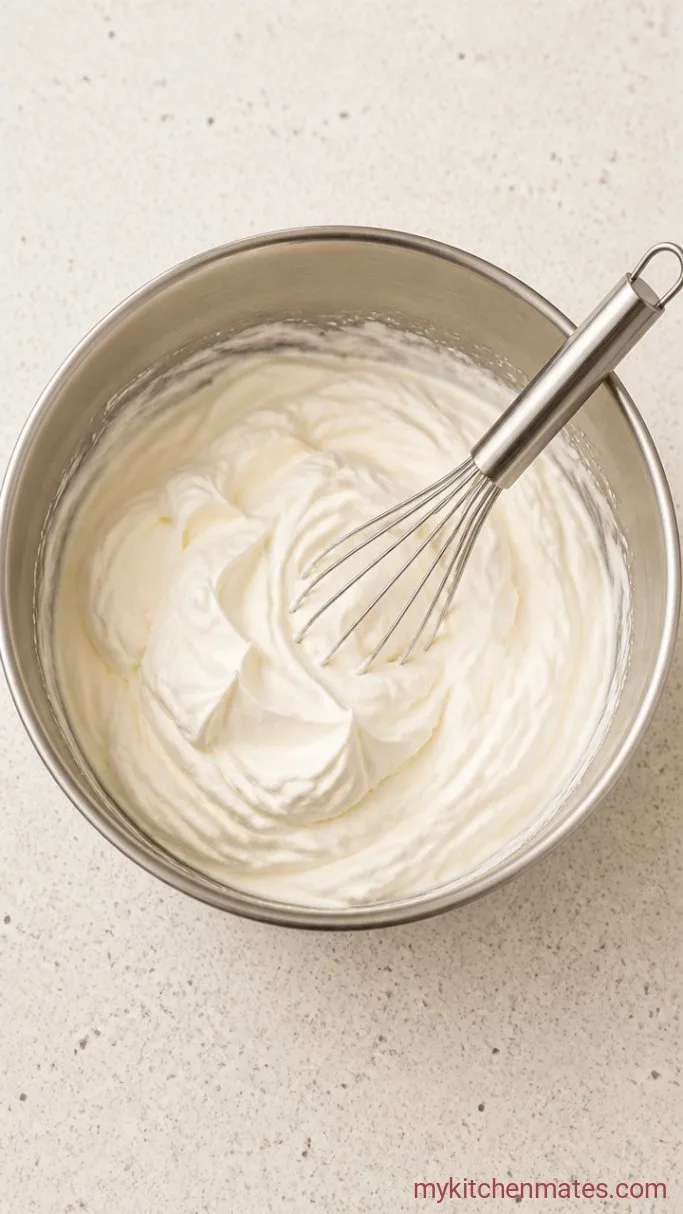
Pour the 2 cups cold heavy cream, the 2 tsp vanilla, and the pinch of salt into a large mixing bowl. Beat with a hand mixer on medium speed until soft peaks form, about 2 to 3 minutes. The cream should hold its shape when you lift the beaters but still look satiny. Stop before it turns stiff or grainy; that stage breaks the smoothest texture later.
Step 2: Fold in the Condensed Milk
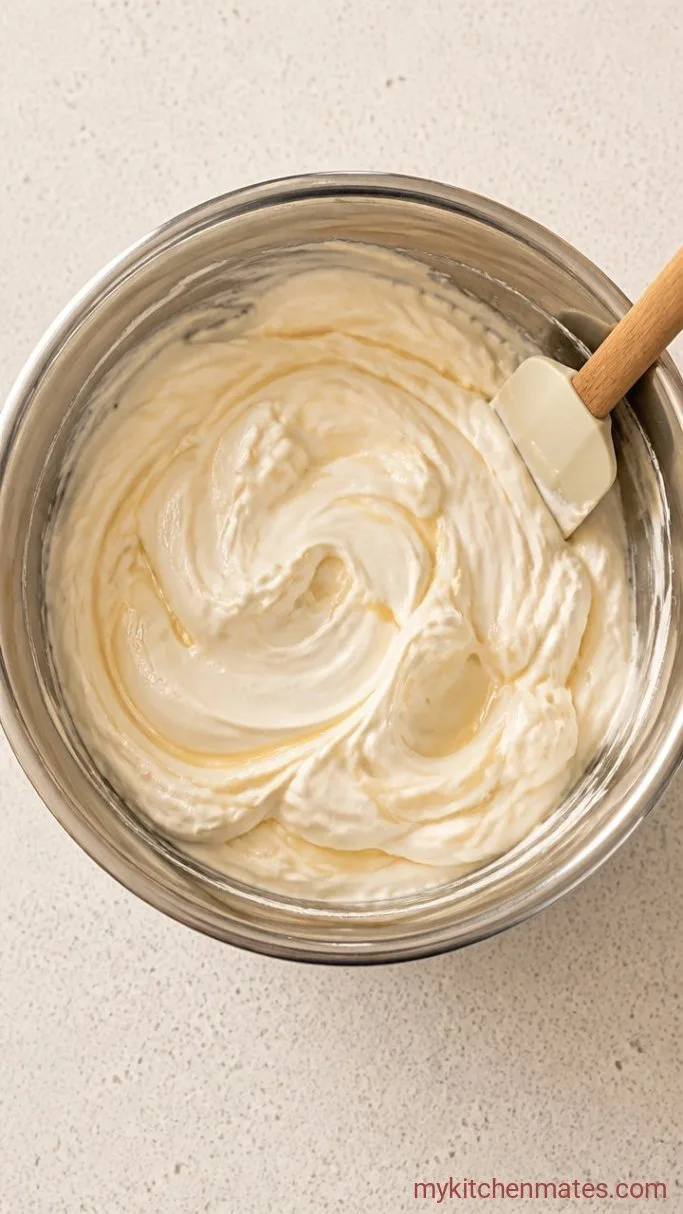
Scrape the full can of sweetened condensed milk into the whipped cream. Use a large silicone spatula and fold gently, cutting down through the middle and lifting the cream up and over, until no white streaks remain. The mixture will deflate a little, that’s normal. You want it uniform but still billowy.
Step 3: Spread and Freeze the Base
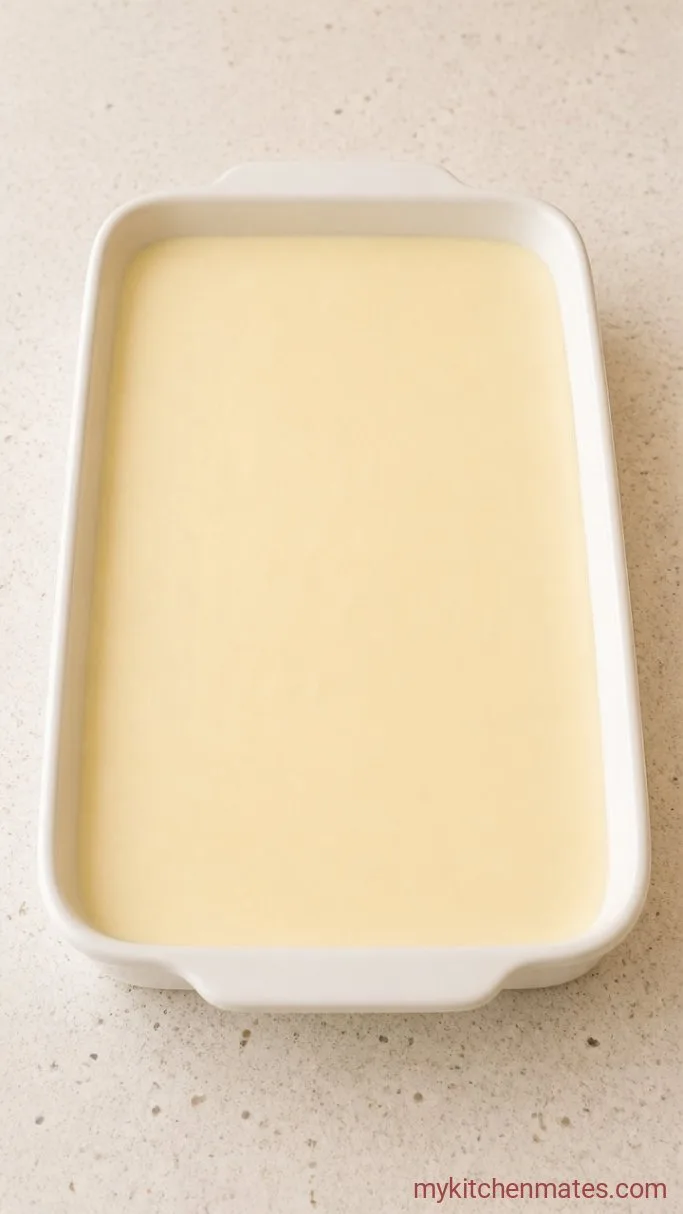
Transfer the ice cream base into a standard 9×5-inch loaf pan. Spread it into an even layer with the spatula, tap the pan lightly on the counter to release any air pockets, and press a sheet of wax paper or plastic wrap directly onto the surface. Freeze until completely firm, about 6 hours or overnight. There’s no stirring required; the condensed milk does the work.
Step 4: Scoop and Serve
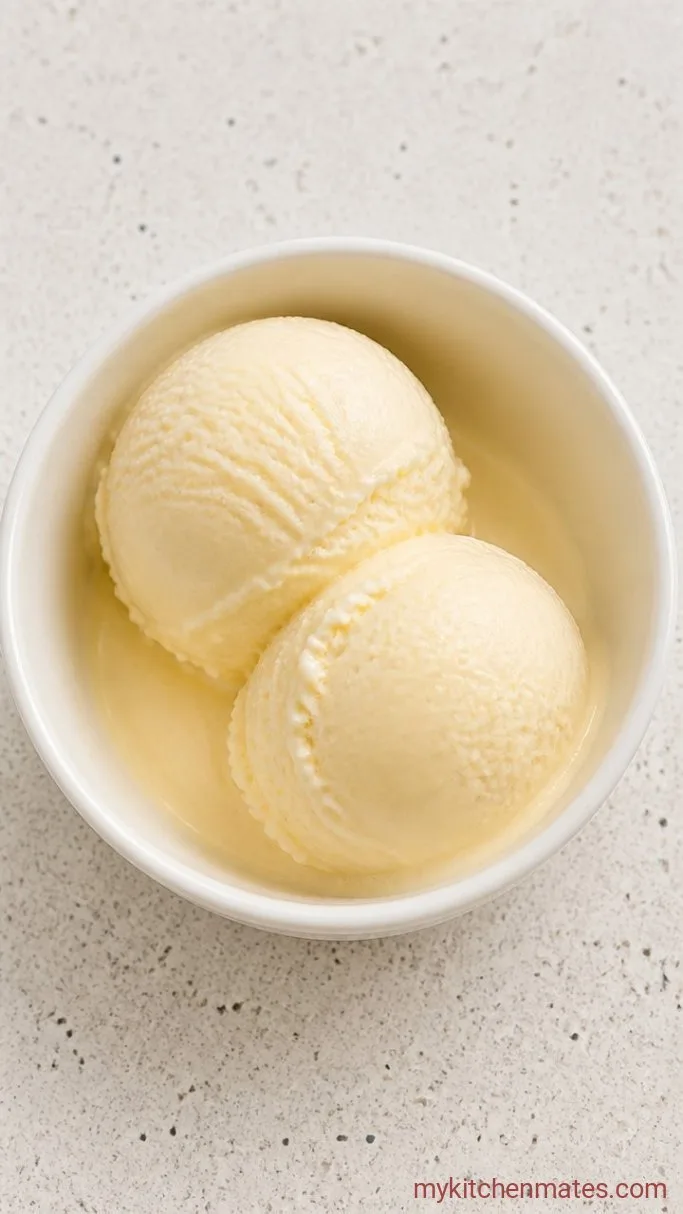
Pull the pan from the freezer and let it sit at room temperature for 5 minutes if it’s rock hard. Run an ice cream scoop under warm water, then dig in. The scoops will be dense and creamy with a clean vanilla finish. Serve in chilled bowls or waffle cones right away.
Tips for the Creamiest No-Churn Ice Cream
- Chill your bowl and beaters for 10 minutes before whipping the cream; cold equipment helps it whip faster and hold more air.
- Fold slowly. If you stir the base or beat it in, you knock out the air and the final texture turns heavy.
- For clean, round scoops, dip the scooper in hot water and shake off the excess between each pass.
- Don’t skip the wax paper on the surface. It stops ice crystals from forming on top and keeps the first scoop as smooth as the last.
Scale the recipe for a crowd:
| Yield (pints) | Heavy Cream | Sweetened Condensed Milk | Vanilla Extract |
|---|---|---|---|
| 1 | 2 cups | 1 can (14 oz) | 2 tsp |
| 2 | 4 cups | 2 cans (28 oz) | 4 tsp |
| 3 | 6 cups | 3 cans (42 oz) | 6 tsp |
Storing Your Ice Cream
Keep the ice cream in the loaf pan, covered tightly with plastic wrap pressed against the surface and a second layer of foil on top. It will stay good in the freezer for up to 2 weeks. If it becomes too firm, let it soften on the counter for 10 to 15 minutes before scooping.
What to Serve With 3-Ingredient No-Churn Condensed Milk Ice Cream
A warm fruit cobbler or a slice of chocolate tart turns this into a proper dessert. The cold cream against hot crisp topping is what makes it work. Fresh berries and a drizzle of olive oil keep it simple but feel intentional.
Frequently Asked Questions
Can I use low-fat cream or half-and-half?
No, they don’t whip up with enough structure to carry the base. You’ll end up with a thin, icy brick. Full-fat heavy cream is non-negotiable here.
Why did my ice cream turn icy?
Icy texture usually means the cream was overwhipped or low-fat ingredients were used. Whipping just to soft peaks and using full-fat everything protects against ice crystals.
Can I make this without a hand mixer?
You can, but it takes serious arm strength. Whip the cream with a balloon whisk until it holds soft peaks, which takes several minutes. It is doable but slower.
How long does it need to soften on the counter?
About 5 minutes for a standard kitchen temperature, up to 10 if your freezer runs very cold. It should give slightly when you press the top with a finger.
3-Ingredient No-Churn Condensed Milk Ice Cream Recipe
Ingredients
Method
- Pour cold heavy cream, vanilla, and salt into a chilled bowl. Beat with a hand mixer on medium until soft peaks form, 2 to 3 minutes.
- Scrape in the sweetened condensed milk and fold gently with a spatula until no streaks remain.
- Spread the mixture into a 9×5-inch loaf pan, smooth the top, and press plastic wrap directly onto the surface. Freeze until firm, about 6 hours or overnight.
- Let the pan sit at room temperature for 5 minutes, then scoop and serve.
Notes
