
4-Ingredient No-Bake Coconut Chocolate Bars

Coconut chocolate bars are the treat I turn to when I need something sweet with almost no effort. They come together in about 15 minutes of hands-on time and set up in the fridge while you get on with your evening.
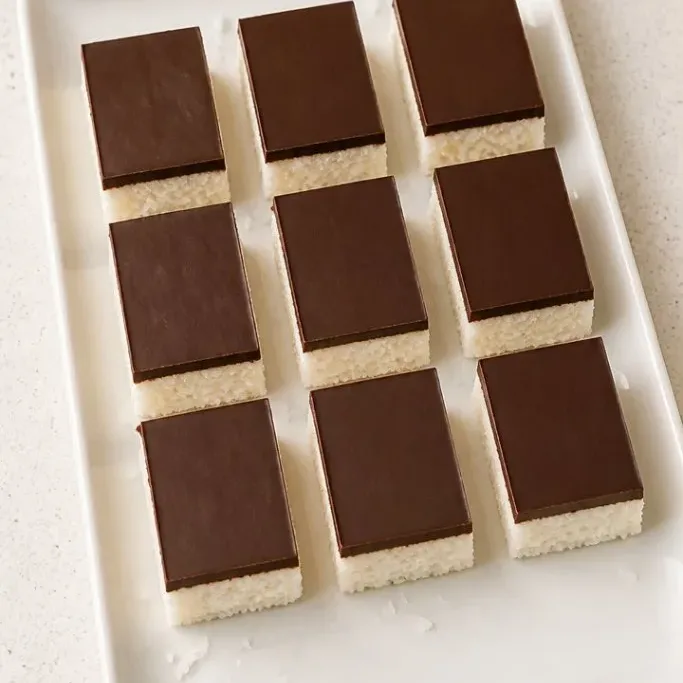
No oven, no fuss, and only a handful of ingredients stand between you and a chewy coconut base topped with a thick layer of chocolate. Keep a batch in the fridge for a grab-and-go dessert all week.
Why These No-Bake Bars Always Win
The coconut layer stays soft and chewy because the sweetened condensed milk binds everything without drying out. The dark chocolate on top snaps cleanly when you bite through and cuts through the sweetness just enough.
You can make the whole batch in one bowl, press it into a pan, and let the fridge do the work. I have never had a batch last more than a few days, even when I hide them in the back of the fridge.
Ingredients

- 3 cups sweetened shredded coconut: use the moist, sweetened kind for the best chewy texture
- 1 (14 oz) can sweetened condensed milk: full-fat regular works as the binder and sweetener
- 8 oz dark chocolate chips: 60 to 70 percent cacao gives a rich contrast to the sweet coconut
- 1 tbsp coconut oil: helps the chocolate melt smoothly and set with a crisp snap
Variations / Substitutions
- Swap the sweetener: add 1 tsp vanilla extract to the coconut mixture for a little extra depth, no extra sweetening needed
- Milk chocolate: use milk chocolate chips instead of dark for a sweeter, softer topping, but the bars will need extra chill time to set firmly
- Make them vegan: substitute a can of sweetened condensed coconut milk and use dairy-free dark chocolate chips
No-Bake Coconut Cream Cheesecake is next on our list if these bars are your kind of dessert.
A Few Notes Before You Start
- Line your pan with parchment paper so the bars lift out easily. Let the paper overhang on two sides for simple removal.
- Press the coconut layer really firmly into the pan. A flat-bottomed measuring cup helps pack it evenly and prevents crumbling later.
- Warm your knife under hot water and wipe it dry between every slice to get clean cuts through the chocolate layer.
For a larger batch, use a 9×13 pan and double the ingredients. The recipe as written fills an 8×8 pan and makes 16 bars.
How To Make No-Bake Coconut Chocolate Bars
Step 1: Mix the Coconut Base

Place the 3 cups shredded coconut in a large bowl. Pour in the 14 oz can of sweetened condensed milk and stir with a spatula until every flake of coconut is coated and the mixture looks evenly sticky.
The coconut will be clumpy but should hold together when you press a bit between your fingers. If it feels dry, add an extra spoonful of condensed milk.
Step 2: Press the Base Into the Pan

Line an 8×8-inch baking pan with parchment paper. Spoon the coconut mixture into the pan and spread it roughly with a spatula. Use the back of a measuring cup or your fingertips to press it into a firm, even layer.
Press hard enough that the surface looks smooth and tightly packed. Any loose bits will make the bars fall apart after slicing.
Step 3: Melt the Chocolate Topping

Combine the 8 oz dark chocolate chips and 1 tbsp coconut oil in a heatproof bowl. Microwave in 20-second bursts, stirring between each, until the chocolate is almost completely melted. Stir continuously for the last few seconds until the mixture is smooth and glossy.
Be careful not to overheat the chocolate. If the bowl feels hot rather than just warm, stop microwaving and let the residual warmth finish melting the chips.
Step 4: Pour and Smooth the Chocolate Layer

Pour the melted chocolate over the pressed coconut base. Tilt the pan gently to spread the chocolate into the corners, then run an offset spatula or the back of a spoon across the top to make a flat layer.
Pop the pan into the fridge immediately so the chocolate sets before it soaks into the coconut. Chill for at least 1 hour until the chocolate is firm to the touch.
Step 5: Slice and Serve
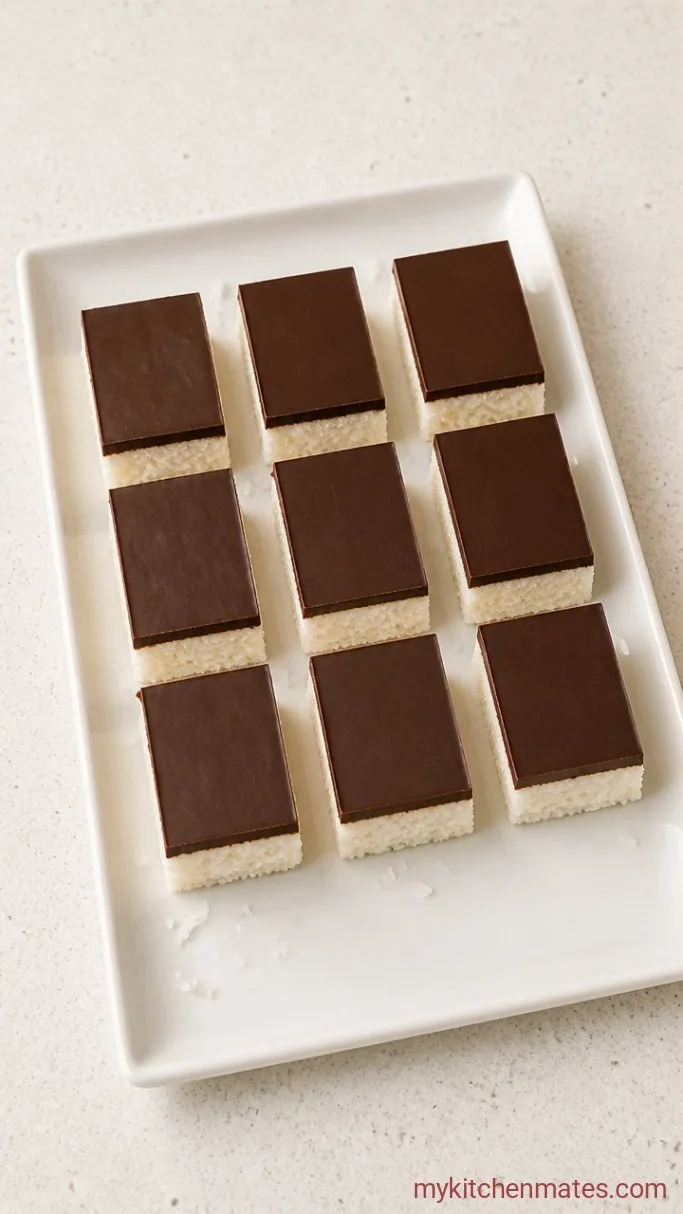
Lift the whole slab out of the pan using the parchment overhang and place it on a cutting board. Run a large chef’s knife under hot water, wipe it dry, and slice the block into 4 strips each way to make 16 bars.
Serve straight from the fridge while the chocolate still has its snap. The coconut layer stays chewy even when cold.
Storing Leftover Bars
- Refrigerate: keep the bars in an airtight container in the fridge for up to 5 days. They stay firm and chewy straight from the cold.
- Freeze: layer the bars between sheets of wax paper in a freezer-safe container and freeze for up to 2 months. Thaw in the fridge for a couple of hours before eating.
Frequently Asked Questions
Can I use unsweetened shredded coconut?
You can, but you will need to add 2 to 3 tbsp of powdered sugar or maple syrup to the coconut and condensed milk mixture to sweeten it, or the bars will taste flat and feel drier.
Why did my coconut layer fall apart when I sliced it?
The most common reason is not pressing the base firmly enough into the pan. Really pack it down with a measuring cup so every shred holds together before adding the chocolate.
How can I make the chocolate layer thicker?
Use 10 oz of chocolate chips instead of 8, keeping the same 1 tbsp coconut oil. You may need to chill the bars for an extra 30 minutes to get the thicker layer to set completely.
Can I use the same recipe for a tart or pie crust?
Yes, press the coconut mixture into a 9-inch greased pie plate or tart pan and chill until firm before filling. It makes a solid no-bake crust for key lime pie or a chocolate mousse tart.
Coconut Chocolate Bars Recipe
Ingredients
Method
- Stir the 3 cups shredded coconut and 14 oz can of sweetened condensed milk together in a bowl until evenly sticky.
- Line an 8×8-inch pan with parchment paper. Press the coconut mixture into a firm, level layer using a measuring cup.
- Melt the 8 oz dark chocolate chips with 1 tbsp coconut oil in the microwave in short bursts, stirring until smooth.
- Pour the chocolate over the coconut base, spread it evenly, and refrigerate until the chocolate is firm, at least 1 hour.
- Lift out the slab using the parchment, slice into 16 bars, and serve chilled.
Notes
