
Quick Cheesy Cheeseburger Sliders

These cheeseburger sliders are the answer when you need a fast, party friendly dinner that everyone gets excited about. A single seasoned beef patty gets baked on a sheet pan, topped with melty cheddar, and sandwiched between soft slider buns, all in about 30 minutes.
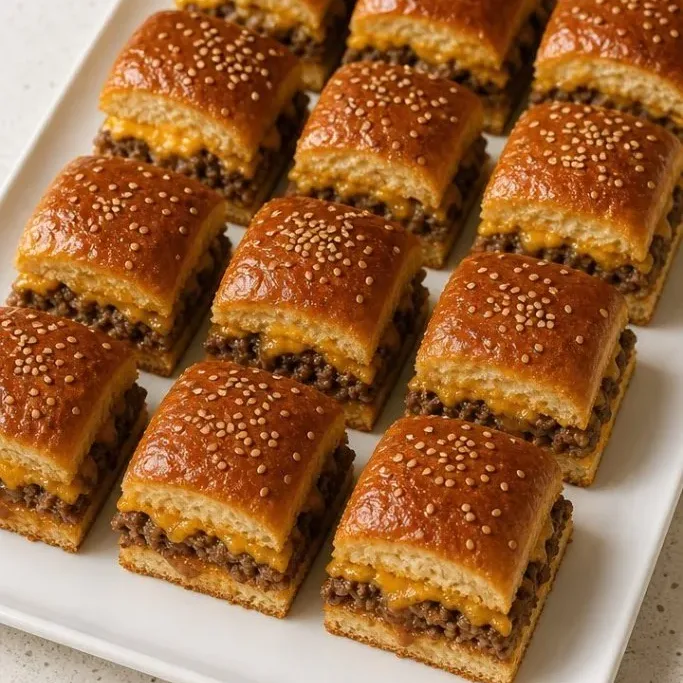
No stovetop splatters, no flipping individual patties. I just press the beef into one big rectangle, bake, and slice.
What Makes These Sliders Special
What I keep coming back to is how the oven does nearly all the work. The beef stays juicy because you don’t have to fuss with it on the stove, and the cheese melts into every corner.
The tops get brushed with garlic butter and a sprinkle of sesame seeds, so they come out golden and savory with a soft, squishy interior. They taste like the drive in cheeseburger you remember, only way easier to pull off.
Ingredients
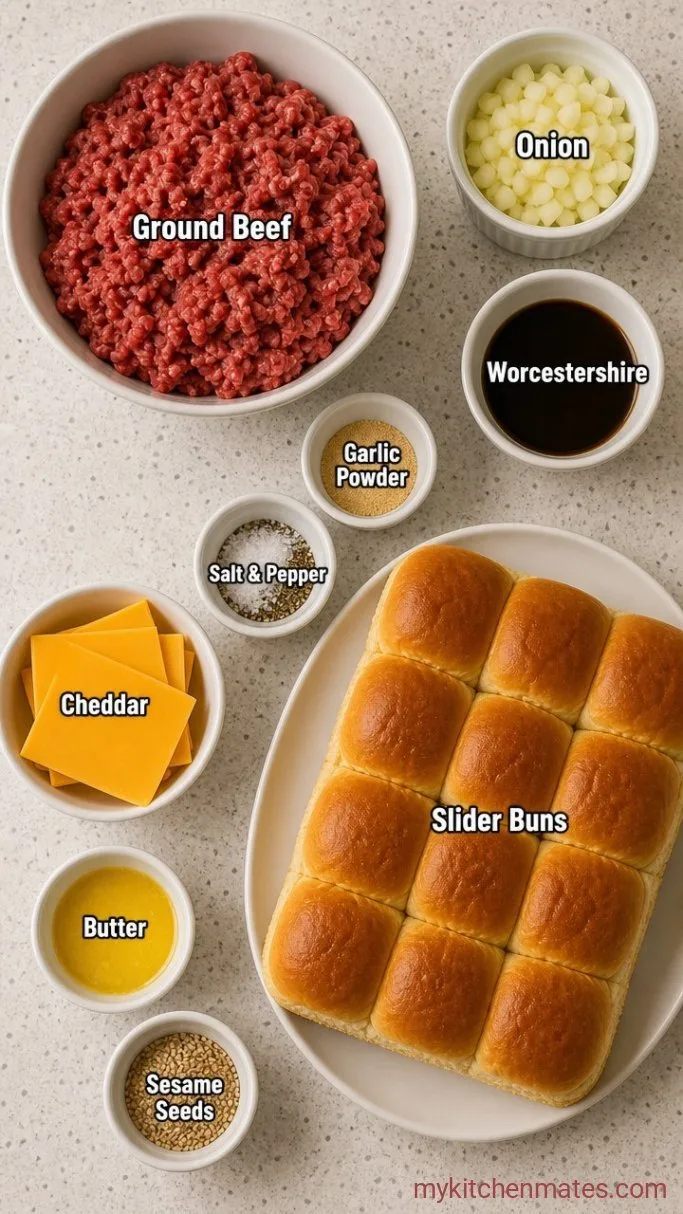
- 1 lb (450g) ground beef, 80/20: that bit of fat keeps the patty moist.
- 1 small yellow onion, finely diced: cooks right into the beef.
- 1 tbsp Worcestershire sauce: adds a deep, savory note.
- 1 tsp garlic powder
- 1/2 tsp salt
- 1/4 tsp black pepper
- 6 slices mild cheddar cheese: enough to cover the baked patty.
- 12 slider buns (one package Hawaiian rolls or similar): slice them in half horizontally as a single sheet.
- 2 tbsp unsalted butter, melted
- 1/2 tsp garlic powder (for the topping)
- 1 tsp sesame seeds
Variations / Substitutions
- Swap the cheese: provolone, American, or pepper jack all work well.
- Add bacon: crumble 4 slices of cooked bacon over the beef right before the cheese.
- Use ground turkey: the patty will be leaner, so brush a little extra butter on the beef layer before baking.
Fresh Mango Milkshake goes great with these sliders when you want something to sip.
How To Make Cheeseburger Sliders
Step 1: Season the Beef
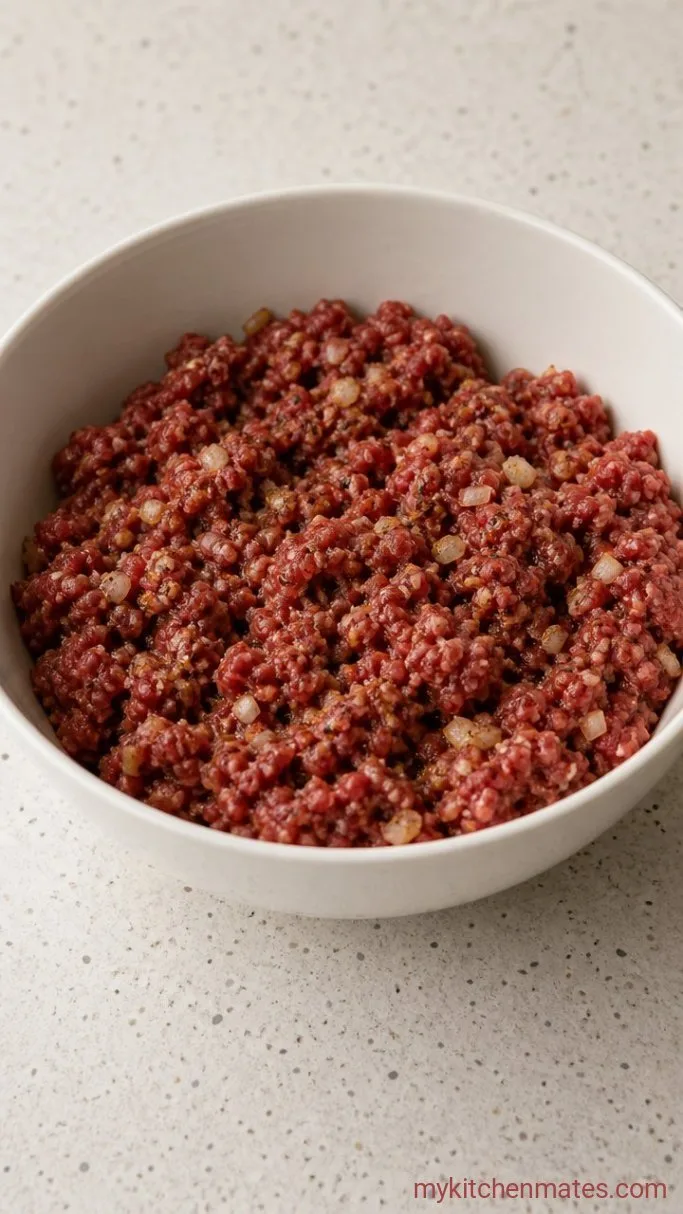
Heat the oven to 400°F (200°C). Toss the ground beef, diced onion, Worcestershire sauce, 1 tsp garlic powder, salt, and pepper into a large bowl. Mix it with your hands just until everything is combined, no longer than a minute.
Overworking the meat makes it dense. You should still see small flecks of beef and onion, not a paste.
Step 2: Shape and Bake the Patty
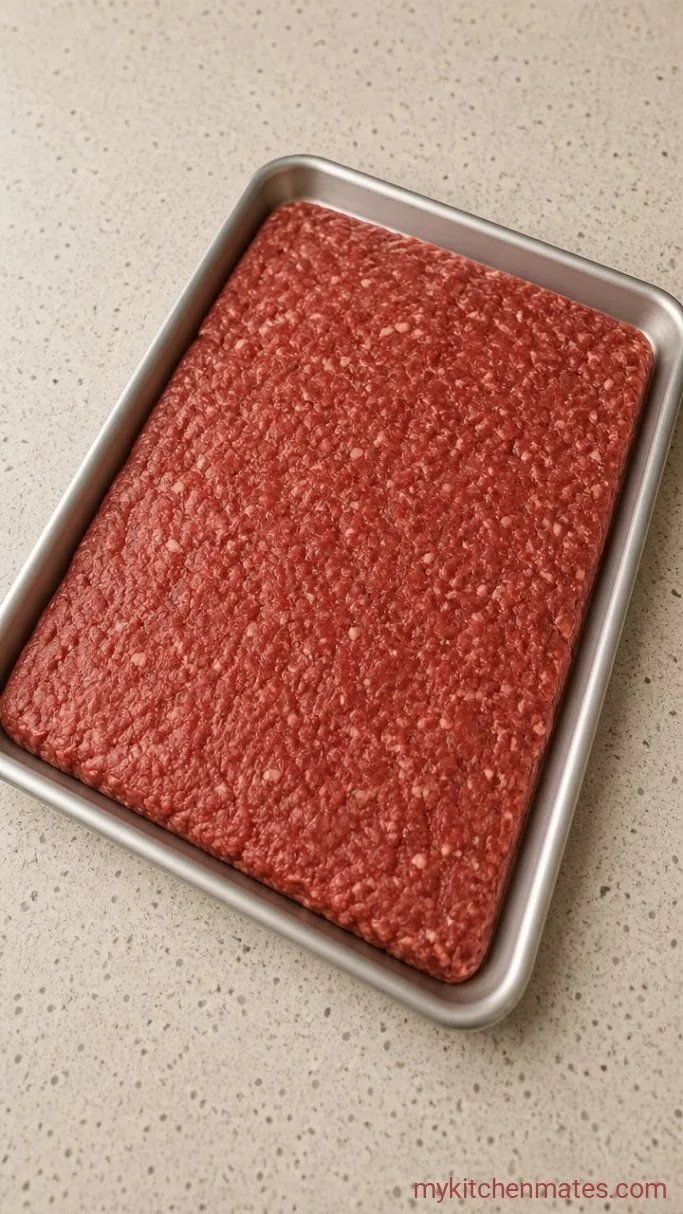
Line a rimmed baking sheet with parchment. Dump the beef mixture onto the center and press it into an even rectangle slightly larger than the arrangement of your slider buns, about 12 by 9 inches. Aim for a half inch thickness so the middle cooks through without the edges drying out.
Bake for 10 minutes. The patty will pull away from the sides a bit and look set on top. Drain off any excess liquid that pools on the sheet.
Step 3: Top with Cheese and Buns
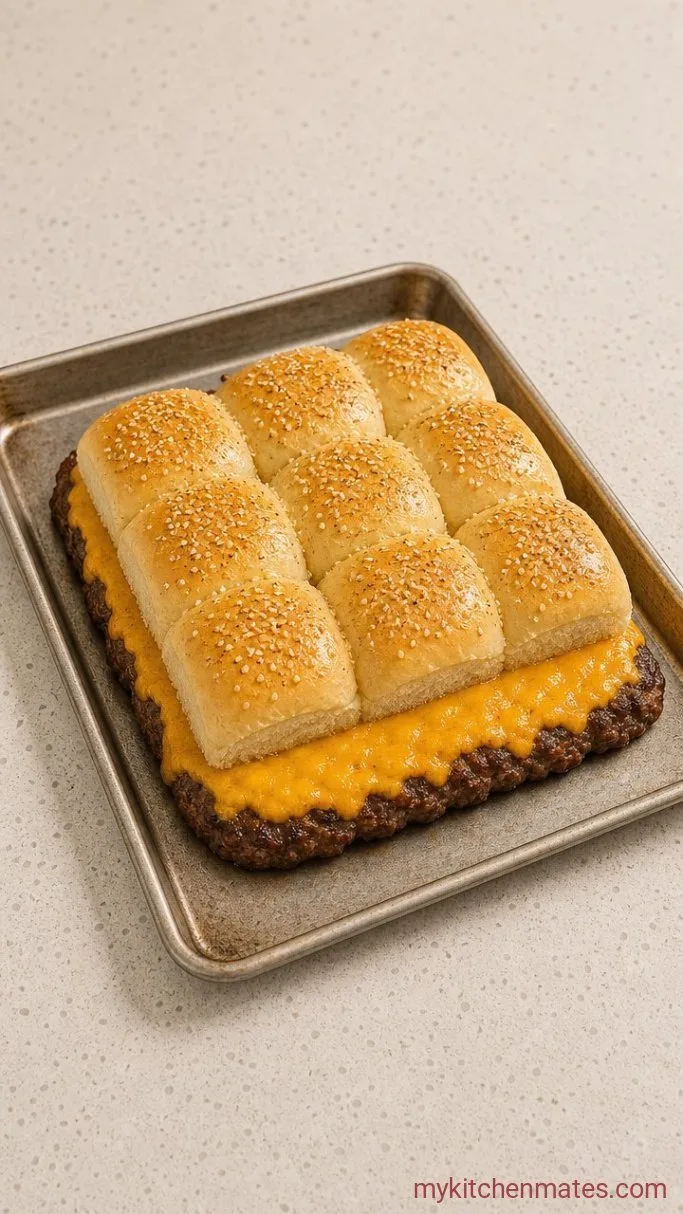
Lay the cheddar slices over the hot beef, covering it entirely. Take the whole sheet of slider buns and set the bottom half right on top of the cheese, then spread the top half of the buns over them. Stir the melted butter with the remaining 1/2 tsp garlic powder and brush it all over the bun tops.
Scatter sesame seeds evenly and bake for another 8 minutes, until the buns are toasted and the cheese is fully melted. The kitchen will smell like a diner at lunchtime.
Step 4: Slice and Serve
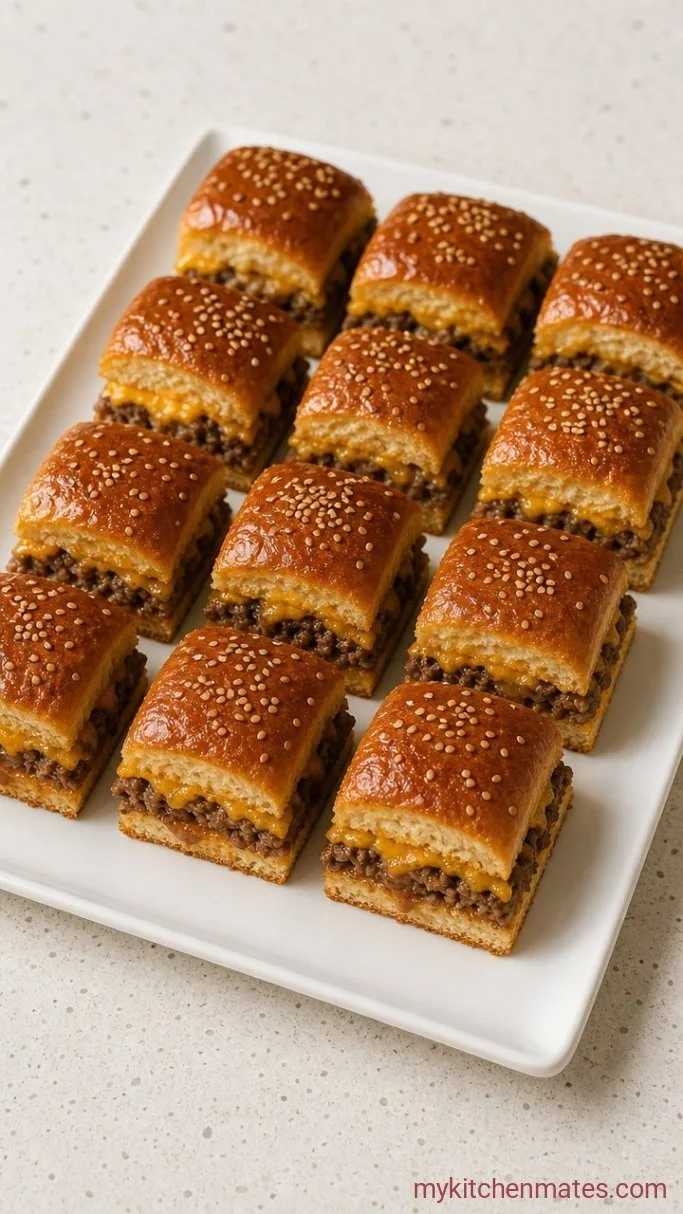
Pull the pan from the oven and run a sharp knife between the buns to separate the sliders. Use a spatula to lift them out as a connected block first if that helps, then cut through completely. Serve right away while the cheese is still stretchy.
Tips for the Best Sliders
- Let the patty rest on the sheet for 2 minutes after the first bake so the juices settle. That gives you cleaner slices later.
- If your slider buns aren’t sliced, use a long serrated knife to cut the whole block of rolls in half horizontally in one go.
- Press the beef layer thinner at the edges so it doesn’t shrink away from the buns.
- A small rimmed baking sheet works better than a large one because the buns hold each other in place while they toast.
Storing Leftovers
- Refrigerate: keep sliders in a sealed container for up to 4 days. They reheat well for quick lunches.
- Reheating: wrap them loosely in foil and warm in a 350°F oven for 8 minutes, or microwave for 30 seconds if you need one fast.
- Serve cold: the cheese firms up enough that they still taste good straight from the fridge.
What Goes Well With These Sliders
Crispy oven fries and a pile of pickles on the side turn them into a full meal. A bright, vinegar based coleslaw cuts through the richness, and a handful of potato chips never hurts.
Frequently Asked Questions
Can I use a different kind of bread?
Yes, any soft dinner rolls or small brioche buns work. Just keep them attached in a sheet so you can spread the beef across the whole base.
How do I stop the slider tops from sliding around?
Brush the bottom half of the buns with a little butter or a thin swipe of mayo before placing them on the cheese. That creates a light glue that holds everything together.
Can I prep these ahead for a party?
Assemble the sliders through Step 3 but stop before the final bake. Cover and refrigerate for up to 4 hours, then bake straight from the fridge. Add 2 extra minutes to the bun baking time.
My beef shrank and pulled away from the buns. What went wrong?
The patty was probably too thick or the meat was overworked. Press it evenly to a half inch thickness and mix only until the seasonings are distributed.
Cheeseburger Sliders Recipe
Ingredients
Method
- Heat oven to 400°F. Combine beef, onion, Worcestershire, 1 tsp garlic powder, salt, and pepper. Mix just until blended.
- Press into a 12×9-inch rectangle on a parchment lined sheet pan. Bake 10 minutes, then drain any liquid.
- Lay cheese over the hot patty, add the bottom half of the slider buns, then the tops. Brush with melted butter mixed with 1/2 tsp garlic powder and scatter sesame seeds. Bake 8 minutes more.
- Slice between the buns and serve hot.
Notes
