
Homemade Car Birthday Cake That’s Easier Than It Looks

A homemade car birthday cake looks impressive, but you don’t need special pans or fondant. With two round cakes, buttercream, and a few store-bought cookies, you can build a cake that actually resembles a car, and it tastes like real cake, not sugar paste.
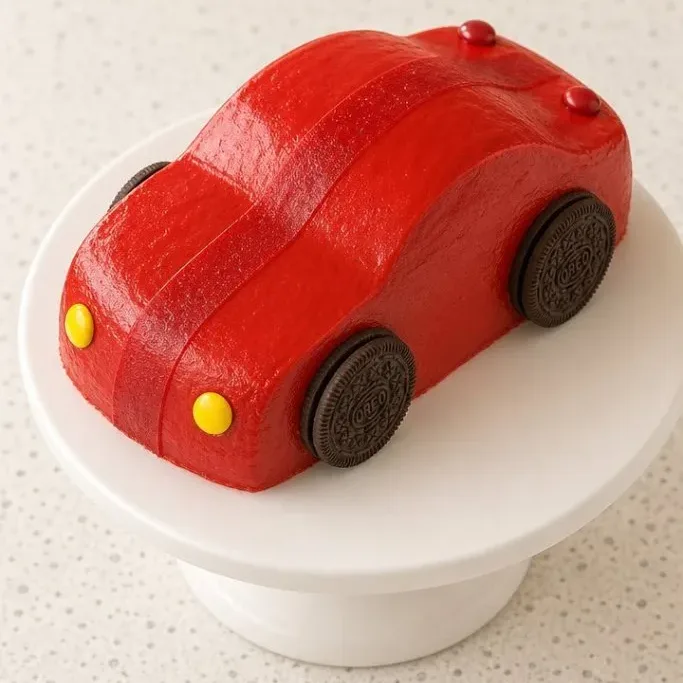
I’ve made this design for three different family birthdays, and every time the kids light up when they see it roll onto the table. Here’s a step-by-step guide that works even if you’ve never carved a cake before.
Why This Car Cake Works
The whole thing is built from two 9-inch round cakes you can make from scratch or a box mix. The shape comes from stacking and trimming, not a specialty mold, so any baker can pull it off.
Chocolate sandwich cookies become wheels, and candy pieces turn into headlights and taillights. Those little details hide rough frosting edges and give the cake instant personality. You get a big payoff for very little fuss.
Because it’s frosted entirely in buttercream instead of fondant, people actually want to eat every bite. The cake stays soft, the frosting stays creamy, and you can tint it any color to match a favorite matchbox car or party theme.
Ingredients
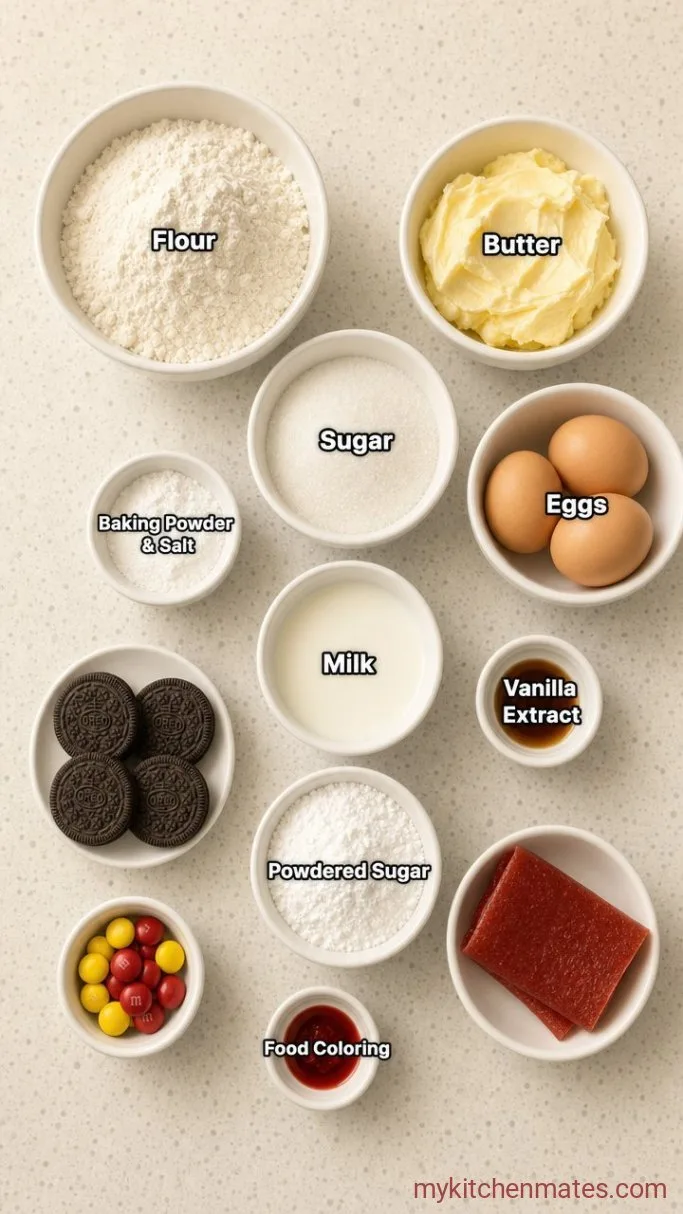
For the cake:
- 2 1/4 cups all-purpose flour: spoon and level for accurate measuring
- 1 1/2 cups granulated sugar
- 1 tablespoon baking powder: makes the layers rise evenly
- 1/2 teaspoon fine salt
- 3/4 cup unsalted butter, softened: leave it out for about an hour before starting
- 3 large eggs, at room temperature
- 1 cup whole milk: 2% also works
- 2 teaspoons vanilla extract
For the buttercream:
- 1 cup unsalted butter, softened: use the same butter as above for consistency
- 4 cups powdered sugar: sift if it’s lumpy
- 2 to 3 tablespoons whole milk: only as needed to thin the frosting
- 1 teaspoon vanilla extract
- Gel food coloring of your choice: a car color plus a few drops for contrast
For decorating:
- 4 chocolate sandwich cookies: like Oreos, for wheels
- 2 yellow M&Ms: headlights
- 2 red M&Ms: taillights
- 1 fruit roll-up, optional: a quick windshield or racing stripe
Variations / Substitutions
- Gluten-free: use a 1-to-1 gluten-free flour blend and check that your cookies are gluten-free.
- Dairy-free: swap in vegan butter sticks and a plant-based milk. The buttercream will still whip up fluffy.
- Chocolate cake: replace 1/4 cup of the flour with unsweetened cocoa powder and use the same baking powder amount.
- Color: tint the frosting any shade you like, or keep it white and add candy racing stripes down the hood.
- Other candy details: licorice strings make bumpers, and pretzel sticks can be axles for the wheels if you build a little edible road.
Rainbow Birthday Cake is next on our list if this cake is your kind of dessert.
How to Make a Homemade Car Birthday Cake
Step 1: Bake the Cakes
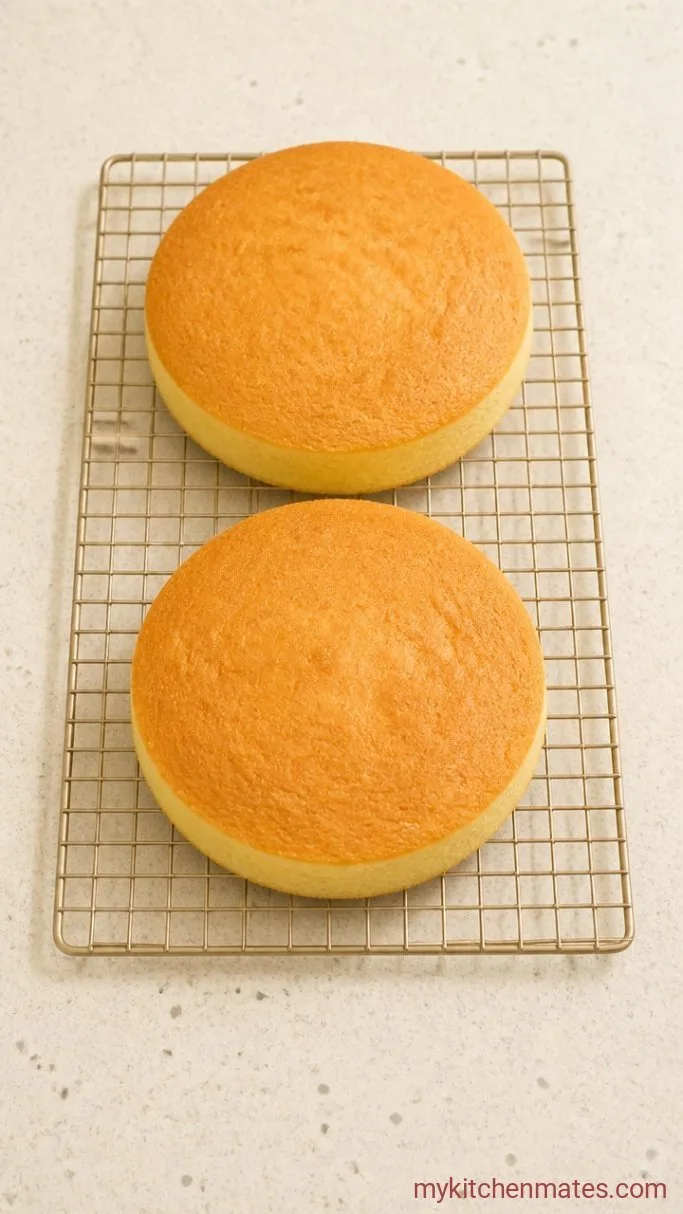
Preheat your oven to 350°F (175°C) and grease two 9-inch round cake pans with butter or nonstick spray. In a medium bowl, whisk together the 2 1/4 cups flour, 1 tablespoon baking powder, and 1/2 teaspoon salt. In a large bowl, beat the 3/4 cup softened butter and 1 1/2 cups sugar with a hand mixer until the mixture looks light and fluffy, about 2 minutes. Add the 3 eggs one at a time, beating well after each. Stir in the 2 teaspoons vanilla.
With the mixer on low, add the flour mixture in three additions, alternating with the 1 cup milk. Start and end with the flour. Once everything is just combined, divide the batter evenly between the prepared pans. Bake for 25 to 30 minutes. The cakes are done when a toothpick inserted in the center comes out clean and the tops spring back lightly when pressed.
Let the layers cool in their pans on a wire rack for 10 minutes, then turn them out and let them cool completely on the rack. Warm cakes will melt your buttercream, so don’t rush this step.
Step 2: Whip the Buttercream
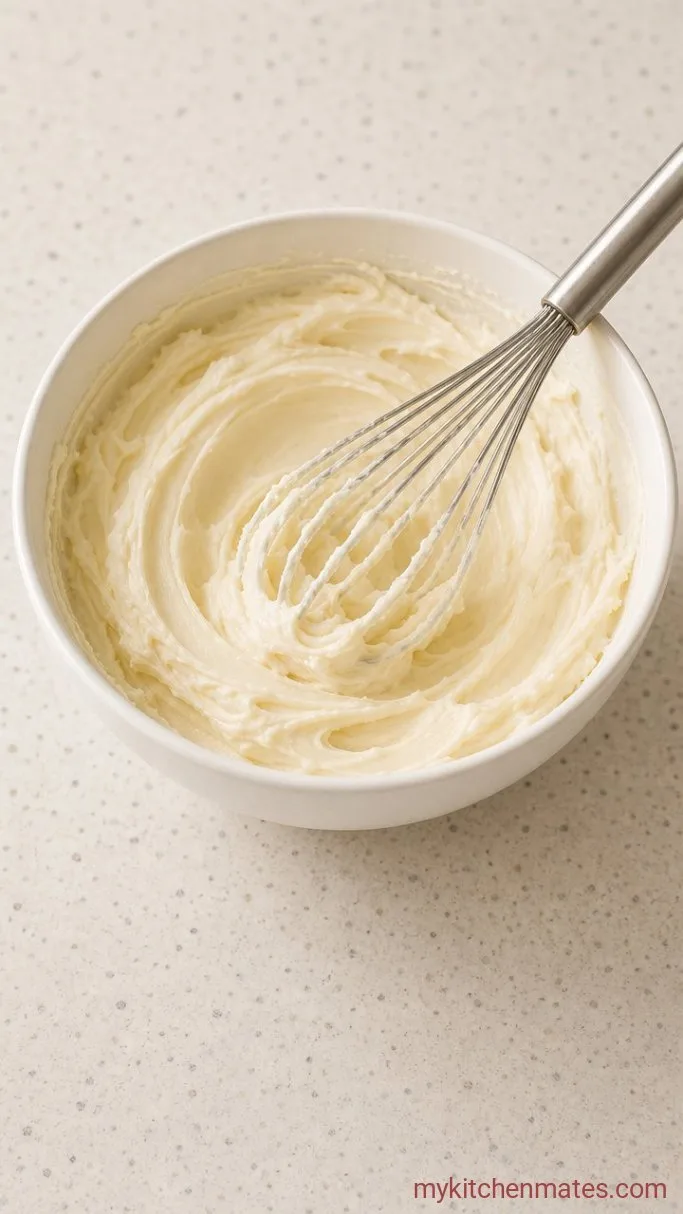
Place the 1 cup softened butter in a large bowl and beat it with a hand mixer until it’s smooth and pale, about 1 minute. Gradually add the 4 cups powdered sugar, one cup at a time, beating on low so the sugar doesn’t fly everywhere. Once the sugar is mostly incorporated, pour in 1 teaspoon vanilla and 2 tablespoons of the milk. Turn the speed to medium-high and beat until the frosting is fluffy and spreadable, 2 to 3 minutes. If it feels too thick, add the remaining tablespoon of milk a little at a time.
Scoop out about 1/3 of the frosting if you want a contrasting color for the wheels or details. Tint the rest with gel food coloring, stirring in a few drops at a time until you reach the car color you want. Cover the bowls tightly with plastic wrap so a crust doesn’t form while you carve the cake.
Step 3: Carve the Car Body
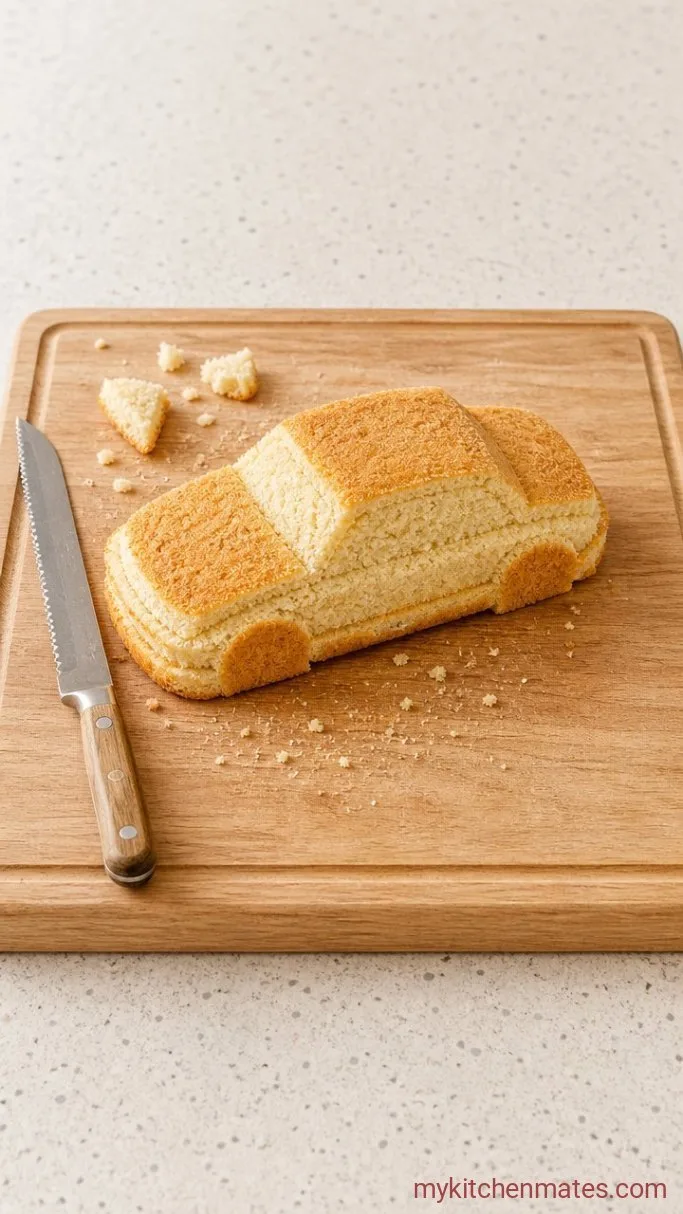
Use a long serrated knife to level the domed tops off both cake layers so they’re flat. Slice one of the layers in half horizontally so you have two thin rounds. Set one thin round on a cake board or serving plate and spread a thin layer of buttercream on top. Place the whole uncut layer on top of that, then spread more frosting and add the final thin round. You now have a three-layer rectangular-looking stack.
To shape the car, trim about 1 1/2 inches off one short end of the stack. That cut end becomes the front of the car. Round off the opposite corners slightly to soften the trunk shape. Next, measure a section on the front half for the windshield. Make a diagonal cut starting about 2 inches from the front and angling upward toward the roof. Remove that little wedge. The cake should start to look like a blunt car with a sloping hood. Round the fender areas gently by shaving small bits until the shape makes sense to you. Don’t worry about perfect lines; frosting will hide small cuts.
Freeze the whole carved cake for 15 or 20 minutes while you get the frosting ready. A cold cake sheds far fewer crumbs.
Step 4: Apply the Crumb Coat
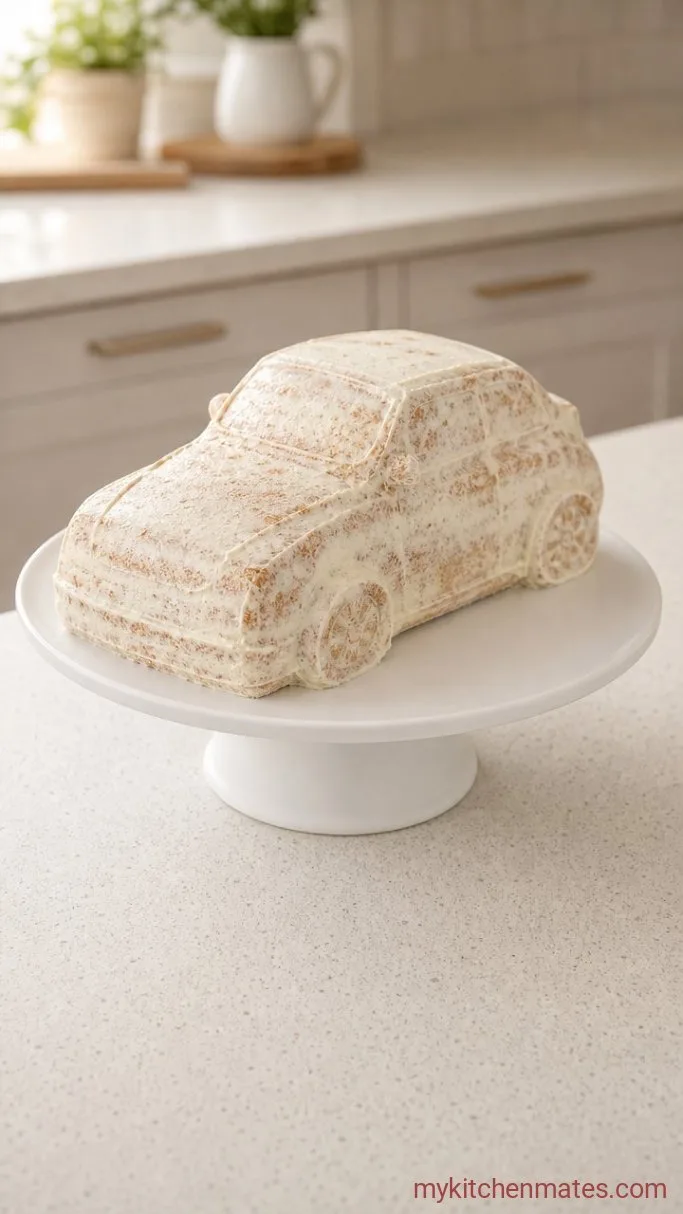
Spread a very thin layer of the colored buttercream over the entire cake. This first layer seals in the crumbs and fills any gaps from carving. Smooth it with an offset spatula or a butter knife, scraping off the excess as you go. The cake will show through a little, and that’s exactly what you want.
Put the cake in the fridge for at least 15 minutes so the crumb coat firms up. When it feels dry to the touch, you’re ready for the final layer. If you skipped this step, crumbs would speckle the outside of the cake, and the finish would look messy.
Step 5: Decorate and Finish
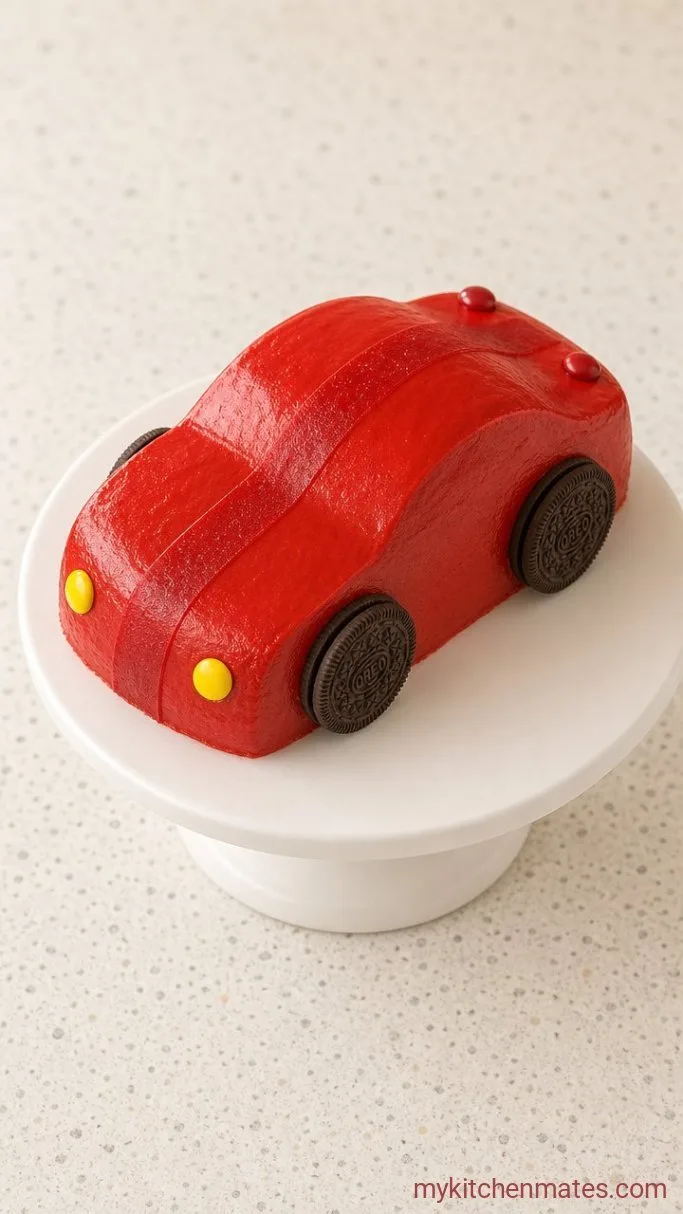
Spread the remaining colored frosting generously over the chilled crumb coat. Smooth the sides and top as best you can. Uneven patches are fine; the candy details will draw the eye. Press the 4 chocolate sandwich cookies into the sides where the wheels should go, two on each side. Dab a little reserved white or contrast frosting onto the back of each cookie before pressing it on so they stay put.
Stick 2 yellow M&Ms onto the front for headlights and 2 red M&Ms onto the back for taillights, pressing them gently into the frosting. If you have a fruit roll-up, cut it into a trapezoid shape and press it onto the front cabin area as a windshield. Add any extra racing stripes or details with the remaining tinted buttercream. Now it’s ready to roll onto the table.
Tips for a Car Cake That Holds Its Shape
- Freeze the cake before carving.: Even 20 minutes in the freezer makes the layers firm enough that your knife glides through without tearing.
- Use a long serrated knife.: A bread knife gives you clean, even cuts and lets you see the whole shape as you work.
- Create a road if you want a scene.: Pulse a few extra chocolate sandwich cookies in a food processor until they look like dirt or asphalt, then scatter them around the cake on the serving board.
- Adjust frosting consistency on the fly.: If the buttercream gets too soft while you’re working, chill the bowl for 5 minutes. If it’s too stiff, beat in a teaspoon of milk.
Storing Leftover Cake
Cover leftover cake tightly with plastic wrap and keep it in the fridge for up to 4 days. Let slices sit out at room temperature for about 30 minutes before serving so the buttercream softens and the cake doesn’t taste cold.
Frequently Asked Questions
Can I use a box cake mix?
Yes. Two standard 15.25-ounce boxes of white or yellow cake mix will each fill a 9-inch round pan. Follow the package directions, and the construction steps stay the same.
How far ahead can I assemble the car cake?
You can assemble and frost the whole cake up to 2 days ahead and store it in the fridge. Wait to add the cookie wheels and candy details until a few hours before the party so they stay crisp.
What if my cake cracks while carving?
Small cracks will fill right in with the crumb coat frosting. If a larger piece breaks off, sandwich it back together with a little buttercream and press gently. The frosting layers will cover it completely.
How do I make a windshield without fruit roll-ups?
Pipe melted white chocolate or white candy melts onto a piece of parchment paper in a trapezoid shape. Let it harden in the fridge, then peel it off and press it onto the cake. The same method works for a rear window.
Homemade Car Birthday Cake Recipe
Ingredients
Method
- Preheat oven to 350°F (175°C) and grease two 9-inch round cake pans. Whisk flour, baking powder, and salt in a bowl. In another bowl, beat 3/4 cup butter and sugar until fluffy, then add eggs one at a time and vanilla. Alternately add flour mixture and 1 cup milk, mixing until just combined. Divide between pans and bake 25 to 30 minutes until a toothpick comes out clean. Cool completely.
- Beat 1 cup butter until smooth. Gradually add powdered sugar on low, then beat in vanilla and 2 tablespoons milk until fluffy. Add more milk if needed. Tint most of the frosting with gel color, reserving some white for details.
- Level the cooled cakes. Slice one cake in half horizontally. Stack: one thin round, frosting, the whole cake, frosting, the last thin round. Trim about 1 1/2 inches from one short end for the front. Round the back corners. Cut a diagonal wedge from the front section for the windshield. Round the fenders with small cuts. Freeze 15 minutes.
- Spread a thin layer of colored frosting over the whole cake for a crumb coat. Chill 15 minutes until firm.
- Frost the cake with the remaining colored frosting. Press cookies into the sides for wheels, securing with a dab of frosting. Add yellow M&Ms for headlights and red for taillights. Add a fruit roll-up windshield if desired. Serve at room temperature.
Notes
