
Rainbow Birthday Cake with Fluffy Vanilla Layers

A rainbow cake is pure joy on a plate. Six soft vanilla layers, each a different bright color, stacked with smooth buttercream. It’s the kind of cake that gets a little gasp when you cut into it.
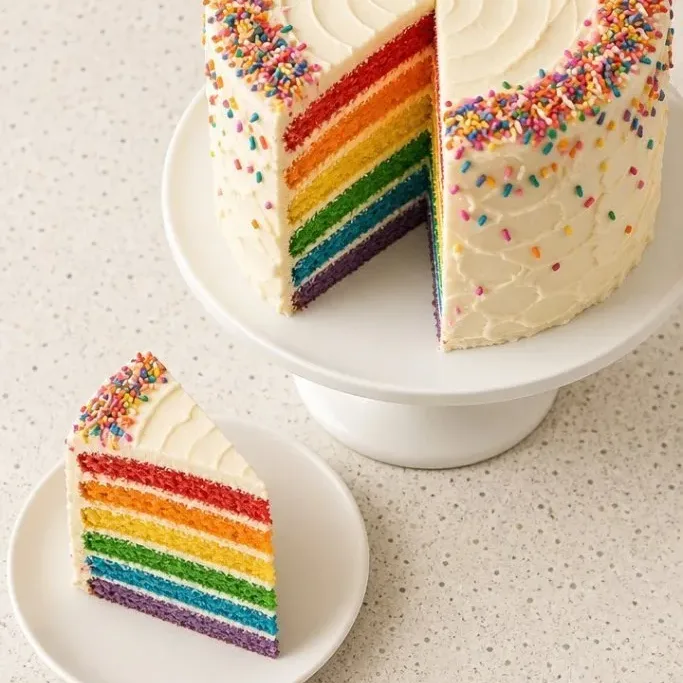
This one is completely from scratch, but the steps are simple. If you can make a basic yellow cake, you can make this. Just add color and a little patience for stacking.
What Makes This Rainbow Cake So Good
The cake itself is soft and buttery, with a tight crumb that stays moist for days. I like a vanilla buttercream that’s rich but not too sweet, so it balances the layers without burying them.
Real butter, real buttermilk, and good vanilla give it a flavor that tastes like an old fashioned birthday cake. The colors come from gel food coloring, which gives you true reds, blues, and greens without watering down the batter.
I’ve made this for kids and adults, and it always gets the same reaction, a paused beat, then a whole lot of happy noise. It’s a weekend project that feels worth every bowl you wash.
Ingredients
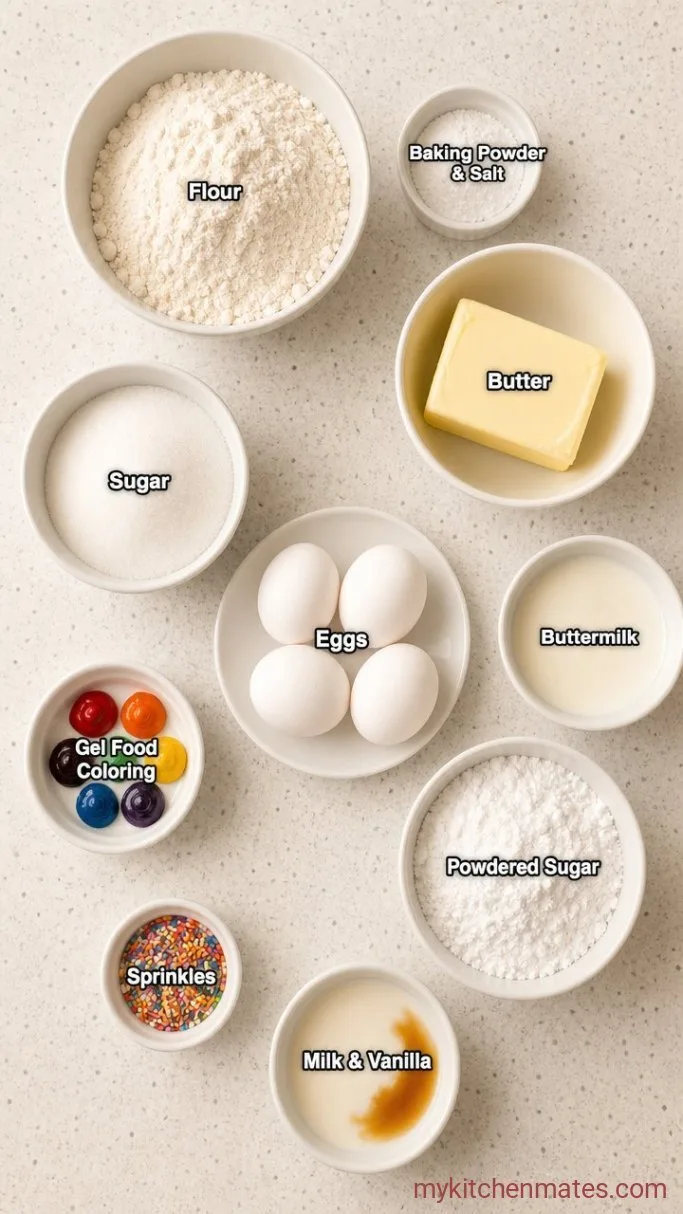
- 3 cups all purpose flour: spooned and leveled so the cake isn’t dense
- 1 tbsp baking powder: gives a nice lift without making the layers domed crazy high
- 1/2 tsp salt: fine sea salt is best
- 1 cup unsalted butter, at room temperature: take it out about an hour before you start
- 2 cups granulated sugar: for sweetness and structure
- 4 large eggs, room temperature: cold eggs can make the batter curdle
- 2 tsp vanilla extract: use pure vanilla if you have it
- 1 cup buttermilk, room temperature: adds tenderness and a little tang
- Gel food coloring in red, orange, yellow, green, blue, and purple: gel, not liquid, for vibrant layers
- 1 1/2 cups unsalted butter, room temperature: for the frosting
- 6 cups powdered sugar: sift it if it’s lumpy
- 1/4 cup whole milk: more if needed for spreadable consistency
- 2 tsp vanilla extract: for the buttercream
- Rainbow sprinkles: optional, but it’s a birthday cake
Variations / Substitutions
- Dairy free option: swap the butter for a good vegan stick and use nondairy milk with a tablespoon of lemon juice instead of buttermilk. The color and texture stay close.
- Cream cheese frosting: replace half the butter with full fat block cream cheese and skip the milk for a tangier finish.
- Chocolate layer cake: if rainbow isn’t your thing, our Classic Devil’s Food Cake recipe is just as festive with chocolate buttercream.
Naturally Sweetened Strawberry First Birthday Cake is another dessert you’d probably love if you enjoy this cake.
How to Make Rainbow Birthday Cake
Step 1: Cream the Butter and Sugar
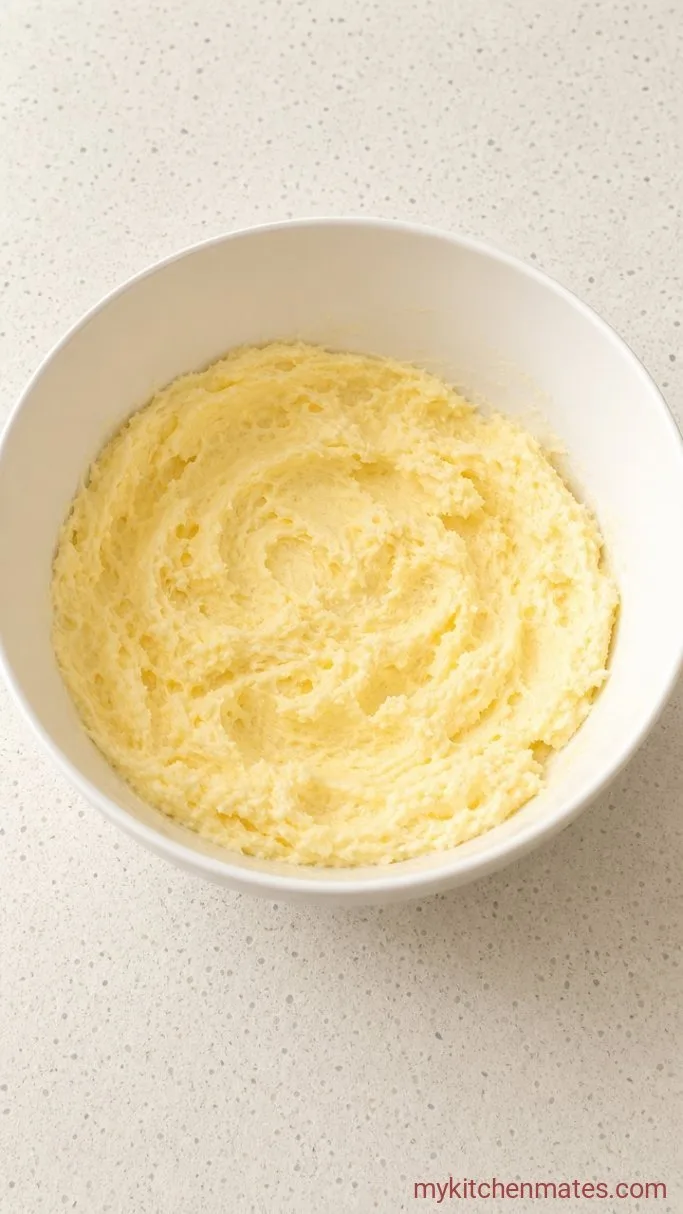
Heat your oven to 350°F (180°C). Grease six 6 inch round cake pans and line the bottoms with parchment. If you have fewer pans, you’ll bake in batches.
In a stand mixer with the paddle, beat the 1 cup butter and 2 cups sugar on medium for about 3 minutes, until it looks pale and fluffy. Scrape down the bowl. Add the 4 eggs one at a time, beating well after each. Mix in the 2 tsp vanilla.
Whisk together the 3 cups flour, 1 tbsp baking powder, and 1/2 tsp salt in a separate bowl. With the mixer on low, add the dry ingredients in three parts, alternating with the 1 cup buttermilk. Start and end with the flour. Stop as soon as the last streak of flour disappears. Overmixing makes the cake tough, so a few tiny lumps are fine.
Step 2: Divide and Tint the Batter
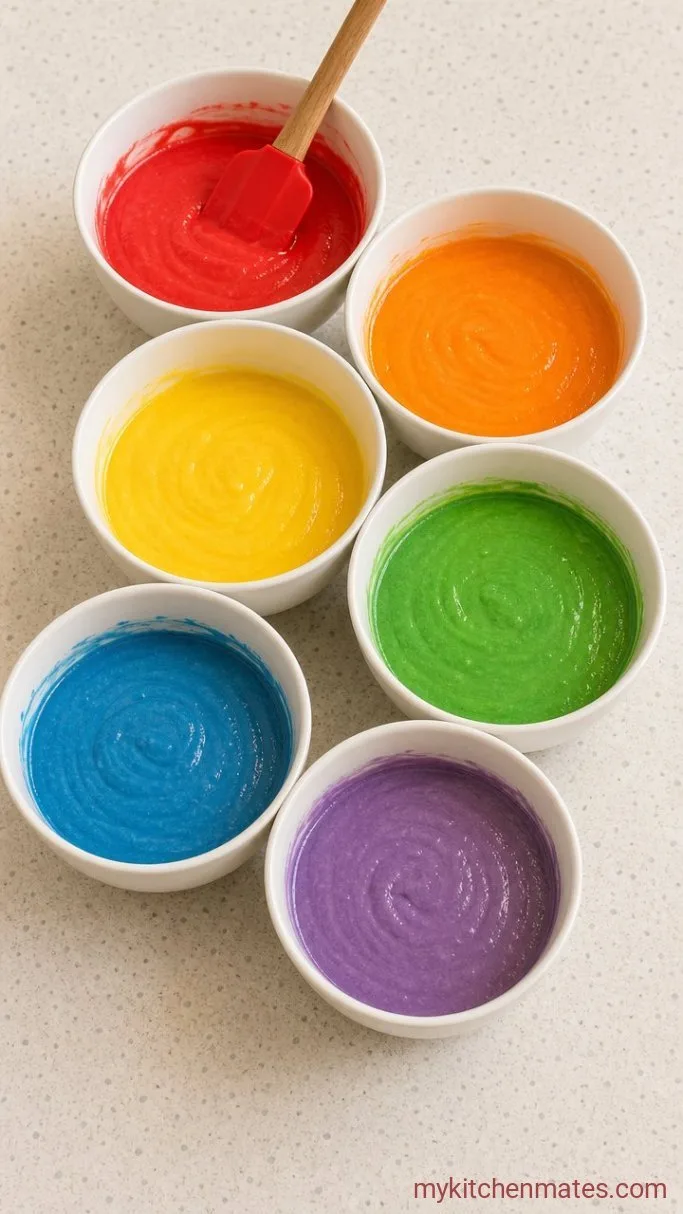
Portion the batter into six bowls. An easy way is to weigh the total batter and divide by six. For a scale free approach, use a 3/4 cup measure per bowl.
Add a small dot of gel coloring to each bowl and stir gently with a clean spoon for each color. Red needs a little more to look true. Stir just until the color is even. The batter will feel thick and velvety.
Step 3: Bake the Layers
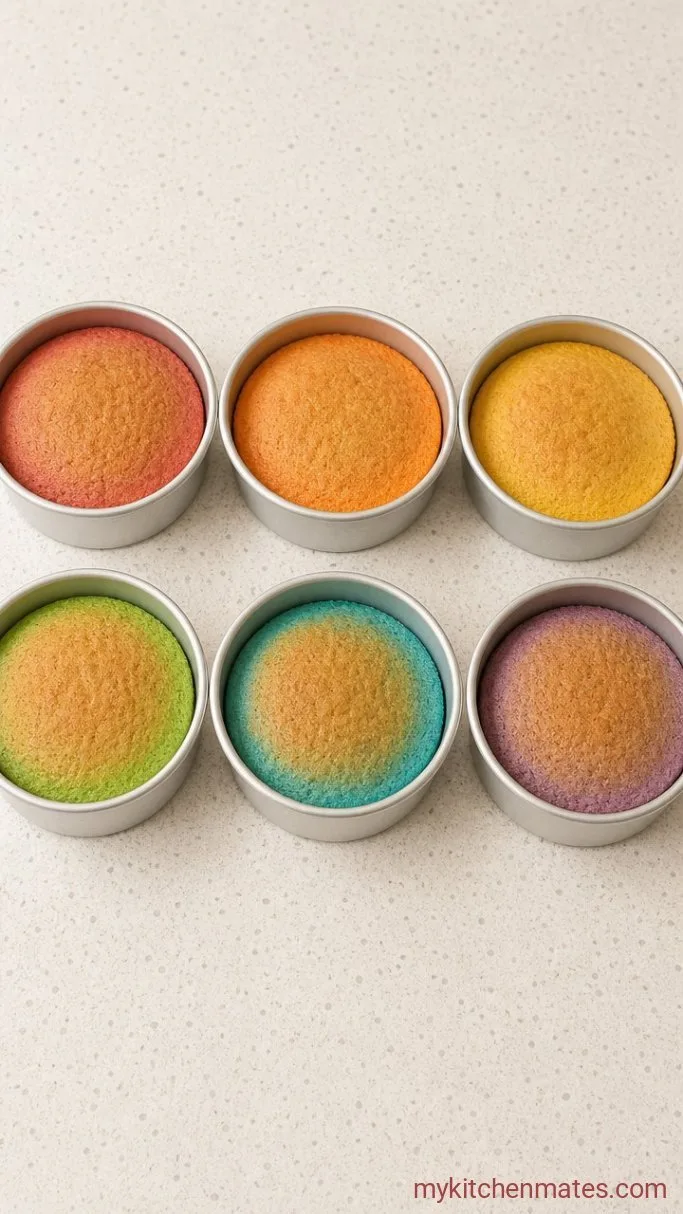
Scrape each color into its own prepared pan and smooth the top with an offset spatula. Bake for 18 to 22 minutes if you’re using 6 inch pans, or 25 to 30 minutes for 8 inch pans. A toothpick should come out with a few moist crumbs.
Cool the pans on a wire rack for 10 minutes, then turn the cakes out onto the rack to cool completely. The colors will seem a little muted straight out of the oven, but they brighten as the cakes cool.
Step 4: Beat the Buttercream
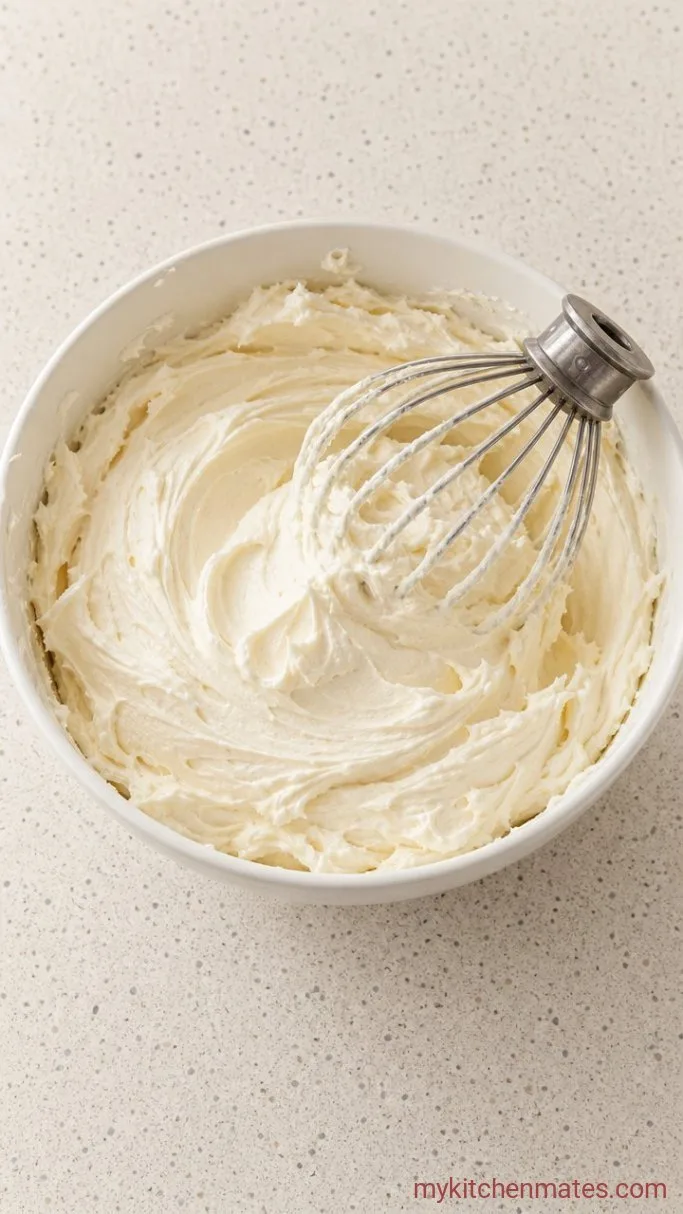
While the layers cool, beat together the 1 1/2 cups butter, 6 cups powdered sugar, 1/4 cup milk, and 2 tsp vanilla. Start low so the sugar doesn’t fly out, then increase speed to medium high and beat for about 2 minutes. It will look smooth and fluffy, with a spreadable texture. If it’s too thick, add a tablespoon of milk at a time.
Step 5: Stack and Frost the Cake
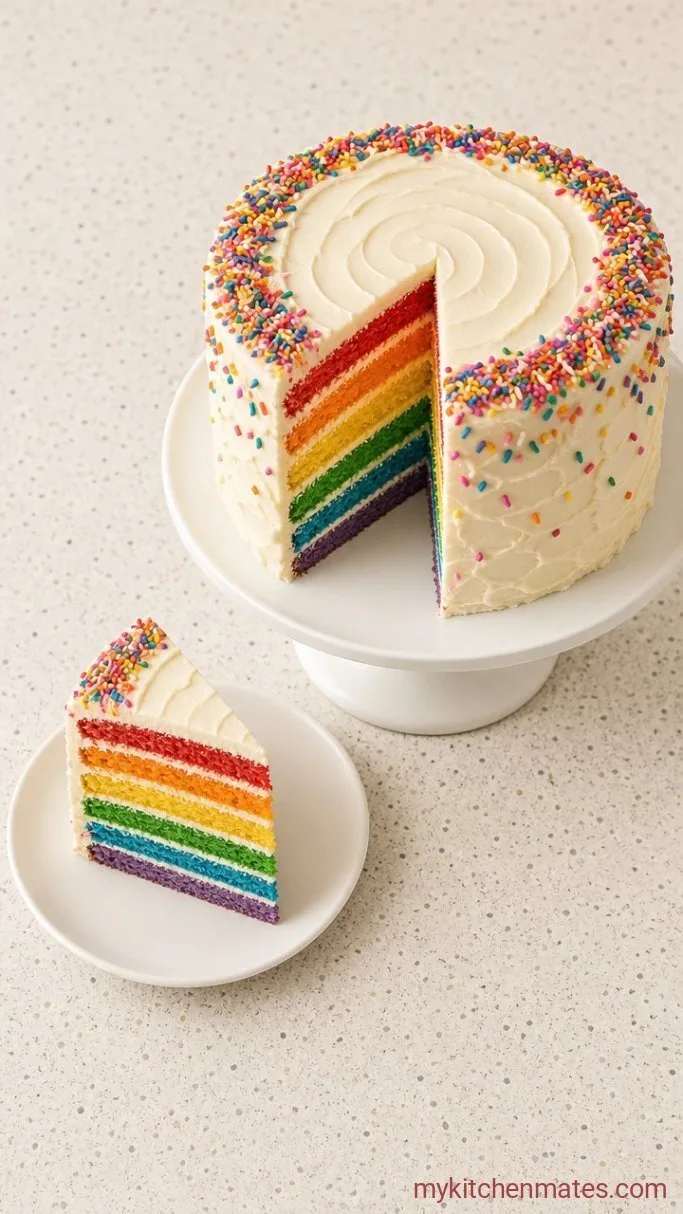
Place the purple layer on a cake board or plate. Spread a thin, even layer of buttercream on top. Follow with blue, green, yellow, orange, then red, adding frosting between each. Use a light hand so the colors don’t slide.
Spread a thin crumb coat over the whole outside and chill the cake for 20 minutes. Then add the final thick layer of frosting, smoothing the sides and top. Scatter rainbow sprinkles on the sides or top right after you finish frosting. Slice and serve with a big smile.
A Few Tips for Rainbow Cake Success
- Gel food coloring is non negotiable.: Liquid coloring will thin the batter and give you pastel shades that bake out. A little gel goes a long way.
- Room temperature everything helps the batter come together without splitting.: Set out butter, eggs, and buttermilk an hour ahead.
- Chill the layers before stacking.: Even 15 minutes in the fridge firms them up and makes the whole cake less wobbly.
- If you only have two pans, bake in batches and keep the unused batter covered at room temperature.: Stir each bowl briefly before pouring into a clean pan for the next round.
Bake times by pan size:
| Pan Size | Batter Per Pan | Bake Time at 350°F |
|---|---|---|
| 6 inch round | about 3/4 cup | 18 to 22 minutes |
| 8 inch round | about 1 1/4 cups | 25 to 30 minutes |
Storing Leftover Rainbow Cake
- Refrigerate: the covered cake for up to 4 days. Bring slices to room temperature before eating, the cold mutes the buttercream flavor.
- Freeze: unfrosted layers wrapped in plastic for up to 2 months. Thaw them overnight in the fridge, then frost and assemble the next day.
Frequently Asked Questions
Can I make this cake ahead of time?
Yes. Bake and cool the layers, wrap them tightly, and freeze them up to two weeks ahead. Frost the day you plan to serve.
Can I use natural food coloring?
You can, but the colors will be much softer and some shades may turn brownish during baking. Gel coloring really is the best bet for a true rainbow.
Why do my cake layers have a big dome?
Domed layers usually come from the edges baking faster than the center. Try using cake strips around the pans or lower the oven temperature by 10 degrees and add a couple of minutes.
Can I swap the frosting?
Absolutely. Cream cheese frosting, chocolate buttercream, or a whipped cream filling all work. The cake itself is a blank canvas.
Rainbow Birthday Cake Recipe
Ingredients
Method
- Heat oven to 350°F (180°C). Grease six 6 inch round cake pans and line with parchment. Cream the 1 cup butter and sugar on medium until pale and fluffy. Beat in eggs one at a time, then the vanilla.
- Whisk flour, baking powder, and salt. Add to the butter mixture in three parts, alternating with buttermilk. Mix until just combined.
- Divide batter evenly into six bowls. Tint each with a separate gel color, stirring gently.
- Scrape each color into a pan. Bake 18 to 22 minutes for 6 inch pans. Cool in pans 10 minutes, then turn out onto a rack to cool completely.
- For the buttercream, beat 1 1/2 cups butter, powdered sugar, milk, and vanilla until smooth and fluffy.
- Stack the cooled layers with buttercream in between. Apply a thin crumb coat, chill 20 minutes, then frost the outside. Decorate with sprinkles and serve.
Notes
