
Tangy & Chewy Whole Wheat Sourdough Bread

Whole wheat sourdough bread has a deep, nutty flavor and a chewy crumb that makes every slice satisfying. It’s the kind of loaf you can rely on for toast, sandwiches, or just a thick slab with butter.
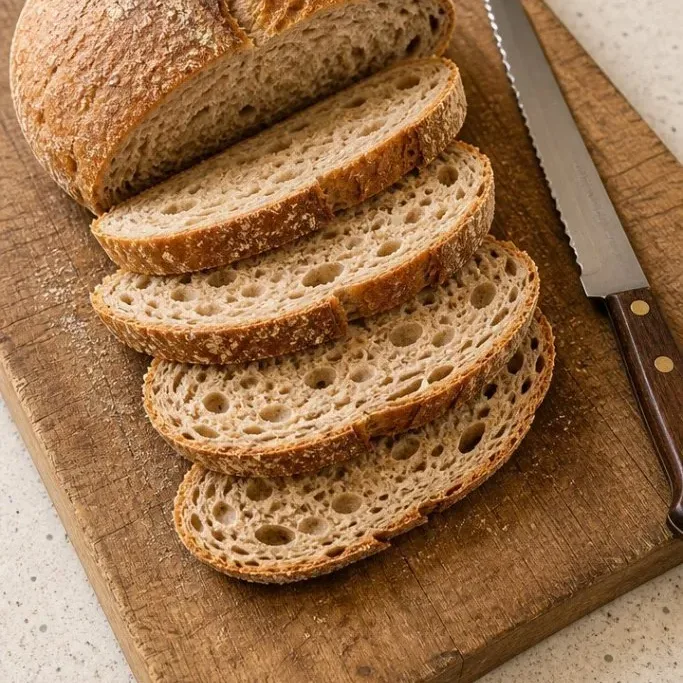
This version uses a 100% hydration starter and a few stretch-and-fold sessions, so you get great oven spring without kneading all day. A long, cool proof gives it the tangy character I look for in a real sourdough.
Why This Bread Earns a Permanent Spot
The crust shatters under the knife while the inside stays moist and springy. Whole wheat flour brings an earthy richness you just don’t get from white bread.
A single loaf lasts us most of the week, and it only gets better as the flavor deepens. It’s honest bread with nothing to hide.
Ingredients
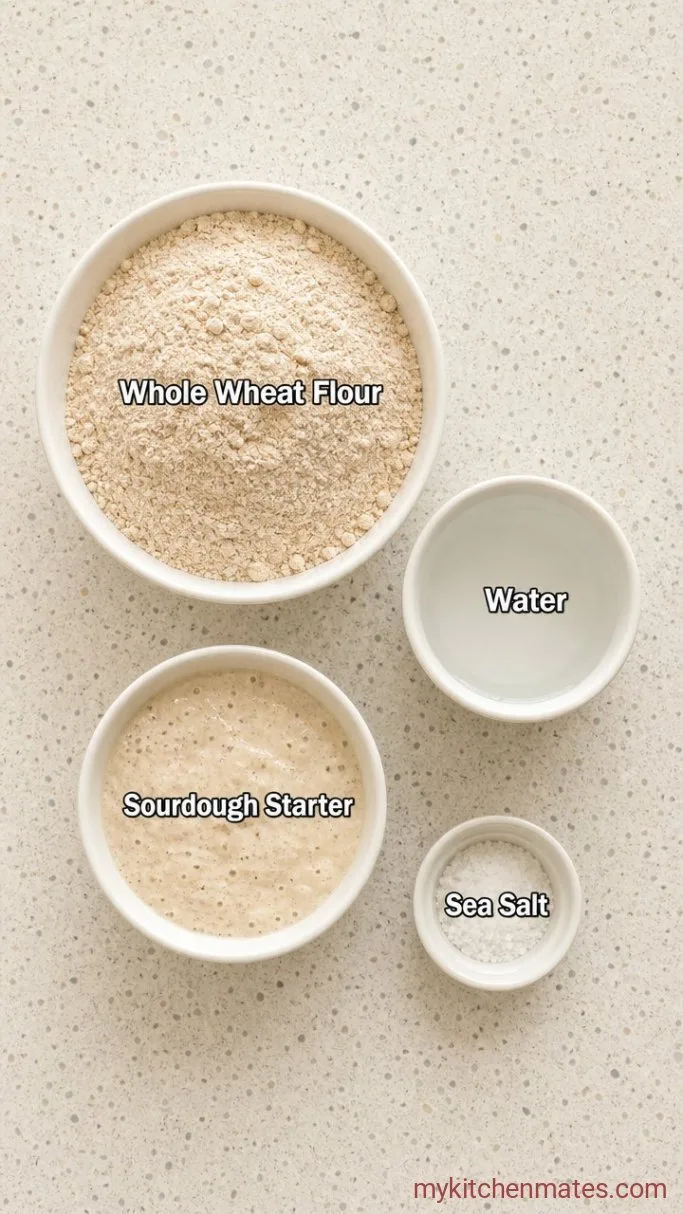
- 500g whole wheat flour: stone-ground if you can, for the most flavor.
- 400g cool water (about 65°F): enough to make a high-hydration dough that handles easily.
- 100g active sourdough starter (100% hydration): fed and bubbly, at its peak.
- 10g fine sea salt: dissolves quickly and seasons evenly.
Variations / Substitutions
- Mix in spelt or rye: replace up to 25 percent of the whole wheat flour for a slightly lighter, more complex loaf.
- Add seeds: fold 50g of sunflower or pumpkin seeds into the dough during the first stretch and fold.
- Sweeten it a bit: whisk 1 tbsp honey into the water before mixing the dough for a subtle sweetness.
- Use bread flour for loft: swap half the whole wheat flour for bread flour if you want a more open crumb. You’ll lose some of the wheatiness, but it will be airier.
- No Dutch oven?: bake on a preheated baking stone with a pan of water underneath for steam. The crust won’t be quite as crackly, but it works.
Zero Point Weight Watchers Cabbage Soup makes a comforting soup to pair with this bread.
How to Make Tangy & Chewy Whole Wheat Sourdough Bread
Step 1: Mix the Dough
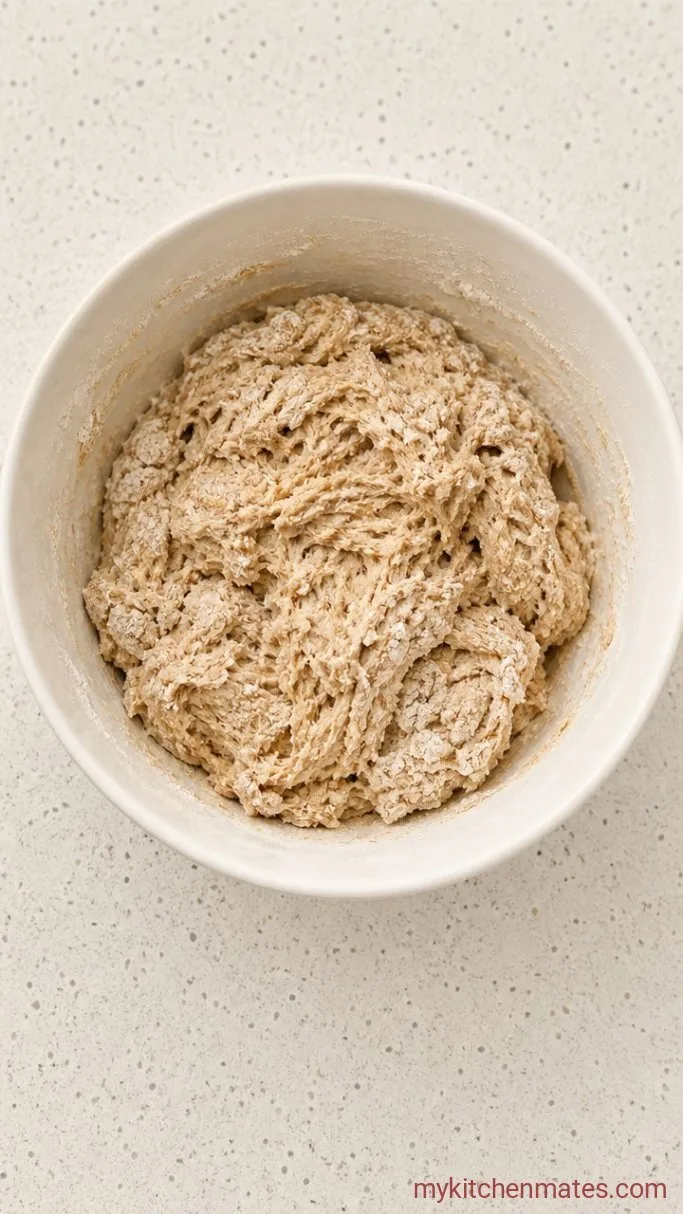
In a large bowl, combine 500g whole wheat flour and 400g cool water. Mix until no dry flour remains, then cover and let it sit for 30 minutes. This autolyse helps the flour absorb the water. After the rest, add 100g active starter and 10g salt. Pinch and fold the mixture with wet hands until everything is evenly combined; the dough will be shaggy and damp.
At this stage it looks rough, almost like a thick porridge. Don’t worry about smoothness. Cover the bowl with a damp towel and set it in a spot that’s around 70°F to 75°F.
Letting the whole wheat flour hydrate fully now means the gluten will develop with less work later. It’s a small step that pays off in a more even crumb.
Step 2: Stretch and Fold the Dough
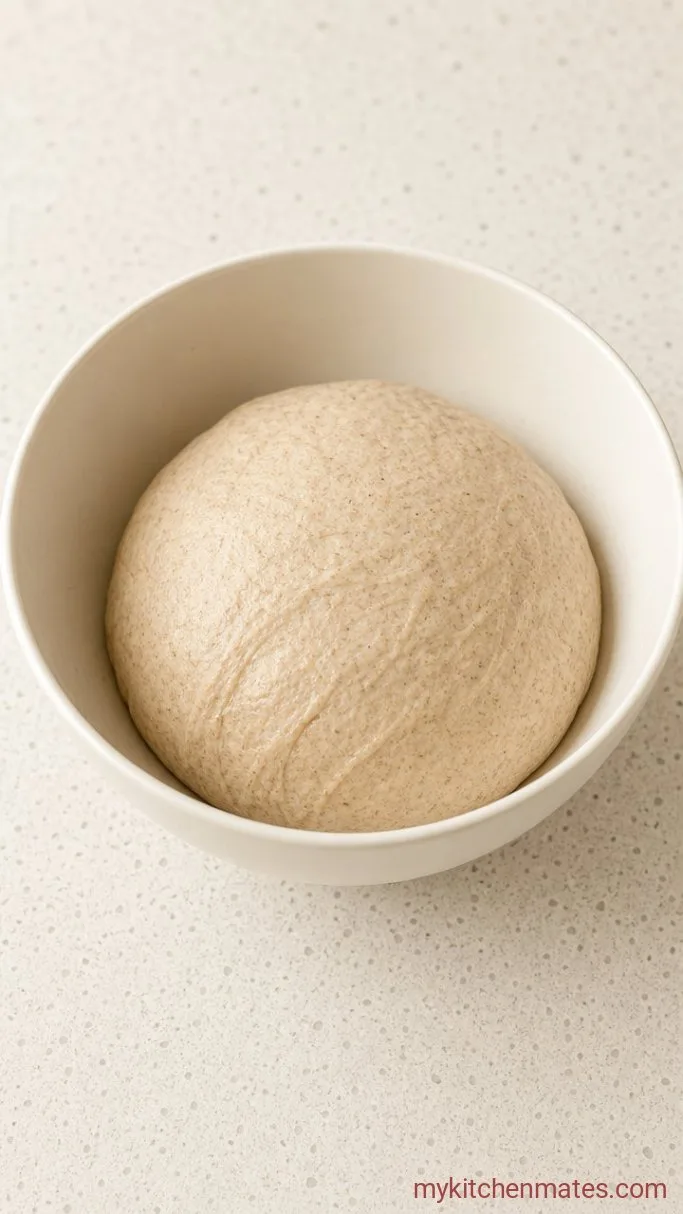
After 30 minutes, wet your hands and grab a portion of dough from one side. Stretch it upward and fold it over the top. Rotate the bowl a quarter turn and repeat three more times (four folds total). Cover the bowl again, wait 30 minutes, and repeat the set. Do this four times over about 2 hours. The dough will slowly become smoother and more elastic.
Each round of folding feels a little different. By the final set, the dough resists your tug just slightly and holds its shape for a moment. The surface should show some small bubbles.
These folds build structure without losing the gas pockets you’re creating. If after the fourth set the dough still feels overly loose, give it one extra round. Then cover and leave it at room temperature until it has doubled, usually another 4 to 6 hours (6 to 8 hours total bulk fermentation). A clear sign is when the top is dotted with bubbles and the dough jiggles when you shake the bowl.
Step 3: Shape the Loaf
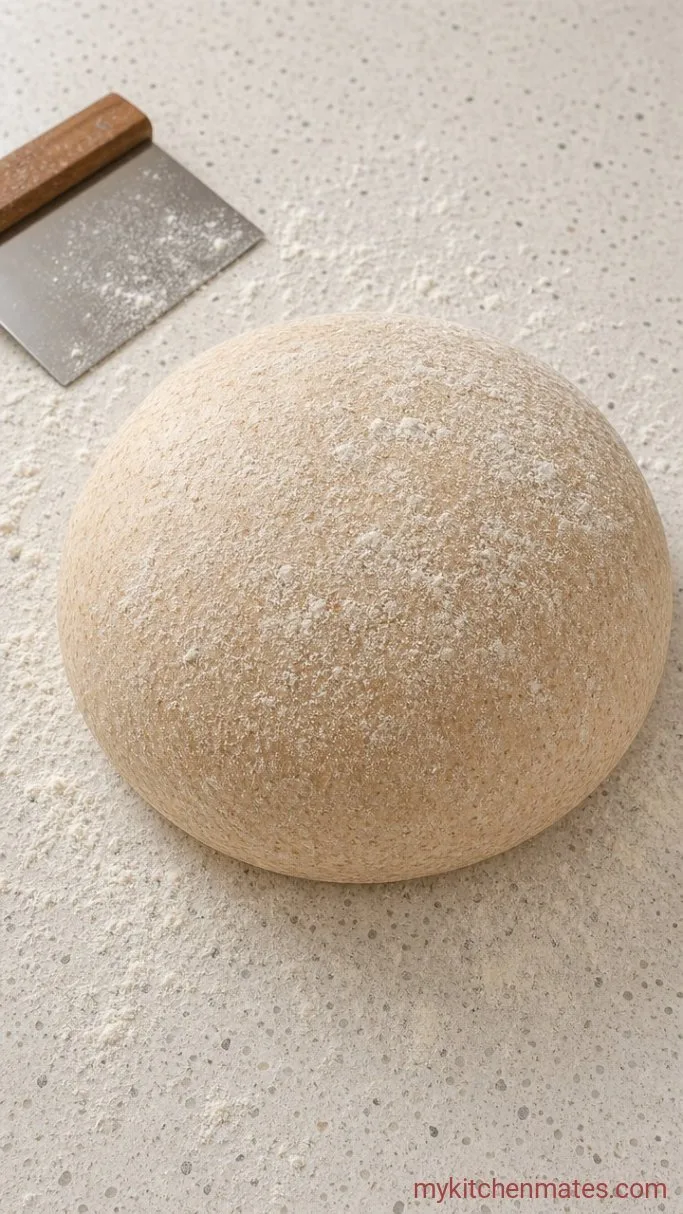
Turn the risen dough out onto a lightly floured surface. Using a bench scraper, gently preshape it into a round and let it rest uncovered for 20 minutes. Next, shape it into a tight boule or batard by folding the edges toward the center and rolling it over so the seam is underneath. Place the loaf seam-side up in a floured banneton.
The dough should feel puffy and full of air. If it’s sticky, dust your hands and the surface with a little more flour, but work lightly so you don’t weigh it down.
For the best flavor and easier scoring, cover the banneton and proof the loaf in the refrigerator overnight. If you’re short on time, a 1 to 2 hour proof at room temperature works, but the cold retard deepens the tang.
Step 4: Bake the Loaf
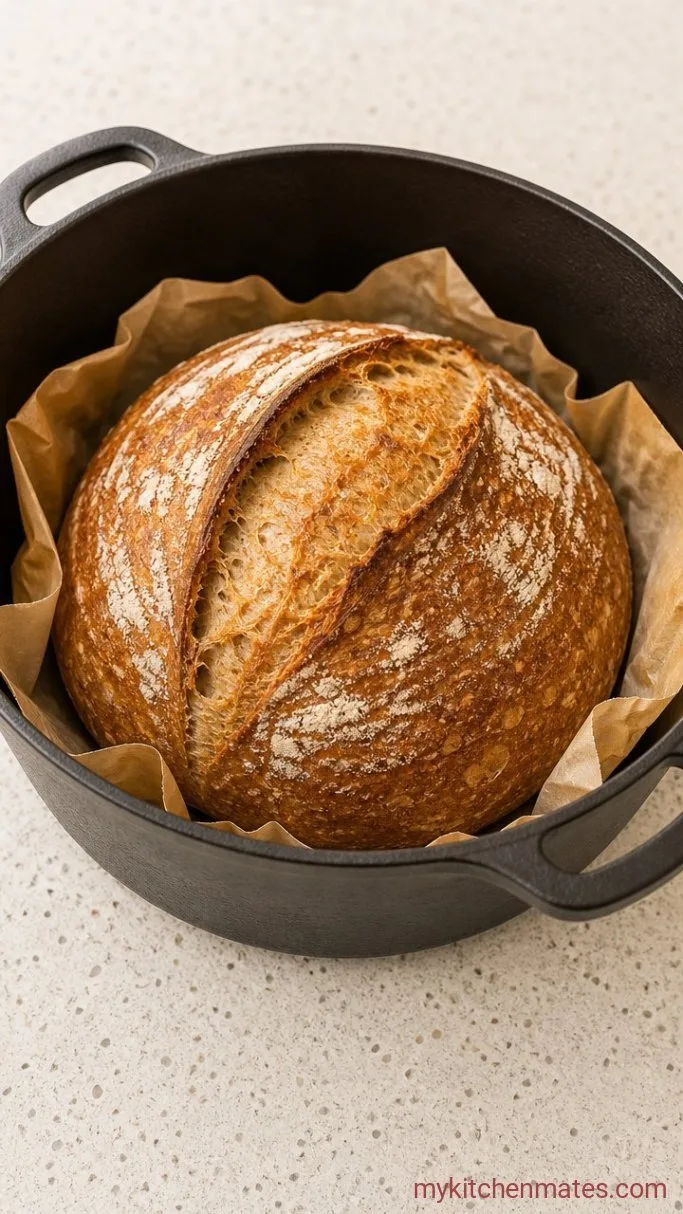
Place a Dutch oven with its lid inside your oven and preheat to 450°F (230°C) for at least 30 minutes. Carefully turn the dough out onto a sheet of parchment paper. Score the top with a sharp lame or razor in one confident slash, about half an inch deep. Use the parchment as a sling to lower the loaf into the hot pot, cover it with the lid, and bake for 30 minutes.
After half an hour, remove the lid and keep baking for another 15 to 20 minutes. The crust should be a deep mahogany brown, and the base of the loaf will sound hollow when you tap it. Your kitchen will smell nutty and toasted.
Steam trapped inside the covered pot gives the loaf its oven spring. Baking uncovered sets the crust and develops that bold color, which is where a lot of the flavor lives. If it darkens too fast, tent a piece of foil over the top for the last few minutes.
Step 5: Cool and Slice the Bread
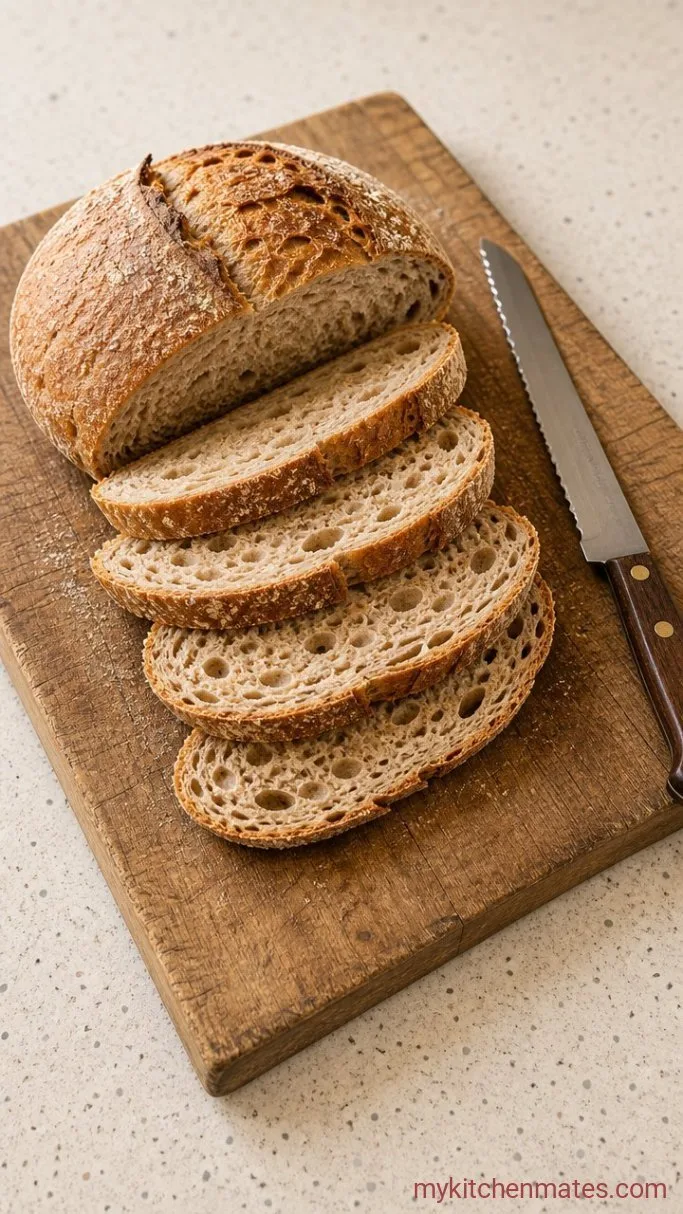
Lift the loaf out of the pot and onto a wire rack. Let it cool completely, at least 2 hours. Cutting into hot bread makes the crumb gummy, and I know it’s hard to wait, but it’s worth it.
As the loaf cools you’ll hear little crackles from the crust. When it’s fully cooled, slice it with a serrated knife. The interior will be open, slightly moist, and carry that sourdough tang.
Slicing warm bread may be tempting, but waiting gives you clean, sturdy pieces that hold together beautifully on a sandwich or under a smear of butter.
A Few Tips Before You Start
- Use a kitchen scale. Sourdough works by weight, and cups will throw off the hydration. One extra gram of water won’t hurt, but guessing can lead to a soupy mess.
- Keep your starter active. Feed it twice the day before and look for a domed, bubbly top; if it passes the float test, you’re good.
- Watch the dough, not the clock. Temperature and starter strength change how fast fermentation goes. When it’s jiggly and visibly risen, move to shaping.
- Score with confidence. A deep, swift slash lets the loaf expand evenly. Hesitating only drags the dough.
- Store the baked loaf cut side down on a board or in a bread bag. It keeps for 4 to 5 days at room temperature.
Proofing times shift with temperature. Here’s a rough guide:
| Temperature | Bulk fermentation | Final proof (room temp) |
|---|---|---|
| 70°F to 75°F | 6 to 8 hours | 1 to 2 hours |
| 65°F to 68°F | 10 to 12 hours | 2 to 3 hours |
| Overnight fridge | 12 to 16 hours | skip (cold retard) |
Storing Leftovers
- Refrigerate: it’s not ideal; the cold dries bread out. Keep it at room temp instead. If you must refrigerate, wrap it tightly and use within a week, but toast it to revive the texture.
- Reheat: wrap a slice in a damp paper towel and microwave for 10 to 15 seconds, or toast it straight from the counter.
- Freeze: slice the whole loaf first, then freeze slices in a zip-top bag. They toast up beautifully from frozen and last a couple of months.
What to Serve With Tangy & Chewy Whole Wheat Sourdough Bread
A thick slice of this bread is the right partner for a bowl of lentil soup, where the slight sourness cuts through the earthy broth. It also makes a sturdy base for an open-faced sandwich with avocado, chili flakes, and a drizzle of olive oil. For a snack, nothing beats it toasted and spread with salted butter and a drizzle of honey.
Frequently Asked Questions
Can I use all-purpose flour instead of whole wheat?
Yes, but you’ll need to reduce the water to about 350g because white flour absorbs less. The flavor will be milder and the crumb softer.
What if my starter isn’t doubling in size?
Give it a few more feedings at room temperature until it reliably doubles within 4 to 6 hours. A sluggish starter won’t lift this heavy dough.
Can I bake this in a loaf pan?
Yes, shape the dough into a log and place it seam-side down in a greased 9×5-inch loaf pan. Bake without a lid, at the same temperature, for about 40 to 45 minutes.
Why did my loaf turn out dense?
Dense loaves usually point to under-fermentation or a weak starter. Make sure the dough has doubled and feels airy before shaping, and that your starter is active.
Do I have to use the refrigerator step?
No, but it intensifies the tang and makes scoring much easier. If you skip it, a room temperature proof of 1 to 2 hours works, just watch the dough closely so it doesn’t over-proof.
Tangy & Chewy Whole Wheat Sourdough Bread Recipe
Ingredients
Method
- Mix 500g flour and 400g water until no dry spots remain; cover and let rest 30 minutes. Add 100g starter and 10g salt, mix until combined.
- Perform 4 sets of stretch and folds at 30-minute intervals (2 hours total), then let rise at room temperature until doubled, 6 to 8 hours.
- Turn dough out, preshape into a round, rest 20 minutes, then shape into a boule or batard and place seam-side up in a floured banneton. Cover and proof overnight in the fridge or 1 to 2 hours at room temperature.
- Preheat oven with a Dutch oven inside to 450°F (230°C) for 30 minutes. Turn dough onto parchment, score, and bake covered 30 minutes. Uncover and bake 15 to 20 minutes more until deep brown.
- Cool loaf on a rack at least 2 hours, then slice with a serrated knife.
Notes
