
Creamy Vegan Chocolate Mousse (No Tofu)

A vegan chocolate mousse that’s dense, silky, and made from just a handful of ingredients sounds too good to be true. This one is real, and it sets in about an hour with no specialty substitutes.
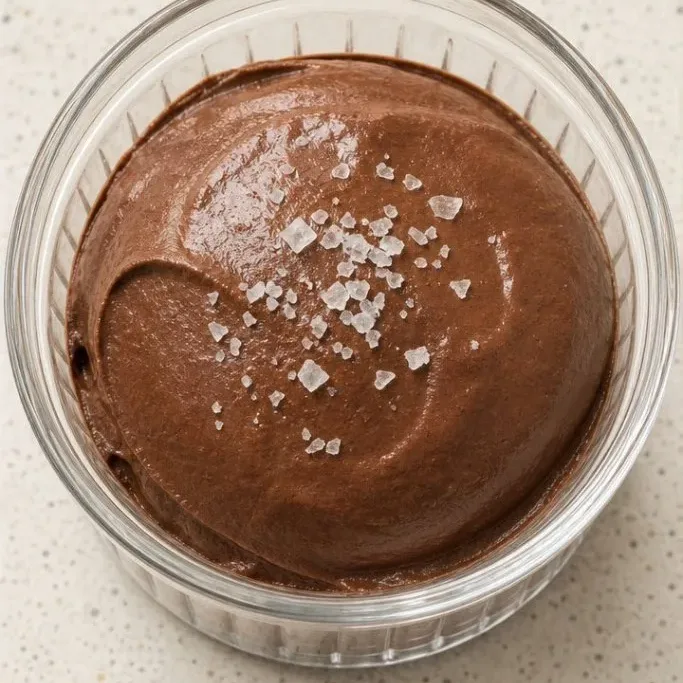
It uses dark chocolate and chilled coconut cream to create a rich, spoonable dessert that feels far more indulgent than the sum of its parts.
Why This Mousse Is the One
The texture is what does it. It’s thick, silky, and melts on your tongue the way a good ganache does, with the faint coconut whisper that makes it feel tropical.
It takes about ten minutes of active work, and then the fridge does the rest. No tofu aftertaste, no avocado hidden in the background.
I keep coming back to this version because it feels like a proper treat without any fussy steps. Three bowls, a whisk, and you’re nearly there.
Ingredients
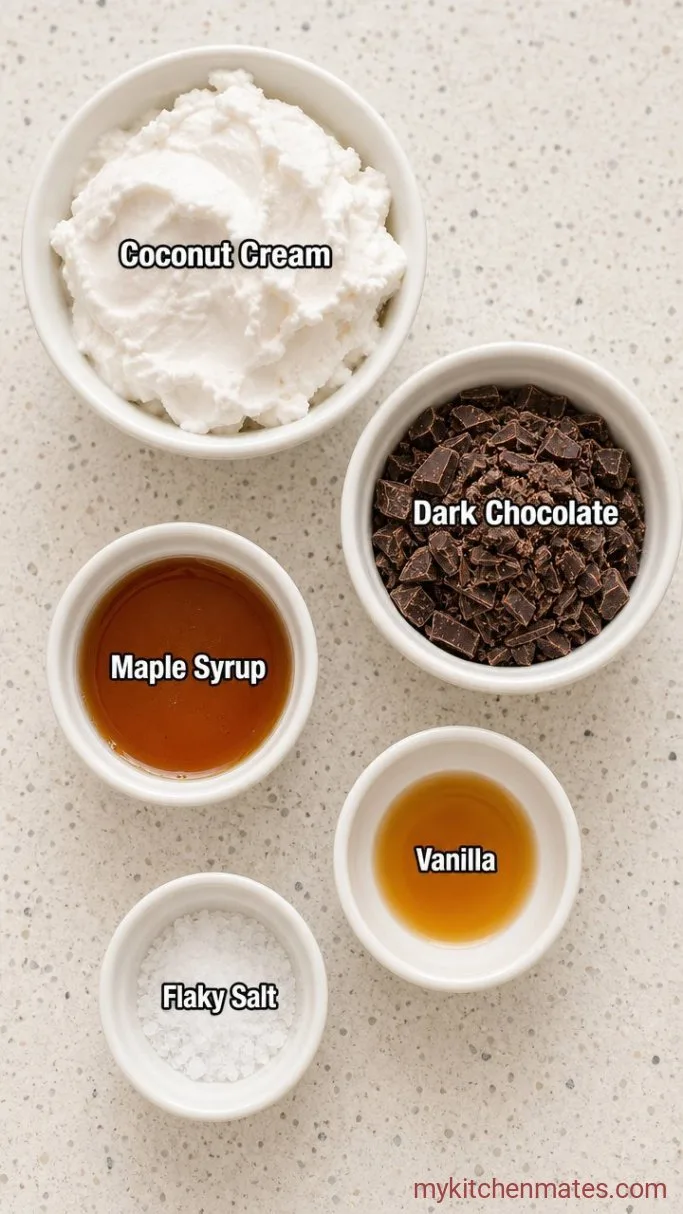
- 1 (14 oz) can full-fat coconut milk, chilled overnight: you’ll only use the thick cream layer, so don’t shake the can.
- 8 oz dark chocolate (70 to 72% cocoa), finely chopped: the higher cocoa gives a deep, bittersweet backbone.
- 2 tbsp maple syrup: adds a round sweetness; agave or simple syrup also work.
- 1 tsp vanilla extract: optional, for a little warmth.
- Pinch of flaky salt: sea salt or kosher, to finish.
Variations and Substitutions
- Swap the sweetener: agave nectar, date syrup, or a tablespoon of powdered sugar stirred into the warm chocolate.
- Add espresso: stir 1 teaspoon instant espresso powder into the melted chocolate to make the flavor punchier without tasting like coffee.
- Flavor twist: a couple drops of orange or peppermint extract just before chilling.
- Make it nut-free: the recipe is naturally nut-free as written.
Chewy Vegan Chocolate Chip Cookies are another reader favorite dessert worth making next.
How To Make Vegan Chocolate Mousse
Step 1: Melt the Chocolate
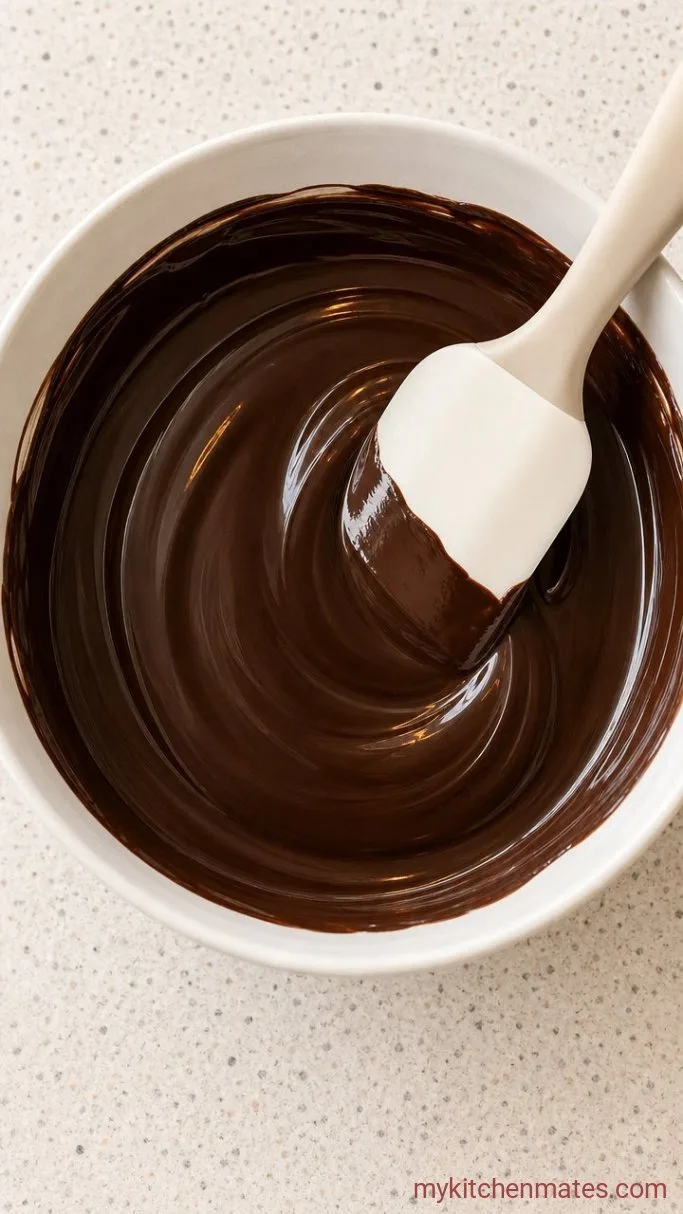
Set a heatproof bowl over a saucepan of barely simmering water, making sure the bowl doesn’t touch the water. Add the 8 oz finely chopped dark chocolate and stir occasionally with a spatula. In about 3 to 4 minutes, it will melt into a shiny, smooth liquid. Remove from the heat and let it cool for a couple of minutes while you start on the cream.
Step 2: Whip the Coconut Cream
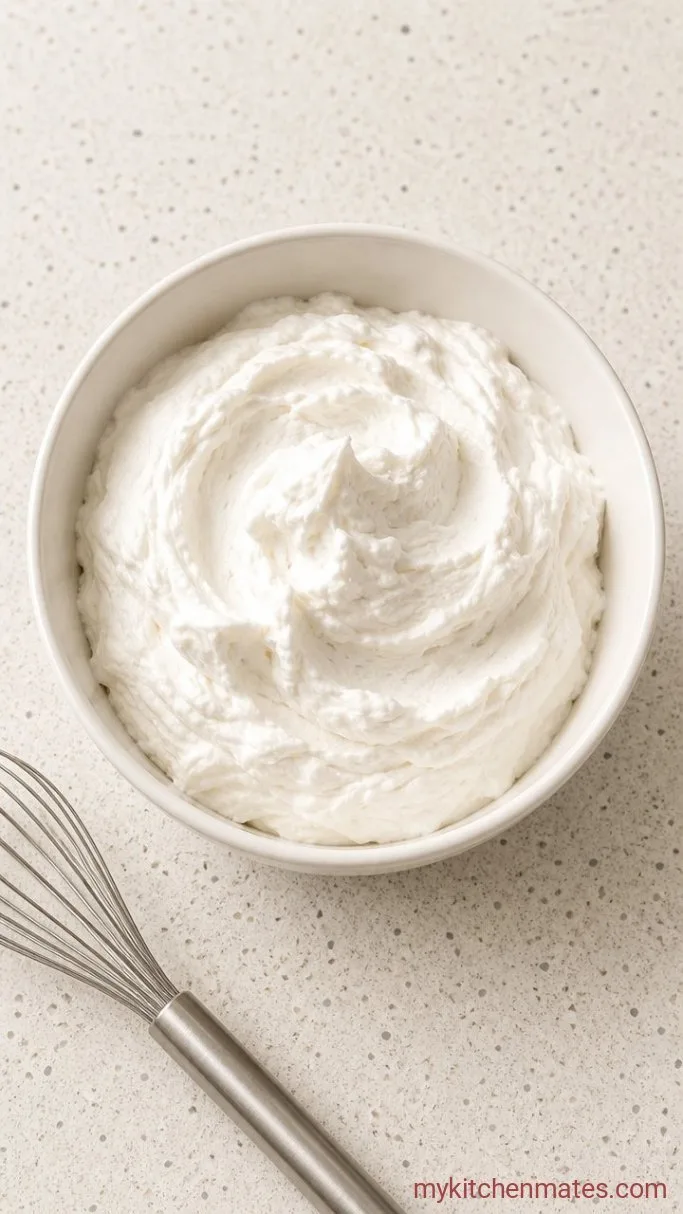
Open the chilled 14-ounce can of full-fat coconut milk without shaking it. Scoop out the thick, solid layer of cream from the top, leaving the watery liquid behind (you should have about 1 cup of cream). Place it in a mixing bowl. Using an electric hand mixer or a balloon whisk, beat the cream for 1 to 2 minutes until it looks light and fluffy, with soft peaks that hold their shape. Add the 2 tablespoons maple syrup and the vanilla, if using, and whisk just to mix.
Step 3: Fold Together and Portion
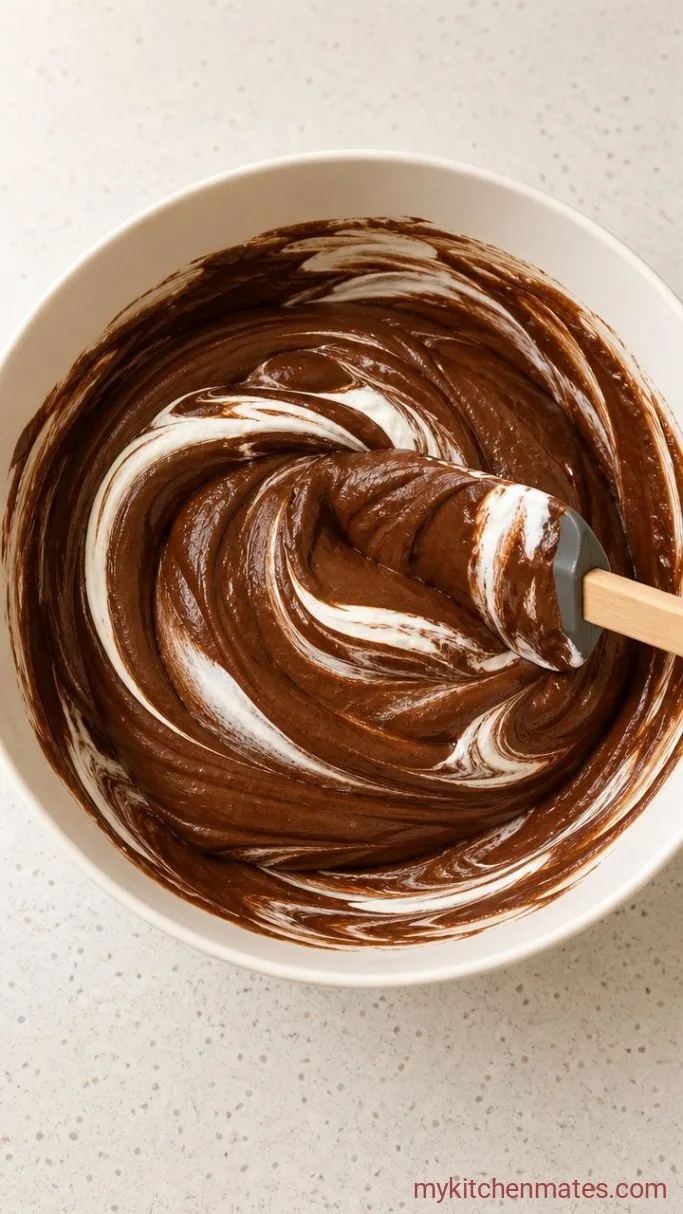
Pour the slightly cooled melted chocolate over the whipped coconut cream. Use a flexible spatula to fold them together, cutting through the center gently, until the mixture turns a uniform deep brown and thickens. Divide the mousse equally among 4 small ramekins, glasses, or jars. Cover each with plastic wrap and refrigerate for at least 1 hour so it sets.
Step 4: Scoop and Serve
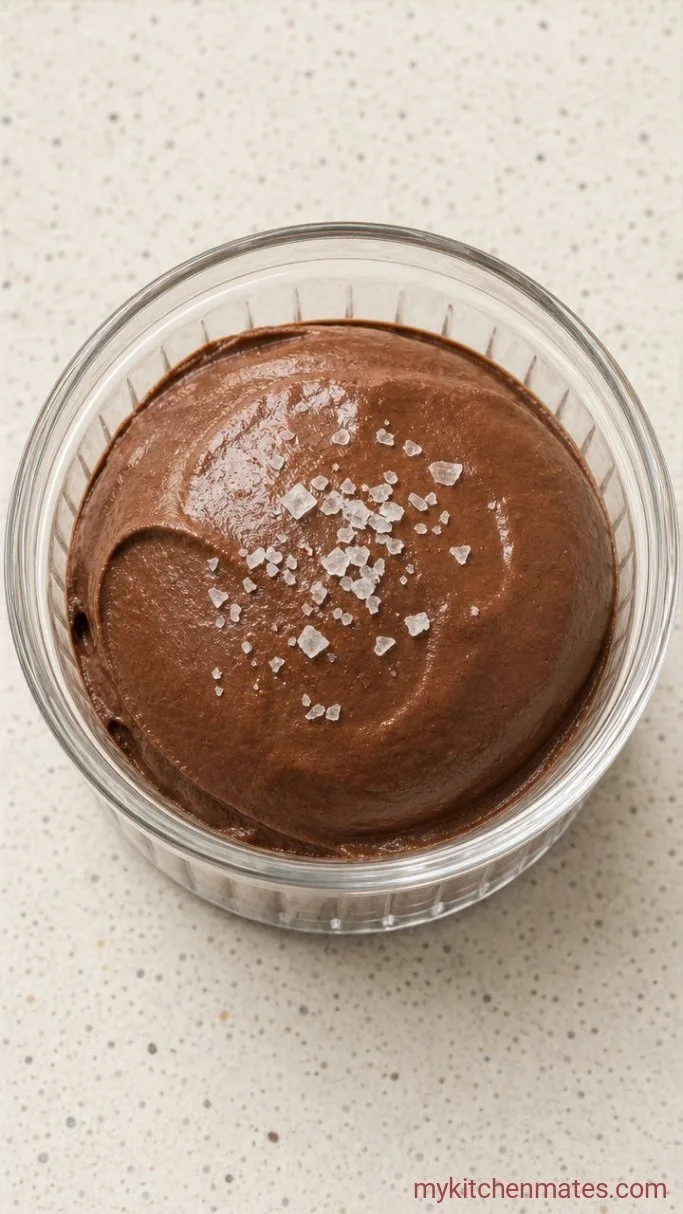
Take the mousse out of the fridge. It should feel firm and look glossy. Scoop generous spoonfuls into bowls if you didn’t portion them earlier, or serve straight from the ramekins. Finish each serving with a tiny pinch of flaky salt and maybe a few curls of dark chocolate. Eat it right away, while it’s cool, dense, and silky.
A Few Notes for the Fluffiest Mousse
- Always chill the coconut cream overnight; even a few hours won’t separate as fully. The solid layer is what gives body.
- If your chocolate seizes while melting, it may have come into contact with steam or water. Start over with dry equipment and low heat.
- For an extra light texture, whip the coconut cream a little longer, but stop before it gets grainy.
- Leftover coconut water from the can can be saved for smoothies.
Adjust the batch size easily:
| Servings | Dark chocolate | Coconut cream | Maple syrup |
|---|---|---|---|
| 2 | 4 oz | ½ cup | 1 tbsp |
| 4 | 8 oz | 1 cup | 2 tbsp |
| 6 | 12 oz | 1 ½ cups | 3 tbsp |
Storing Leftover Mousse
- Refrigerate: Covered, the mousse keeps for up to 3 days. The texture stays dense and spoonable.
- Serve cold: Straight from the fridge, no reheating needed.
Frequently Asked Questions
Can I use light coconut milk?
No, it won’t whip up thick enough. You need the fat from full-fat coconut milk.
My mousse didn’t set, what went wrong?
Either the coconut cream wasn’t chilled long enough or the chocolate was too warm when folded in, thinning the mixture.
Can I use a different sweetener?
Yes, liquid sweeteners like agave work well, or a spoonful of powdered sugar stirred into the warm chocolate.
Is this mousse nut-free?
Yes, it contains no nuts at all.
Can I make it ahead?
Yes, it keeps well in the fridge for up to 3 days, so it’s a great make-ahead dessert.
Vegan Chocolate Mousse Recipe
Ingredients
Method
- Melt chocolate in a heatproof bowl over simmering water, stirring until smooth, about 3 to 4 minutes. Cool slightly.
- Scoop the solid cream from the chilled coconut milk can (about 1 cup) and whip until soft peaks form, 1 to 2 minutes. Add maple syrup and vanilla, mixing just to combine.
- Fold the melted chocolate into the whipped cream until the mixture is a uniform deep brown and thickened. Divide among 4 ramekins, cover, and refrigerate at least 1 hour until set.
- Serve chilled, finished with a pinch of flaky salt and chocolate curls if you like.
Notes
