
10-Minute Tuna Mayo Onigiri (4 Ingredients)

Tuna mayo onigiri are the ultimate grab-and-go snack when you need something quick and satisfying. With just four pantry ingredients and a bowl of cooked rice, you can have these savory rice triangles ready in about ten minutes.
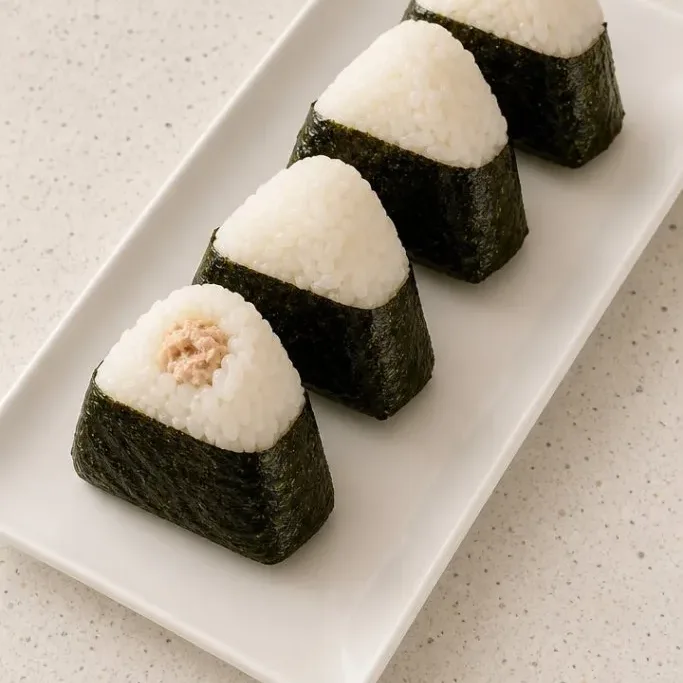
The creamy tuna filling is salty and rich, tucked inside warm, lightly salted rice, then wrapped with a crisp sheet of nori. They are perfect for lunchboxes, road trips, or a fast bite between calls.
Why These Onigiri Are a Weeknight Win
The filling comes together in one bowl and uses ingredients you probably already have. Canned tuna, a spoonful of mayo, and a splash of soy sauce create a creamy center that turns plain rice into a real meal.
You do not need any special equipment or even a stove if your rice is already cooked. They come together fast enough that you can make them while your coffee brews, and they taste just as good cold as they do fresh.
Ingredients
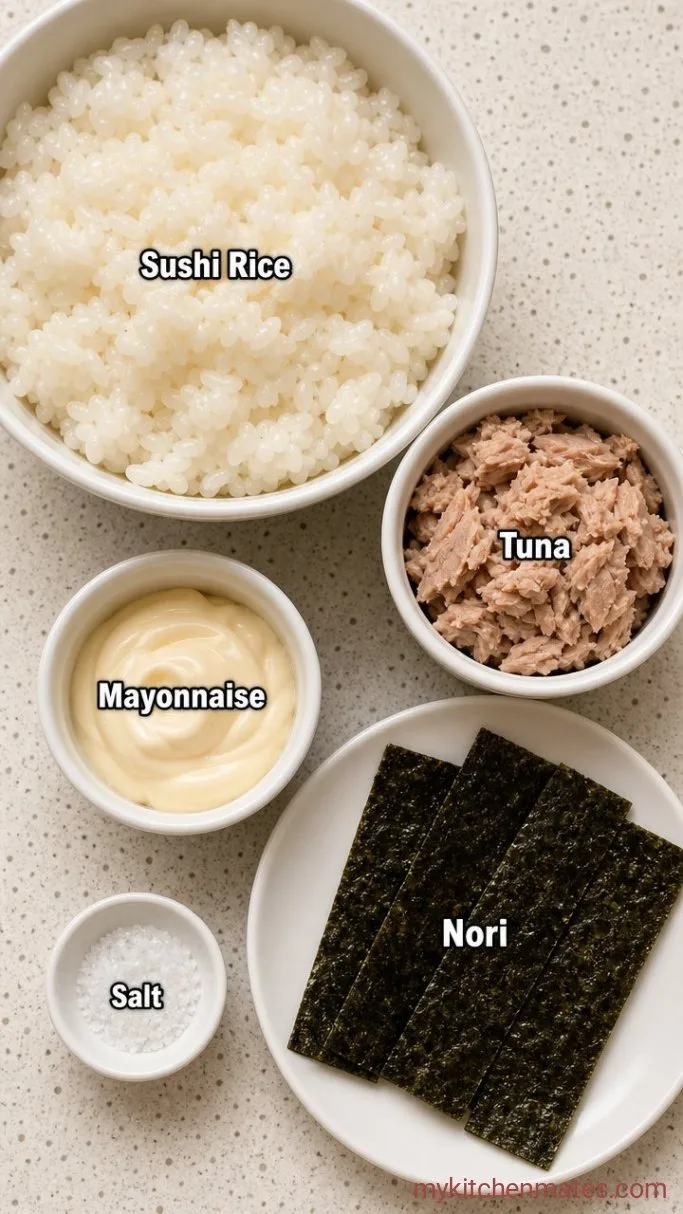
- 2 cups cooked short-grain sushi rice: still warm but cool enough to handle; freshly made or reheated leftovers both work.
- 5 oz canned tuna, drained: packed in oil or water, either is fine; oil-packed gives a little extra richness.
- 2 tbsp mayonnaise: Japanese Kewpie mayo is ideal for its savory tang, but regular works great too.
- 1 sheet nori (dried seaweed): cut into 4 strips to wrap around the base.
- Salt: a pinch of sea salt stirred into the water for shaping.
Variations / Substitutions
- Spicy version: mix a teaspoon of sriracha or chili crisp into the tuna mayo for a gentle kick.
- Swap the protein: use canned salmon or shredded cooked chicken instead of tuna.
- Add crunch: fold in a spoonful of finely chopped cucumber or a sprinkle of toasted sesame seeds.
- Soy-free: omit soy sauce or use coconut aminos if you want that savory note.
Spicy Tuna Sushi Bake is a perfect match if you’re wondering what to serve this mayo with.
How to Make Tuna Mayo Onigiri
Step 1: Mix the Tuna Filling
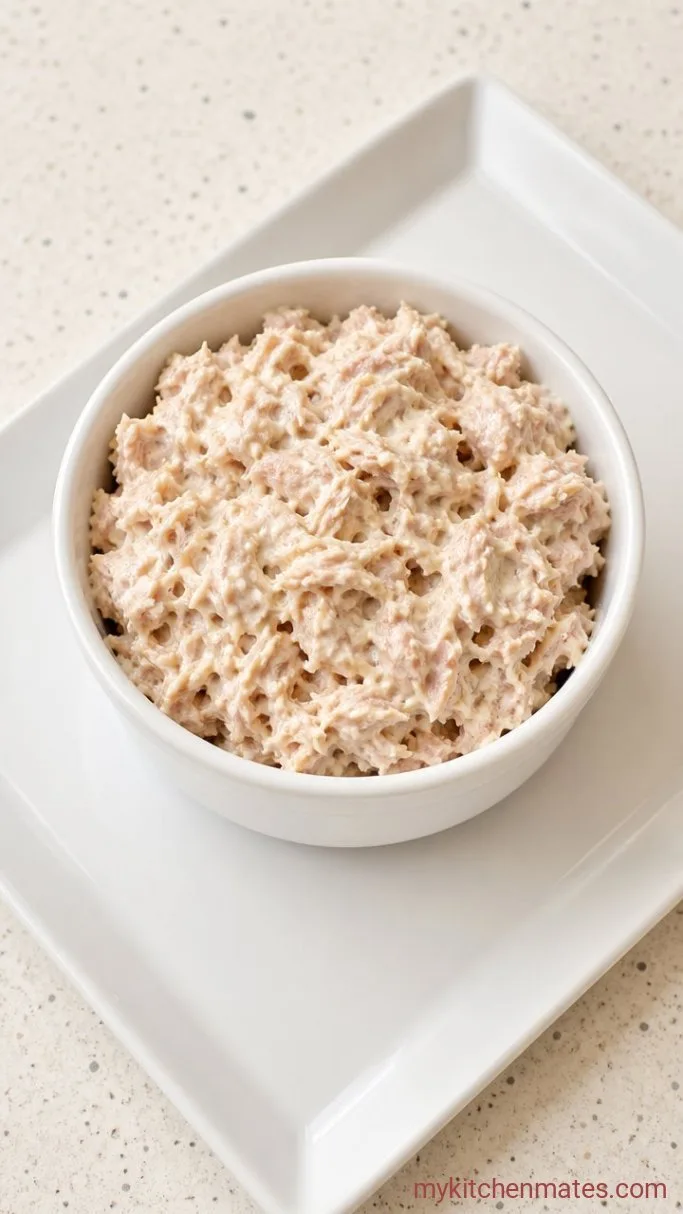
Drain the 5 oz tuna well, then flake it into a small bowl. Add the 2 tablespoons of mayonnaise and, if you like, a teaspoon of soy sauce for extra depth. Stir everything together until the mixture is smooth and spreadable; it will look pale and creamy and hold together easily.
Step 2: Shape the Onigiri
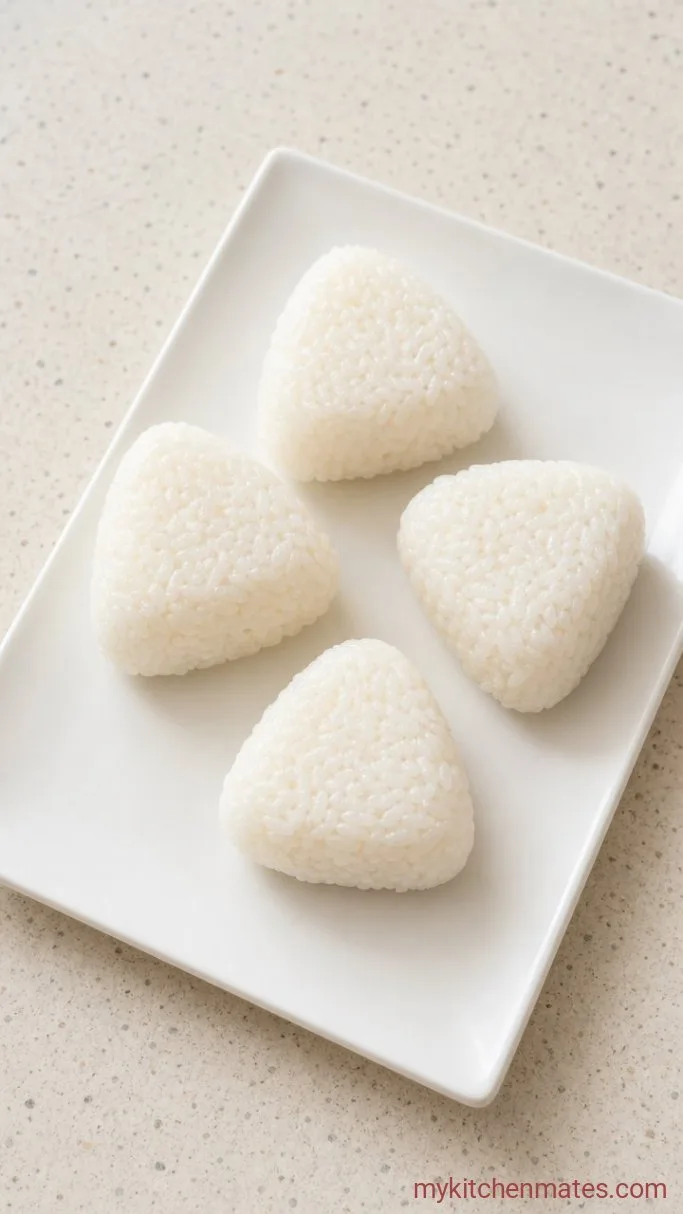
Fill a small bowl with water and add a generous pinch of salt. Dip both hands in this water before you start, then scoop about ⅓ cup of the warm sushi rice into one palm. Use your thumb to press a shallow indent into the center of the rice. Spoon a rounded teaspoon of the tuna filling into that indent, then gather the rice over the top to completely seal the filling. Cup your hands and press the ball firmly while rotating it to form a triangle or a flat disk; the rice should feel compact but not smushed.
Step 3: Wrap and Serve
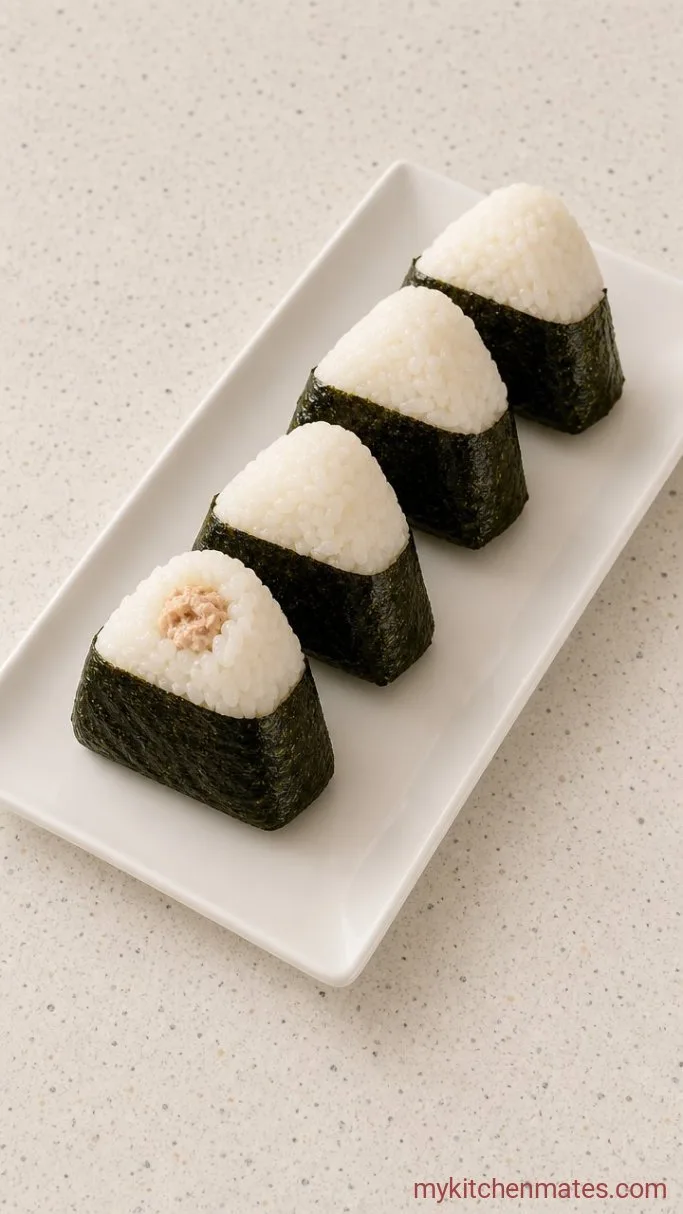
Cut the nori sheet into 4 strips. Wrap one strip around the bottom of each onigiri, leaving the top exposed so you can see the rice and filling peeking through. Serve right away while the rice is still pleasantly warm, or pack them up for later. For the crispest nori, wrap it on just before eating.
Tips for Shaping and Serving
- Keep a small bowl of salted water next to your work area and re-wet your hands often. It prevents the rice from sticking to your fingers.
- Press firmly but gently when shaping. Too much pressure makes the rice dense and hard; too little and the ball falls apart. Aim for a firm bounce when you tap it.
- If shaping directly with your hands feels messy, use a square of plastic wrap. Put the rice in the center, add filling, then gather the corners and twist to form a ball, pressing gently.
- Fill well inside the center. If the tuna mayo sits too close to the surface, it can break through when you press.
Use this guide to figure out how many onigiri you will get from your batch.
| Cooked Sushi Rice | Number of Onigiri |
|---|---|
| 1 cup | 3 |
| 2 cups | 6 |
| 3 cups | 9 |
Keeping Your Onigiri Fresh
Wrap each onigiri tightly in plastic wrap and refrigerate for up to 24 hours. Store the nori strips separately in a dry, sealed bag and wrap them around the rice just before eating. Onigiri taste best at room temperature, so take them out about 10 minutes before snacking.
What to Serve with Tuna Mayo Onigiri
Pair these onigiri with a small bowl of miso soup and some quick-pickled cucumbers for a lunch that feels complete. A side of steamed edamame tossed with flaky salt also balances the creamy filling nicely.
Frequently Asked Questions
Can I use long-grain rice instead of sushi rice?
No, long-grain rice will not hold together. Short-grain sushi rice has the starch you need to shape and seal the ball.
Can I make the onigiri the night before?
Yes, just wrap them tightly in plastic wrap and refrigerate. Keep the nori separate so it stays crisp, then wrap it around when you are ready to eat.
Can I use fresh tuna for the filling?
It is not recommended. Canned tuna has the right flaky, soft texture for this filling and mixes with mayo much better than cooked or raw fresh tuna.
Do I have to use mayonnaise?
For the classic creamy tuna filling, yes. You can swap in mashed avocado if you prefer dairy-free, but the texture will be looser and less rich.
Tuna Mayo Onigiri Recipe
Ingredients
Method
- Mix the tuna, mayonnaise, and a splash of soy sauce (if using) in a bowl until creamy and combined.
- Wet your hands with salted water, then scoop about ⅓ cup of warm rice into your palm. Make an indent, add a spoonful of filling, and seal the rice over the top. Press into a triangle or disk shape.
- Wrap a strip of nori around the bottom of each onigiri and serve immediately, or store with the nori separate for later.
Notes
