
Toy Story Birthday Cake with Clouds and Toy Figurines

A Toy Story birthday cake turns a simple party into a trip straight into Andy’s room. This version layers vanilla cake with sky-blue buttercream, puffy white clouds piped all over, and a few favorite toy characters perched right on top.
It looks like a bakery cake but it is totally doable at home, even if you have never piped a cloud before. No special pans, no fondant, just the kind of playful decorating kids and grown-ups both remember.
What Makes This Toy Story Cake So Special
The magic is not in tricky techniques; it is in the theme. A sky-blue background and piped clouds instantly read as Andy’s wallpaper, and the toys on top sell the idea without a single cutout or custom topper.
Because the decoration leans on buttercream and figurines you already own, there is zero stress about getting details perfect. A slightly squiggly cloud still looks like a cloud, and the toys hide any little frosting wobbles underneath.
Ingredients
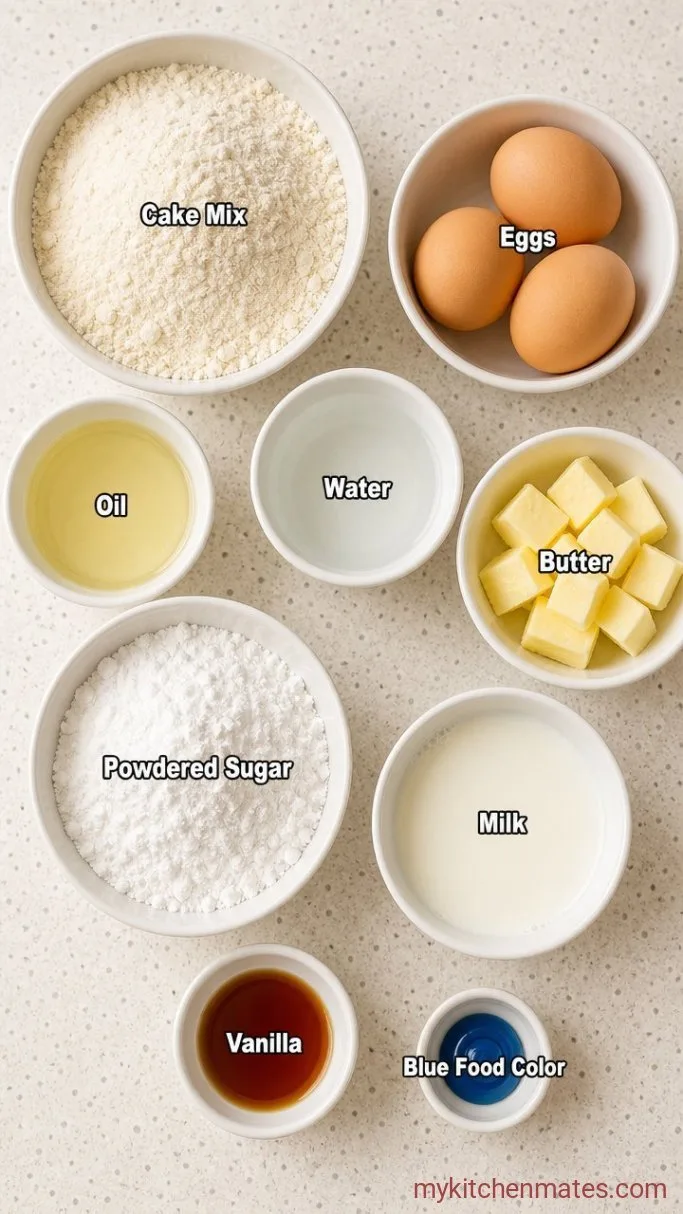
- 1 box (15.25 oz) vanilla cake mix, plus eggs, oil, and water as directed on box: any brand works
- 2 cups unsalted butter, softened: must be soft enough to whip light
- 8 cups powdered sugar: sifted to avoid lumps
- 1/4 cup whole milk: plus extra if the frosting needs thinning
- 2 teaspoons vanilla extract: use pure vanilla if you have it
- Blue gel food coloring: gel gives vibrant color without making the frosting runny
- White gel food coloring (optional): helps the clouds look bright white against the blue
- Star piping tip (Wilton 1M or similar) and piping bags: for the cloud texture
- Clean Toy Story figurines (Woody, Buzz, Alien, etc.): wash with soap and water before using
- Mini alphabet blocks or letter candles: for spelling “ANDY” or the birthday kid’s name
Variations / Substitutions
- Different cake flavor: swap the vanilla mix for chocolate or funfetti; both look great with the blue buttercream.
- Cream cheese frosting: use 1 cup butter and 1 cup cream cheese for a tangier finish; chill the cake extra firmly before piping clouds.
- No figurines: pipe a green alien face with buttercream or use candy melts to shape simple characters.
- Gluten-free: use a gluten-free vanilla cake mix and check all decorations are gluten-free.
Stitch Birthday Cake is next on our list if this cake is your kind of dessert.
How to Make a Toy Story Birthday Cake
Step 1: Bake the Cake Layers
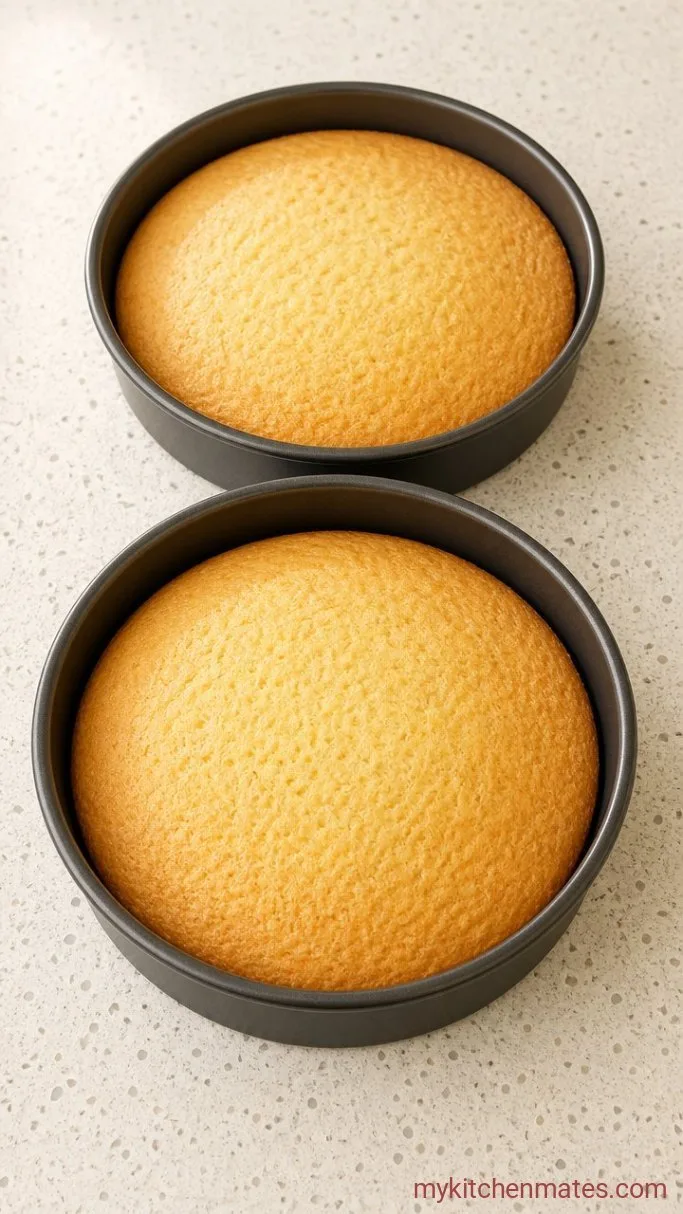
Preheat the oven to 350°F (175°C). Grease and line two 8-inch round cake pans. Prepare the cake mix according to the package directions, using the eggs, oil, and water listed on the box. Divide the batter evenly between the pans. Bake for 25 to 30 minutes, until a toothpick inserted in the center comes out clean. Let the layers cool in the pans for 10 minutes, then turn them out onto a wire rack to cool completely, about 1 hour.
The cakes need to be fully cool before frosting, or the buttercream will slide right off. The edges will pull away from the pan sides and the tops will spring back when touched lightly.
Step 2: Whip the Buttercream
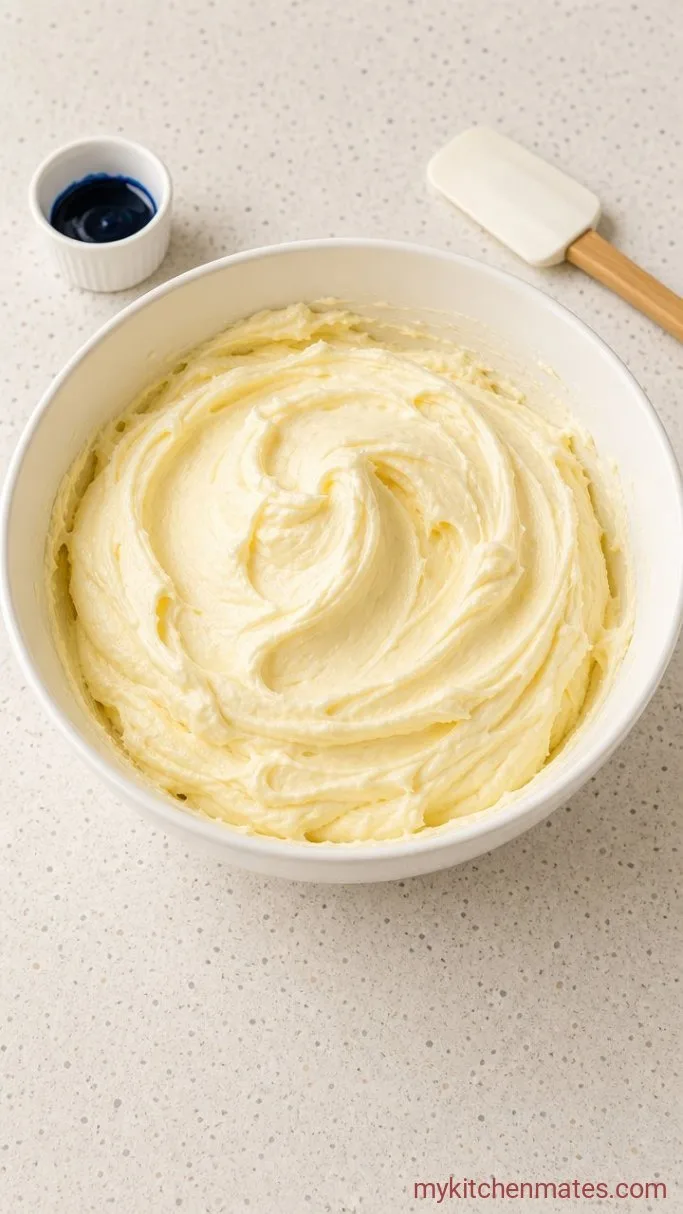
In a large bowl, beat the 2 cups softened butter with an electric mixer on medium speed until light and fluffy, about 3 minutes. Gradually add the 8 cups powdered sugar, 1 cup at a time, mixing on low so you do not end up in a sugar cloud. Once all the sugar is in, pour in the 1/4 cup milk and 2 teaspoons vanilla. Beat on medium-high for 4 to 5 minutes, until the frosting is smooth, airy, and spreadable. If it feels too stiff, add another tablespoon of milk.
Scoop out about 1 cup of the white frosting for the clouds and set it aside, covered. Tint the rest with a few drops of blue gel food coloring, stirring well until you get a sky-blue shade. If you want the clouds extra bright, add a tiny dab of white gel to the reserved white frosting.
Step 3: Crumb Coat and Chill
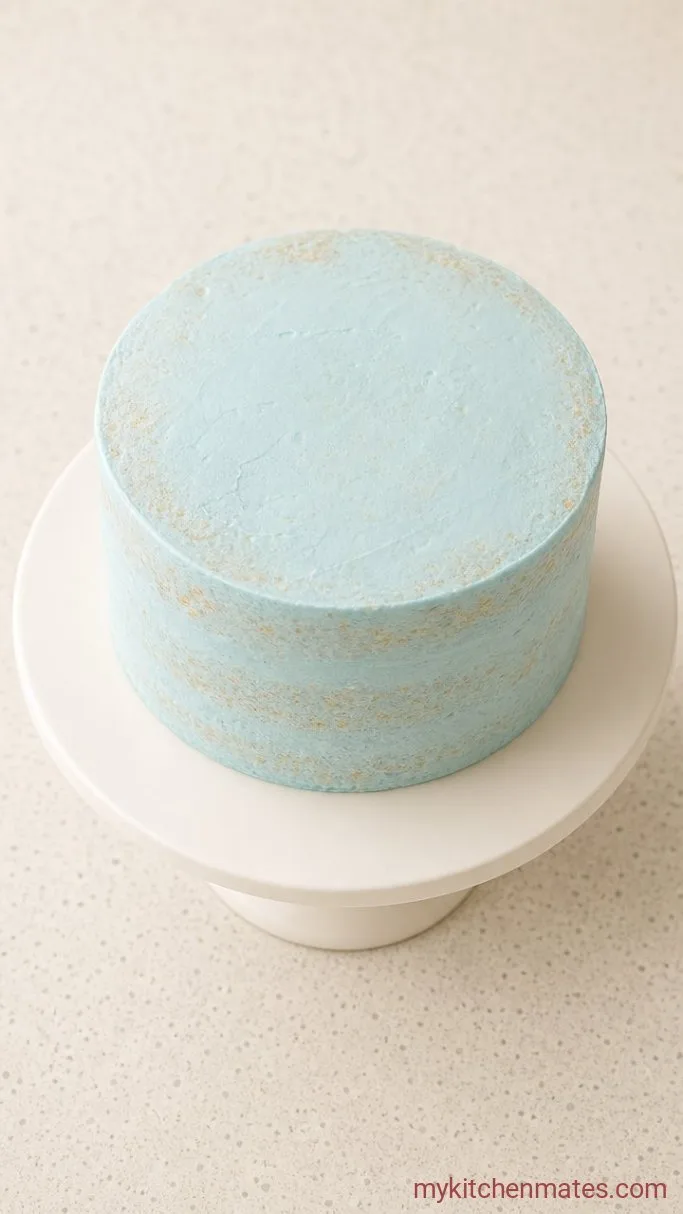
If the cake layers have domed tops, use a serrated knife to level them flat. Place one layer on a cake board or serving plate and spread a generous cup of the blue buttercream on top. Set the second layer upside down (flat side up) and press gently to seal it. Use an offset spatula to spread a very thin coat of blue frosting all over the top and sides, scraping away the excess. Slide the cake into the fridge to chill for at least 30 minutes, until the frosting feels firm.
The chilled crumb coat makes the final frosting layer glide on without pulling up stray crumbs. You will see cake showing through the thin layer, and that is completely fine.
Step 4: Frost Smooth and Pipe Clouds
Spread the remaining blue buttercream over the chilled cake, starting from the top and working down the sides. Smooth it with a bench scraper or offset spatula until you have an even, sky-like finish. Fit a piping bag with the star tip and fill it with the reserved white frosting. To pipe a cloud, hold the bag straight up, squeeze firmly for 1 second, then stop squeezing and lift straight up. Pipe clouds close together all over the sides and top, varying the sizes so it looks like Andy’s wallpaper.
The white star bursts will read as puffy clouds. Leave a few gaps in the blue so the color shows through. Clouds are forgiving, so do not worry about making every one identical.
Step 5: Place the Toys and Serve
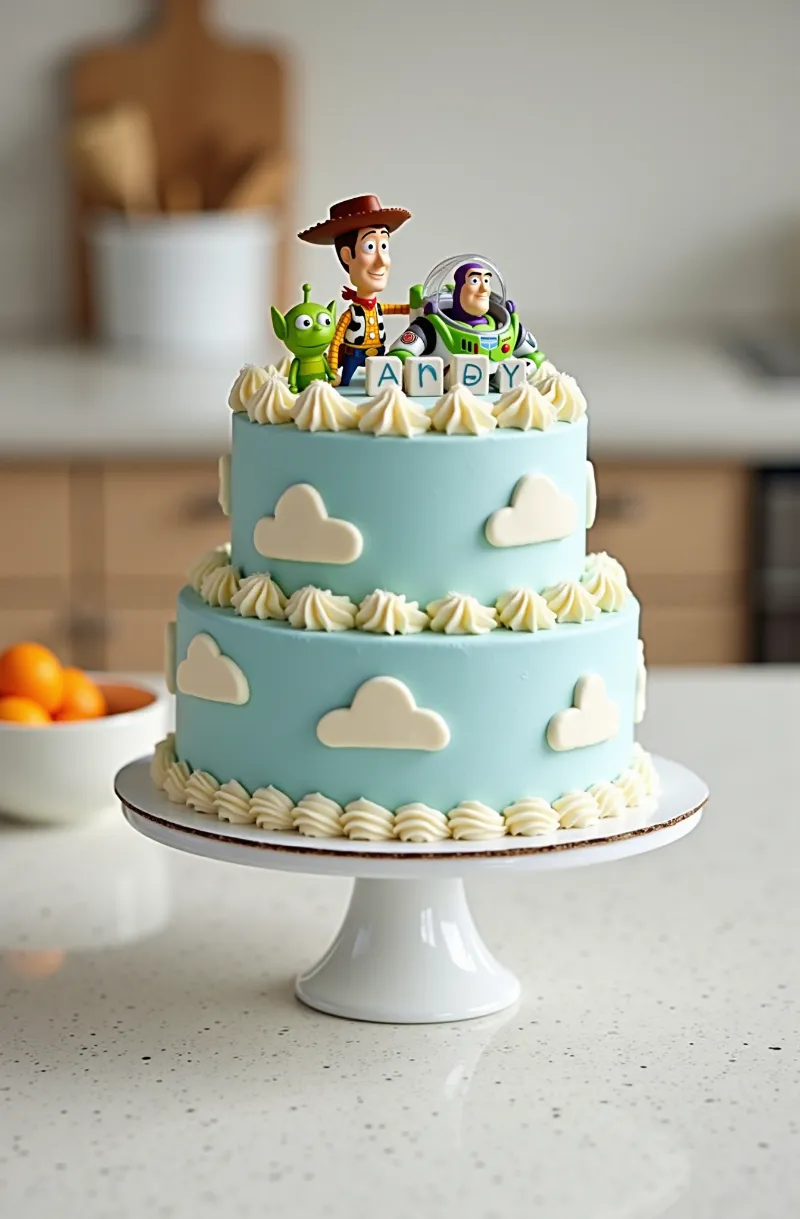
Press the clean Toy Story figurines onto the top of the cake, nestling them into the frosting so they stand securely. Tuck a few mini alphabet blocks or candles around them spelling “ANDY” or the birthday kid’s name. Step back and admire the little scene, then bring it to the table.
The cake is ready to serve right away or can sit at room temperature for up to 2 hours. When you cut into it, the vanilla layers and buttery frosting will look just as good as the outside.
Tips for a No-Stress Toy Story Cake
- Use gel food coloring, not liquid, so the blue stays vivid without making the frosting runny. A little goes a long way.
- Chill the cake thoroughly before you start the final blue coat. A cold cake holds its shape and gives you a smooth canvas.
- Wash all plastic toys with warm soapy water and dry them completely before they go anywhere near the cake.
- If you do not have a star tip, spoon small dollops of white frosting and use the back of a spoon to swirl them into cloud shapes. It still looks charming.
Bake times by pan size:
| Pan Size | Batter Amount | Bake Time |
|---|---|---|
| Two 8-inch rounds | Full box mix | 25–30 mins |
| Three 6-inch rounds | Full box mix | 18–22 mins |
| 9×13-inch sheet | Full box mix | 22–28 mins |
Keeping the Cake Fresh
Store leftover cake in an airtight container in the refrigerator for up to 3 days. Remove the toys before storing and wipe them clean. For the best flavor, let slices come to room temperature for about 20 minutes before eating. The buttercream will soften and taste richer that way.
Frequently Asked Questions
Can I make this cake the day before?
Yes, you can bake the layers and make the buttercream a day ahead. Assemble and frost the cake the day of, but keep the toys off until just before serving so they stay clean.
What if I don’t have a star tip for the clouds?
You can fill a zip-top bag with white frosting, snip a small corner, and pipe little puffy mounds. Or use a spoon to dollop and swirl the clouds right onto the blue frosting.
Can I use whipped cream instead of buttercream?
No, whipped cream is too soft to hold the sky color and will not support the toy figurines. Buttercream is much sturdier and keeps the cake looking fresh for hours.
Toy Story Birthday Cake Recipe
Ingredients
Method
- Preheat oven to 350°F. Grease two 8-inch round cake pans. Prepare cake mix according to package. Divide batter between pans and bake 25 to 30 minutes, until a toothpick comes out clean. Cool completely.
- Beat butter until fluffy, about 3 minutes. Gradually beat in powdered sugar, then milk and vanilla. Beat 4 to 5 minutes until smooth. Reserve 1 cup white frosting; tint remainder blue with gel coloring.
- Level cake layers. Fill with 1 cup blue frosting. Place second layer upside down. Apply a thin crumb coat of blue frosting. Chill at least 30 minutes.
- Frost cake with remaining blue frosting, smoothing sides. Fill piping bag fitted with star tip with white frosting. Pipe small star clouds all over the cake.
- Arrange Toy Story figurines on top, nestling them into frosting. Add letter blocks or candles. Serve.
Notes
