
Crispy Thai Fried Chicken (Gai Tod)

Thai fried chicken, or gai tod, is a street food staple that’s crispier and more aromatic than your average fried chicken. The secret is a quick marinade full of garlic and fish sauce, plus a double-fry to lock in that shattering crust.
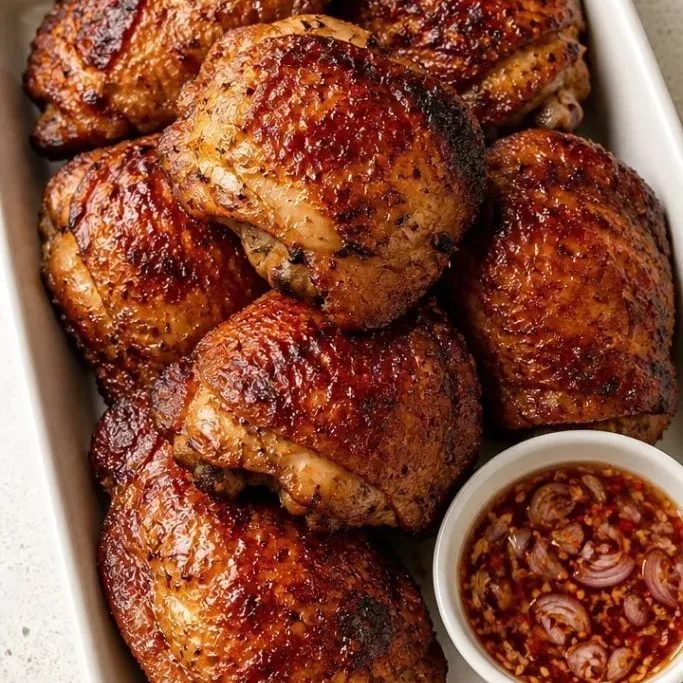
Once you dip a hot piece into nam jim jaew, a tangy, spicy, smoky sauce, you’ll wonder why you waited this long to make it at home.
Why This Thai Chicken Stays in the Rotation
The crust has a lightness that comes from using rice flour and a double fry, something you don’t get from a single dunk in oil. The meat stays juicy because the marinade works while the chicken sits.
And the nam jim jaew. That sauce hits with tamarind tang, fish sauce saltiness, and a slow chili burn that makes every bite worth dipping.
Ingredients
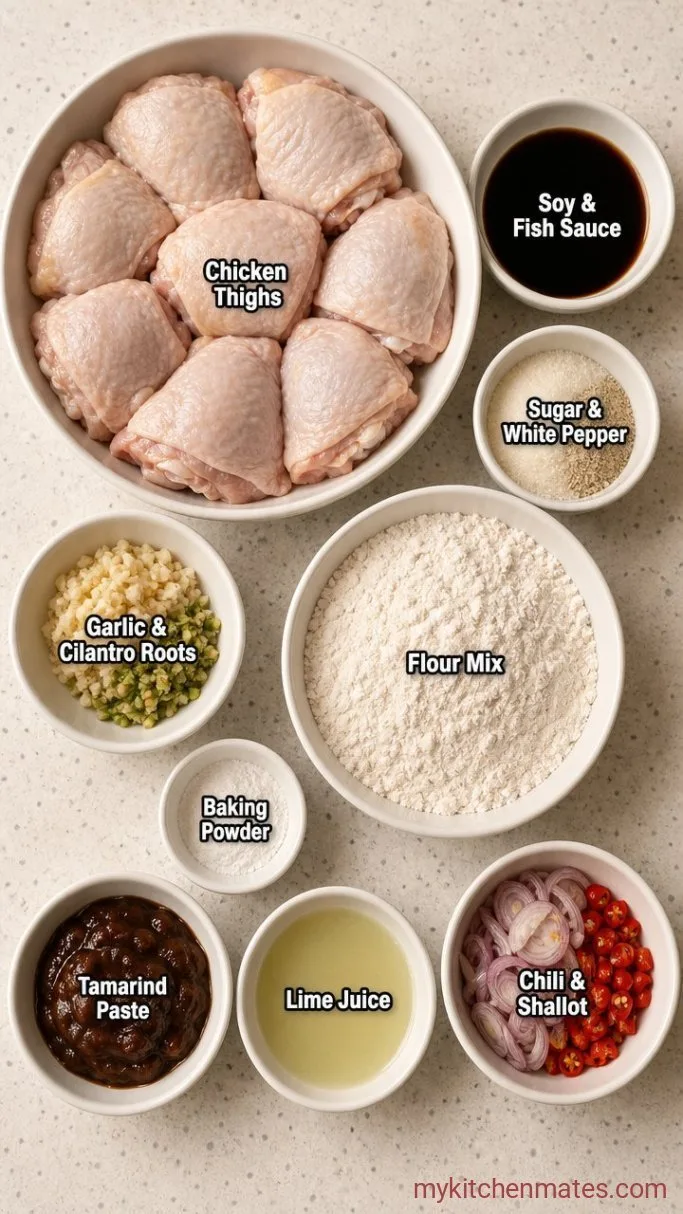
- 2 lbs bone-in, skin-on chicken thighs (6 to 8 thighs): choose uniform sizes for even frying
- 3 tbsp fish sauce: for the marinade; the saltier the brand, the more savory the result
- 2 tbsp soy sauce: light soy keeps the chicken from getting too dark
- 1 tbsp sugar: helps the skin brown and balances the salt
- 2 tsp ground white pepper: gives gentle heat without visible specks
- 6 cloves garlic, minced: use fresh, not jarred, for the boldest flavor
- 2 tbsp chopped cilantro roots or stems: the most aromatic part of the cilantro plant; stems work if you can’t find roots
- 1 cup all-purpose flour: the base of the dredge
- 1/2 cup rice flour: adds delicacy and crunch to the crust
- 1 tsp baking powder: lifts the coating so it isn’t dense
- Vegetable or peanut oil: for frying; enough to fill a deep pot by about 2 inches
- 3 tbsp fish sauce: for the dipping sauce
- 2 tbsp tamarind paste: look for the concentrated pulp, not the watery sauce
- 2 tbsp lime juice: freshly squeezed
- 1 tbsp sugar: rounds out the sour notes
- 1 tsp toasted rice powder: optional but adds nuttiness and body to the sauce
- 2 Thai chilies, finely chopped: adjust to your heat tolerance
- 1 small shallot, thinly sliced: mellows as it sits in the sauce
Variations / Substitutions
- Swap drumsticks for thighs: they take a little longer to cook through but the skin-to-meat ratio works great.
- No rice flour: use all-purpose flour only; the crust will be crunchier but less delicate.
- Cilantro roots not available: use the tender stems from a bunch of cilantro instead, they pack the same earthy punch.
- Milder sauce: omit the chilies and add a pinch of sweet paprika for a tamer version.
- Gluten-free: replace the flour with a 1:1 gluten-free blend plus a little extra rice flour.
Thai Chicken Salad goes great with this chicken when you want something fresh on the side.
How To Make Thai Fried Chicken
Step 1: Marinate the Chicken
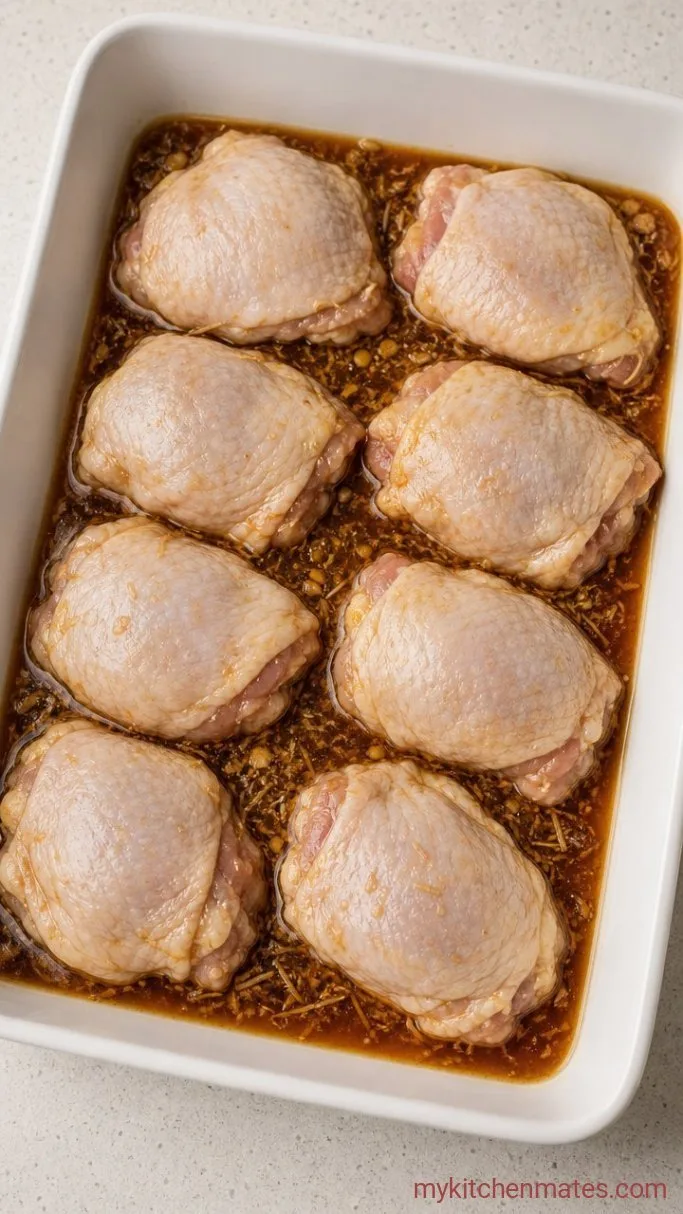
In a large bowl, whisk together the 3 tbsp fish sauce, 2 tbsp soy sauce, 1 tbsp sugar, 2 tsp white pepper, minced garlic, and chopped cilantro stems. Add the 2 lbs chicken thighs and toss until every piece is coated. Cover and refrigerate for at least 30 minutes while you make the dipping sauce. The longer it sits, the deeper the salt and garlic work into the meat.
While the chicken marinates, the bowl will fill with the scent of garlic and fish sauce, intensely savory with a sweet garlic note. This is the exact aroma you want before you fry.
After marinating, pat the chicken completely dry with paper towels. Any wet spots will steam under the crust and soften it, so take an extra minute to get the skin as dry as possible.
Step 2: Whisk Together the Dipping Sauce
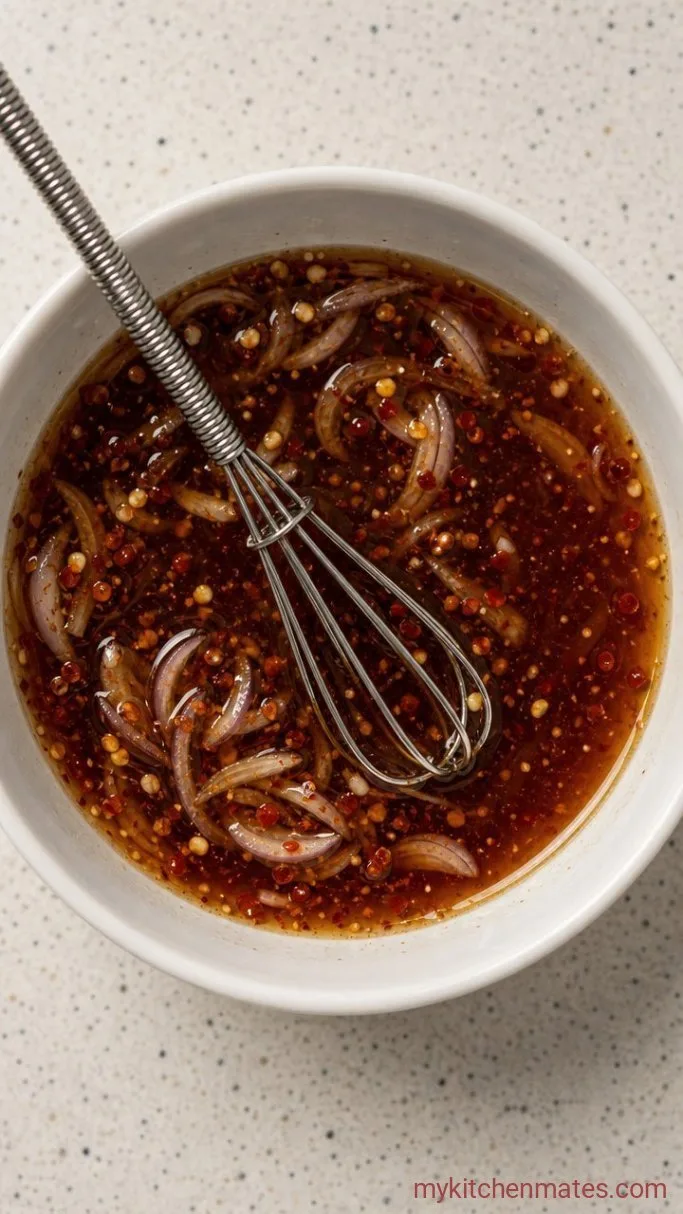
While the chicken marinates, make the nam jim jaew. In a small bowl, combine 3 tbsp fish sauce, 2 tbsp tamarind paste, 2 tbsp lime juice, 1 tbsp sugar, and the chopped Thai chilies. Stir until the sugar dissolves completely.
The sauce will look rust-colored and taste intensely salty, sour, and spicy all at once. The balance might need a nudge: add a touch more sugar if the tamarind is too sharp, or a squeeze of lime if it needs brightness.
The toasted rice powder is optional but worth it. To make, dry-toast a spoonful of raw sticky rice in a pan until golden, then grind it in a mortar. It adds a smoky, nutty texture that thickens the sauce just enough to cling to the chicken.
Step 3: Mix the Coating
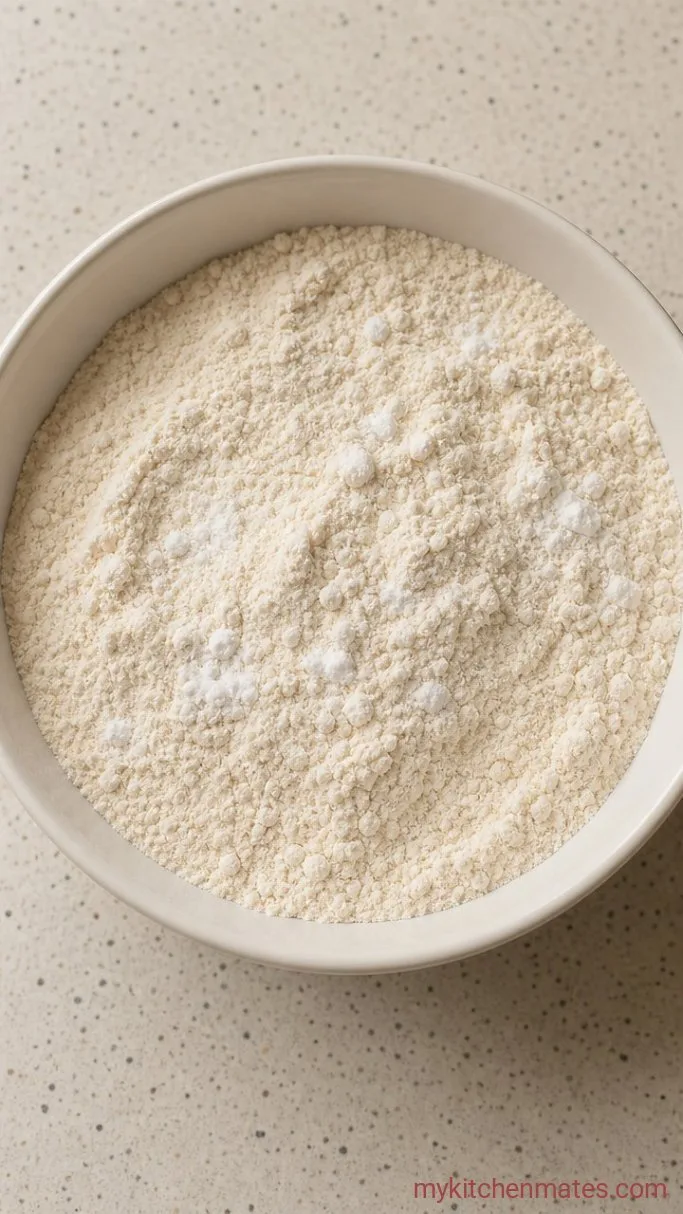
Set up a dredging station. In a shallow bowl, stir together 1 cup all-purpose flour, 1/2 cup rice flour, and 1 tsp baking powder. Place a wire rack over a baking sheet nearby for draining.
Pour about 2 inches of oil into a deep pot or Dutch oven and clip on a thermometer. Heat the oil to 350°F (175°C). The rice flour gives the coating its delicate crunch, much lighter than all-purpose flour alone.
While the oil heats, the dry ingredients will be ready. Make sure the pot is deep enough that the oil won’t bubble over when you lower in the chicken. A thermometer makes all the difference here: guessing the temperature leads to a soggy or burnt crust.
Step 4: First Fry the Chicken
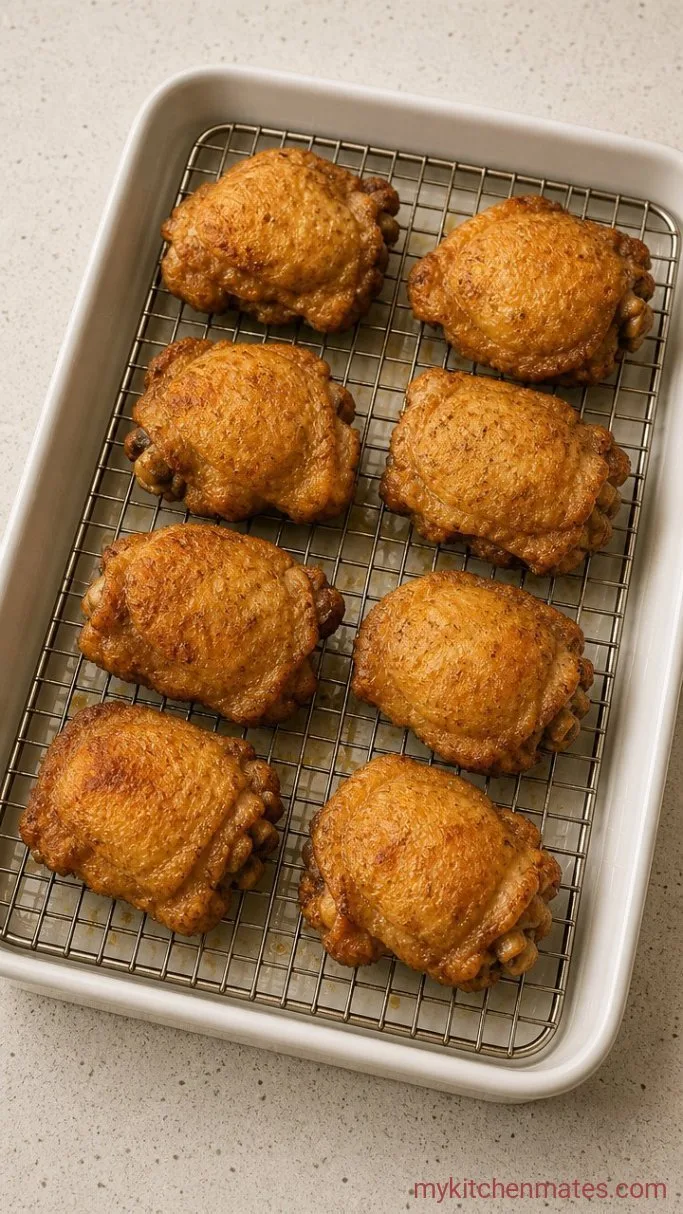
Working in batches, take a piece of dried, marinated chicken, dredge it well in the flour mixture, and gently lower it into the 350°F oil. Fry for about 6 to 8 minutes, until the coating is set and pale golden. Do not crowd the pot, or the oil temperature will drop too far.
The chicken will look cooked but not deeply colored, and the bubbling around it will slow as the first fry finishes. The internal temperature should be around 145°F at this point, just under the safe zone.
Transfer the fried pieces to the wire rack. The second fry will bring the internal temp to 165°F while also crisping the exterior beyond anything a single fry can do.
Step 5: Double-Fry for Extra Crunch
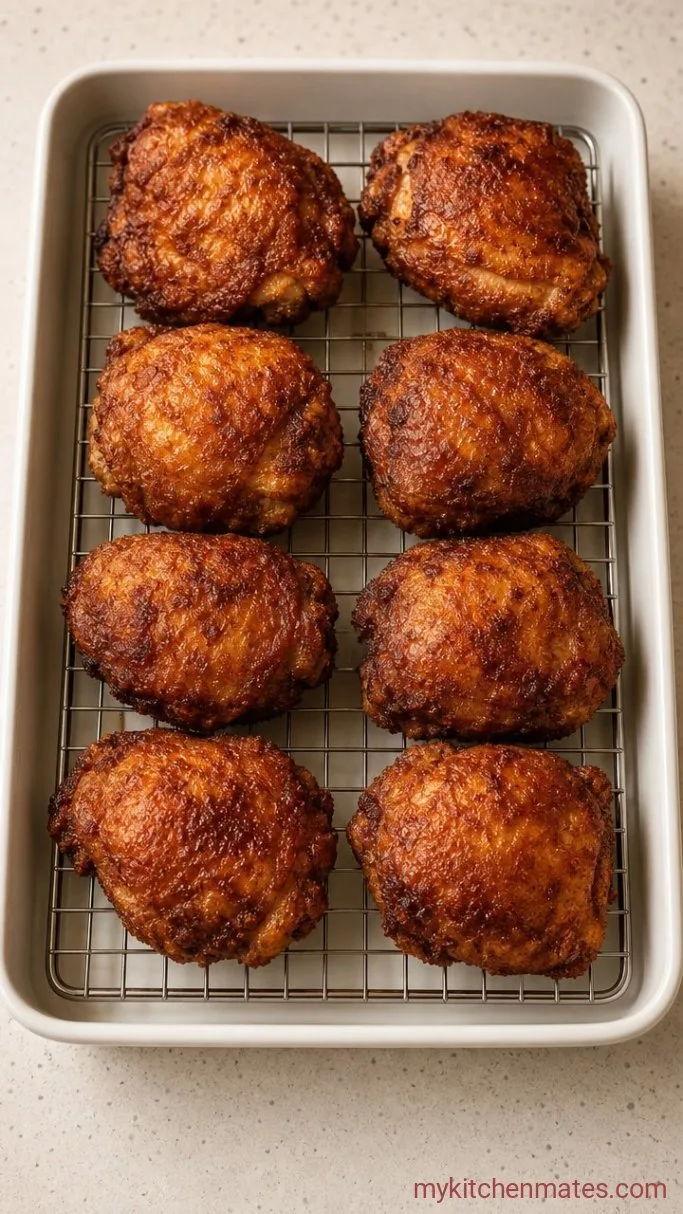
Once all the chicken has had its first fry, raise the oil temperature to 375°F (190°C). Return the chicken to the oil in batches and fry for just 2 to 3 minutes more.
The crust will turn deep golden brown and become aggressively crisp. You’ll hear it crackle the moment it hits the rack, a sound that tells you the moisture is gone and the crunch will hold.
The double-fry drives out any remaining moisture from the coating, which is what gives it that shattering texture that stays crisp even as the chicken rests briefly. Drain on the rack, not paper towels, so steam can escape.
Step 6: Pile High and Serve with Sauce
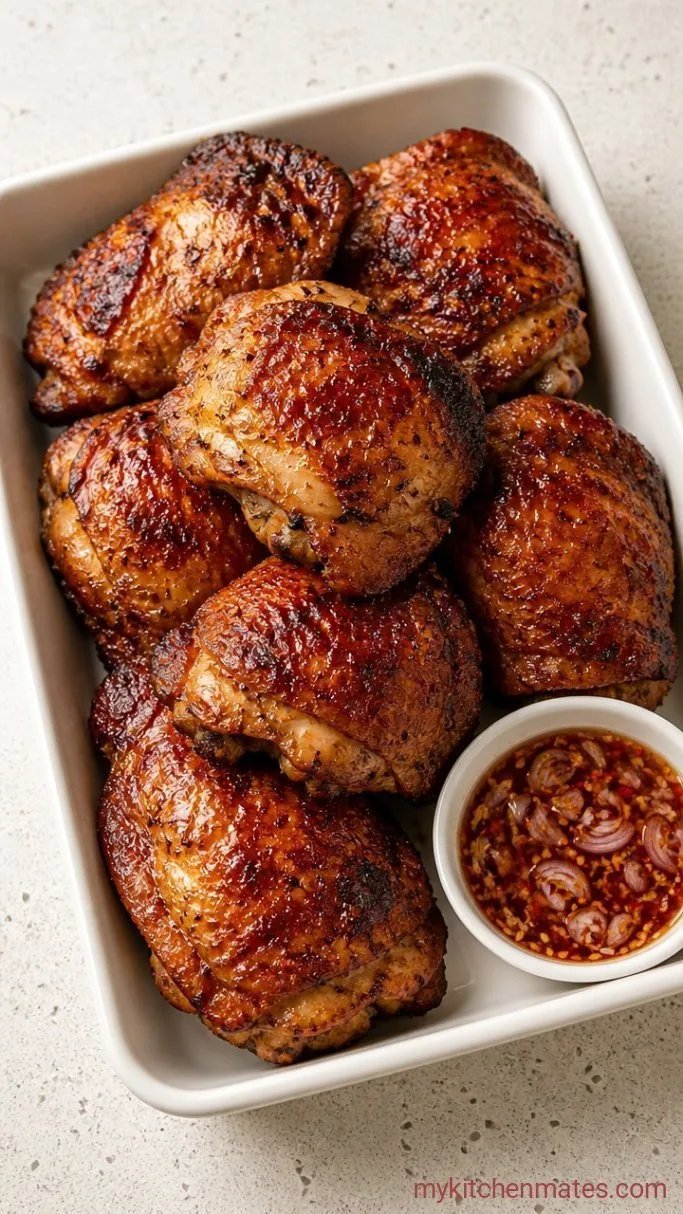
Pile the fried chicken onto a large platter. Pour the dipping sauce into a small bowl and place it in the middle, or serve individual bowls if you’re feeding a crowd. Scatter some fresh cilantro leaves and thinly sliced scallions over the top for color and a final pop of freshness.
The sauce is bold, so a little goes a long way. Let people spoon it over each bite or dunk as they please.
The best way to eat this is hot, with the crust at its loudest. Gather everyone to the table right away with sticky rice and a cold beer.
Tips for the Crunchiest Thai Fried Chicken
- Start with cold chicken from the fridge. Going straight into hot oil helps the skin stay attached and encourages rapid bubbling.
- Use a thermometer for the oil. Guessing the temperature leads to a greasy or burnt crust every time.
- The double fry isn’t a shortcut to skip. The first fry cooks, the second fry creates the shatter.
- Rest the chicken on a wire rack, never paper towels. Steam trapped underneath makes the crust soft.
- Let the dipping sauce sit for 10 minutes before serving. The shallots and chilies mellow and the flavors meld better.
Fry times by cut:
| Cut | First Fry at 350°F | Second Fry at 375°F |
|---|---|---|
| Chicken thighs (bone-in) | 6 to 8 mins | 2 to 3 mins |
| Drumsticks | 8 to 10 mins | 3 to 4 mins |
Storing Leftover Thai Fried Chicken
- Refrigerate: Store cooled chicken in an airtight container for up to 3 days. It will lose some crunch but still tastes great.
- Reheating: The best way to bring back crispness is in a 400°F oven or air fryer for 5 to 7 minutes. Never microwave, or the crust turns gummy.
What To Serve With Thai Fried Chicken
Sticky rice is my go-to because it soaks up every drop of the nam jim jaew. A quick cucumber salad tossed with lime and sugar cools the heat between bites. A som tam (green papaya salad) works if you want an extra layer of crunch and sourness on the side.
Frequently Asked Questions
Can I use boneless skinless chicken thighs?
Yes, but reduce the first fry time to about 5 minutes. The second fry stays the same.
Is the dipping sauce very spicy?
It’s mildly spicy with a slow burn. Omit the chilies if you prefer no heat at all.
Can I make this gluten-free?
Swap the all-purpose flour for a 1:1 gluten-free blend, and use tamari in place of soy sauce in the marinade.
Can I make the sauce ahead of time?
Yes, the sauce keeps in the fridge for up to a week. Stir in the toasted rice powder right before serving.
Thai Fried Chicken Recipe
Ingredients
Method
- Combine the marinade ingredients (3 tbsp fish sauce, soy sauce, sugar, white pepper, garlic, cilantro stems) in a bowl. Add chicken, coat well, cover, and refrigerate at least 30 minutes. Pat dry before frying.
- While the chicken marinates, make the dipping sauce: stir together the remaining fish sauce, tamarind paste, lime juice, sugar, chilies, and shallot. Let sit 10 minutes. Add toasted rice powder if using.
- Mix the all-purpose flour, rice flour, and baking powder in a shallow bowl. Heat oil to 350°F (175°C) in a deep pot. Place a wire rack over a sheet pan.
- Dredge chicken pieces in the flour mixture and fry in batches at 350°F for 6 to 8 minutes until pale golden. Drain on the rack.
- Raise oil to 375°F (190°C). Fry the chicken again for 2 to 3 minutes until deep golden and crisp. Drain on the rack again.
- Pile the chicken on a platter, serve with the sauce on the side, and top with cilantro and scallions. Eat immediately.
Notes
