
Teacher Appreciation Sugar Cookies That Hold Their Shape

These soft cut-out sugar cookies keep their edges crisp and clean, so apples, stars, and letters come out of the oven looking just like you planned. They are sturdy enough for little hands to decorate but still have that tender, buttery melt-in-your-mouth bite.

Packing a tin of these for Teacher Appreciation Week takes an afternoon, and the dough is forgiving enough that you can roll it cold and bake straight away. A simple glaze and a scatter of sprinkles give you a homemade thank-you that any teacher will love.
Why These Cookies Make the Best Teacher Gifts
The butter-rich dough doesn’t puff into a blob. You get sharp edges on every shape, which makes decorating quick and the results look polished.
The flavor is gentle vanilla with a hint of salt, so the icing takes the lead. Even unadorned, the cookies stay soft for days inside a sealed container, which means you can bake on Saturday and gift on Tuesday without worry.
Ingredients
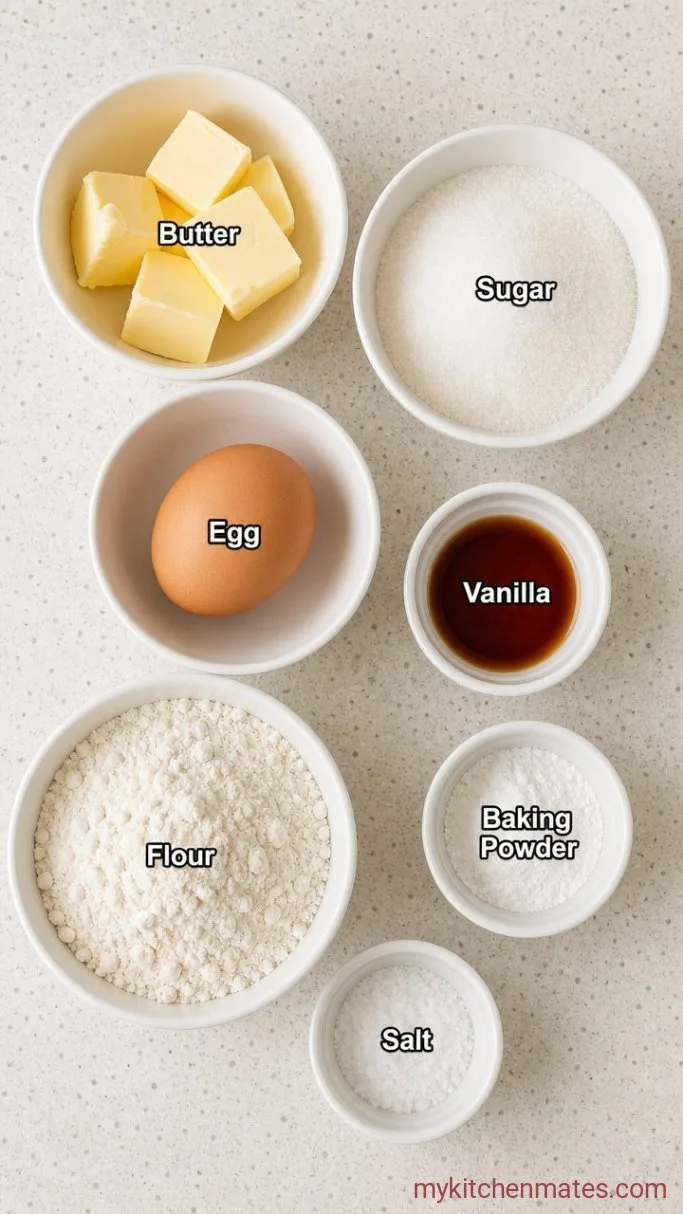
- 1 cup (2 sticks) unsalted butter, softened to room temperature: the butter must be soft but not greasy or the dough will spread.
- 1 cup granulated sugar: fine white sugar creams best here; avoid coarser raw sugar.
- 1 large egg: cold from the fridge is fine; it warms up quickly during mixing.
- 2 teaspoons vanilla extract: pure vanilla gives the cleanest flavor.
- 2 ½ cups all-purpose flour: spooned and leveled, not scooped, or the cookies turn tough.
- ½ teaspoon baking powder: just enough to give the cookie a tiny lift without bulging.
- ¼ teaspoon fine sea salt: balances the sweetness.
Variations / Substitutions
- Almond flavor: swap the vanilla for 1 teaspoon almond extract for a nuttier cookie that pairs wonderfully with lemon icing.
- Citrus note: rub 1 tablespoon of lemon or orange zest into the sugar before creaming to add brightness without changing the texture.
- Gluten-free: use a 1-to-1 gluten-free flour blend in the same quantity; the dough may feel slightly softer, so add 5 extra minutes of chilling.
Powdered Sugar Cookies are another reader favorite dessert worth making next.
How to Make Teacher Appreciation Sugar Cookies
Step 1: Cream the Butter and Sugar
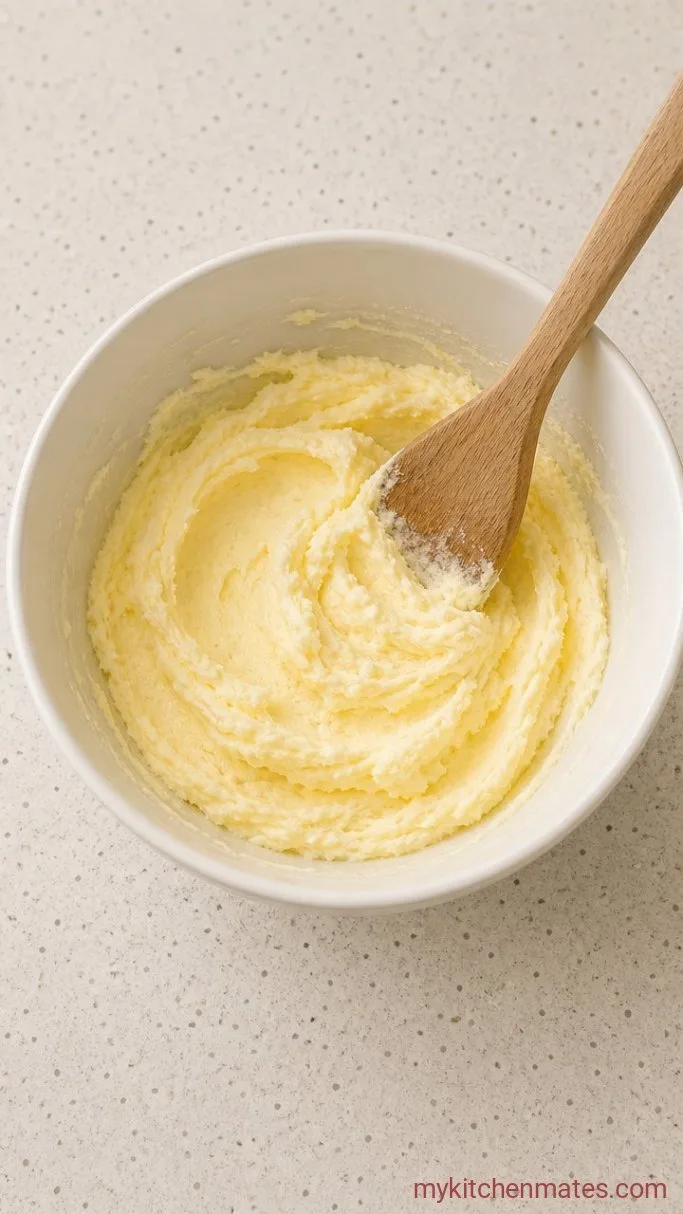
Place the softened 1 cup butter and 1 cup sugar in a large mixing bowl. Using a hand mixer or stand mixer, beat on medium speed until the mixture looks pale and fluffy, about 2 to 3 minutes total. Scrape down the sides once halfway through.
The color shift is your visual cue. The grains of sugar are dissolving into the fat, and that airiness is what gives the cookies a tender crumb later, so don’t rush it.
Step 2: Add the Egg and Dry Ingredients
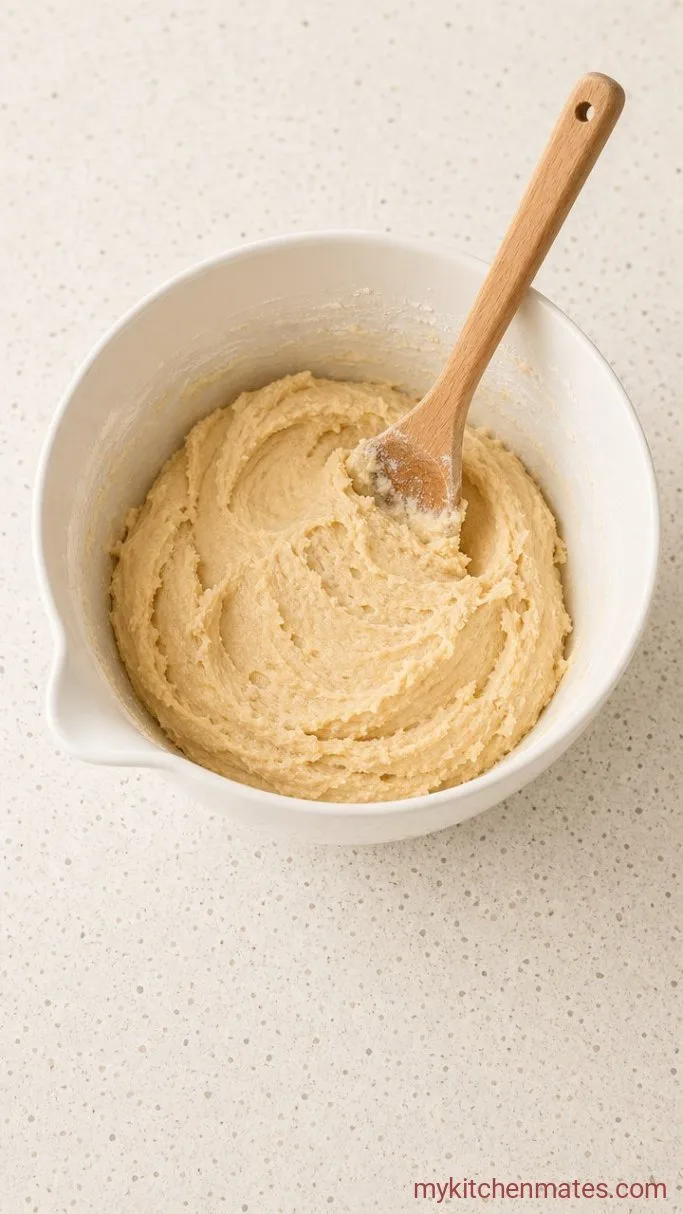
Crack the 1 large egg into the bowl and pour in the 2 teaspoons vanilla. Beat on medium just until the yellow streak disappears, roughly 30 seconds. In a separate small bowl, whisk together the 2 ½ cups flour, ½ teaspoon baking powder, and ¼ teaspoon salt.
With the mixer on low, add the flour mixture gradually, about half at a time. Stop mixing the moment a soft dough forms and no dusty pockets of flour remain, usually less than 1 minute. The dough will look slightly crumbly at first but should hold together when you press it between your fingers.
Step 3: Chill the Dough

Gather the dough into a disc about 1 inch thick, wrap it tightly in plastic wrap, and refrigerate for at least 1 hour. If you are in a hurry, 30 minutes in the freezer works, but longer chilling reduces spread even more.
This rest firms up the butter so the cookies hold their shape during baking. Cold dough also rolls out more smoothly with less sticking, so the hour is worth it.
Step 4: Roll, Cut, and Bake
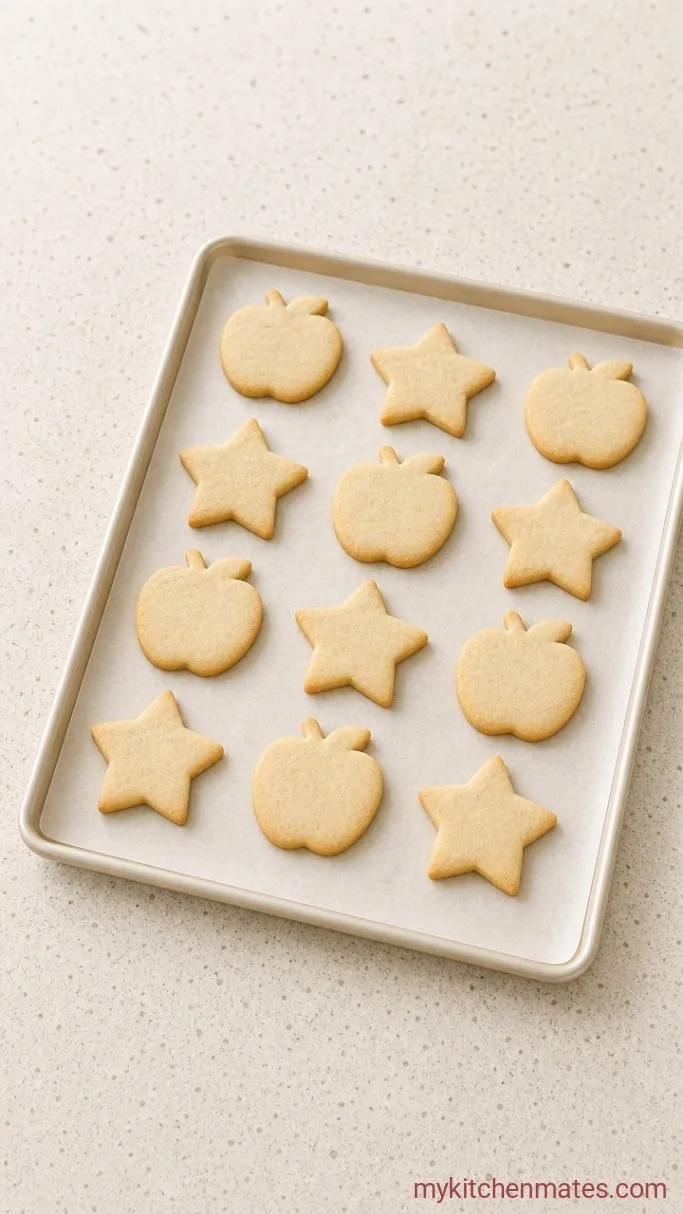
Preheat your oven to 350°F (180°C). Lightly flour your work surface and roll the chilled disc to an even ¼-inch thickness. You can roll between two sheets of parchment to skip extra flour. Dip your cutter in a little flour before each press, and cut shapes as close together as possible to limit re-rolling scraps.
Transfer the cutouts to a parchment-lined baking sheet about 2 inches apart. Bake on the middle rack for 8 to 10 minutes, rotating the pan halfway through. The cookies are ready when the tops look dry and set but haven’t taken on any color. The edges should be barely golden. Let them rest on the sheet for 5 minutes; they will firm up as they cool, then move them to a wire rack.
Step 5: Frost and Decorate

Spread a thin layer of simple powdered sugar glaze or your favorite royal icing onto each fully cooled cookie. A small offset spatula makes it fast, but a butter knife works fine. While the icing is still wet, add sprinkles, sanding sugar, or a light dusting of sparkle.
Let the decorated cookies sit uncovered at room temperature until the icing is completely firm, about 30 minutes. Once set, pack them in a tin or box for gifting. The bright white icing against a crisp cookie is the moment that says “thank you.”
Tips for Picture-Perfect Cut-Out Cookies
- If the kitchen is warm, slide the baking sheet with the raw cutouts into the fridge for 10 minutes before baking. Even a slight chill-up resets the butter and prevents spreading.
- Use rolling pin guide bands or rest two chopsticks on either side of the dough to get a uniform ¼-inch thickness every time.
- For pure white icing, reach for clear vanilla extract and add the tiniest dot of white gel food coloring. It cuts the ivory tone that buttercream or regular vanilla can leave.
- Let iced cookies dry fully before stacking. One layer of wax paper between tiers inside the gift box keeps them picture-perfect.
Bake times by dough thickness:
| Thickness | Bake Time | What to Watch For |
|---|---|---|
| ⅛ inch (thin, crisp) | 6-8 mins | Edges golden, tops dry |
| ¼ inch (standard) | 8-10 mins | Edges set, centers pale |
| ⅜ inch (thick, soft) | 10-12 mins | Tops just starting to dull |
Storing and Gifting the Cookies
- Refrigerate: Store unfrosted cookies in an airtight container for up to 1 week. Tuck a small piece of plain bread or a sugar softener terracotta disk inside to keep them tender.
- Freezing dough: Wrap the disc in plastic followed by foil and freeze for up to 3 months. Thaw in the fridge overnight before rolling.
- Freezing baked cookies: Freeze undecorated cookies in a single layer, then transfer to a bag for up to 2 months. Thaw completely before icing; freezing with icing invites condensation and crackling.
Frequently Asked Questions
Can I use store-bought frosting?
Yes. A pourable cookie glaze or ready-made royal icing both set firm and travel well. Avoid fluffy buttercream because it won’t stack neatly.
Why did my cookies spread into puffy blobs?
Warm dough, over-mixing the butter and sugar, or skipping the chill are the usual culprits. Even 30 minutes in the fridge often saves the next batch.
How far ahead can I bake the cookies?
Bake them up to 3 days before decorating, storing them airtight at room temperature. The undressed cookies stay soft and taste fresh.
Can I make the dough for other holidays?
Absolutely. The flavor is neutral enough that the same dough works for winter snowflakes, Valentine’s hearts, or any celebration that calls for cut-outs.
Teacher Appreciation Sugar Cookies Recipe
Ingredients
Method
- Beat butter and sugar on medium speed until pale and fluffy, 2 to 3 minutes.
- Add egg and vanilla, beat to combine. Whisk flour, baking powder, and salt, then gradually add to mixer on low until a dough forms.
- Pat dough into a disc, wrap in plastic, and refrigerate at least 1 hour.
- Preheat oven to 350°F (180°C). Roll dough ¼ inch thick, cut shapes, and place 2 inches apart on parchment-lined sheets.
- Bake 8 to 10 minutes until edges are barely set. Cool on sheet 5 minutes, then transfer to a rack.
- Frost cooled cookies with glaze or royal icing and decorate while wet. Let icing set fully before stacking.
Notes
