
Taiyaki Ice Cream

How to Make Taiyaki Ice Cream at Home
Taiyaki ice cream is a Japanese street food favorite that stuffs a warm, fish-shaped waffle with cold ice cream and sweet red bean paste. The crisp golden shell and the creamy filling make it a dessert that’s as fun to make as it is to eat.

You don’t need a trip to Japan to try it. A taiyaki pan and a few pantry staples let you recreate this treat in your own kitchen, and the look on everyone’s faces when you hand them a fish full of ice cream is worth every minute.
What Makes This Homemade Taiyaki Ice Cream So Fun
The contrast between the warm, just-cooked taiyaki and the cold ice cream is something you can’t get from a store-bought cone. The shell stays crisp for a couple of minutes before the ice cream softens it, so you get a bite with crunchy outside and soft, cool inside.
I also love that you can switch up the fillings endlessly. Red bean paste is classic, but custard, Nutella, or even a smear of peanut butter work beautifully. Each one changes the dessert completely, so it never gets old.
Ingredients

- 1 cup (120g) all-purpose flour: cake flour gives a softer crumb, but all-purpose works great.
- 2 tbsp granulated sugar
- 1 tsp baking powder
- ¼ tsp salt
- 1 large egg
- ¾ cup (180ml) whole milk
- 2 tbsp unsalted butter, melted, plus more for greasing
- 1 tsp vanilla extract
- ½ cup sweet red bean paste (anko): tsubuan (chunky) or koshian (smooth) both work.
- 4 small scoops vanilla or matcha ice cream
- Powdered sugar, for dusting (optional)
Variations / Substitutions
- Dairy-free: Use oat milk and vegan butter or coconut oil. The shell will be slightly less rich but still crisp.
- Different fillings: Replace red bean paste with chocolate hazelnut spread, custard, or sweetened mascarpone.
- Ice cream: Strawberry, black sesame, or chocolate all work well; just pick a firm scoop so it doesn’t melt too fast.
Chocolate Chip Shortbread Cookies are next on our list if this ice cream is your kind of dessert.
How to Make Taiyaki Ice Cream
Step 1: Whisk the Batter
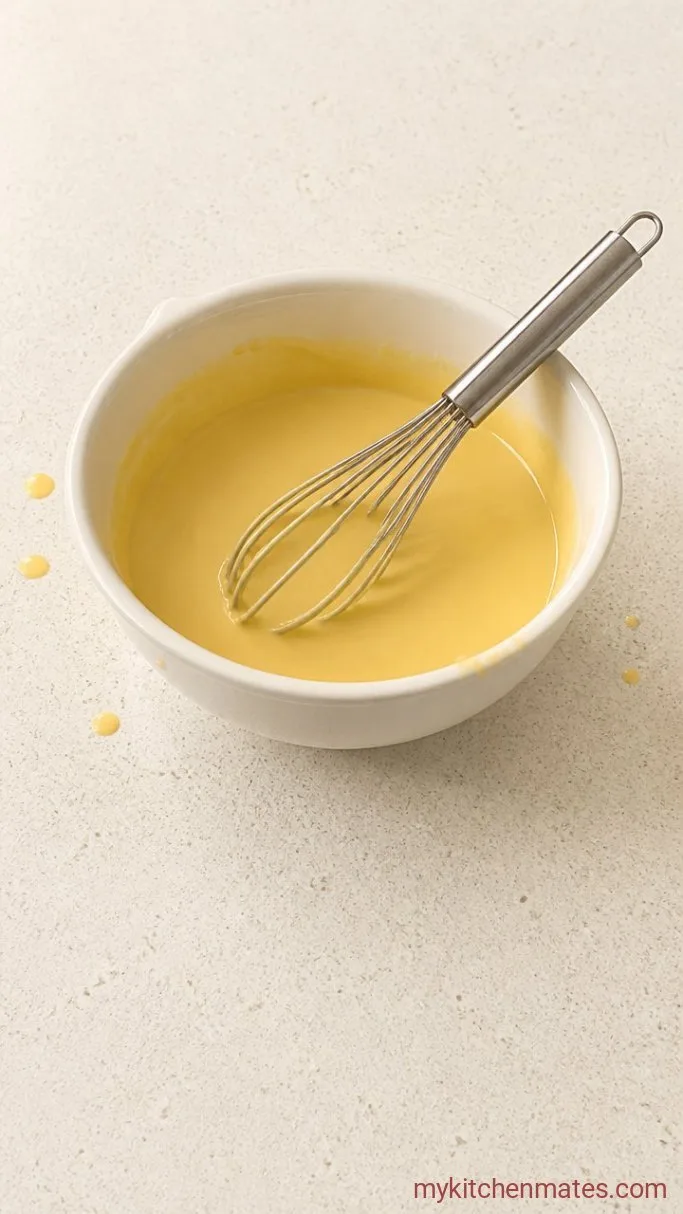
In a medium bowl, whisk together the 1 cup flour, 2 tbsp sugar, 1 tsp baking powder, and ¼ tsp salt. In a separate small bowl or measuring cup, whisk the 1 large egg, ¾ cup milk, 2 tbsp melted butter, and 1 tsp vanilla until smooth. Pour the wet mixture into the dry and whisk just until no dry streaks remain, about 30 seconds. A few small lumps are fine; overmixing makes the taiyaki tough.
The batter will be smooth and pourable, similar to thick pancake batter. Let it rest while you heat the pan—even 5 minutes gives the flour time to hydrate for a more tender shell.
Step 2: Cook the Taiyaki Cakes

Set your taiyaki pan over medium heat and let it get hot for a good 4 to 5 minutes. Lightly brush both sides of the mold with melted butter. Pour a small ladleful of batter into the fish shape on one side of the pan, filling it just to the edges. Spoon about 1 tablespoon of the ½ cup red bean paste into the center of the batter, then drizzle a little more batter over the top to cover the filling. Close the pan and cook for about 2 minutes, then flip the whole pan and cook the other side for another 2 to 3 minutes, until both sides are deep golden and the cake feels firm.
Open the pan carefully—the fish should release easily if it’s fully cooked. Transfer to a wire rack and repeat with the remaining batter and filling, greasing the pan again between batches. The exterior should be crisp and evenly browned; if it sticks, it needs a little more cooking time or a better greased pan. Don’t worry if the first one isn’t quite even—it takes one or two to get the hang of it.
Step 3: Stuff the Taiyaki with Ice Cream
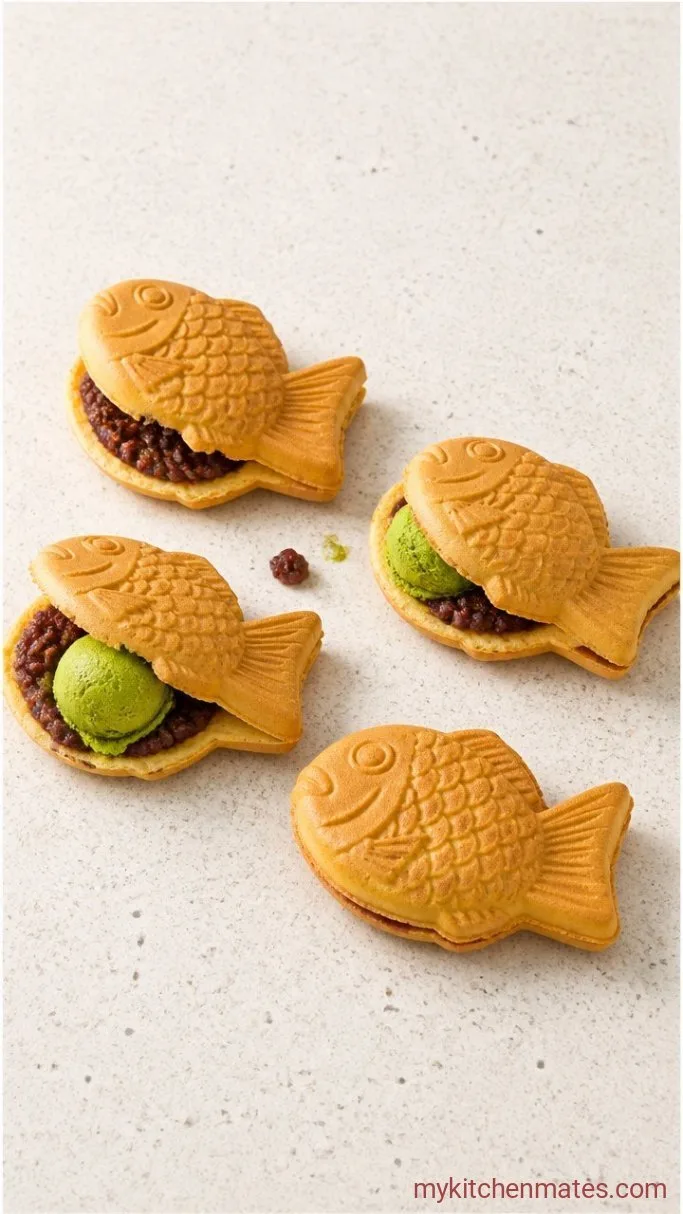
Once the taiyaki are cool enough to handle but still warm, use a small serrated knife to carefully slice open the back (the side opposite the tail) like a pocket. You want an opening just big enough to fit a spoon. Scoop a small, firm scoop of ice cream into the pocket, then gently press the fish closed around it. The warmth of the shell will soften the ice cream just enough to hold its shape for about 20 seconds but not melt immediately.
Work quickly from here—the ice cream will start to melt after a minute or two. If you’re serving a crowd, fill each fish right before handing it over. The contrast of hot and cold is what makes this dessert so good.
Step 4: Finish and Serve

Dust the filled taiyaki with a little powdered sugar if you like, then wrap the tail in a piece of parchment or a napkin so it’s easier to hold. Serve immediately while the shell is still crisp and the ice cream is just beginning to soften. The combination of the buttery waffle, sweet bean paste, and cold ice cream is something you’ll want to make again and again.
Tips for the Best Taiyaki Ice Cream
- Grease well between batches: Even nonstick taiyaki pans need a fresh swipe of butter or oil between fish. Wipe with a paper towel to avoid pooling.
- Keep the pan temperature steady: Medium heat is key. Too hot and the outside burns before the inside cooks; too low and the shell won’t crisp. Adjust as needed.
- Use a firm ice cream: Scoop ice cream from a freshly opened, cold container and freeze the scoops on a baking sheet for 10 minutes before filling for extra insurance.
- Make the shells ahead: Bake the taiyaki, cool completely, and store in an airtight container. Reheat in a toaster oven or dry pan until crisp, then fill with ice cream. This turns the dessert into a quick party trick.
Keeping Taiyaki Shells Fresh
- Refrigerate: Store unfilled, cooled taiyaki in an airtight container at room temperature for up to 1 day, or in the fridge for up to 3 days. They lose crispness but reheat well.
- Reheating: Warm in a dry skillet over medium heat for 1 to 2 minutes per side, or in a toaster oven at 350°F for 3 to 4 minutes, until crisp.
- Freeze: Freeze shells in a single layer, then transfer to a bag for up to 1 month. Reheat straight from frozen in a toaster oven.
Frequently Asked Questions
Can I make these without a taiyaki pan?
Yes, you can use a regular waffle iron and cut the waffle into fish shapes, but you won’t get the classic design. A fish-shaped cake mold or aebleskiver pan can work too, though the shape will differ.
Can I use red bean paste from a can?
Absolutely. Canned sweet red bean paste is widely available at Asian grocery stores and online. Look for “tsubuan” (chunky) or “koshian” (smooth). Drain any excess liquid before using.
Why is my taiyaki sticking to the pan?
The pan likely needs more greasing or isn’t hot enough. Brush melted butter on both sides generously and let the pan preheat for a full 4 to 5 minutes before adding batter. Nonstick sprays work, but butter adds flavor.
How far ahead can I fill the taiyaki with ice cream?
Fill them right before serving. If you fill them too early, the ice cream melts and makes the shell soggy. For a party, have the warm shells and frozen ice cream scoops ready and assemble in seconds.
Taiyaki Ice Cream Recipe
Ingredients
Method
- Whisk flour, sugar, baking powder, and salt in a bowl. In another bowl, whisk egg, milk, melted butter, and vanilla; pour into dry ingredients and whisk until just combined.
- Heat a taiyaki pan over medium heat and brush with melted butter. Pour batter to fill one fish mold, place 1 tablespoon red bean paste in the center, and drizzle a little more batter on top. Close the pan and cook 2 minutes, then flip and cook another 2 to 3 minutes until golden. Repeat with remaining batter and filling, greasing the pan again between each.
- Let shells cool slightly, then use a serrated knife to slice open the back of each fish. Scoop a small, firm scoop of ice cream into the pocket and press gently closed.
- Dust with powdered sugar if desired, wrap the tail in parchment, and serve immediately.
Notes
