
Sushi Rice That’s Sticky, Not Gummy

Sticky sushi rice is the backbone of every roll, bowl, and nigiri. Once you get the seasoning right and the texture just tacky enough to hold together, you’ll have a kitchen staple that beats takeout.
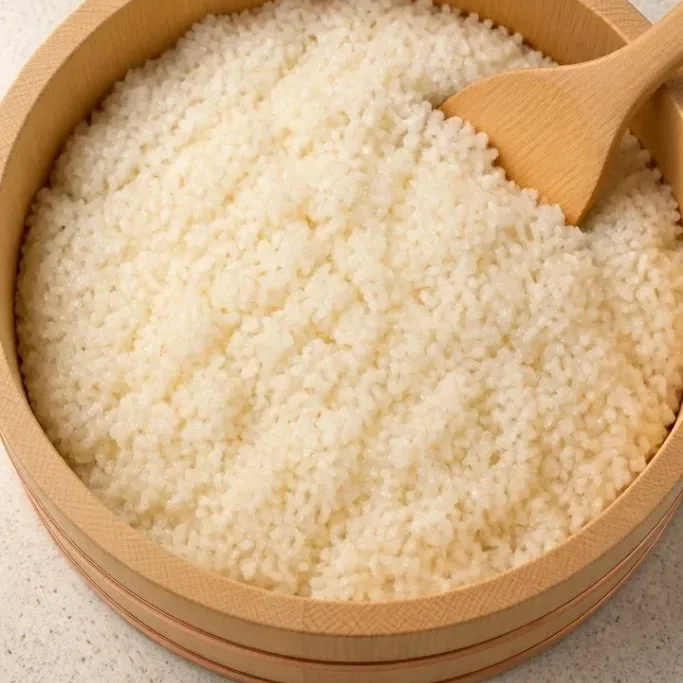
This recipe walks you through rinsing, cooking, and seasoning. It’s straightforward, and the result is rice that clings without turning into a gluey brick.
Why This Sushi Rice Works
I stick with this method because it gives me rice that holds its shape but still feels light in the mouth. The vinegar mix is subtle: sweet, salty, and just tangy enough to lift the rice without covering up whatever you roll with it.
Another thing I love is that after a couple of tries, the whole routine becomes automatic. The rinsing step feels fussy the first time, but it’s what separates separate, bouncy grains from a sad, solid block.
Ingredients
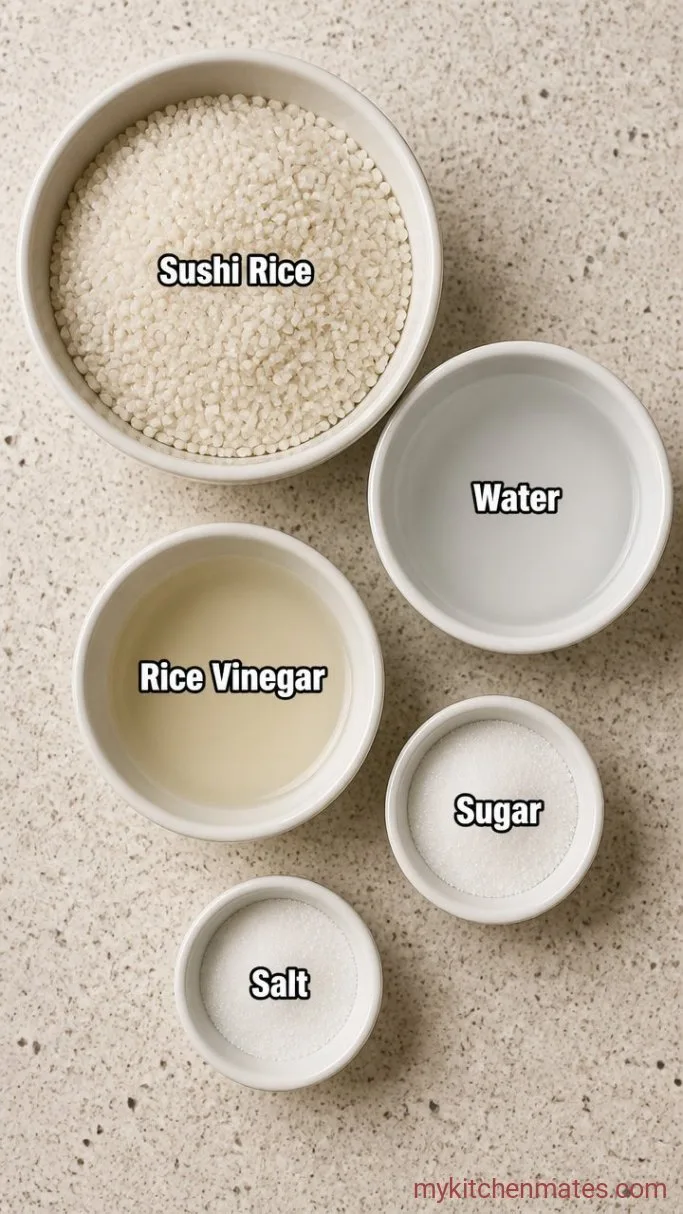
- 2 cups sushi rice: short-grain Japanese rice, often labeled “sushi rice” or “Calrose.” Medium-grain works in a pinch but won’t be as sticky.
- 2 cups water: plus more for rinsing.
- 3 tbsp unseasoned rice vinegar: seasoned vinegar has added sugar and salt; if you use it, cut back on the sugar and salt you add.
- 2 tbsp sugar: plain white sugar dissolves easily.
- 1 tsp salt: any fine salt.
Variations / Substitutions
- Use seasoned rice vinegar: then reduce the sugar to 1 tbsp and the salt to a small pinch. Taste the rice before adding more.
- Cut the sugar: if you prefer a less sweet rice, drop it to 1 tbsp. The rice will still have that light tang.
- Try it with brown sushi rice: follow the package cooking time and double the water. The texture will be chewier and less sticky, so expect a looser roll.
Vegetarian Sushi Bowl is a great main dish to serve alongside this rice.
How to Make Sushi Rice
Step 1: Rinse the Rice
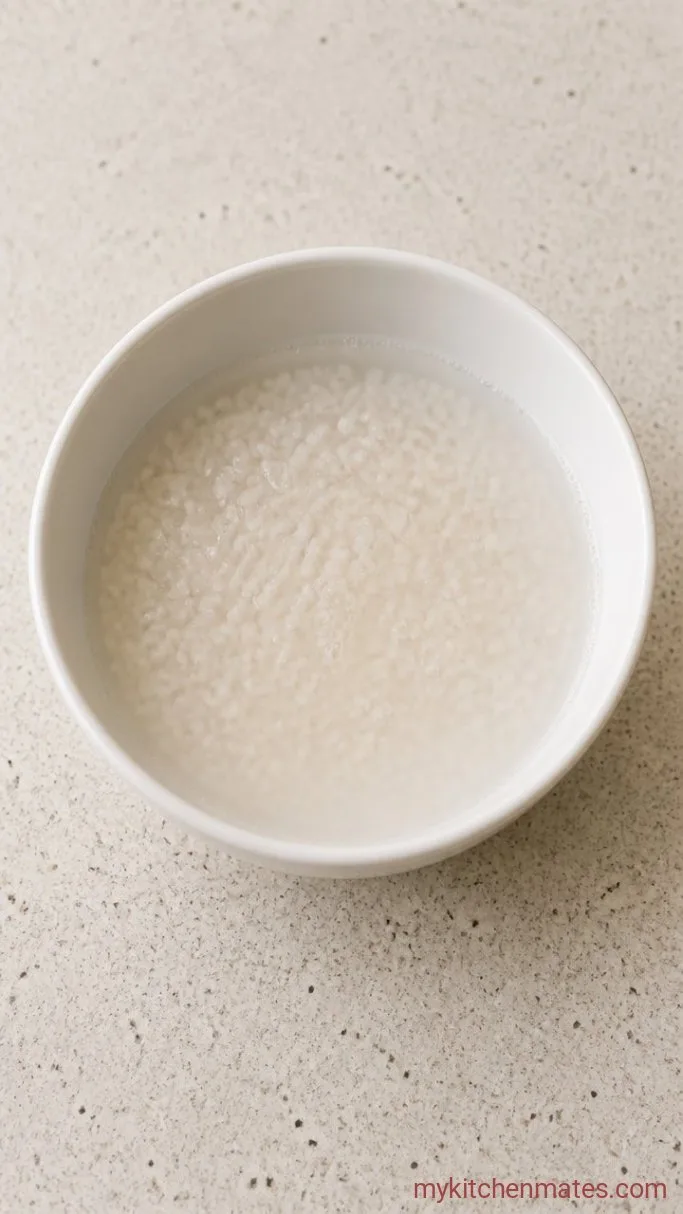
Place the 2 cups of sushi rice in a fine-mesh strainer and set it inside a bowl of cold water. Swish it around with your fingers until the water clouds up, then lift the strainer out, dump the water, and repeat 3 or 4 more times. You want the water to run almost clear, not perfectly transparent but no longer milky.
Watch for the water to go from opaque white to faintly hazy. That’s your sign the loose starch is gone, which keeps the cooked grains separate instead of gummy. Press on: the rinsing takes about 2 minutes, and the payoff is real.
Step 2: Cook the Rice
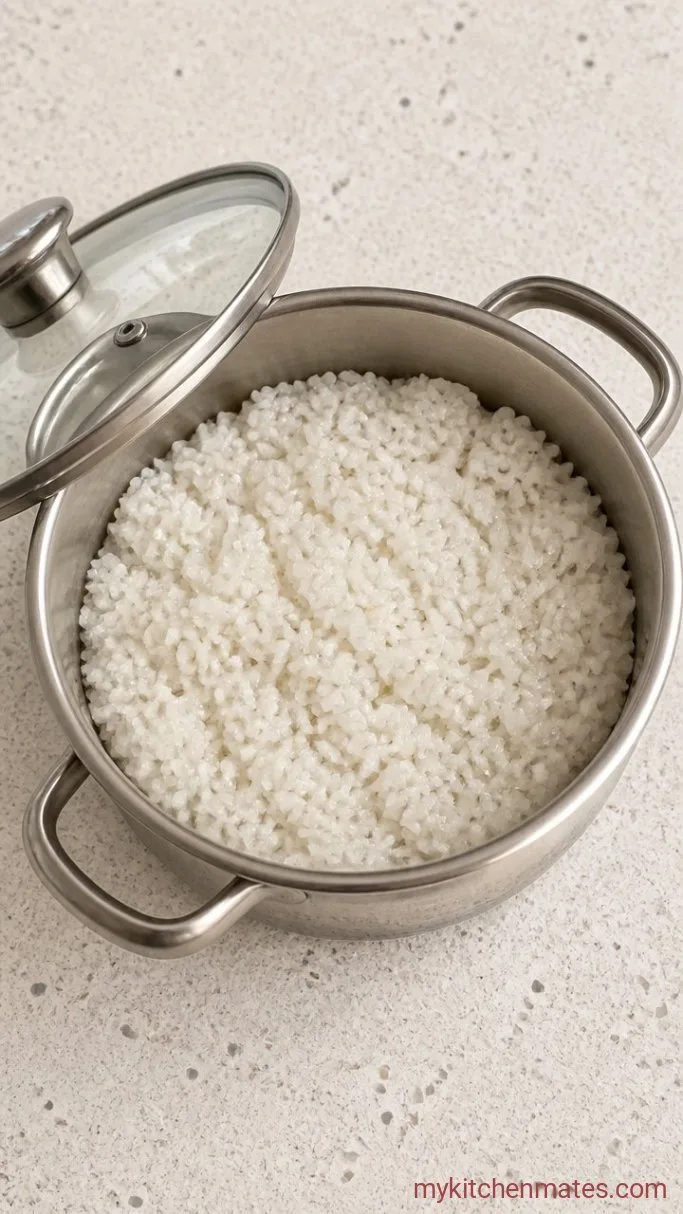
Combine the rinsed rice and 2 cups of fresh water in a heavy-bottomed saucepan with a tight-fitting lid. Set it over medium-high heat and bring it to a rolling boil. As soon as you see big bubbles, clamp on the lid, drop the heat to the lowest setting, and simmer for 18 minutes.
You’ll hear a gentle hiss and see a whisper of steam around the lid edge. Do not lift the lid at all during this time, or you’ll lose the steam that finishes cooking the top grains. After 18 minutes, turn off the heat and let the pot sit, still covered, for another 10 minutes so the rice can firm up perfectly.
Step 3: Season the Rice
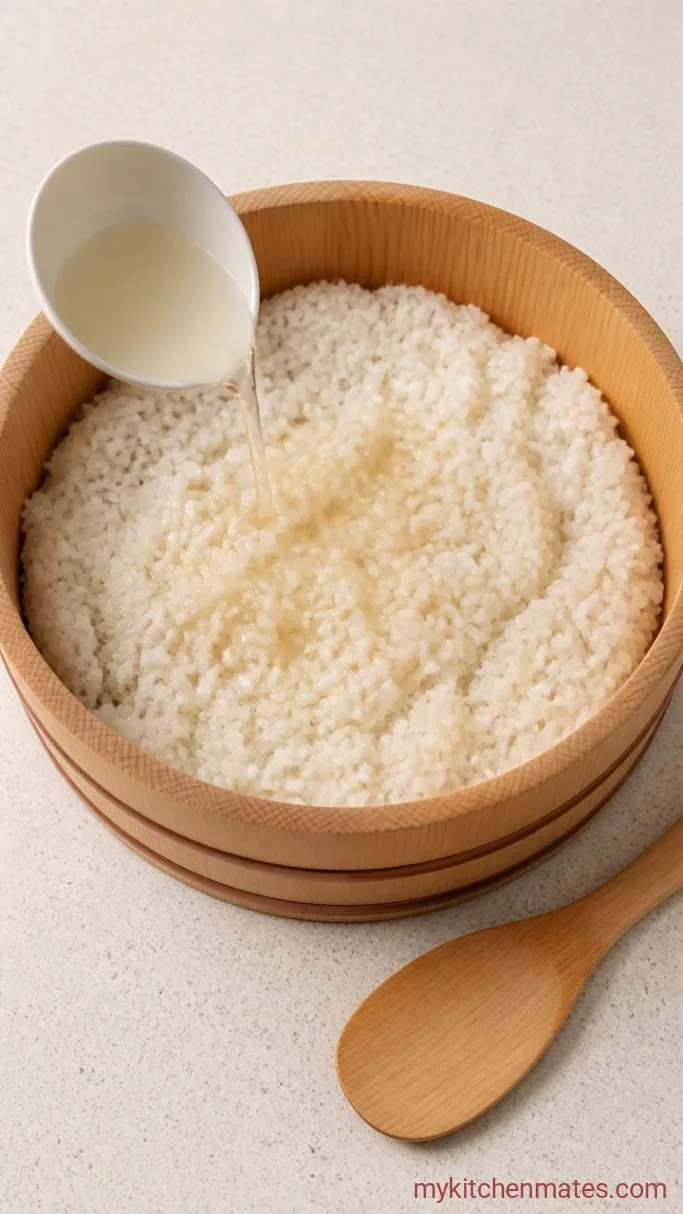
While the rice rests, warm the 3 tbsp rice vinegar, 2 tbsp sugar, and 1 tsp salt in a small pan over low heat. Stir until everything dissolves and the liquid is clear; you’re not looking for a boil, just a warm mix. When the rice has rested those 10 minutes, turn it out into a wide, non-metal bowl (glass or wood works well) and slowly drizzle the warm vinegar over the hot rice.
Use a flat wooden spatula or a rice paddle and fold the liquid through with a gentle cutting motion. At the same time, use a hand fan or a piece of cardboard to fan the rice while you fold, which cools it quickly so the grains absorb the seasoning without steaming any further. The rice will look glossy and feel slightly sticky under your paddle.
Step 4: Fluff and Cool
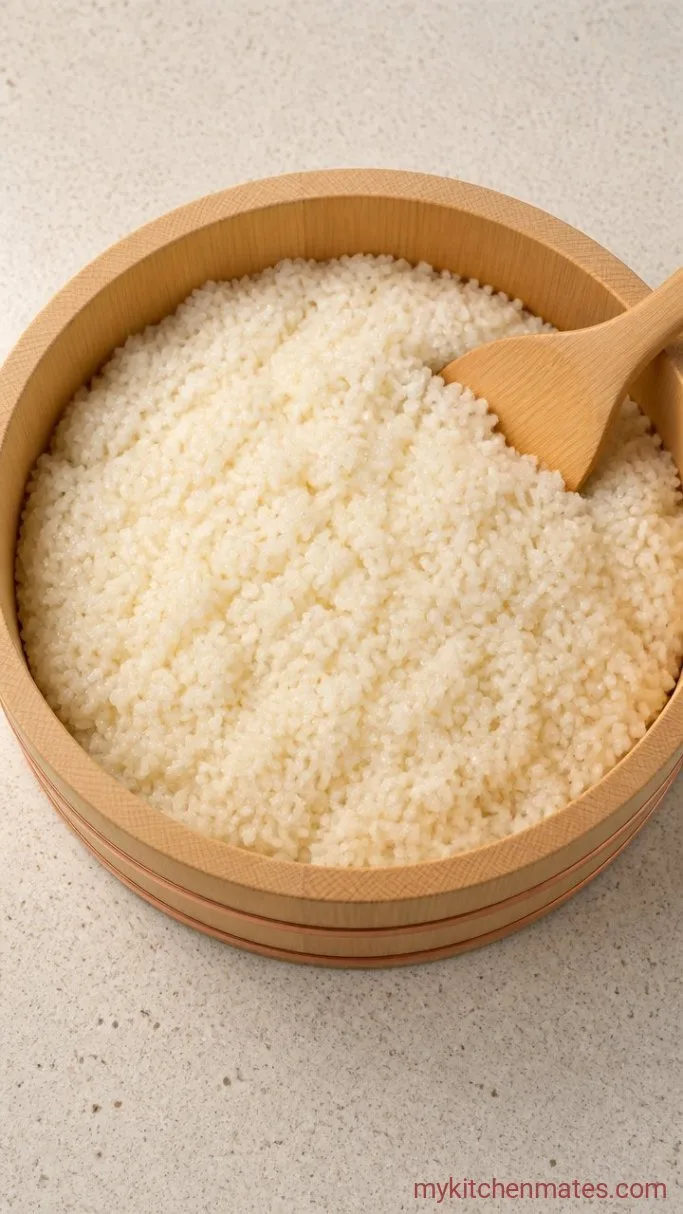
Keep folding with that slicing, not mashing, motion for about 5 minutes. The rice will rapidly drop from steaming hot to just warm and a little tacky to the touch. Spread it out a bit if you’re making rolls right away, or cover it with a clean, damp kitchen towel to hold in moisture.
Use the rice while it’s still just warm or at room temperature. It’s ready when a small clump holds together when pressed but still breaks apart easily with a little bite.
Tips for Sticky, Not Gummy Rice
- Wet your hands or your paddle: before handling sushi rice for rolls. A light touch keeps the rice from turning into a paste.
- A wooden or bamboo bowl: helps absorb excess moisture as the rice cools, but any wide non-metal bowl works if you fan thoroughly.
- Check the rice at 18 minutes: by ear: if you hear a faint crackle or sizzle, the water is nearly absorbed and you’re on track.
Cook times can shift a little based on your pot and heat:
| Pot type | Cook time on lowest heat |
|---|---|
| Heavy-bottomed saucepan | 18 minutes |
| Rice cooker (white rice setting) | Automatic, 15 to 20 minutes |
Keeping Leftover Sushi Rice Fresh
- Refrigerate: Let the rice cool fully, then store it tightly covered in the fridge for up to 1 day. The texture will dry out a bit, but it still works for quick bowls.
- Reheating: Sprinkle a teaspoon of water over the rice, cover with a damp paper towel, and microwave in 30-second bursts until just warm. Don’t overheat it, or it turns hard.
What to Serve With Sushi Rice
Pile it with fresh tuna and avocado for a deconstructed roll, or spoon it into a bowl with sliced cucumbers, crabstick, and a drizzle of sriracha mayo. For a hands-on dinner, set out squares of nori, fillings, and a big bowl of this rice so everyone can build their own hand rolls.
Frequently Asked Questions
Can I use regular long-grain white rice?
No, long-grain rice won’t get sticky enough to hold a roll together. Stick with short-grain sushi rice or medium-grain as a backup.
Can I skip the fanning step?
No, fanning cools the rice quickly so it stops cooking and absorbs the seasoning without turning gluey. Even a few minutes of waving a plate over the bowl makes a real difference.
Why do I need to season the rice?
Seasoning gives sushi rice its familiar tangy-sweet flavor. Without it, you just have plain rice, which doesn’t bring the same balance to raw fish or vegetables.
Can I make this ahead of time?
Yes, but the texture is best within an hour of cooking. If you need to prep sooner, spread the seasoned rice on a baking sheet to cool in about 10 minutes, then keep it covered with a damp towel at room temperature for up to 2 hours.
Is sushi rice gluten-free?
Yes, the rice itself and the simple vinegar mixture are naturally gluten-free. Check your vinegar to be sure it’s pure rice vinegar with no malt additives.
Sushi Rice Recipe
Ingredients
Method
- Rinse sushi rice in a strainer under cold water, swishing and draining until the water runs nearly clear.
- Combine rinsed rice and 2 cups water in a heavy-bottomed saucepan. Bring to a boil over medium-high heat, then cover and reduce to low. Simmer for 18 minutes. Remove from heat and let sit, covered, for 10 minutes.
- While rice rests, warm vinegar, sugar, and salt in a small pan over low heat until dissolved. Turn the hot rice into a wide bowl, slowly pour the vinegar mixture over it, and fold in with a cutting motion while fanning to cool the rice.
- Continue folding and fanning for about 5 minutes until the rice is just warm and glossy. Cover with a damp towel until ready to use.
Notes
